Prior to the purchase of this Lubbock home—and after viewing the online pics,—we knew there would be a number of issues we would have to address upon closing escrow. After all, it’s an older home (1960’s), and has seen a slew of owners in its day.
We knew a fresh coat of paint was needed both inside and out, new appliances were in store, just as some of the quirkiness/oddities would have to be dealt with, and improvements made.
A number of these projects have happened simultaneously. From the media room (not completed yet), to the kitchen, family room, guest bathroom, and my daughter’s bedroom, each and every inch of this home is getting an upgrade—-one trip to Texas at a time. Haha.
And this last visit, my daughter’s room finally got checked off the punch list.
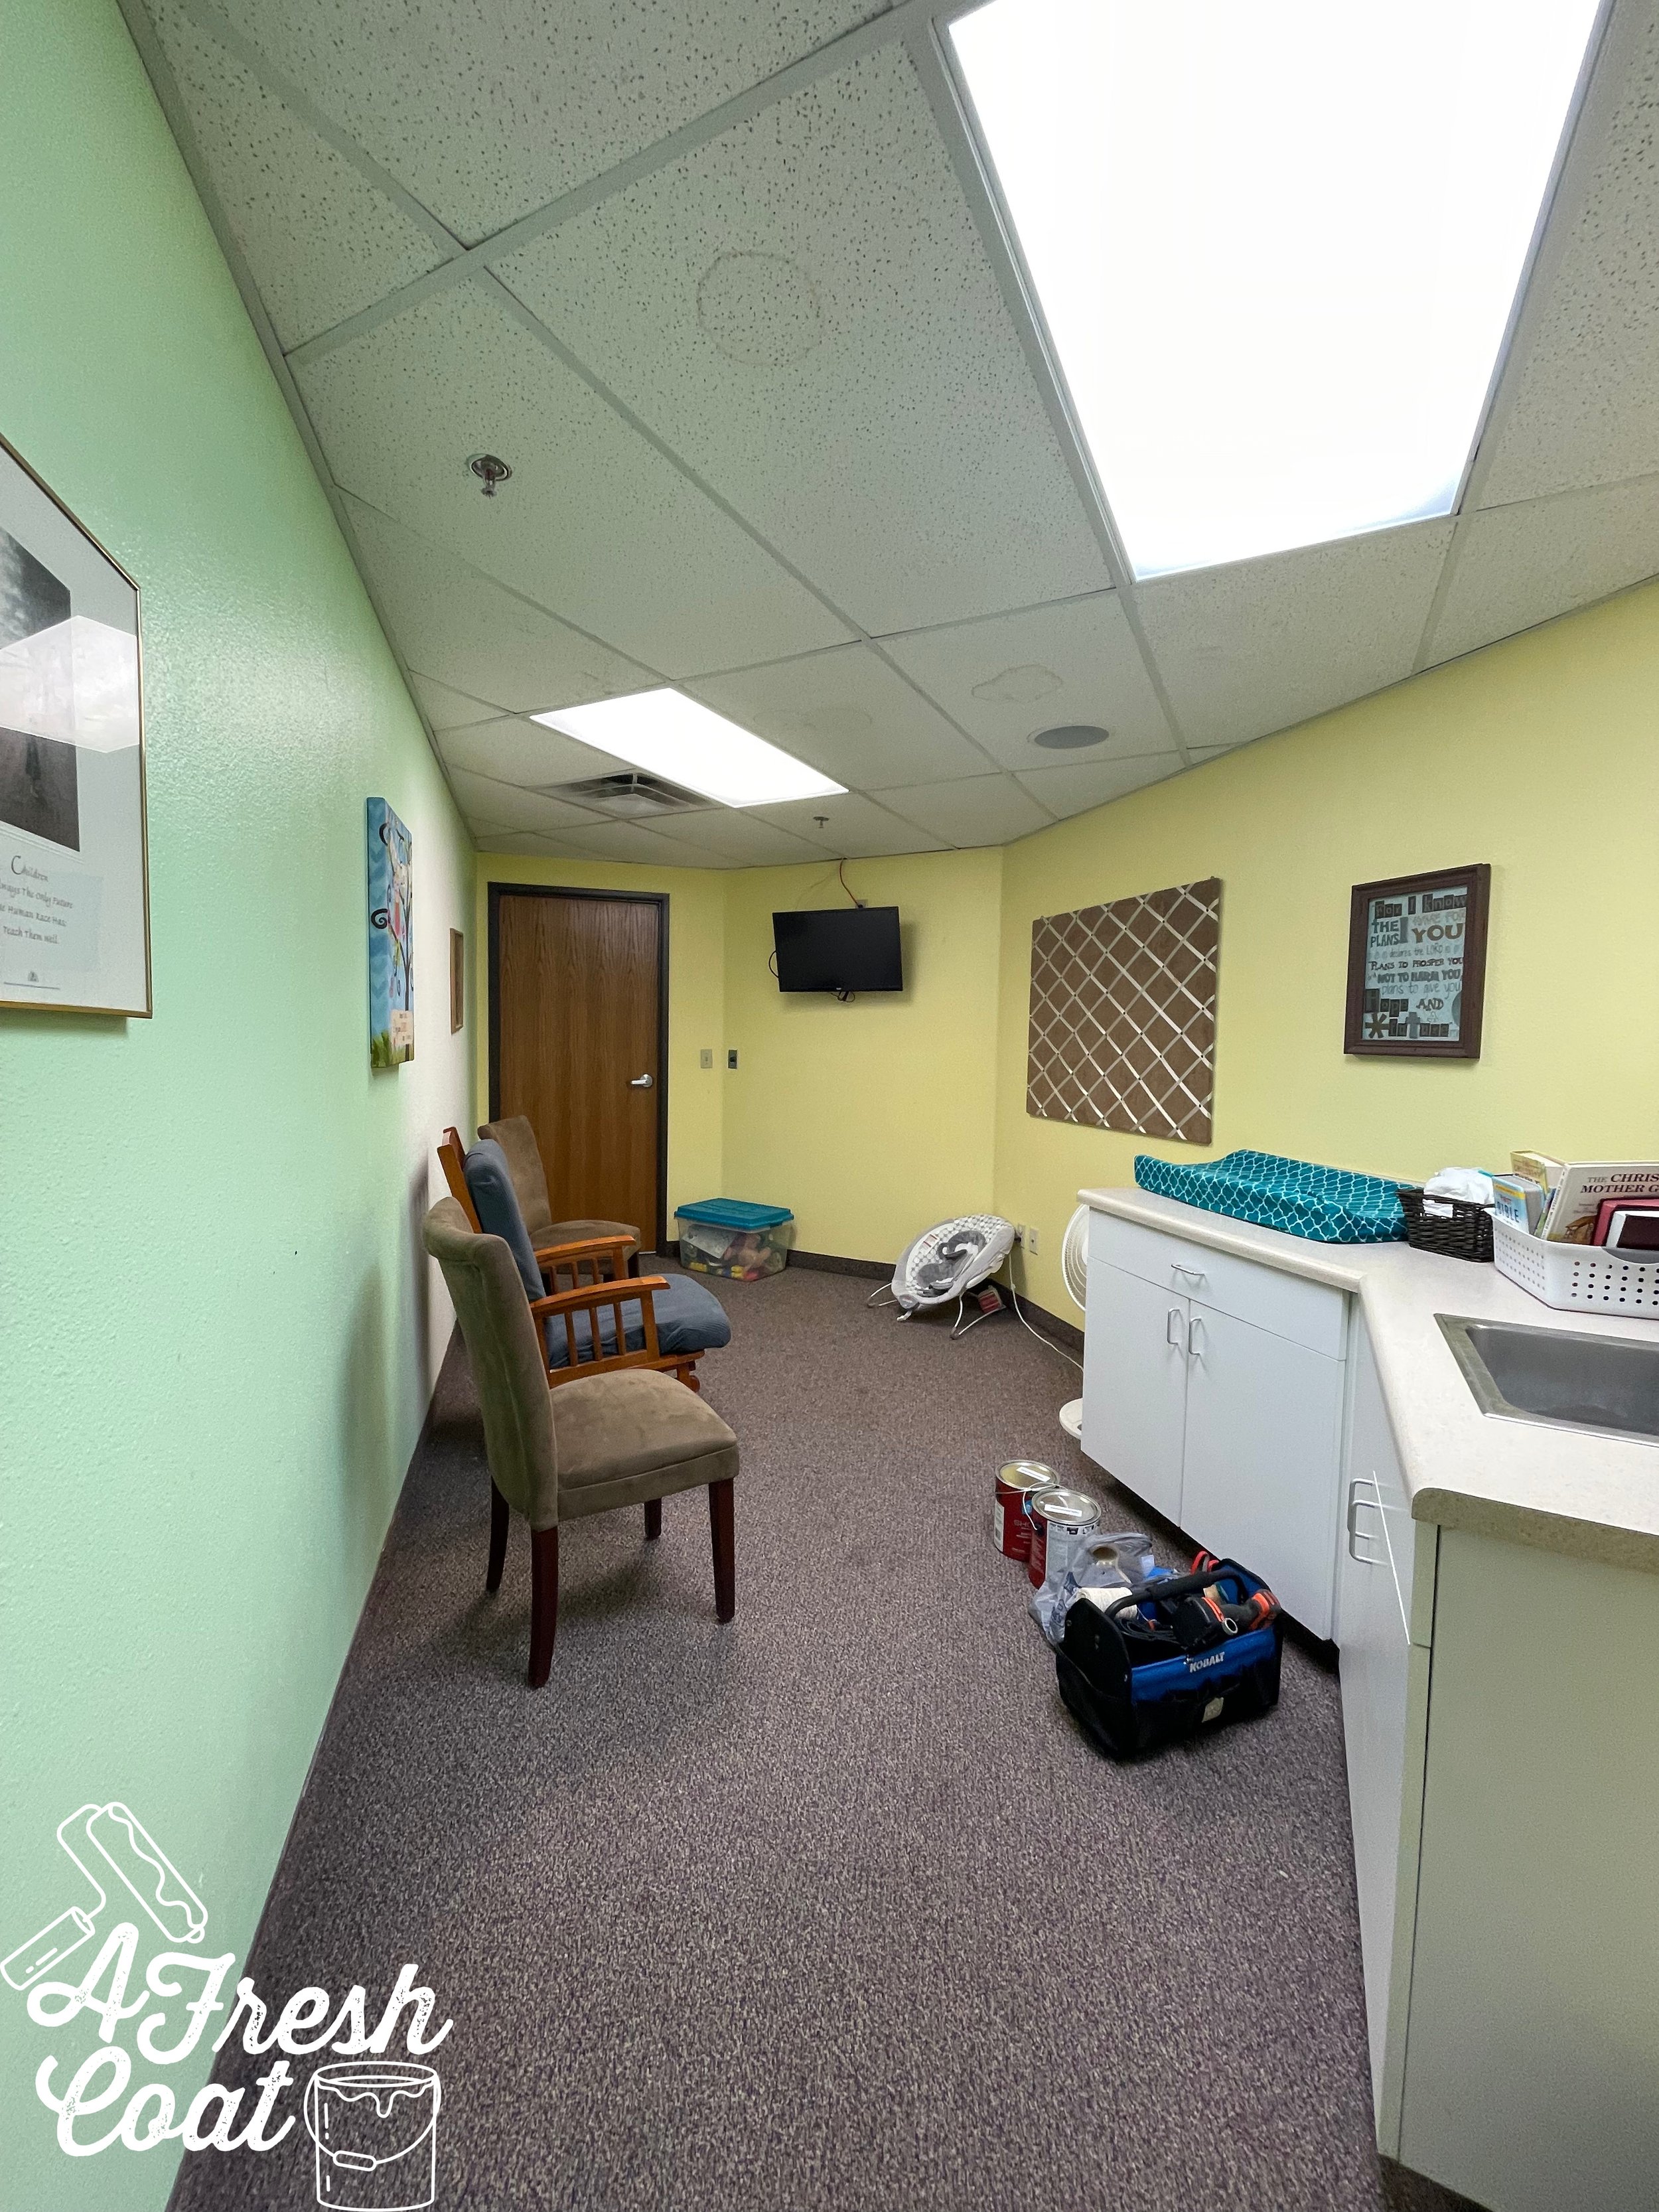
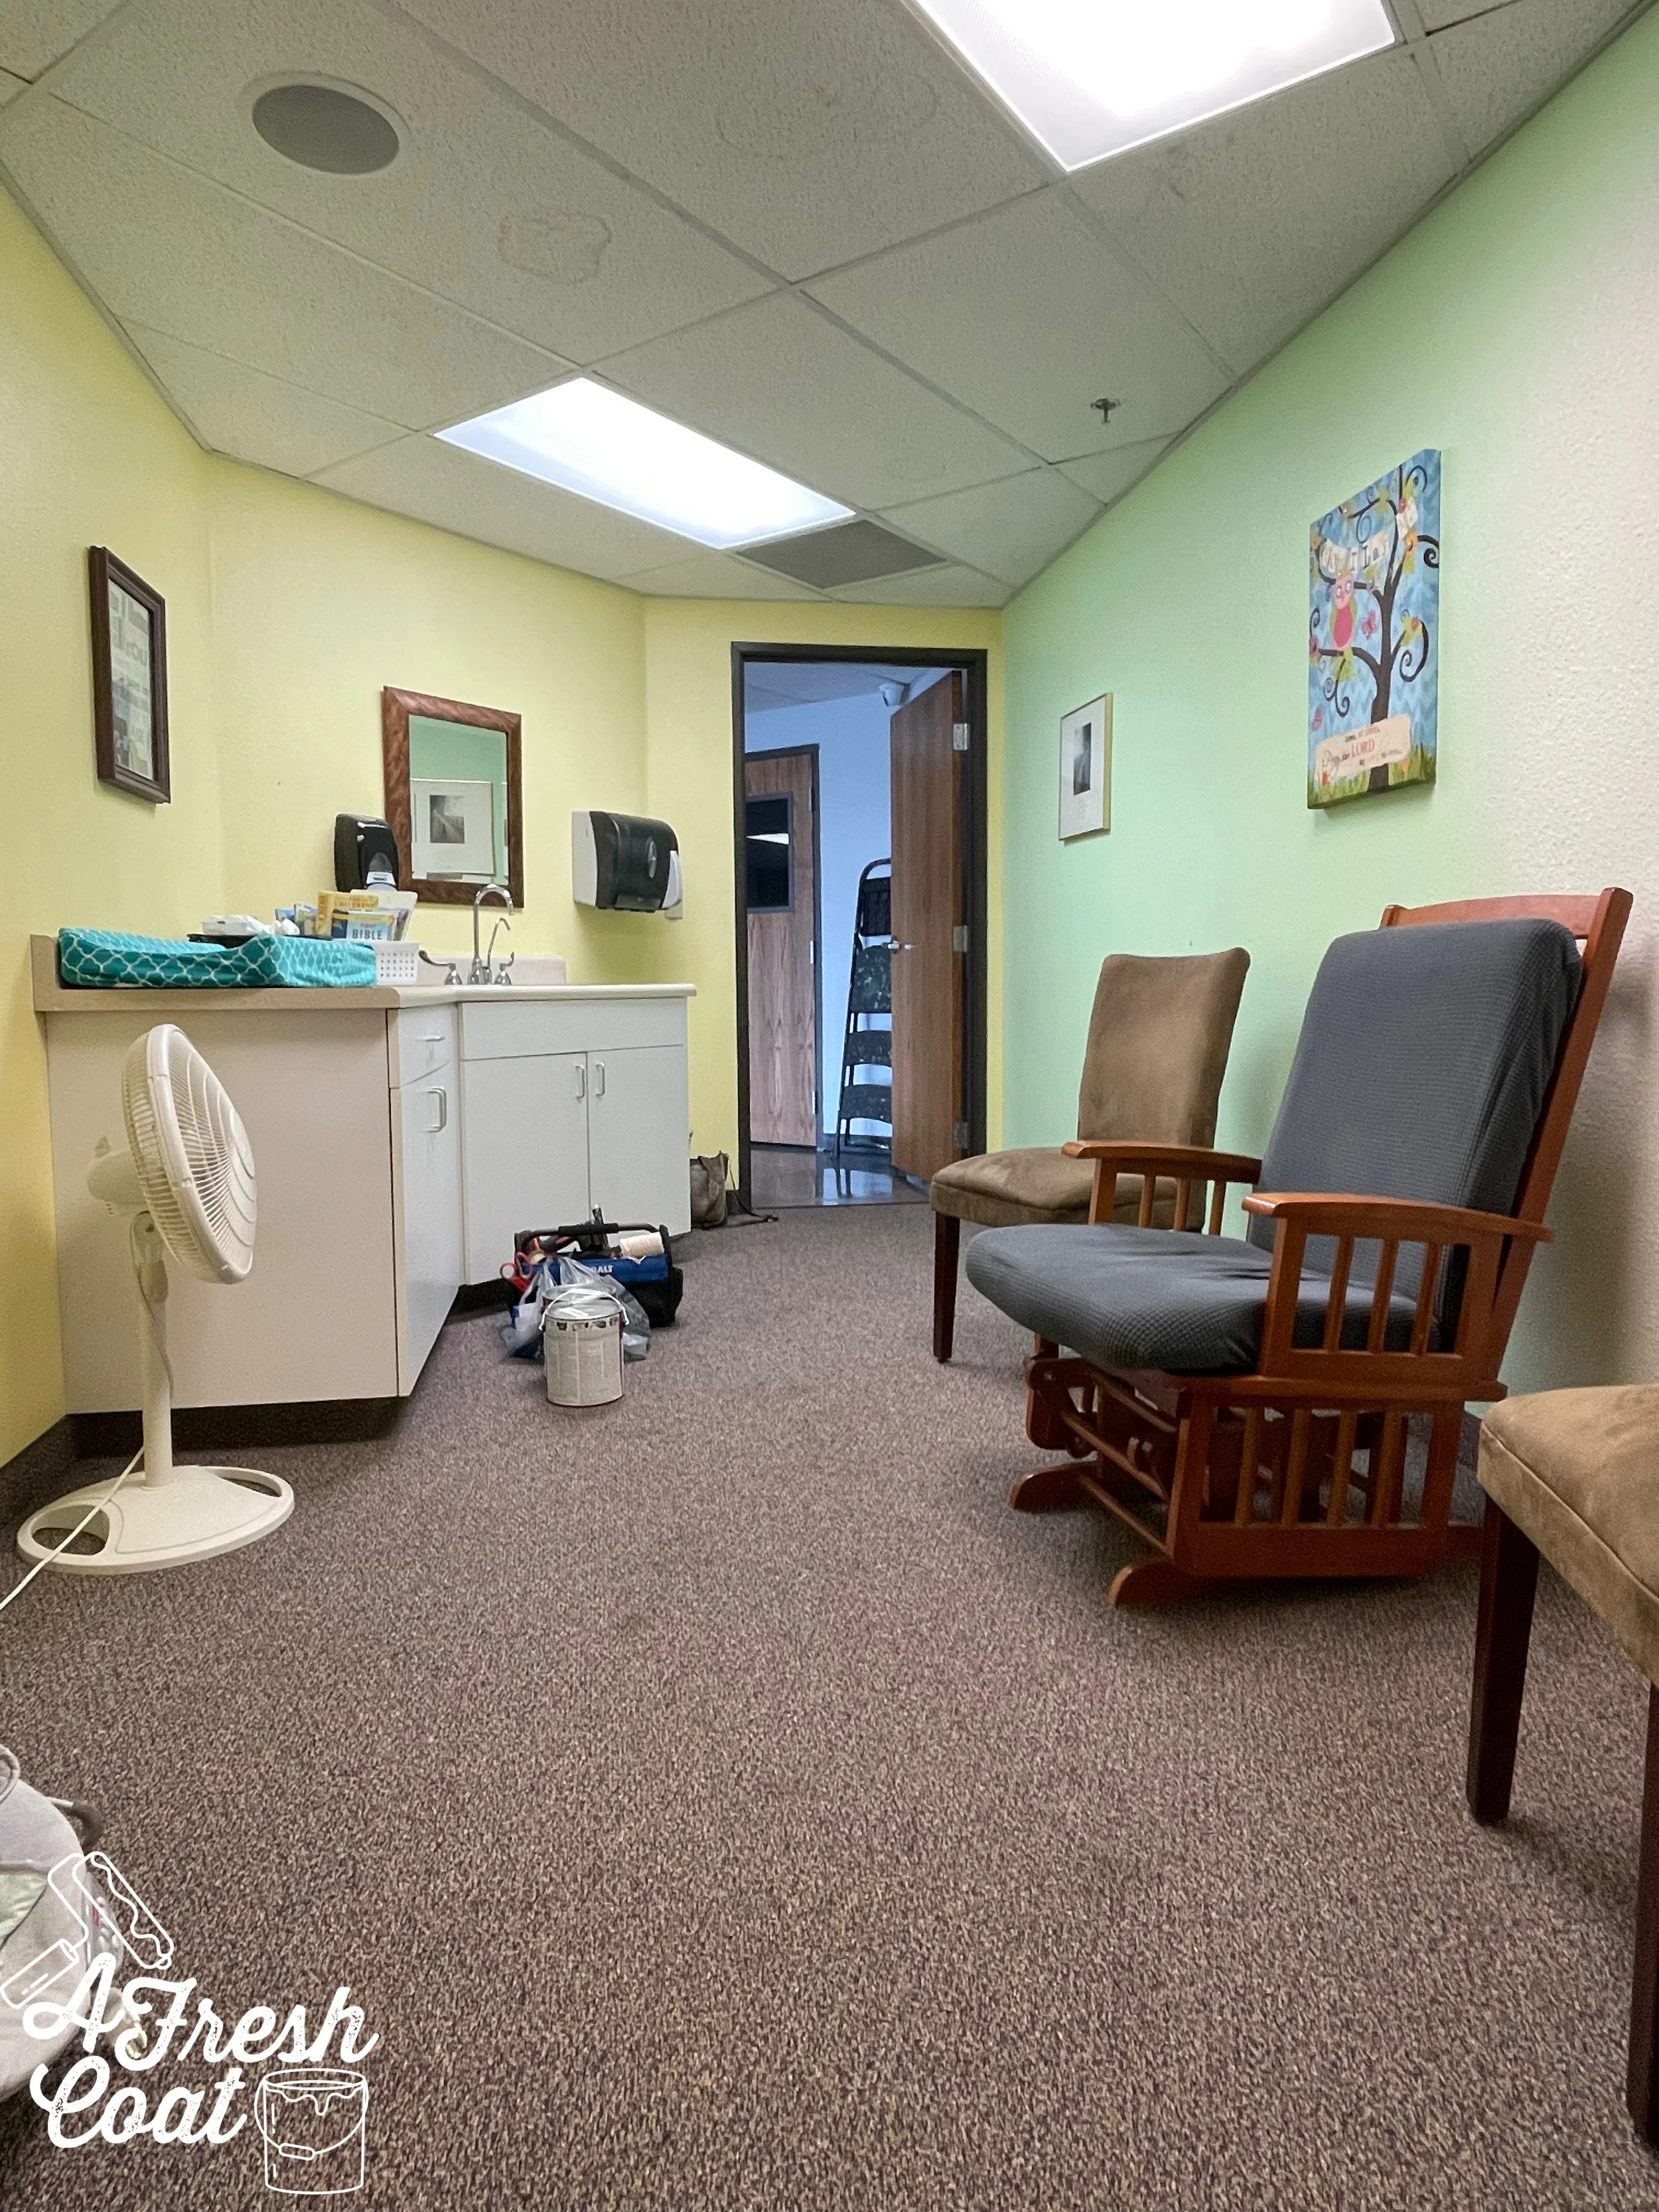
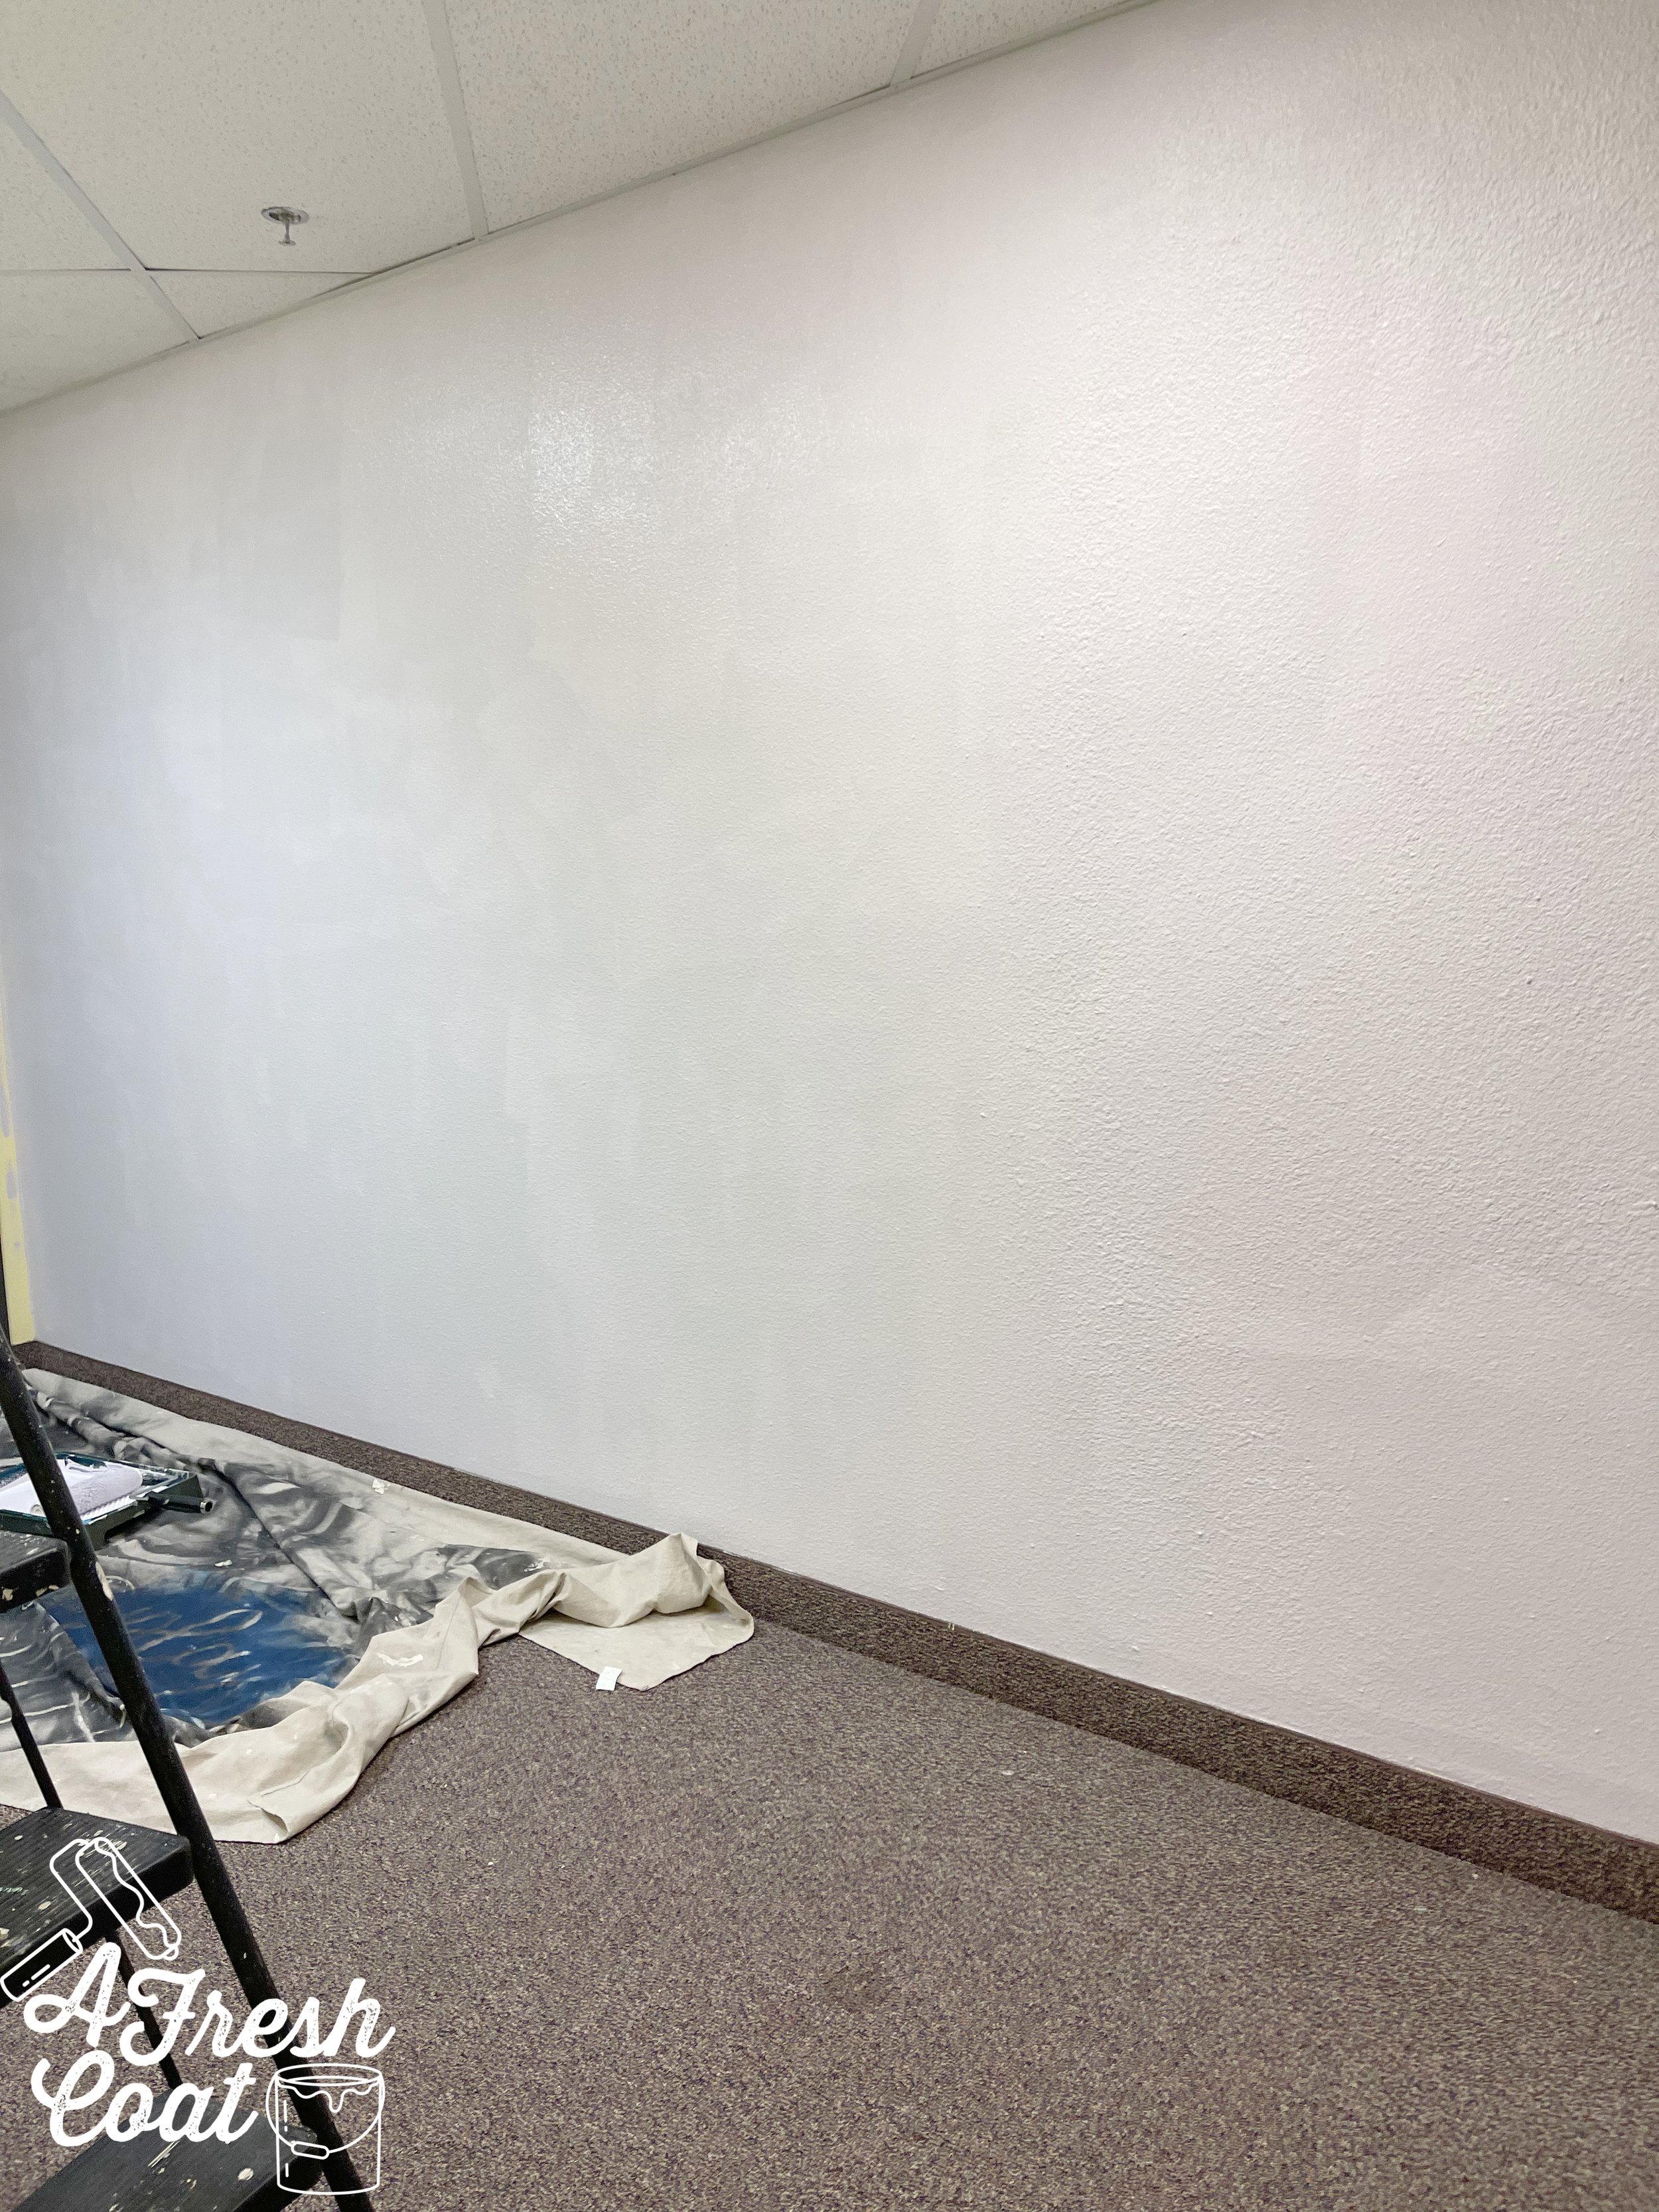
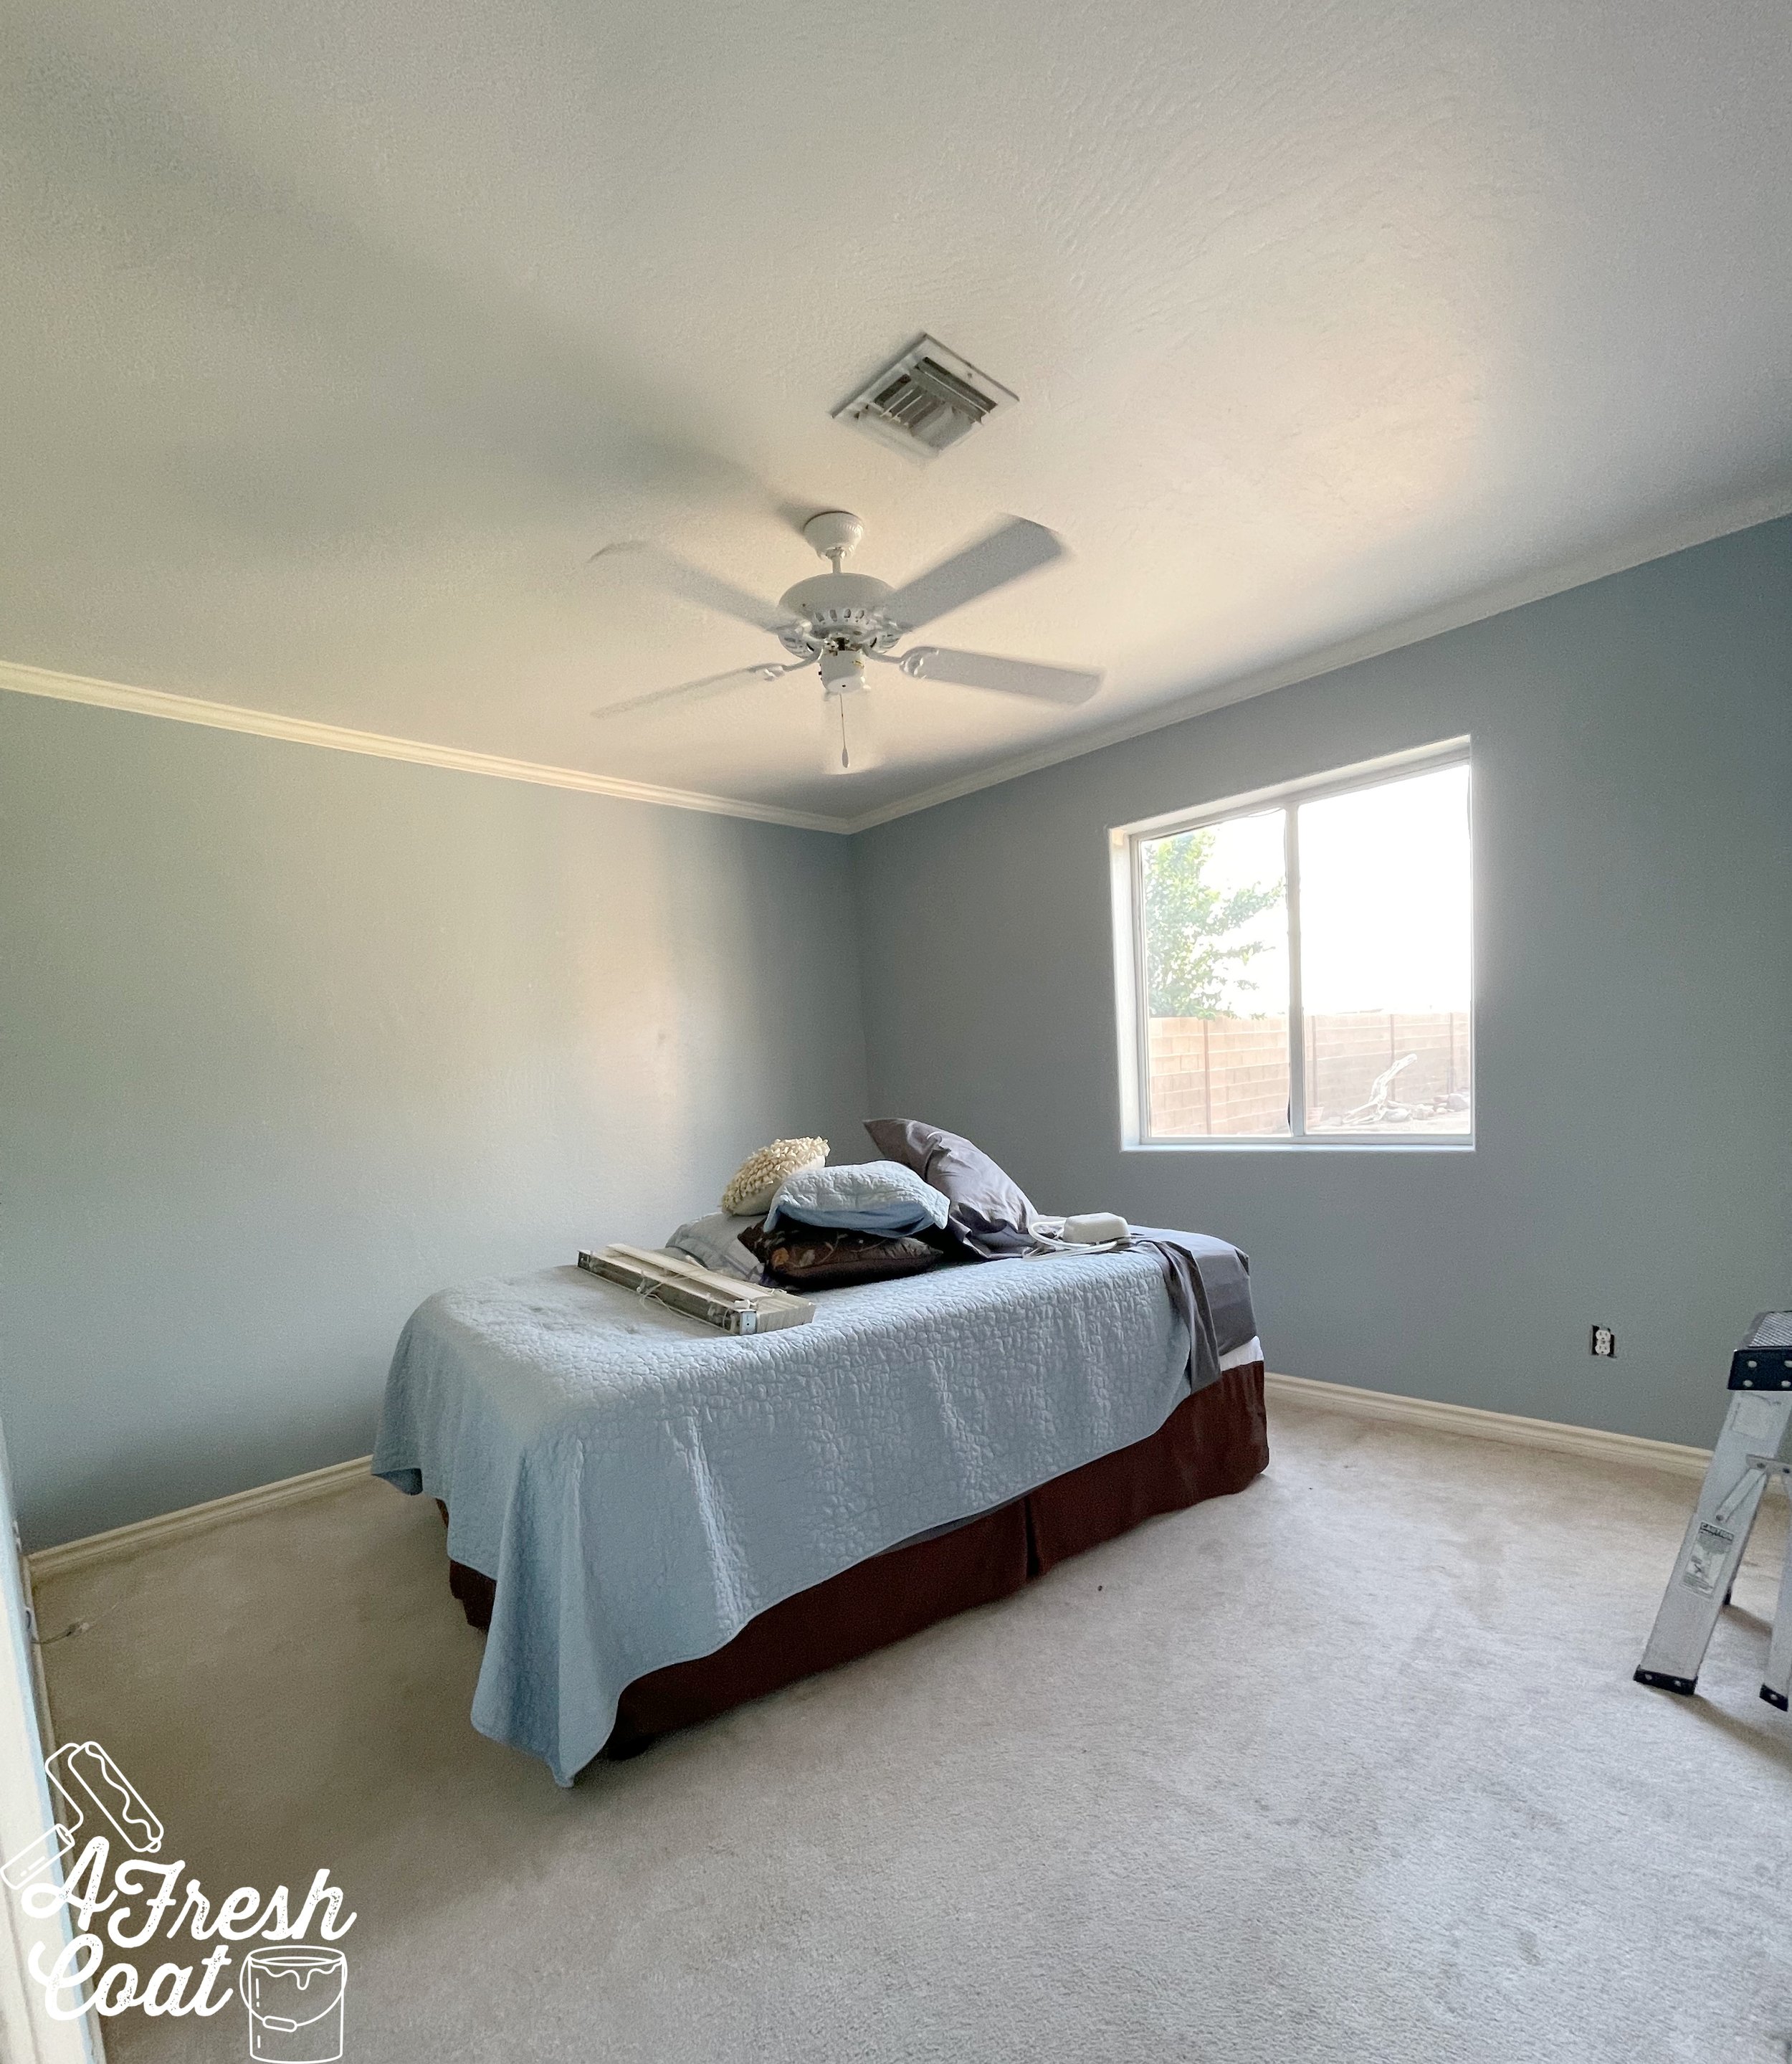
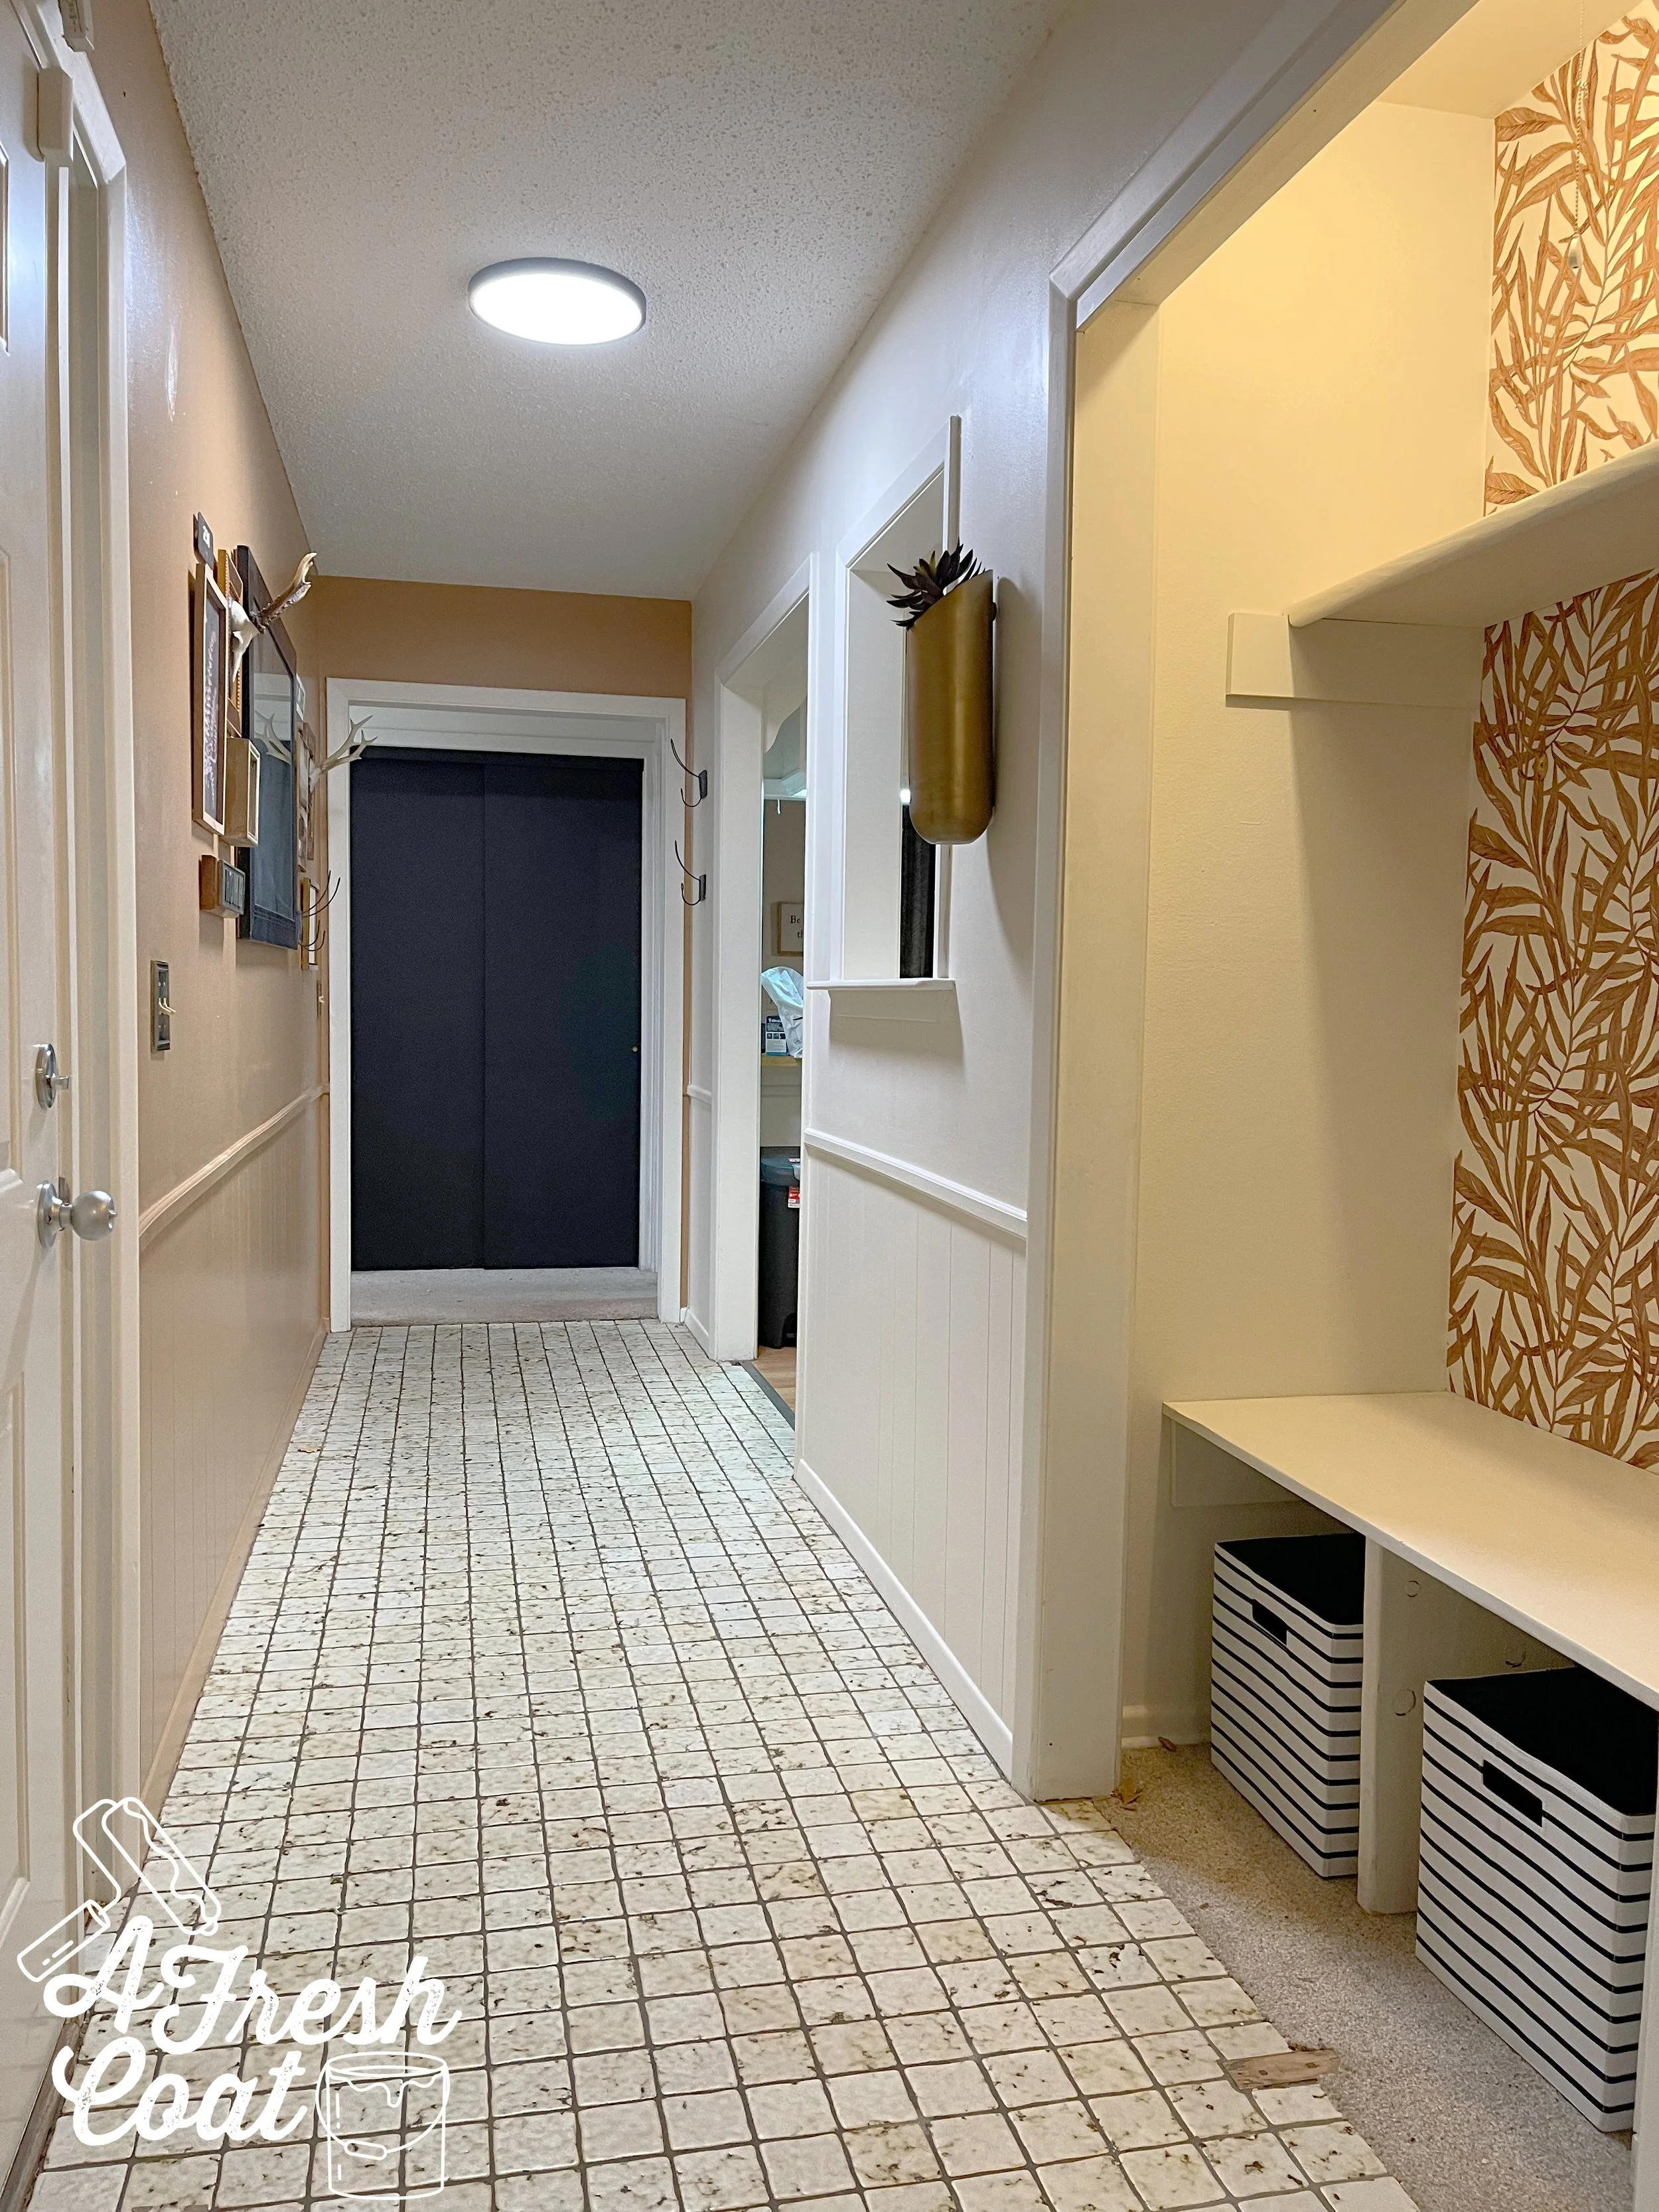
Here is where we started:
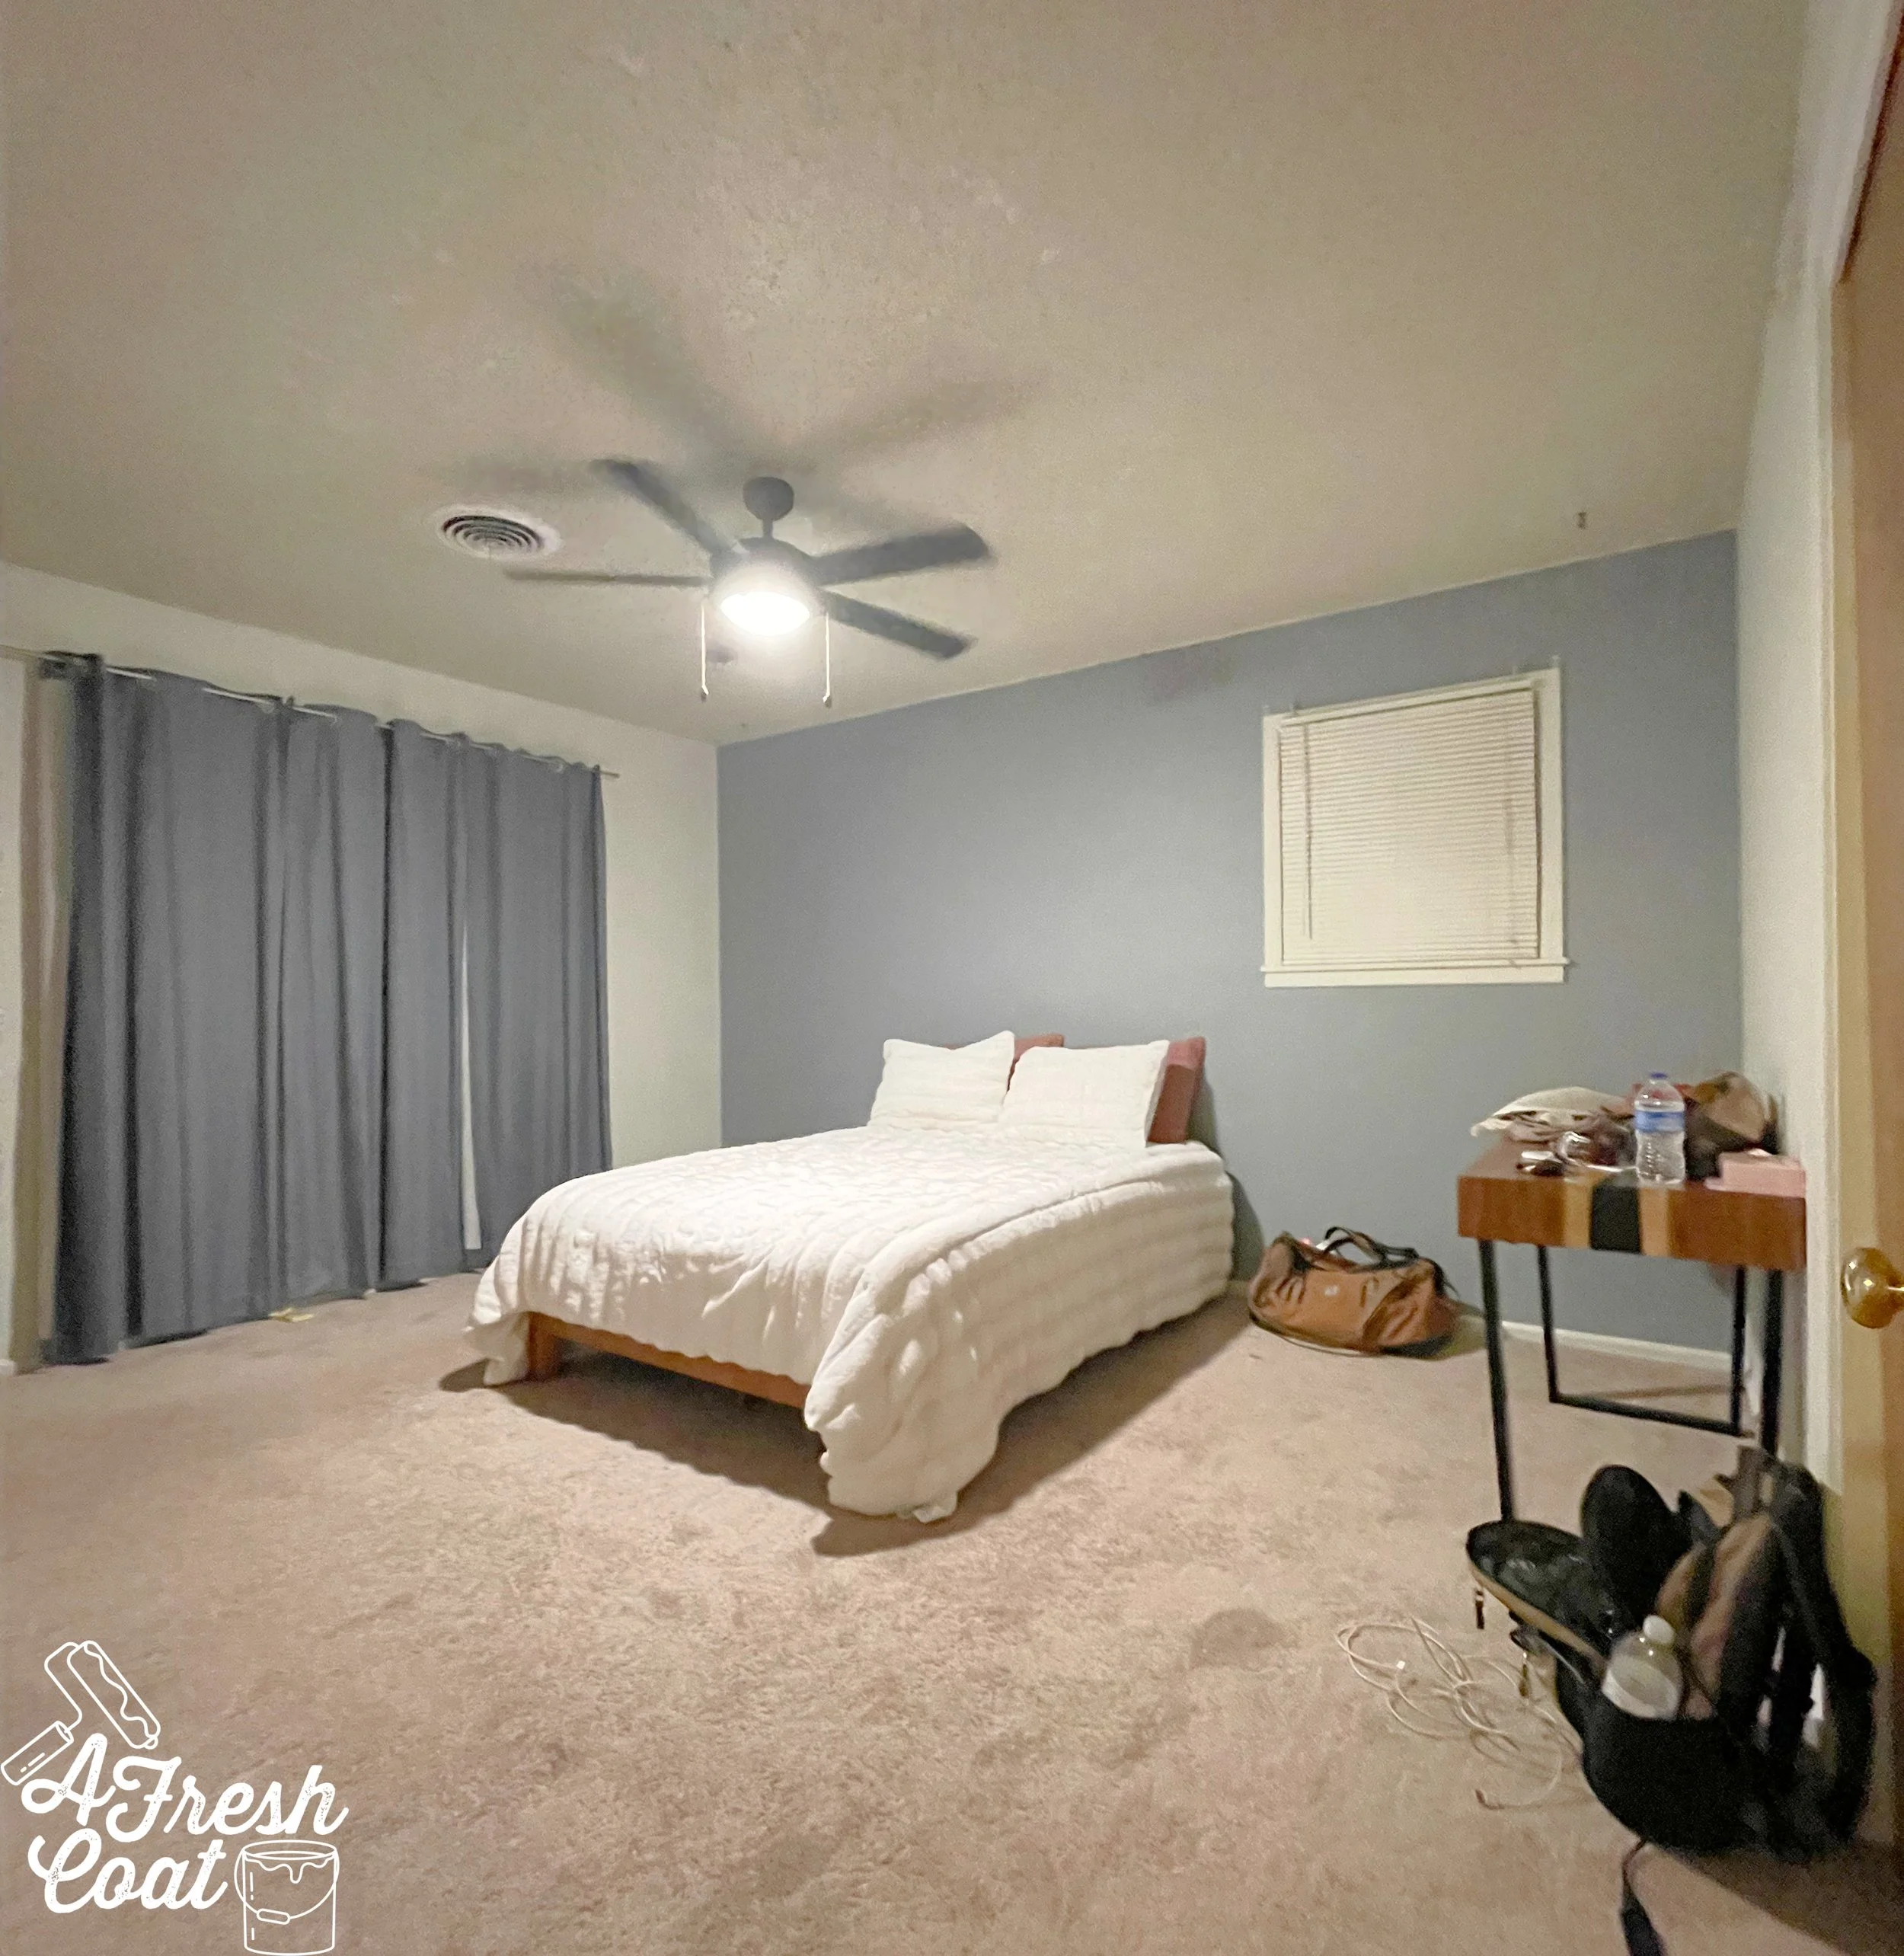
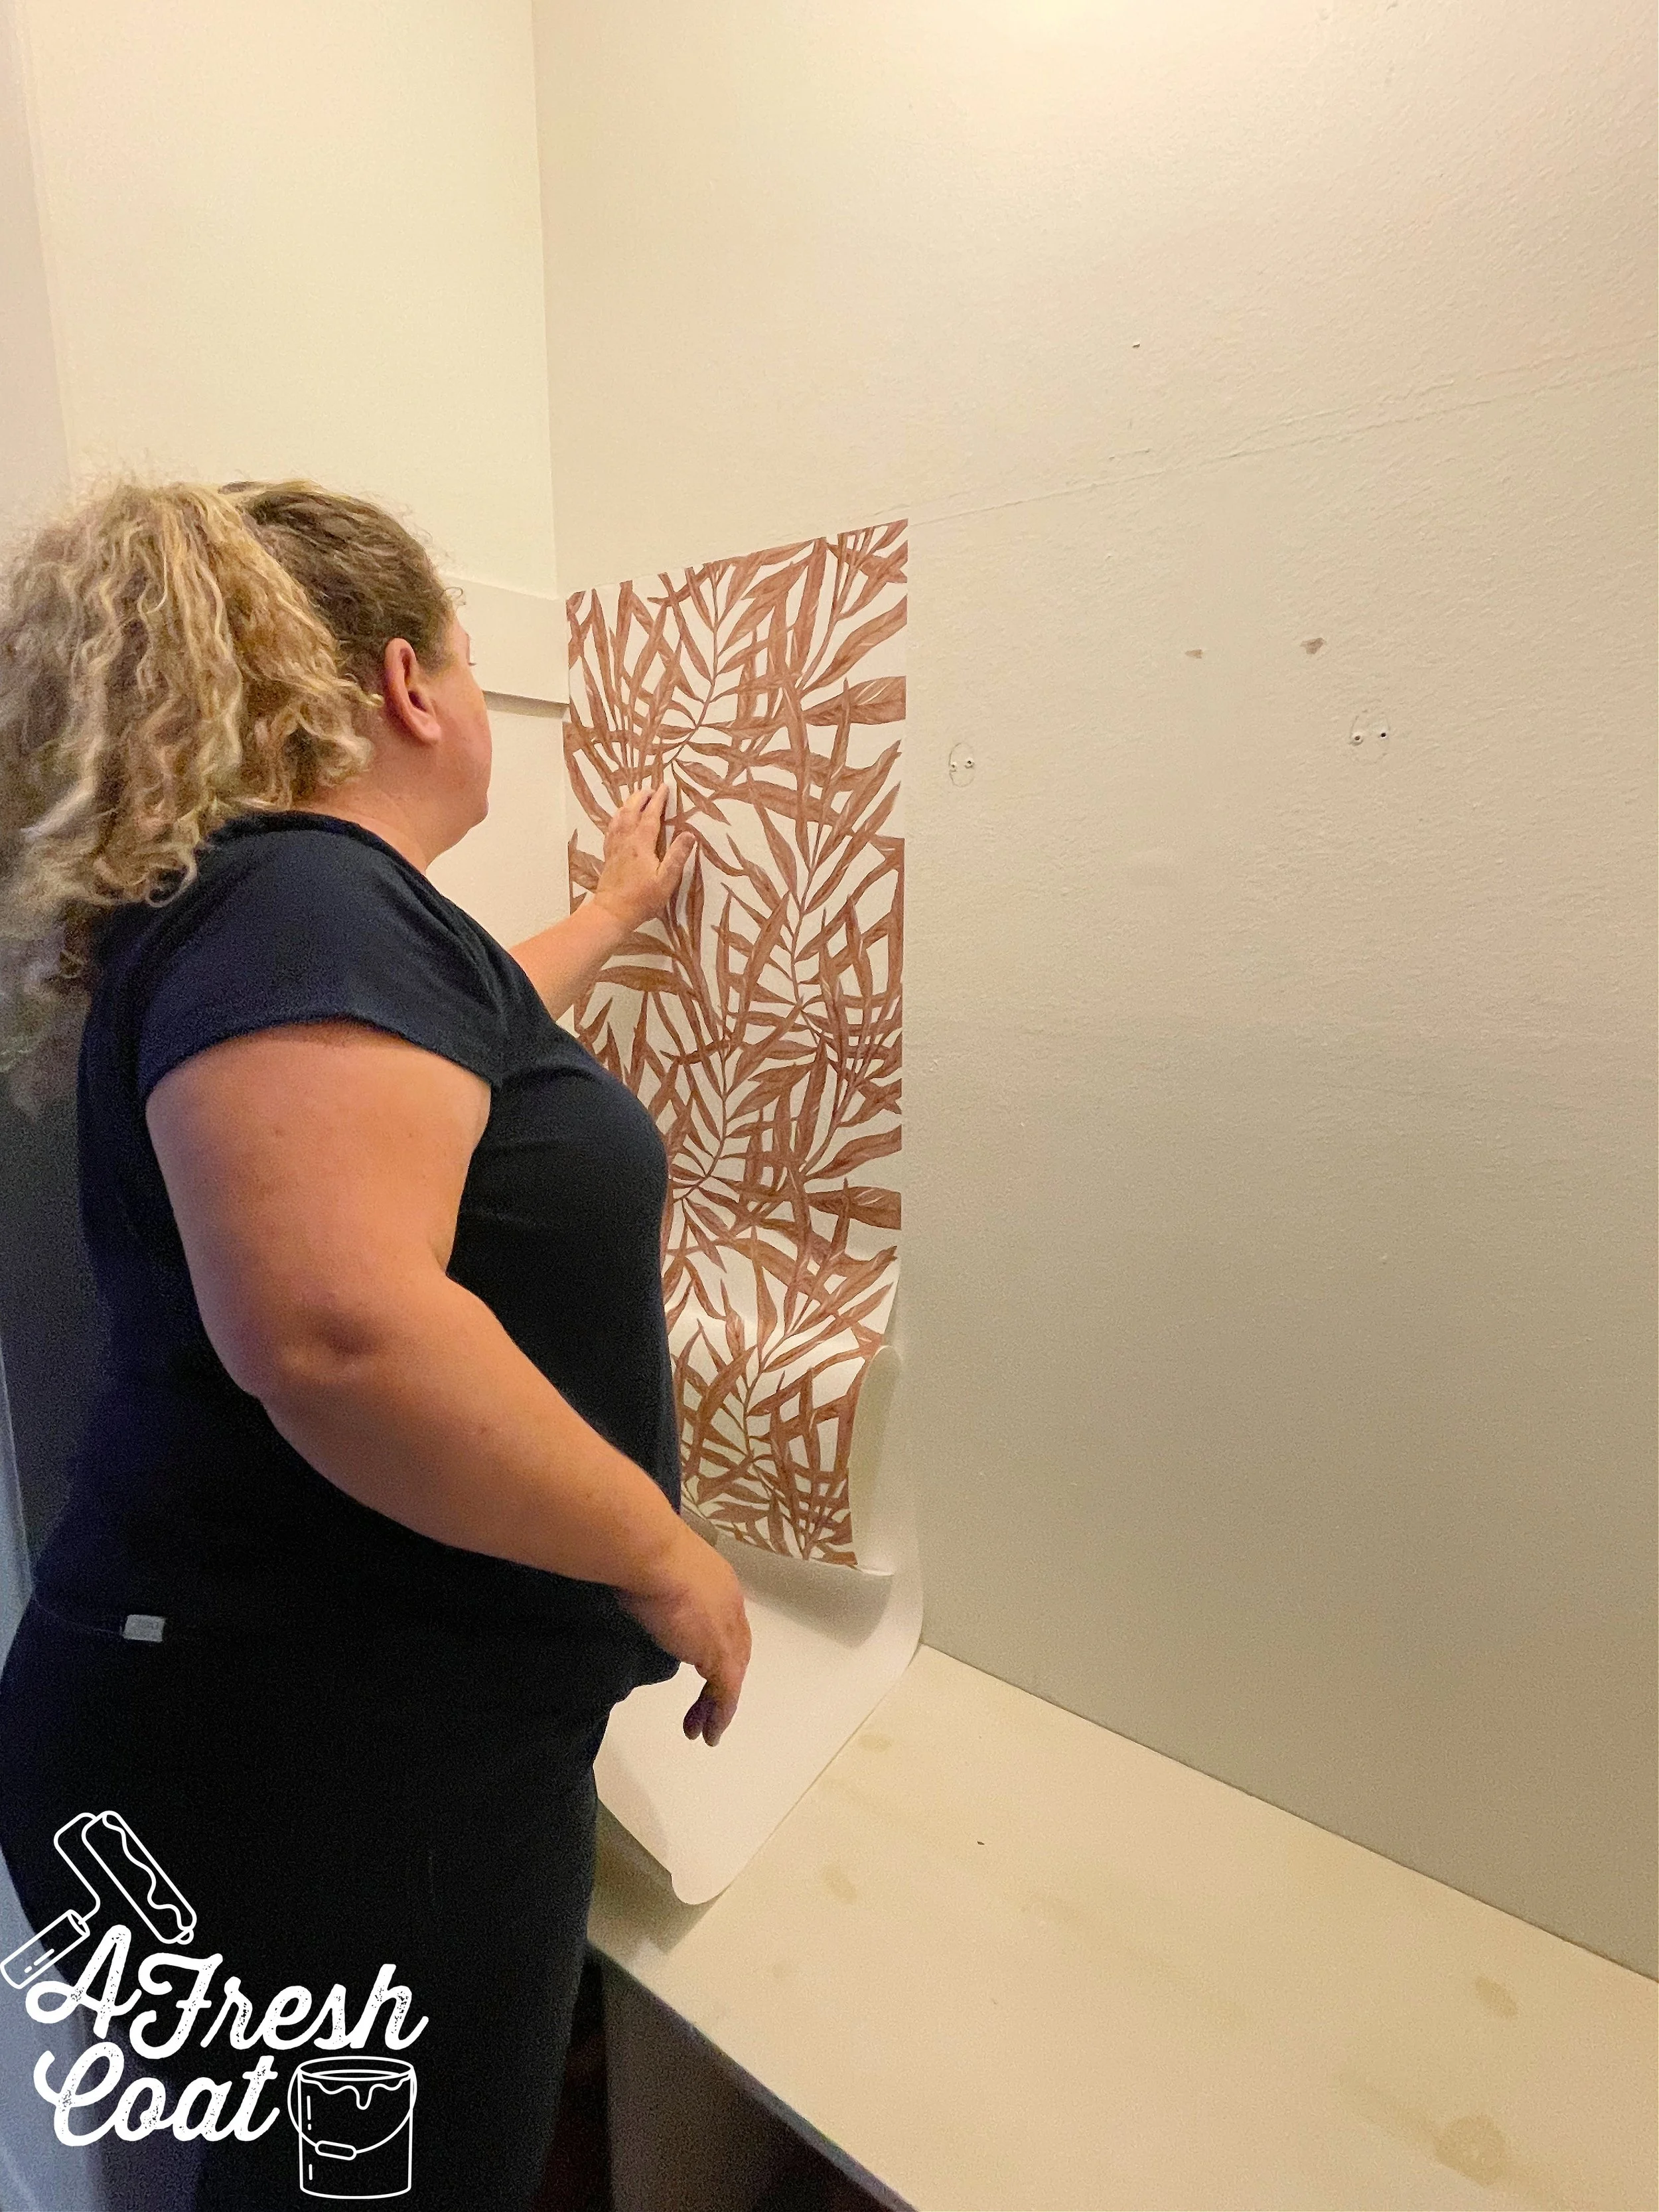
Okay, so this room wasn't that bad to begin with. Sure, it wasn’t cute but it wasn't crazy ugly either. However, our goals for this space included repainting the entire room, adding a feature wall detail, bringing in new draperies, and infusing this area with a Boho vibe along with some feminine flair.
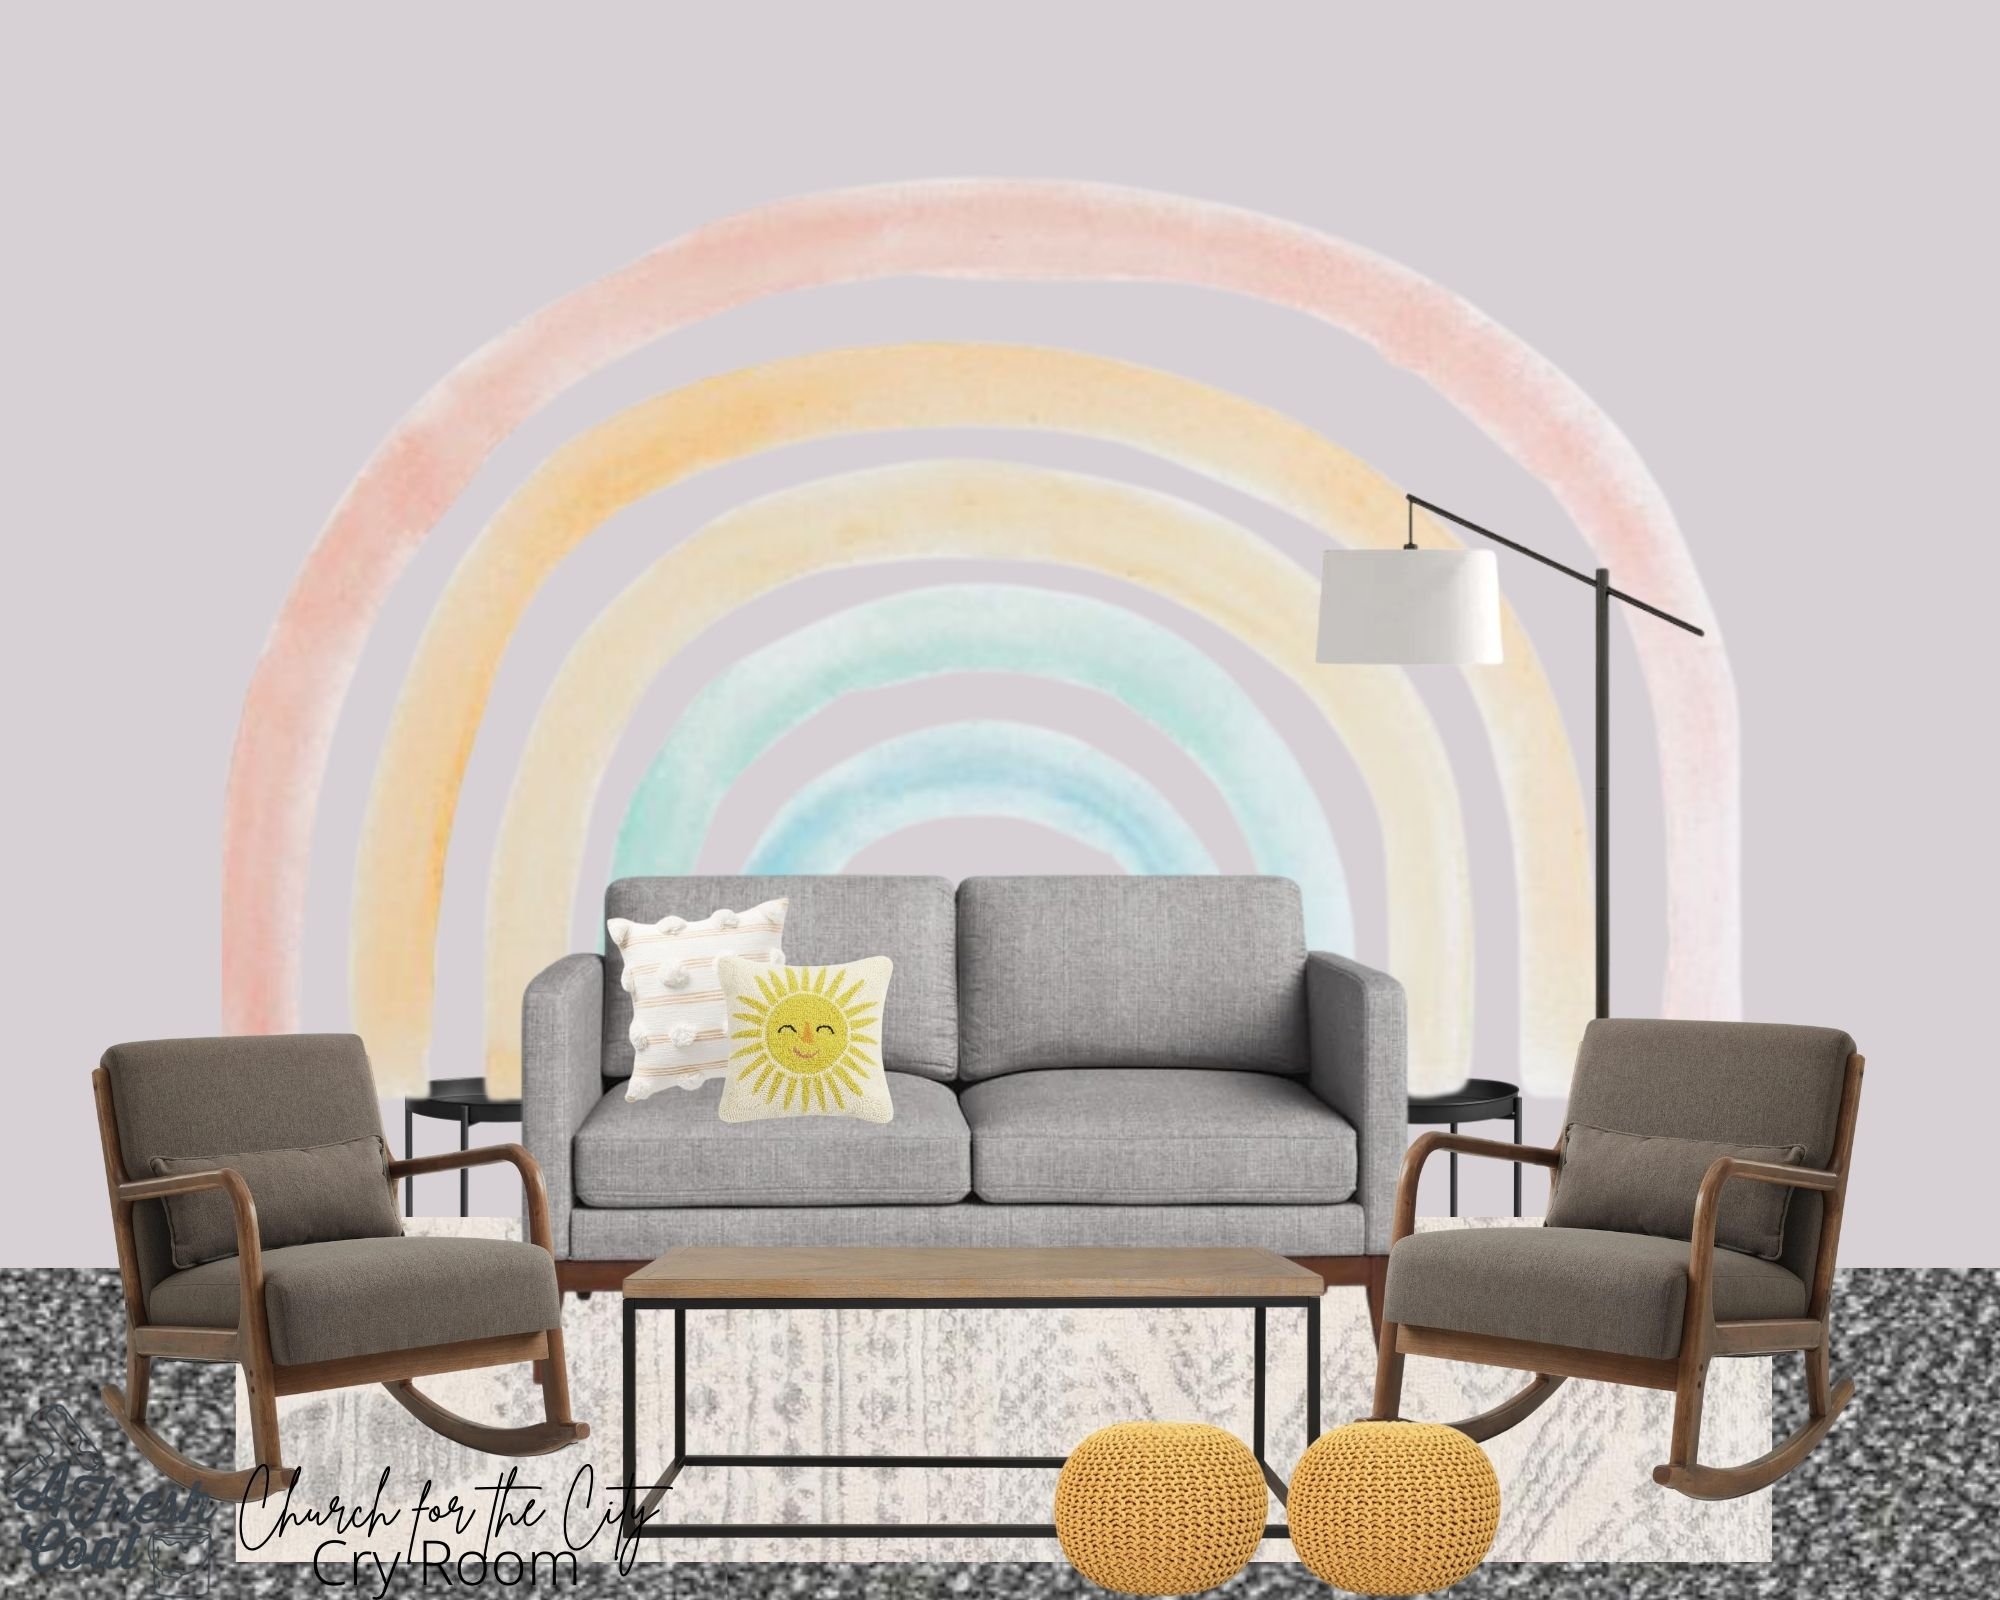
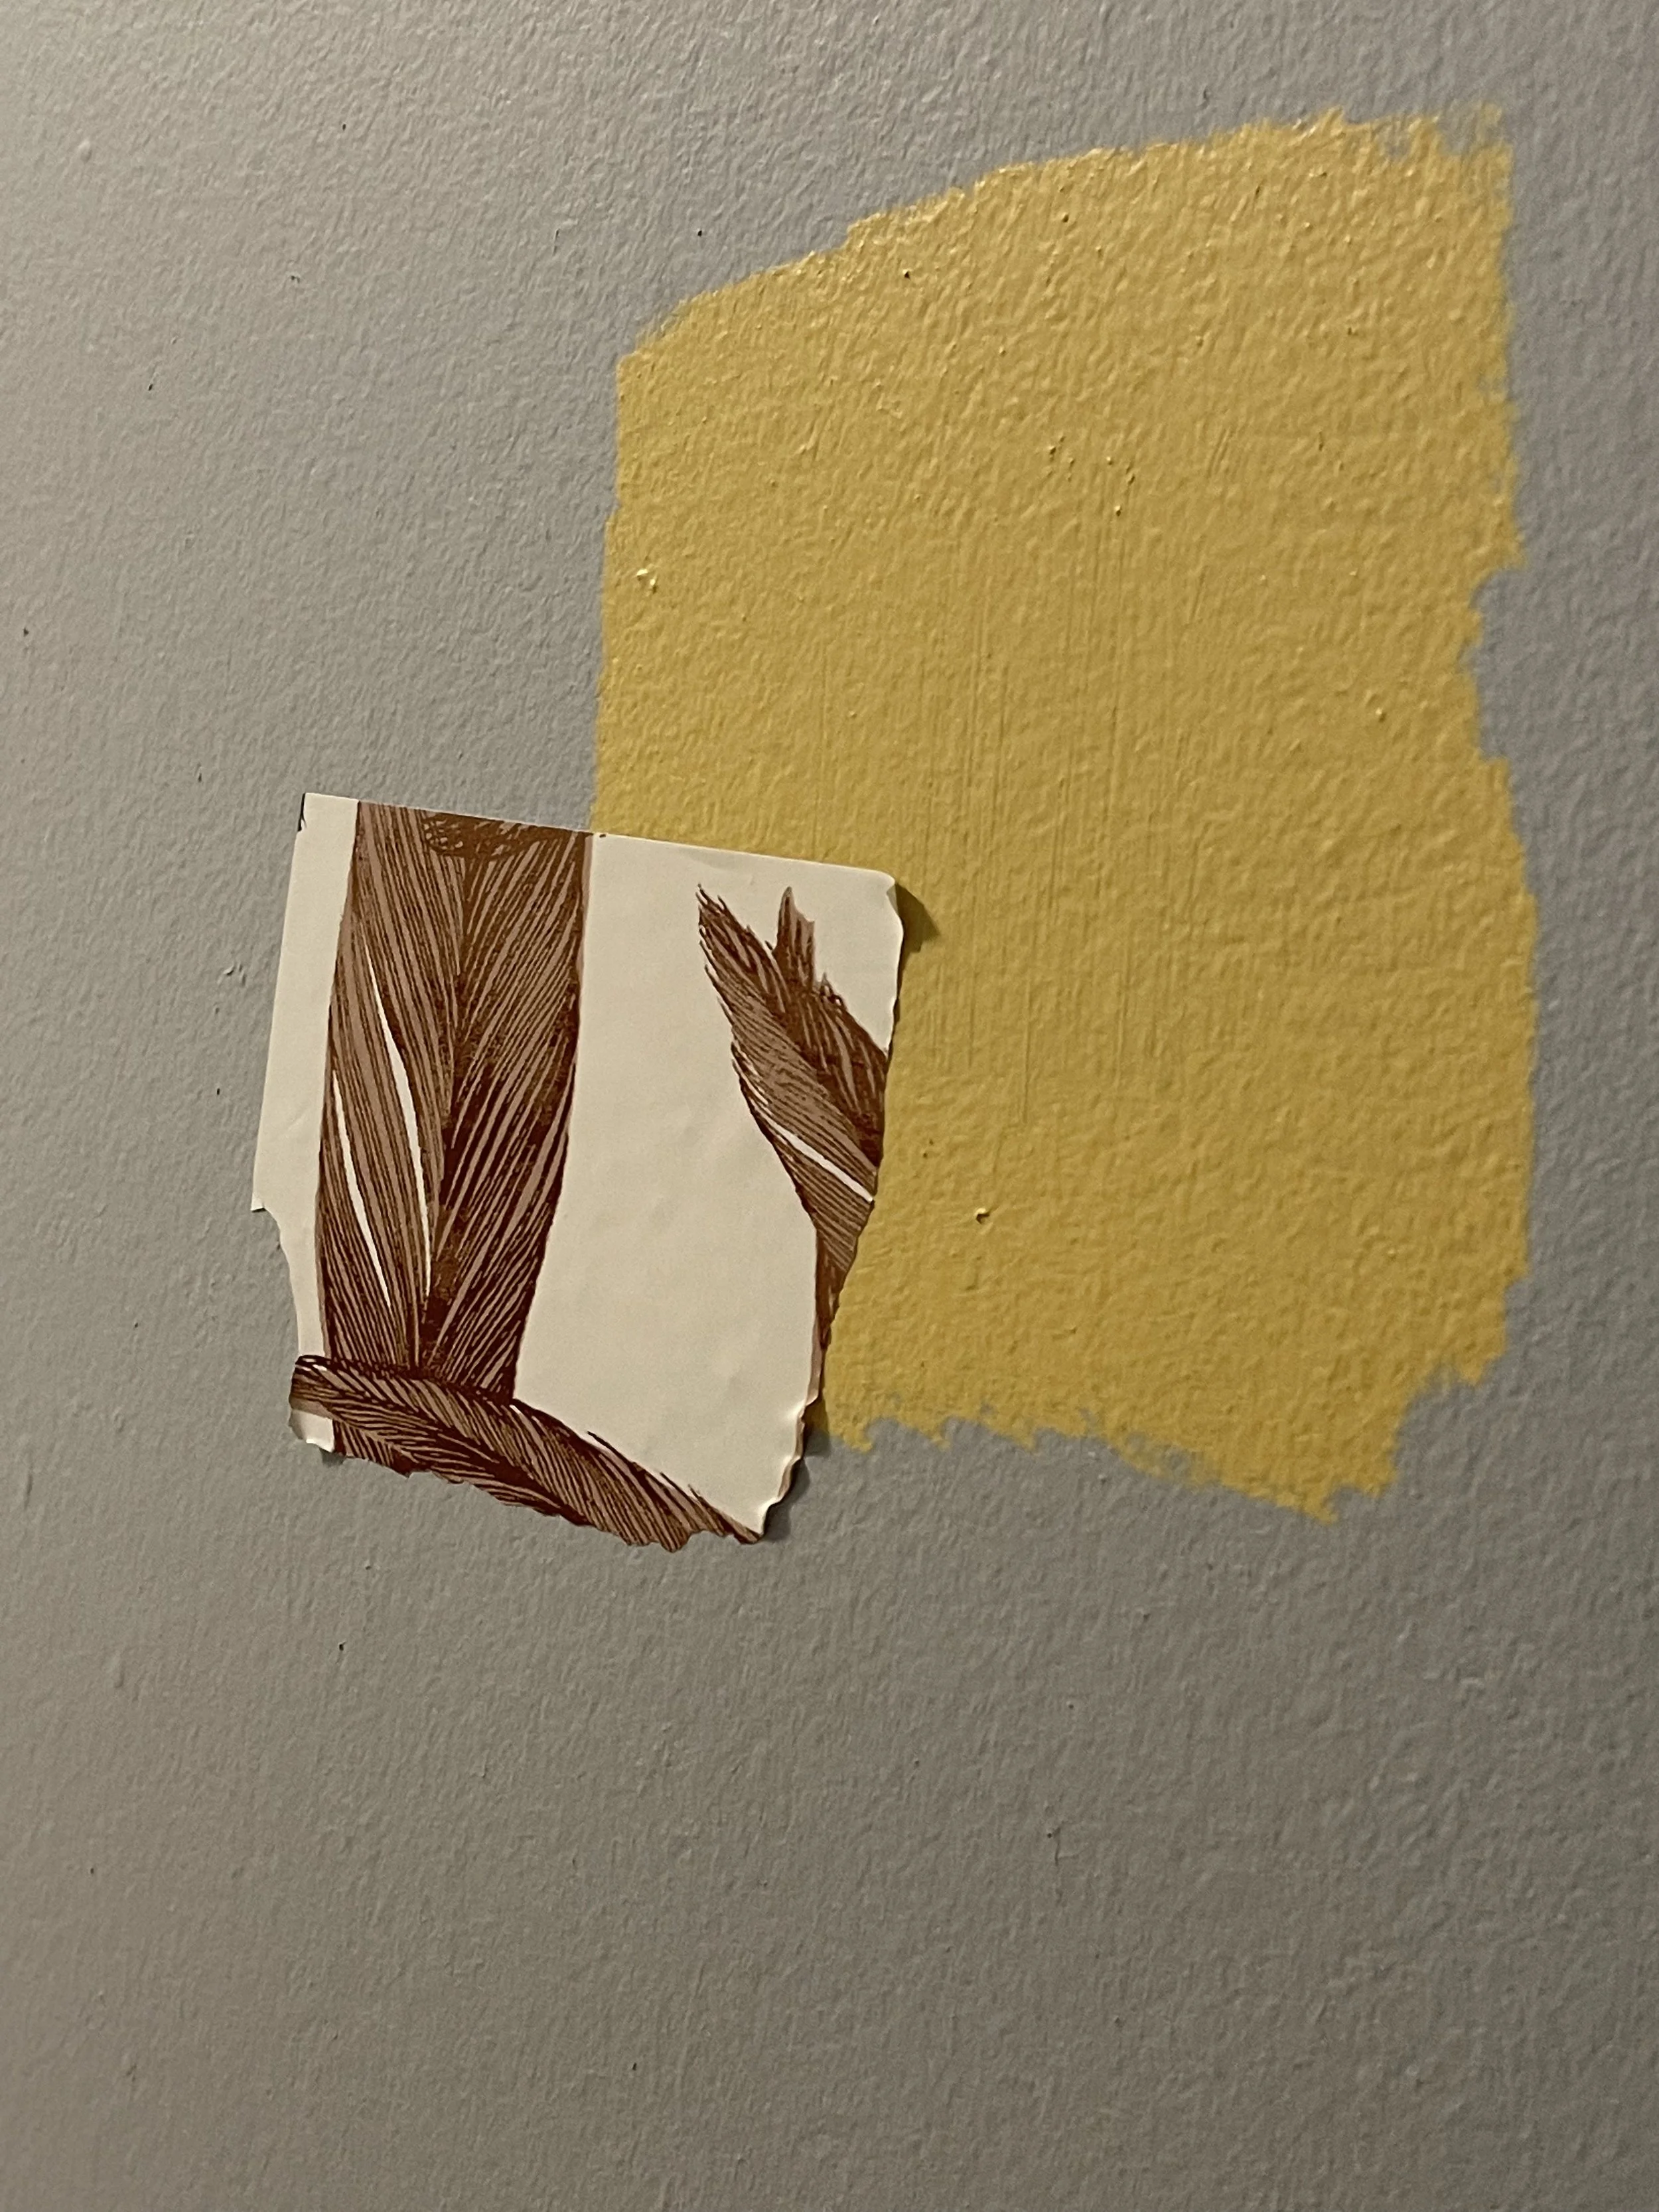
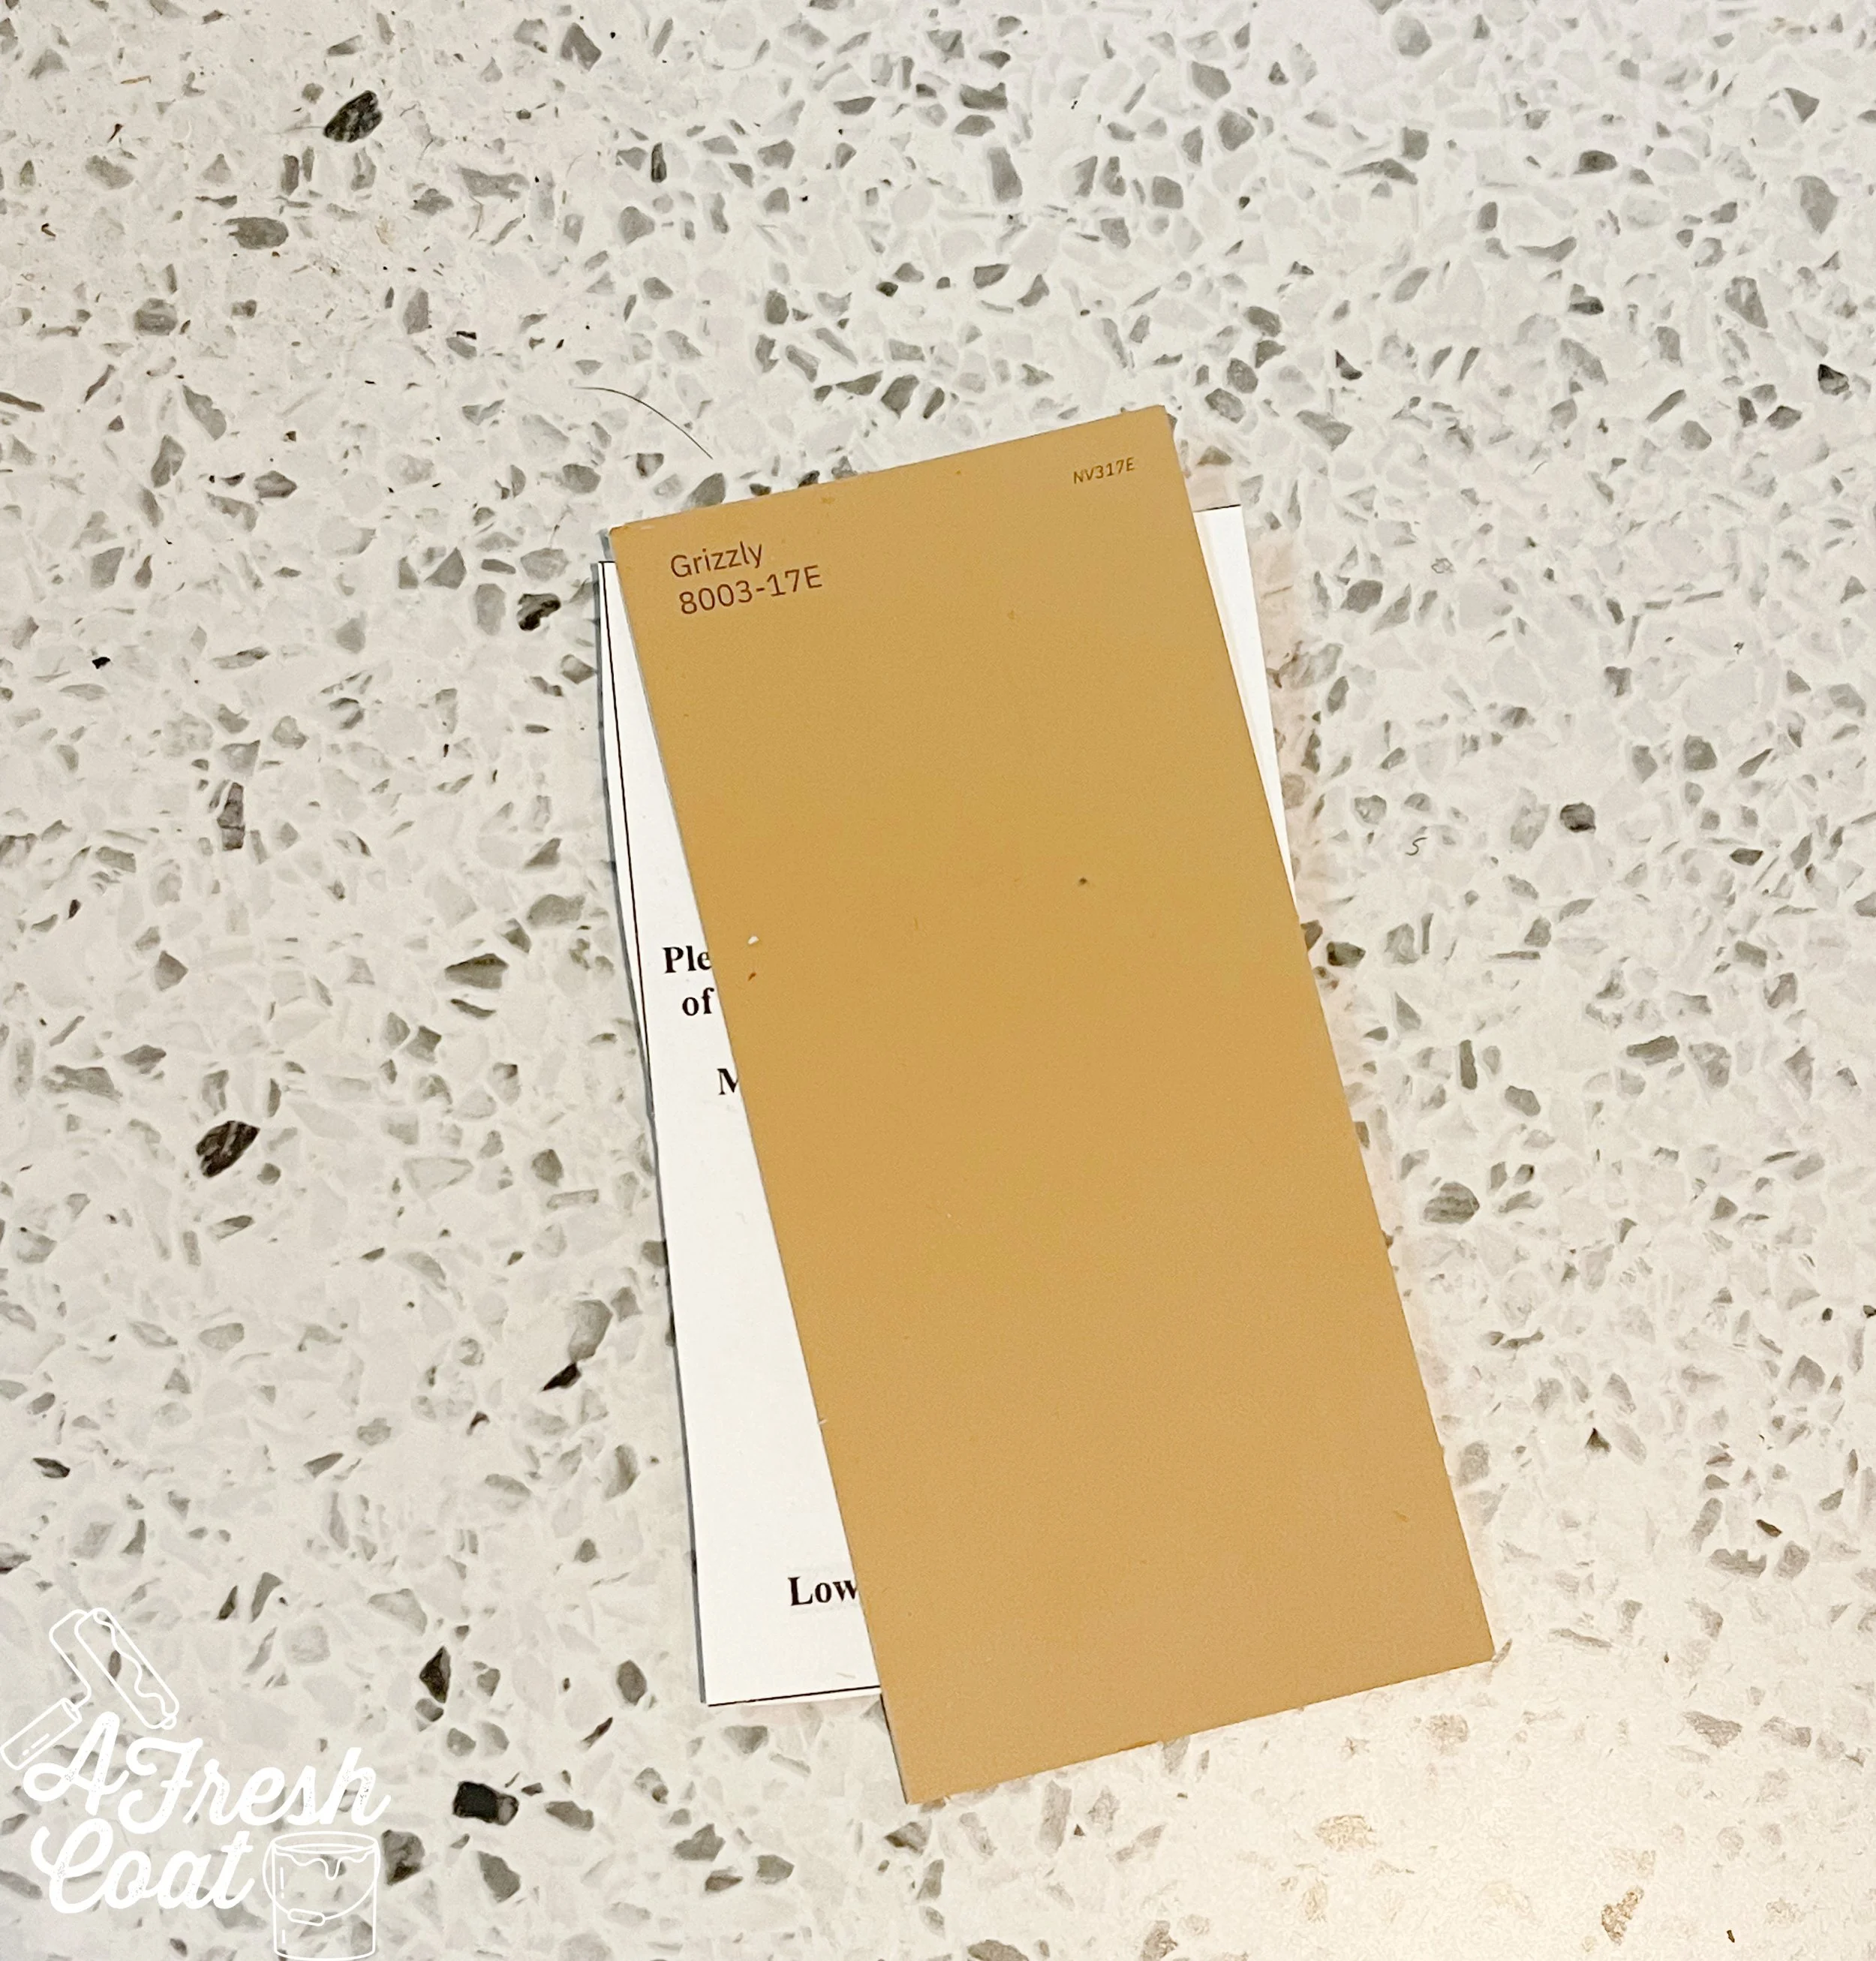
And we started with the vision board.
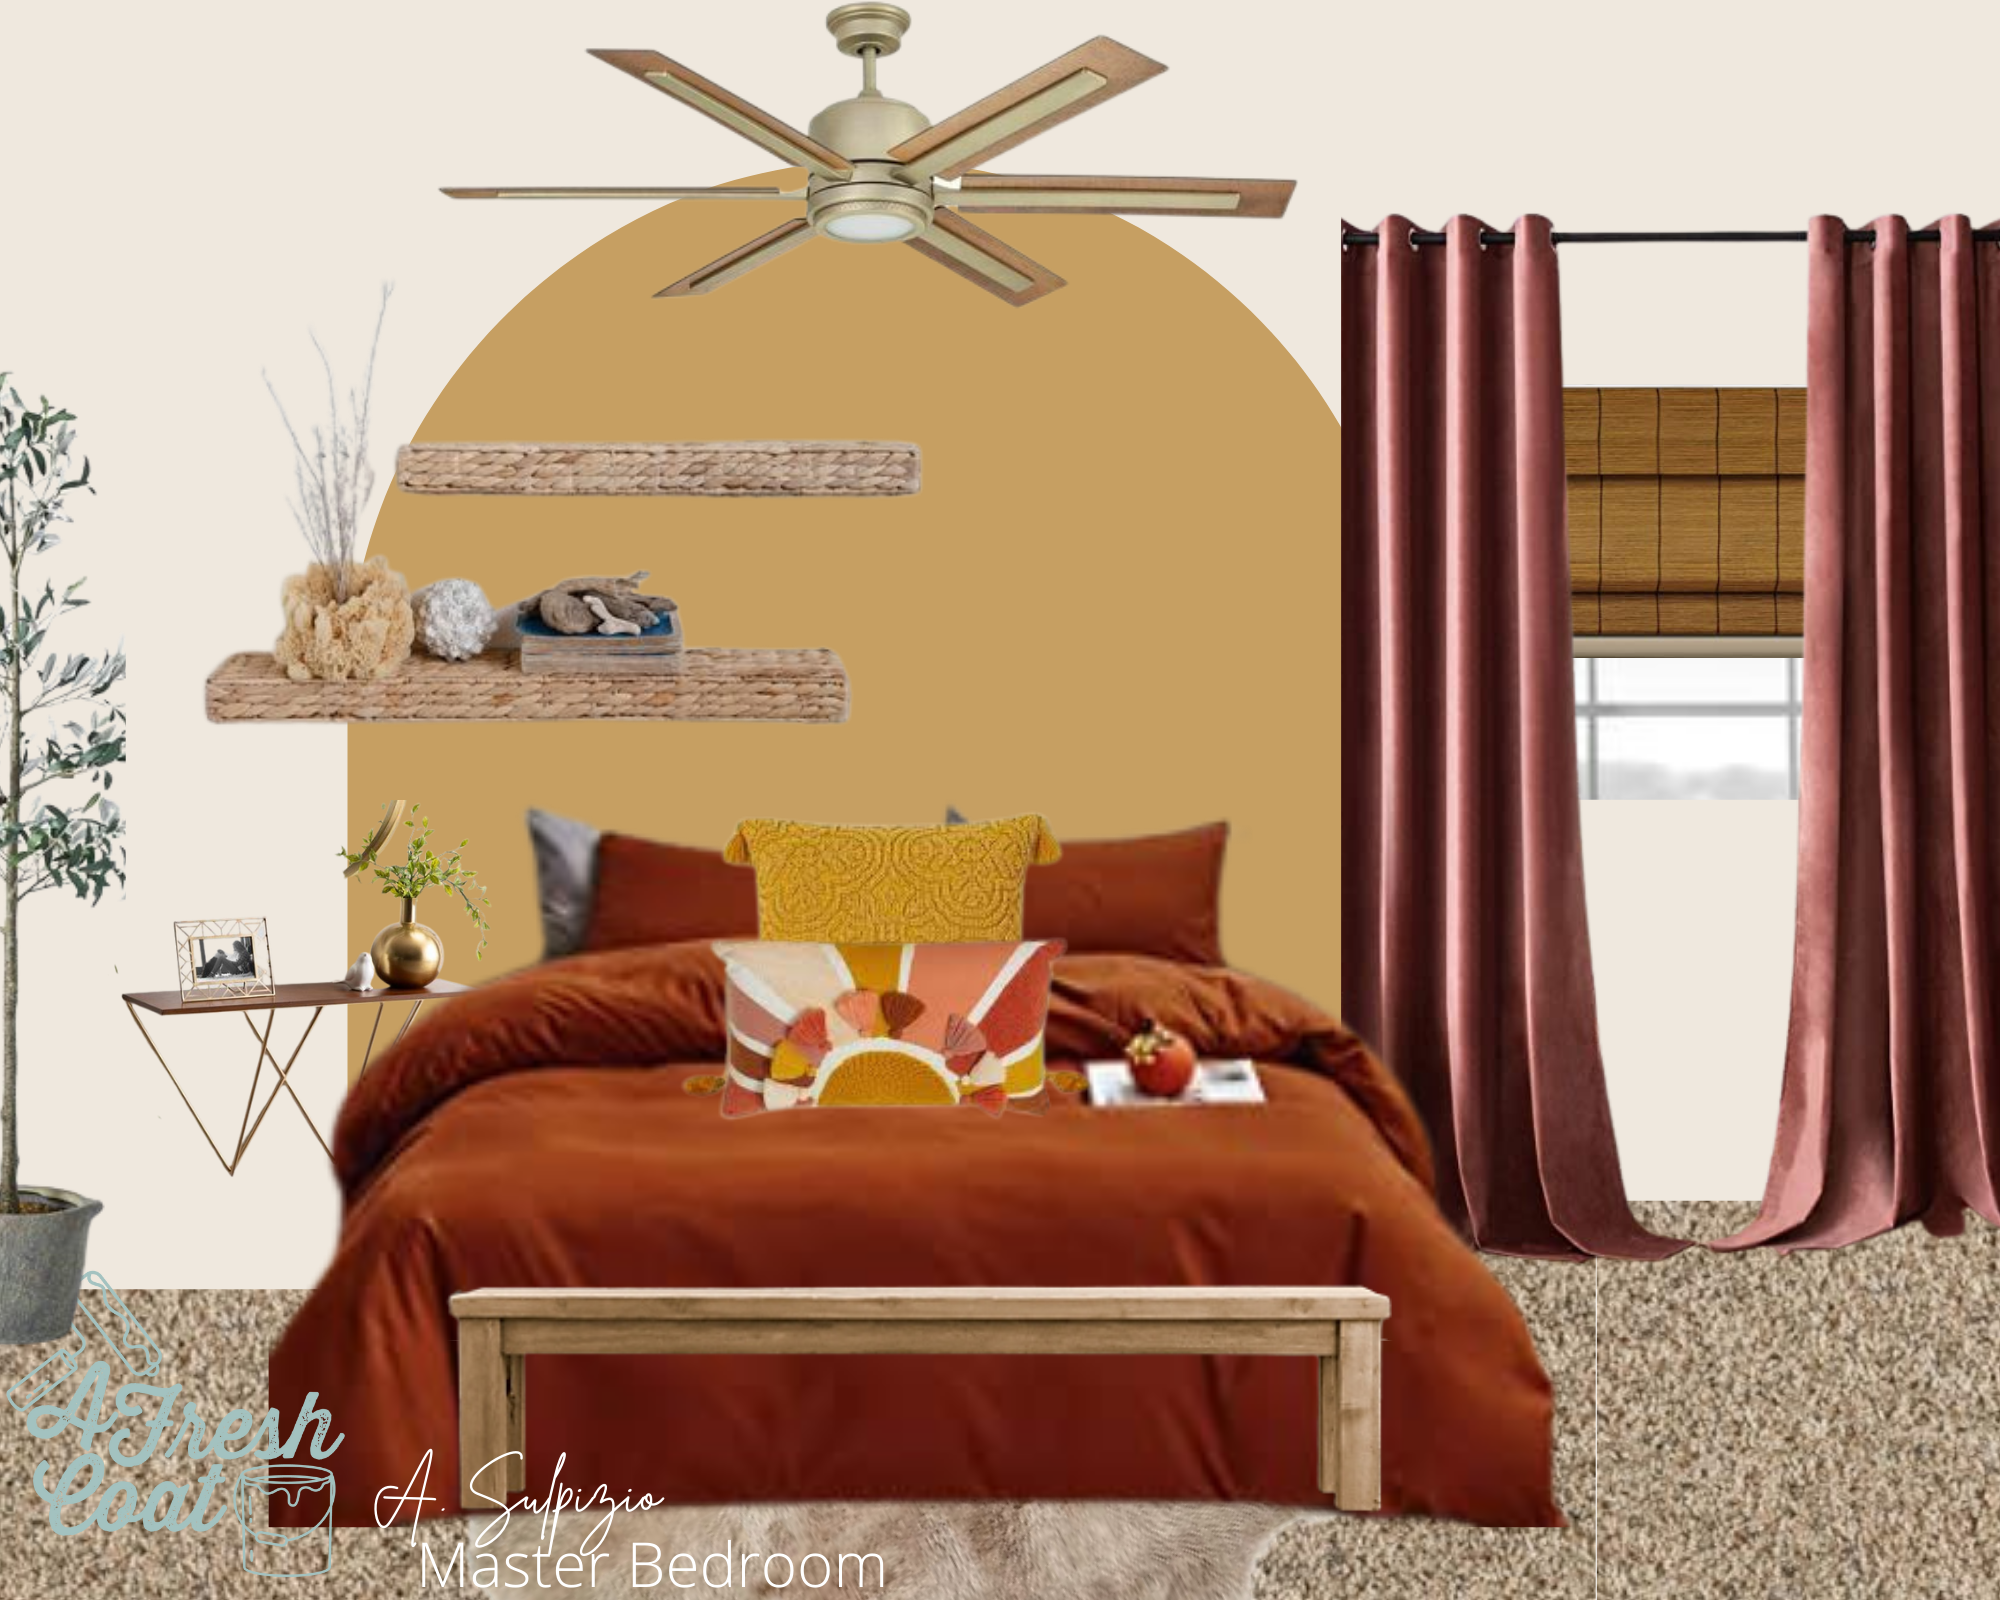
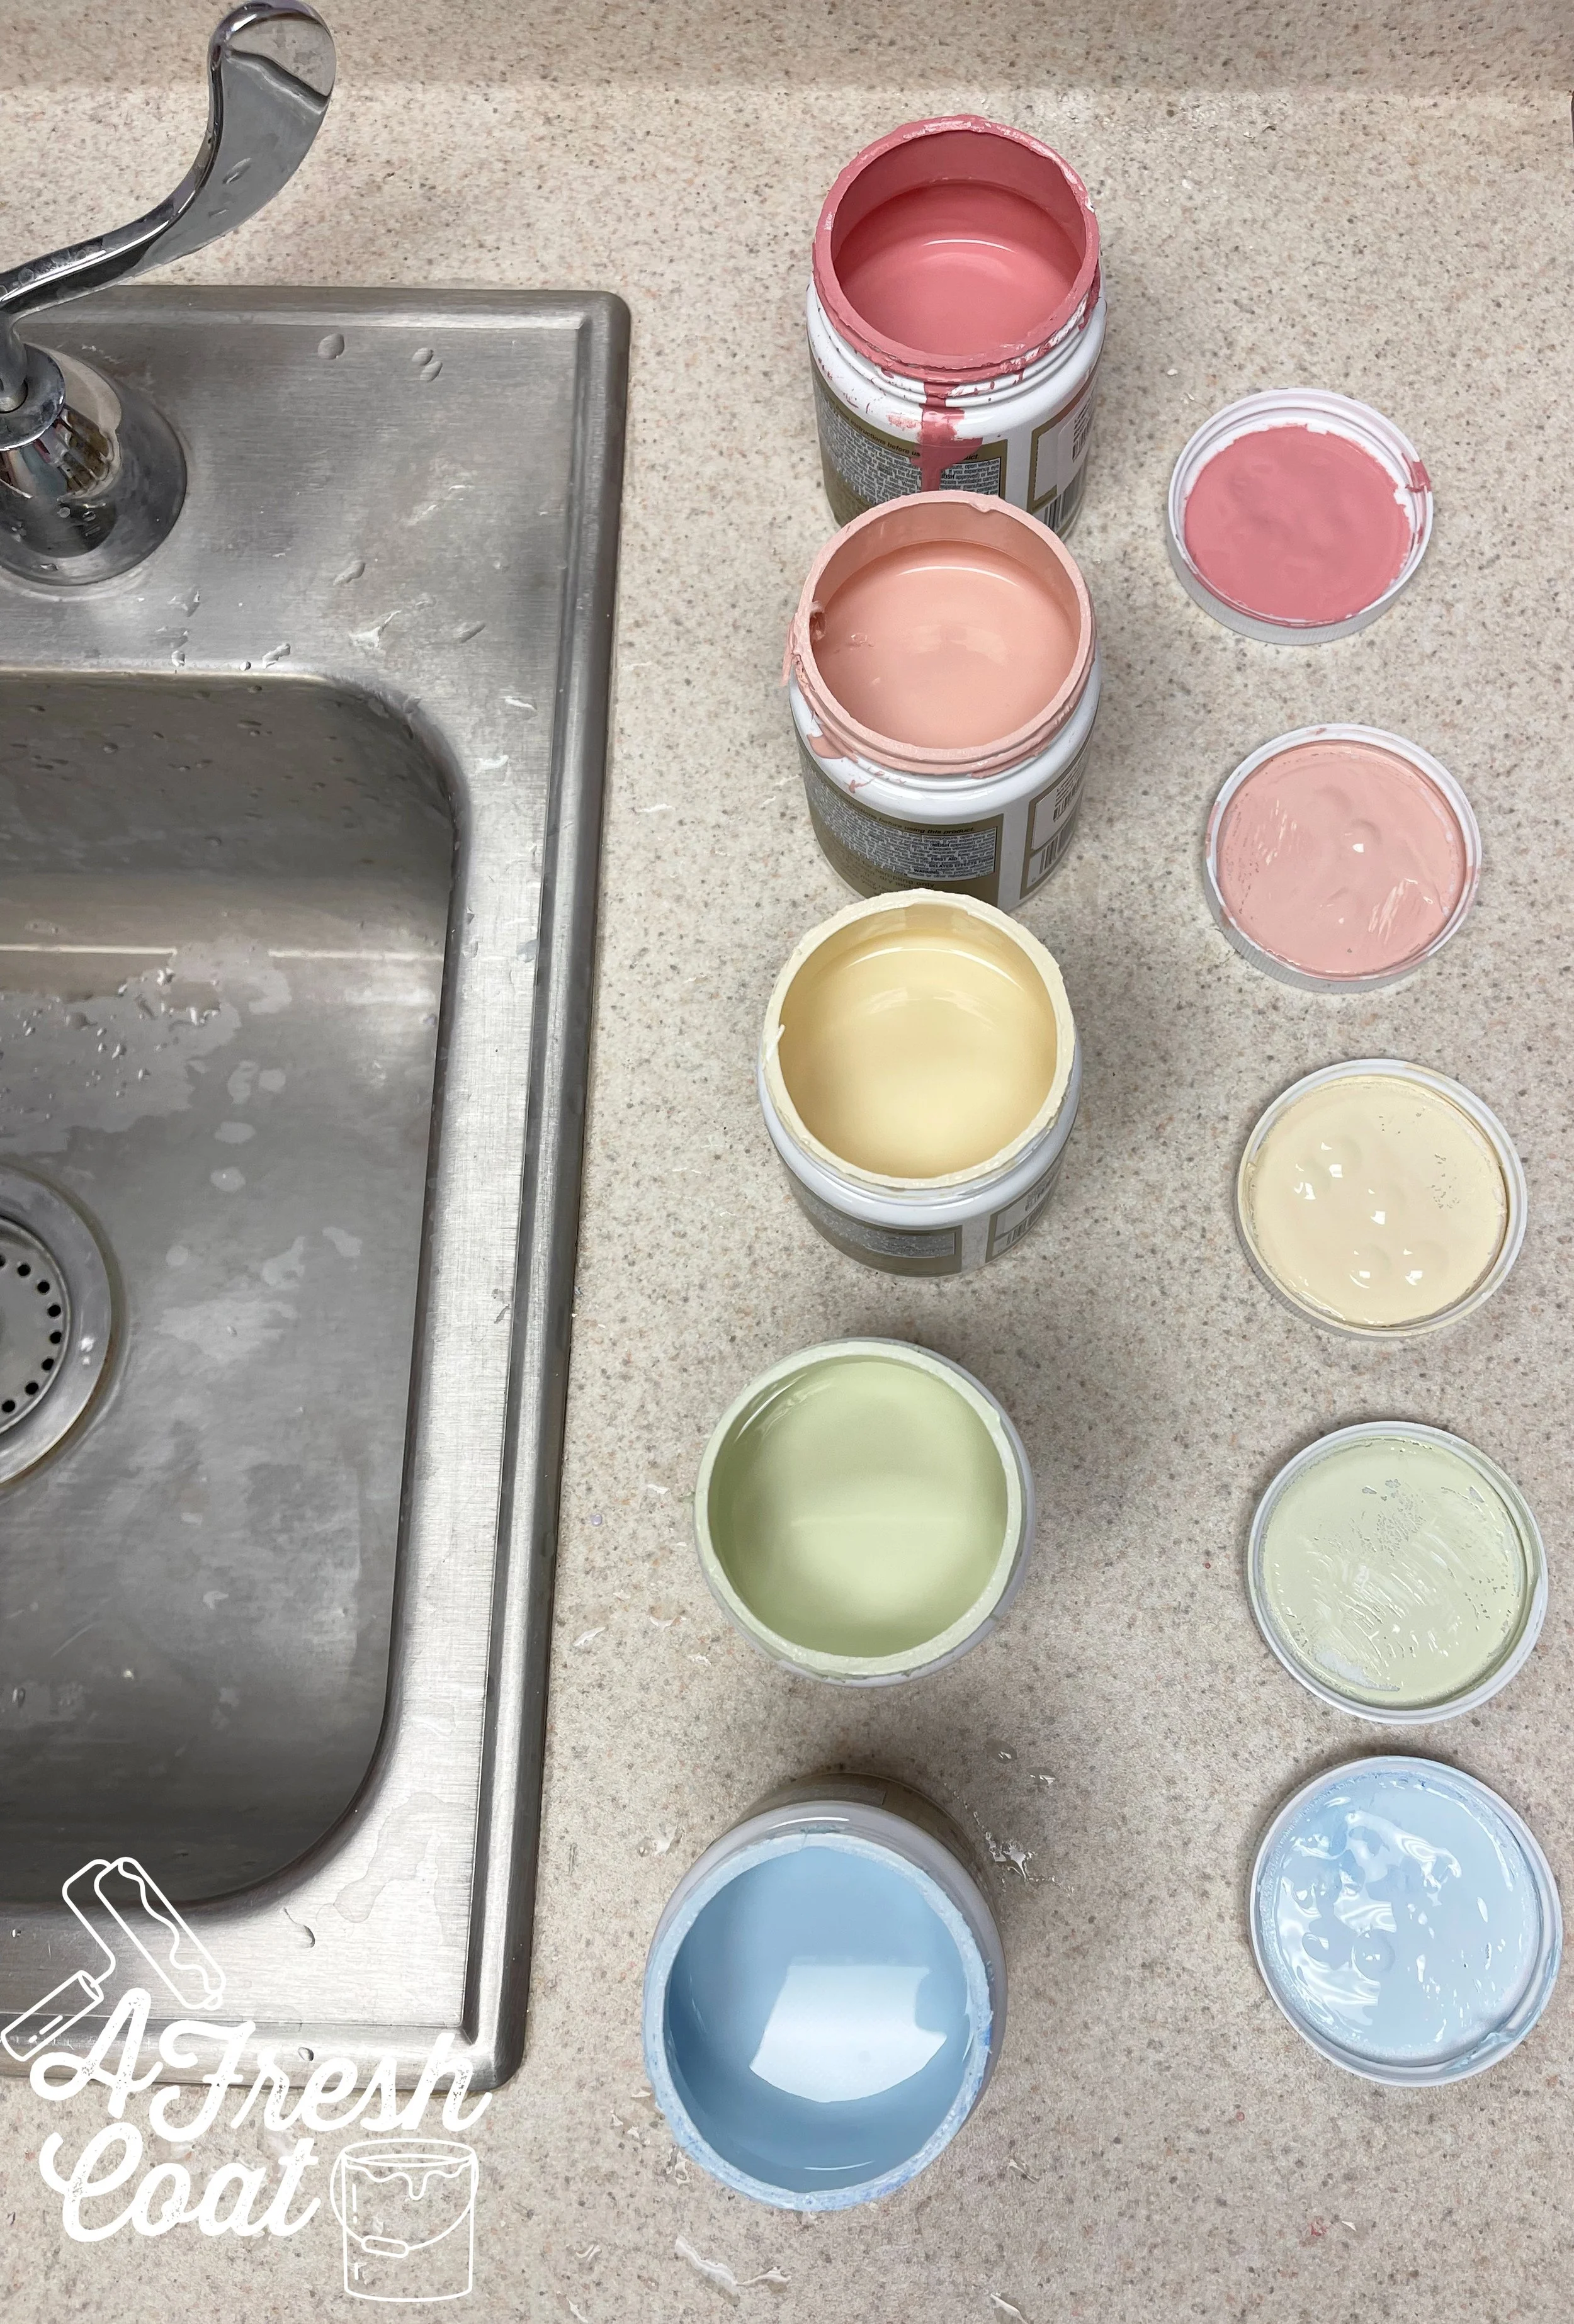
Beautiful warm colors, rich textures and a Boho style that is all sorts of fun. But before any of the decor could be added, the painting needed to take place.
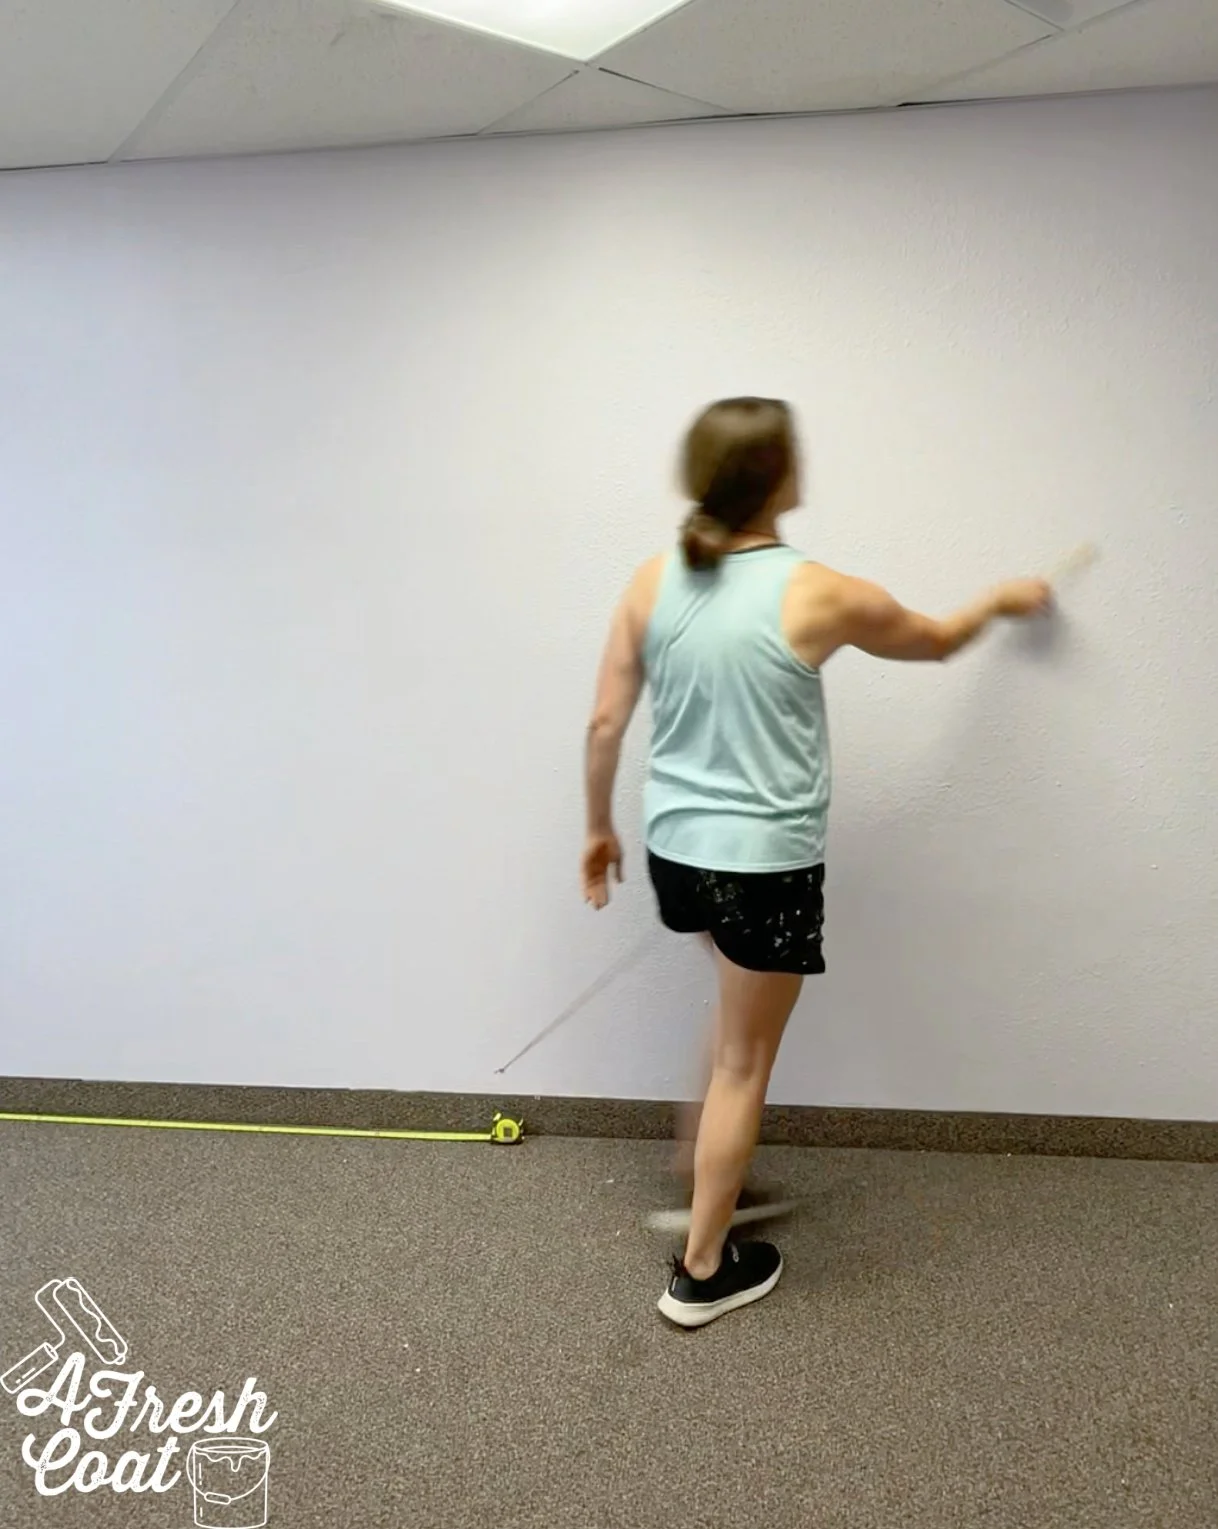
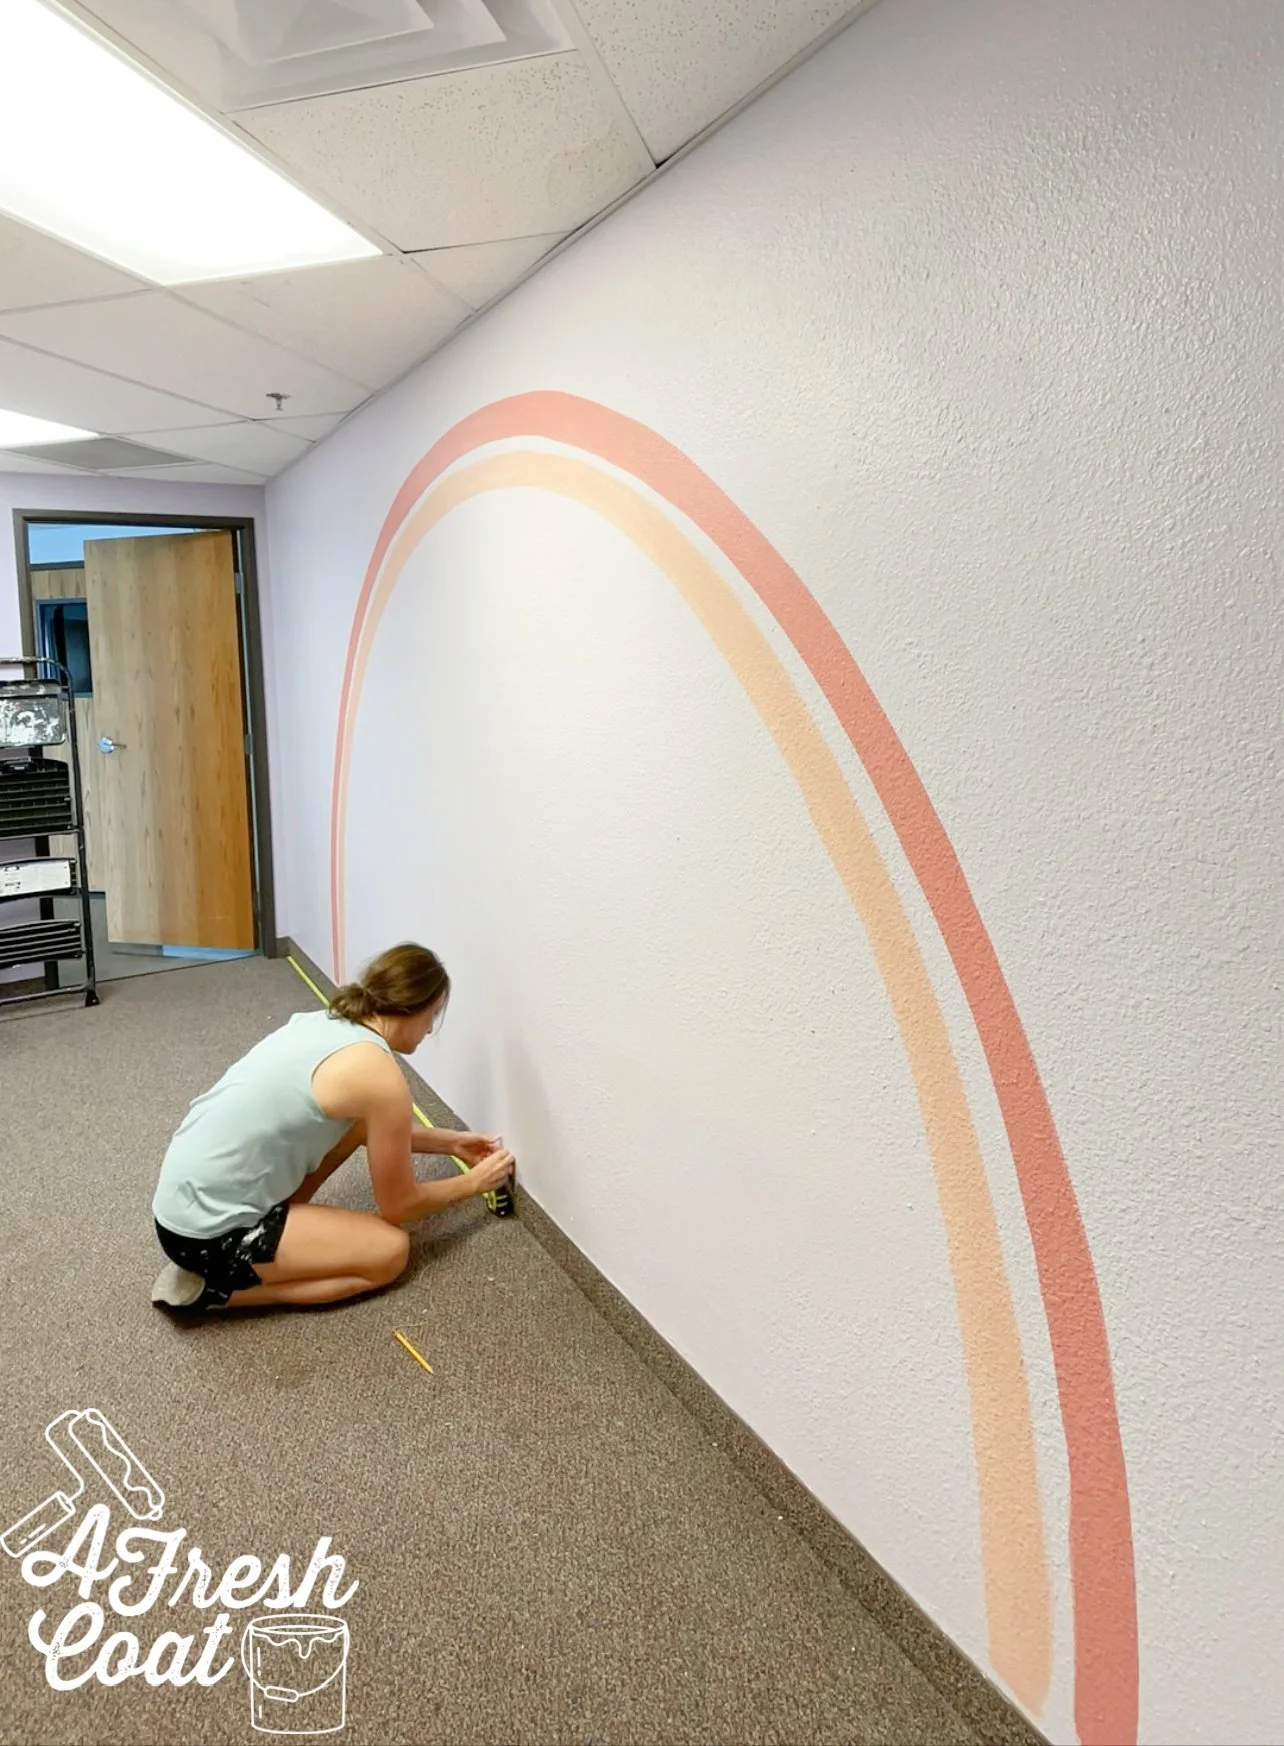
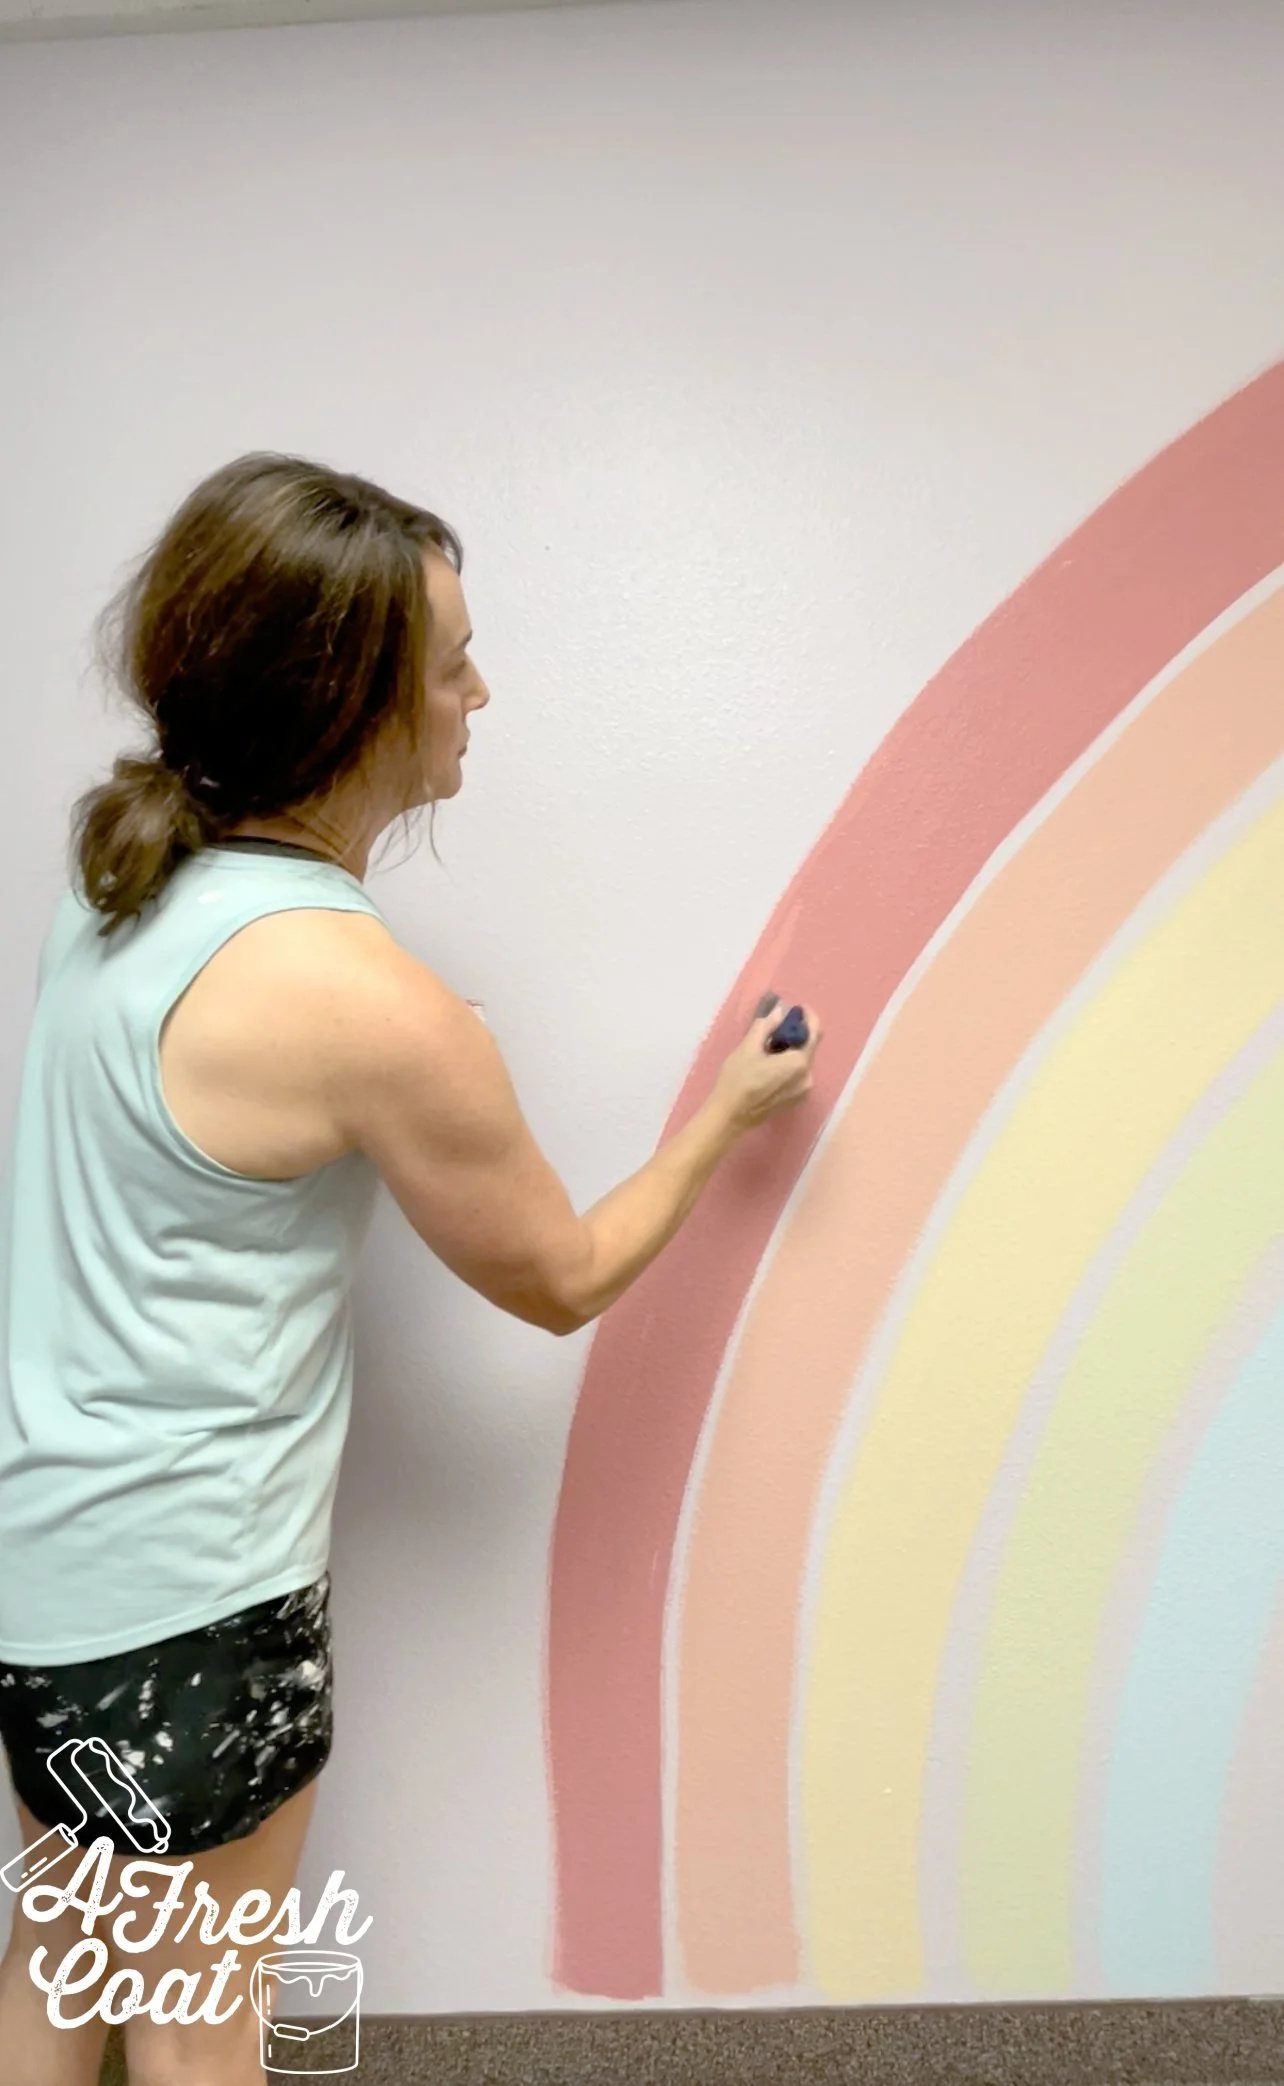
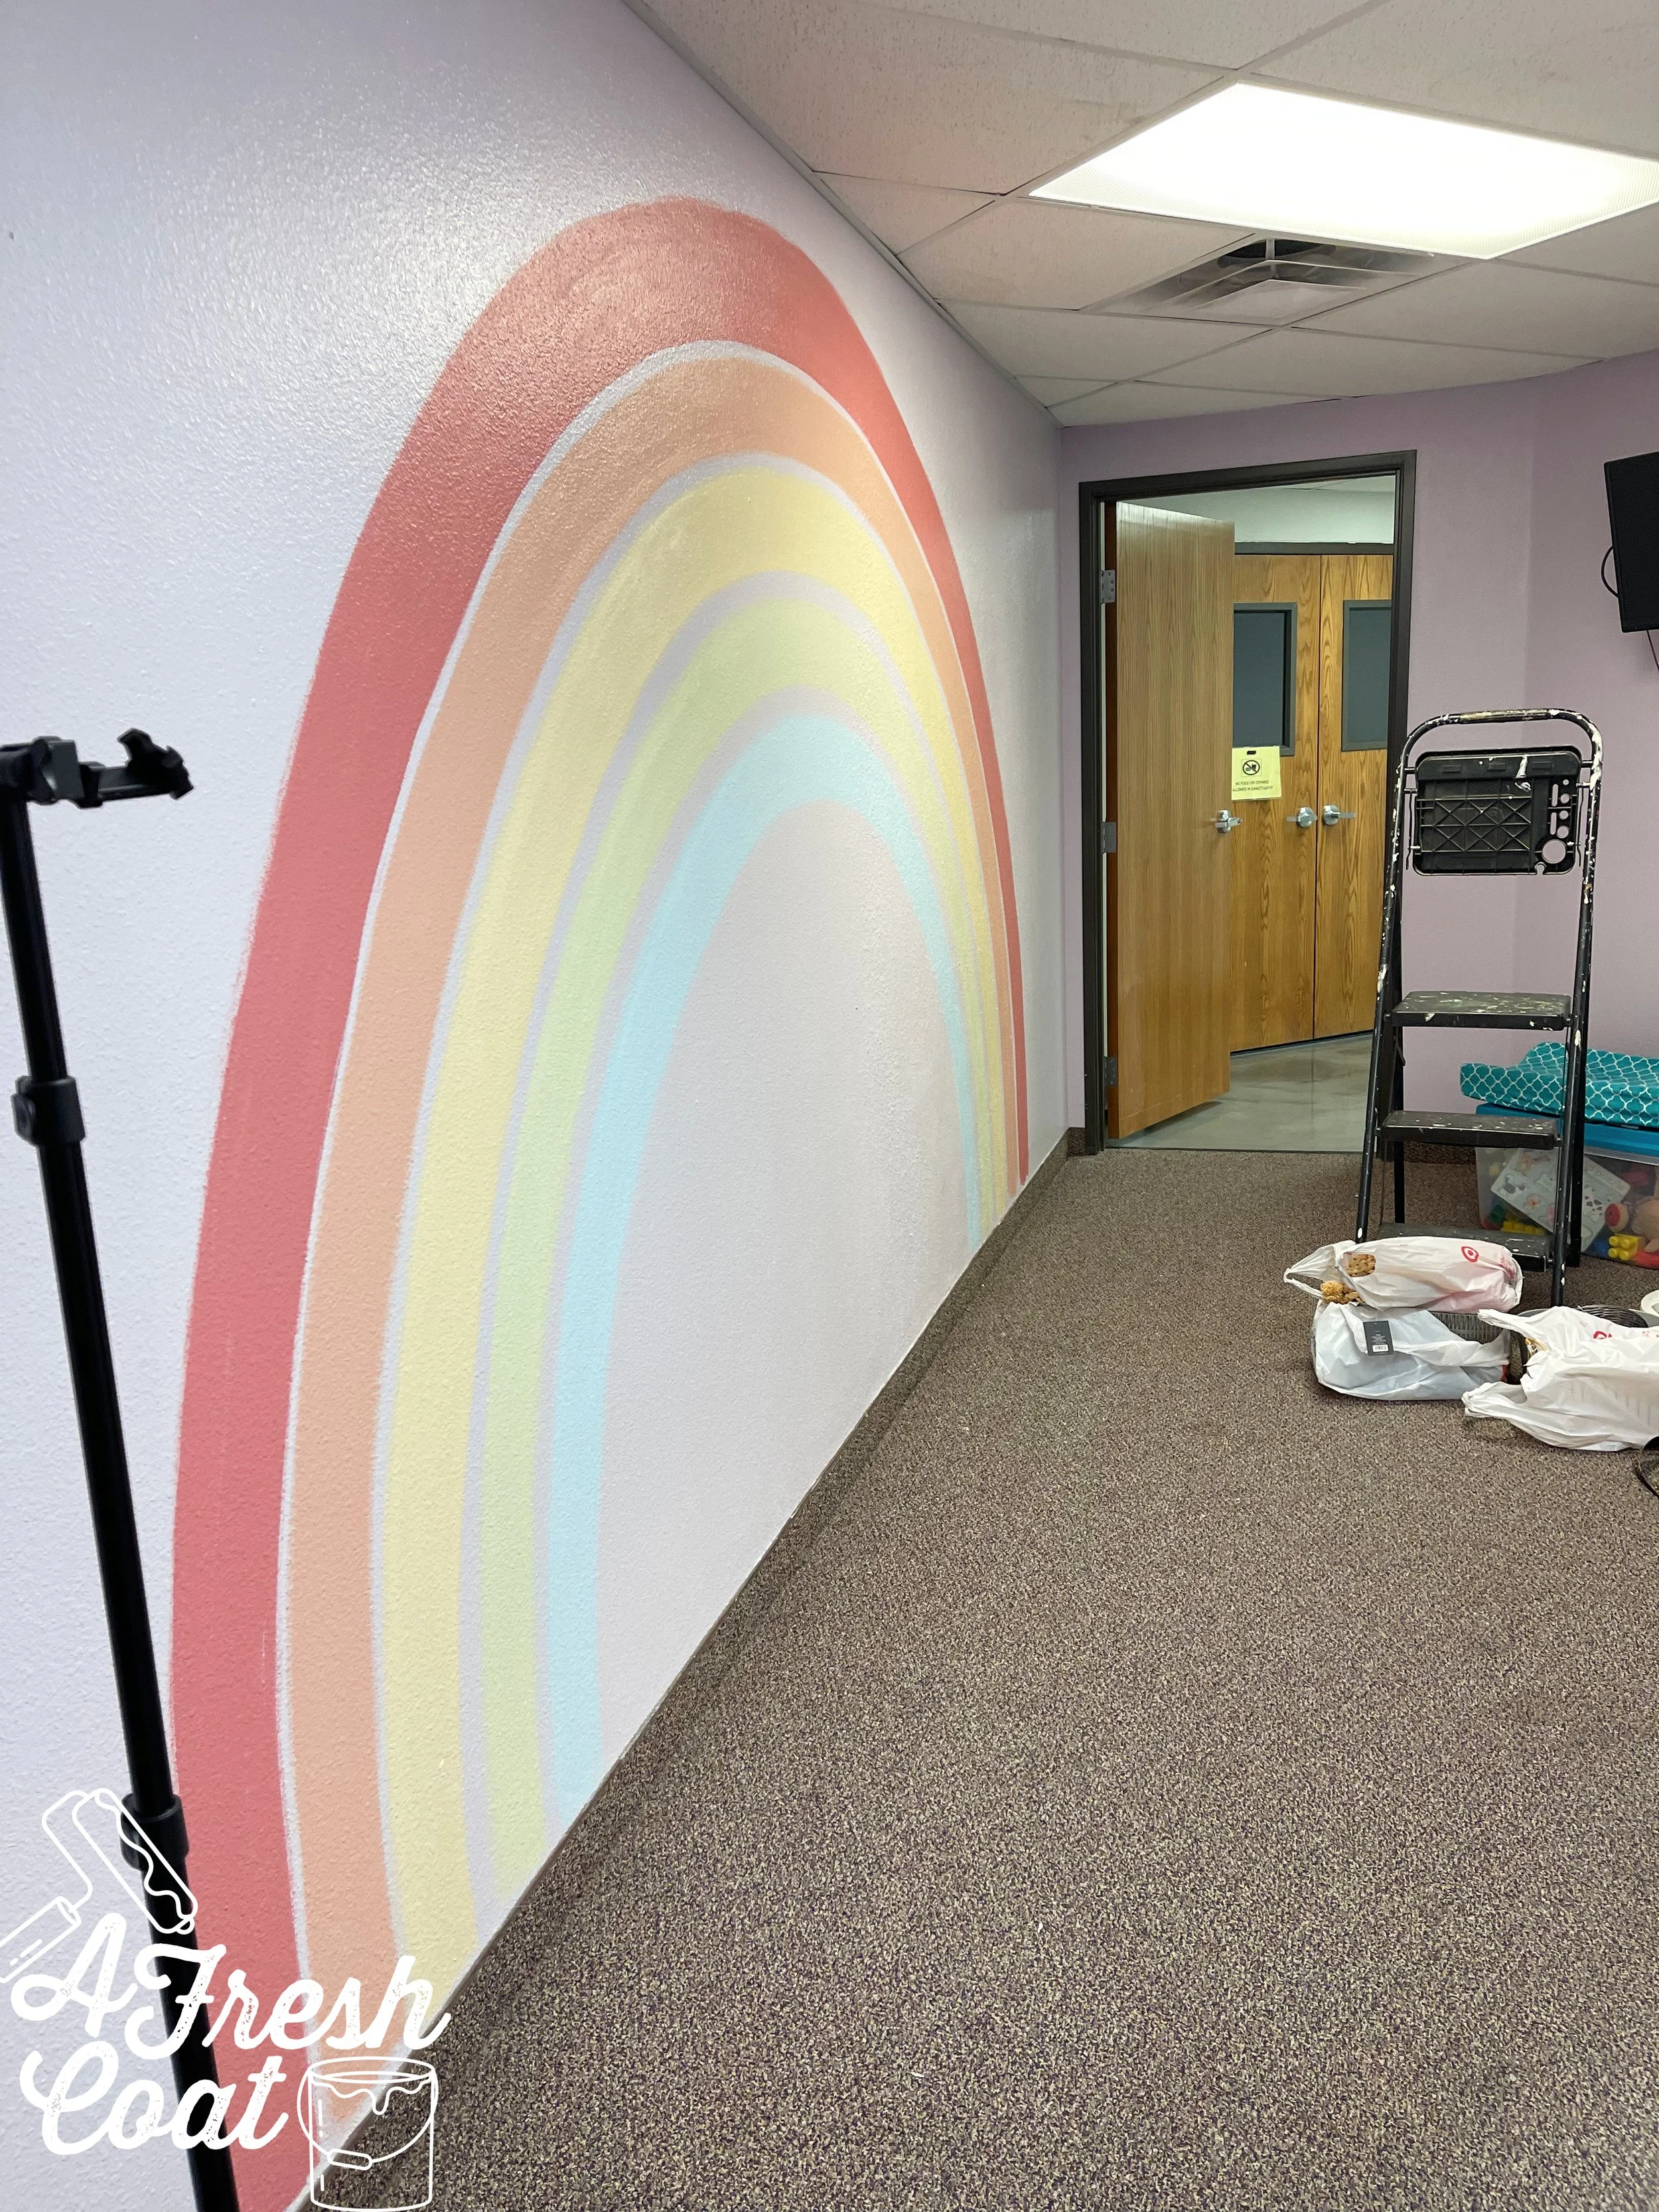
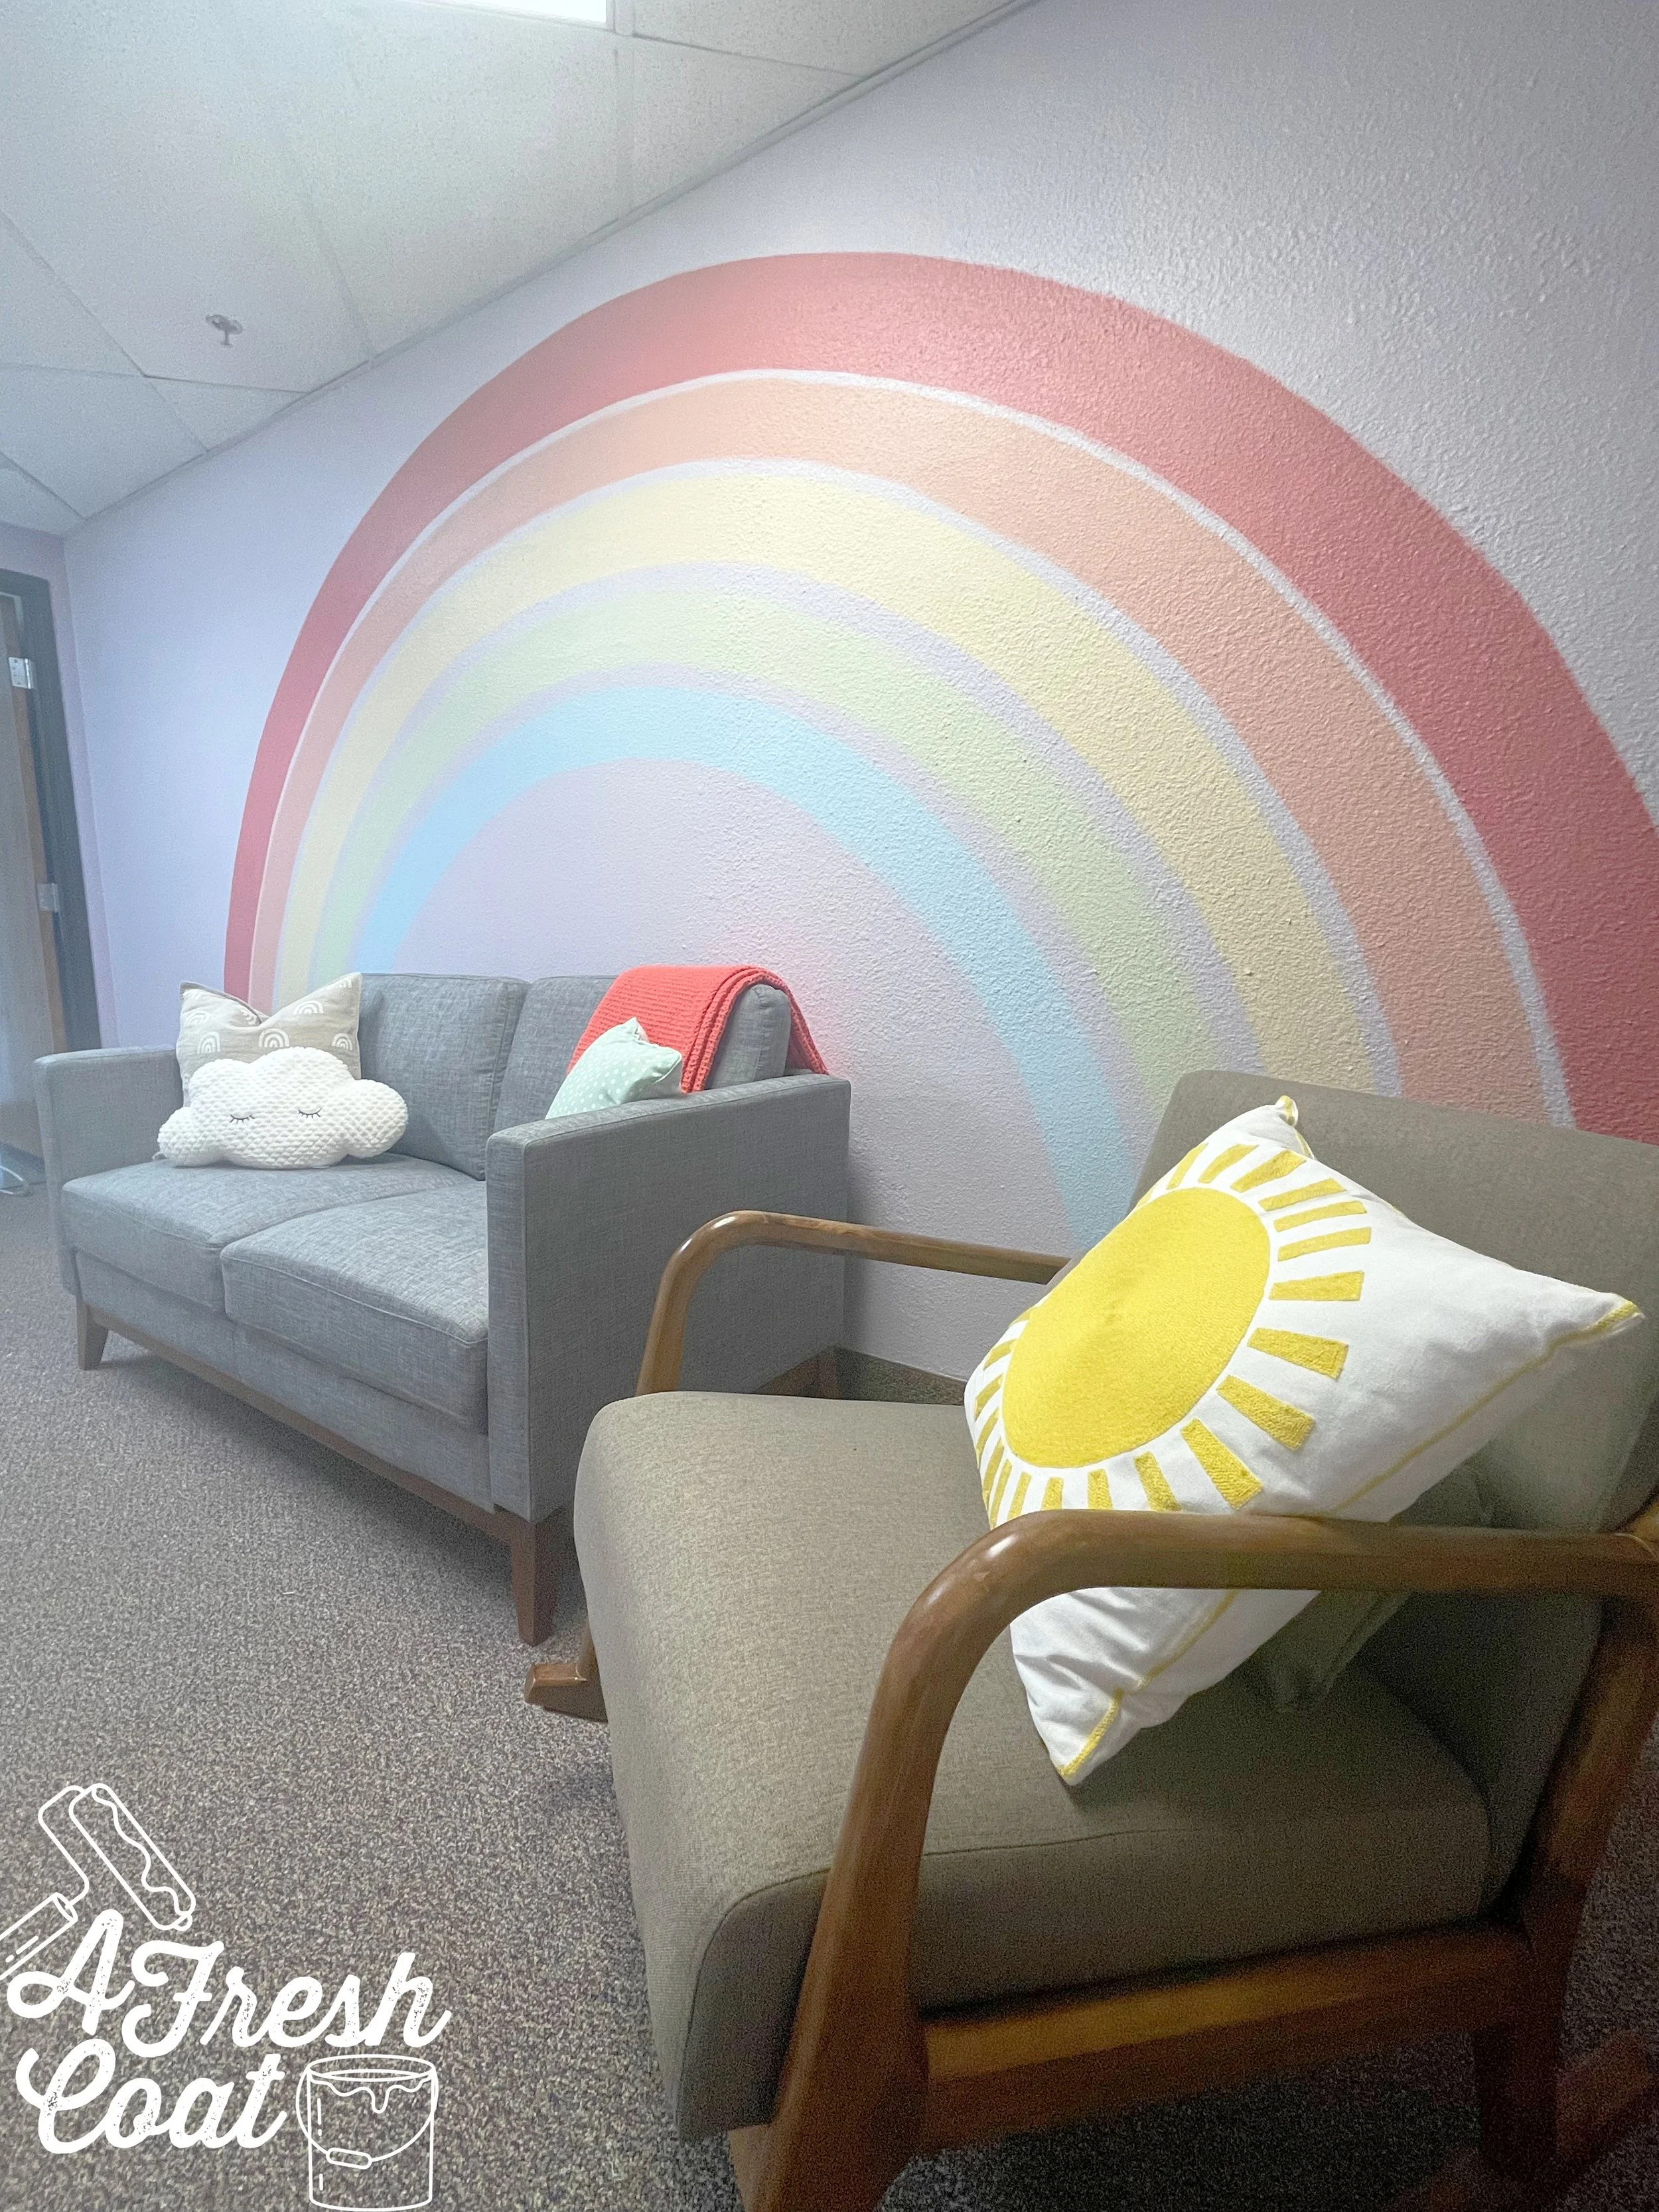
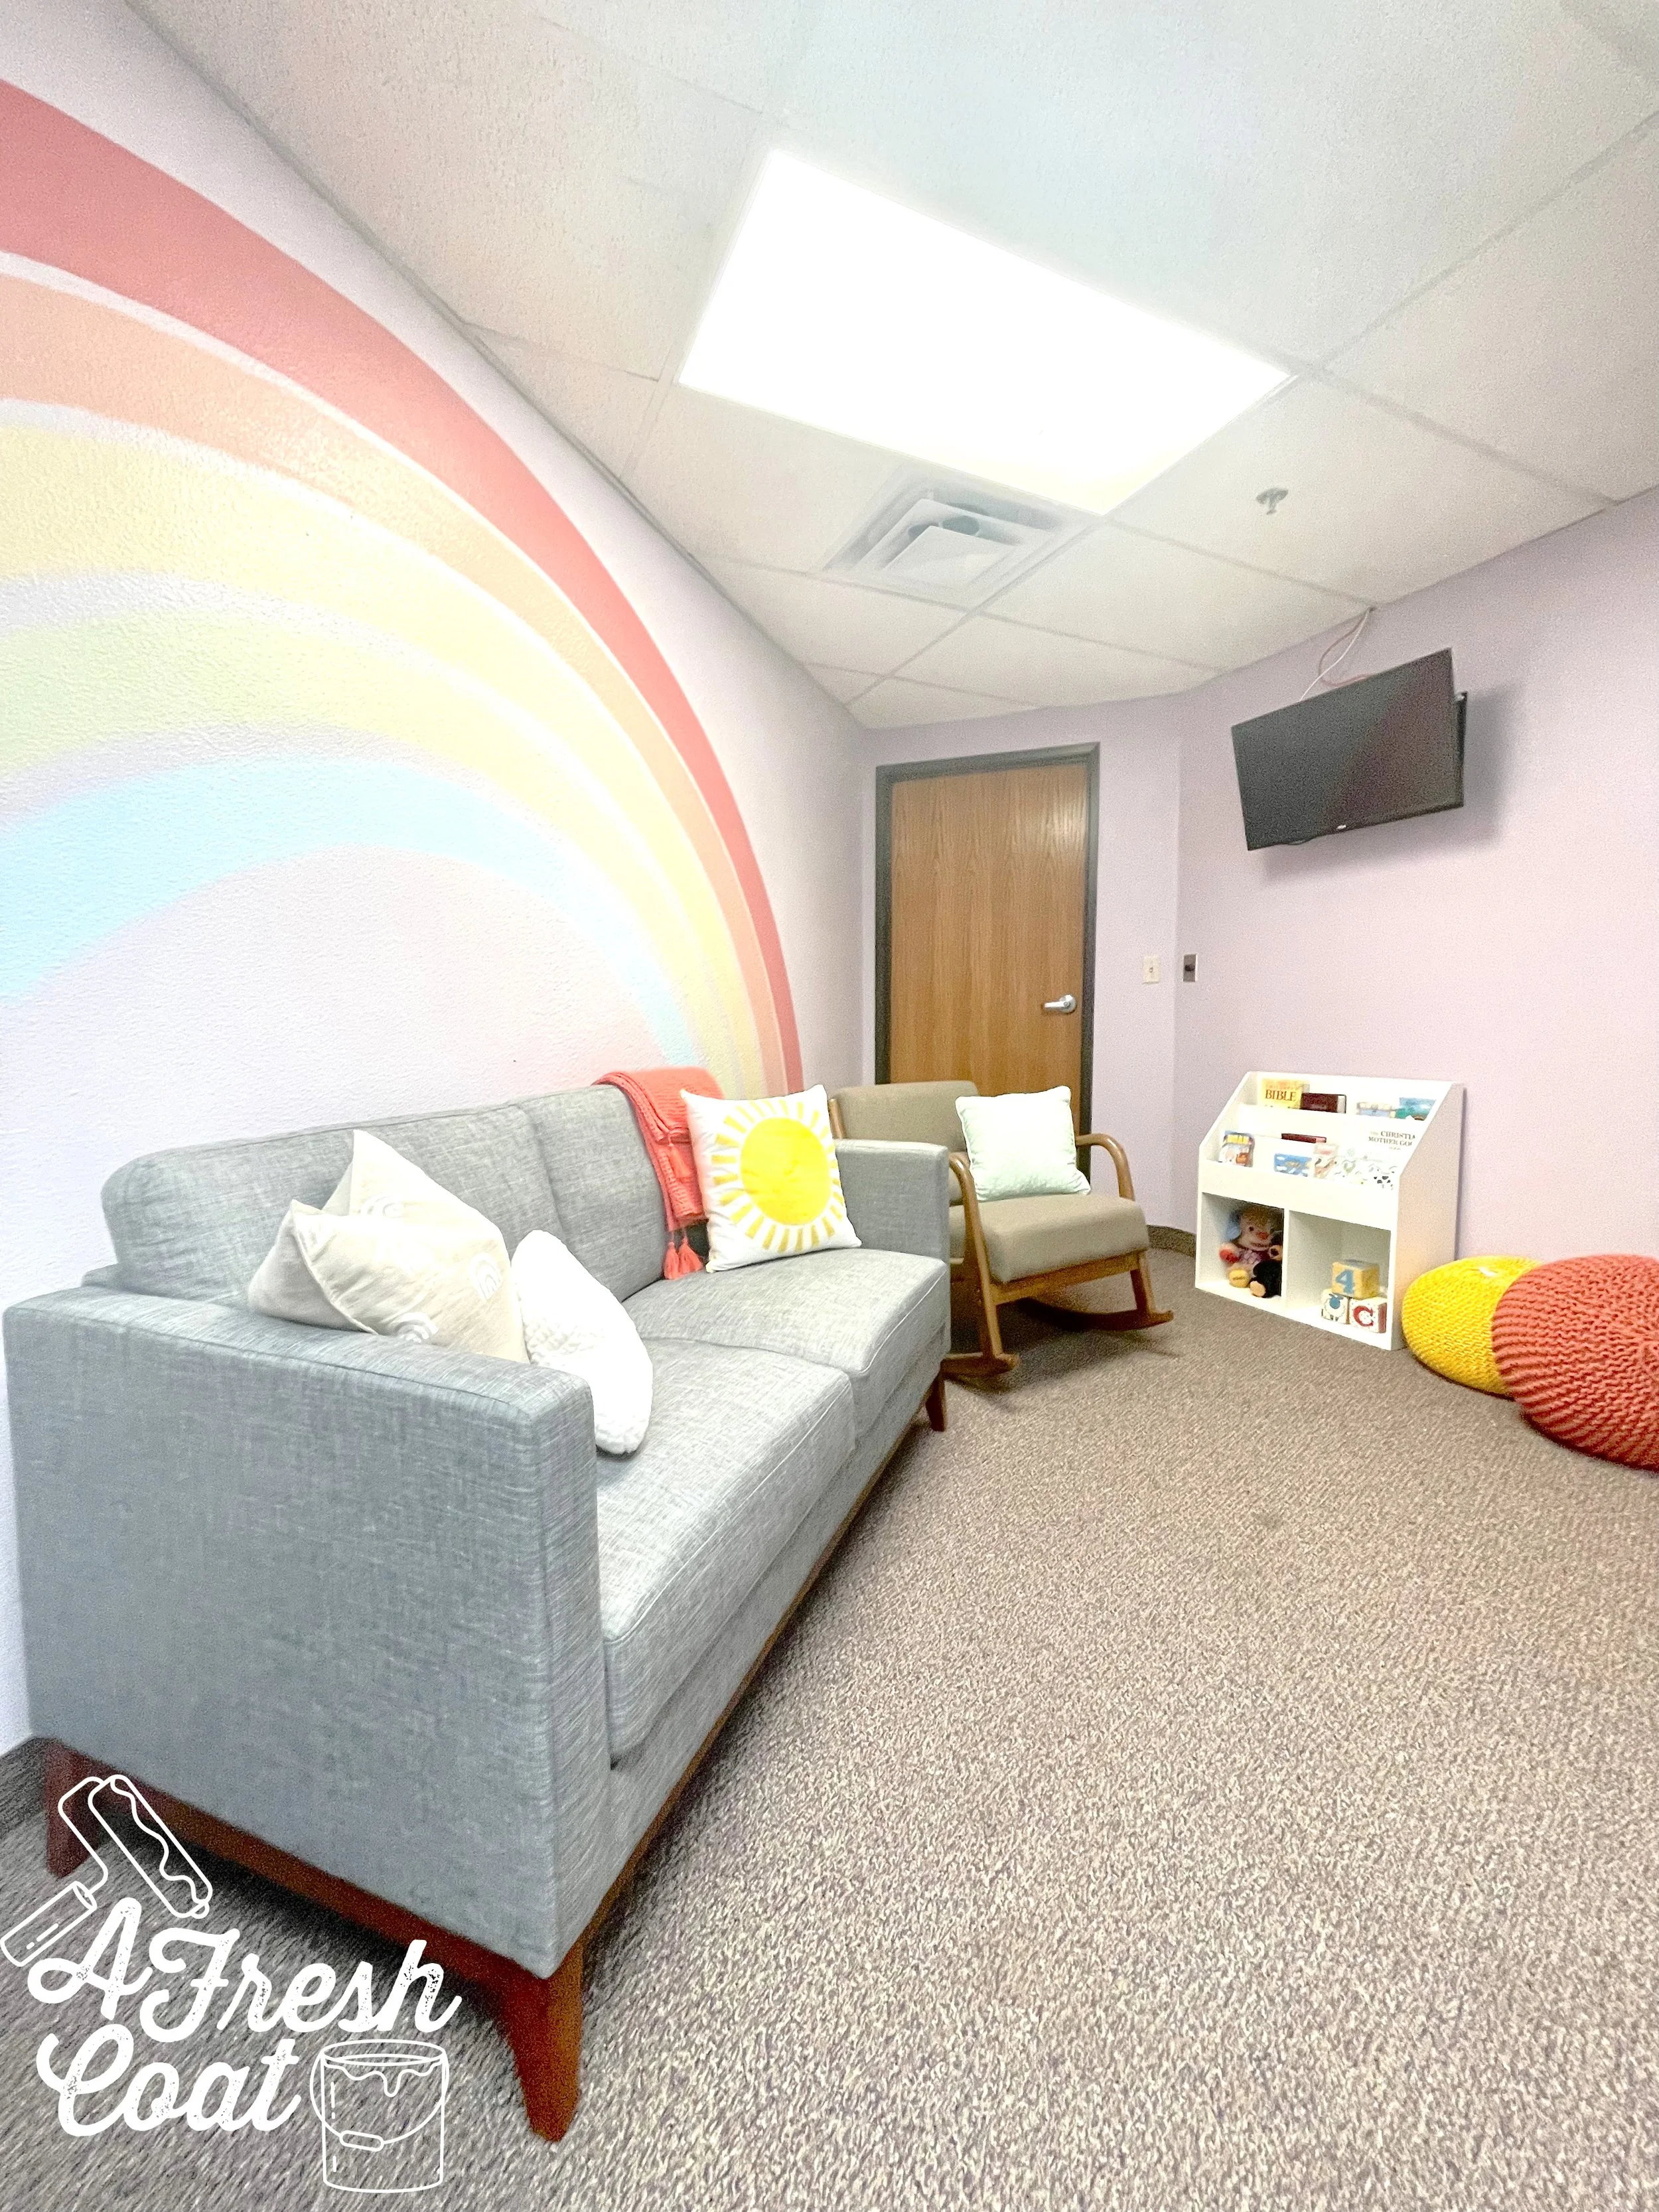
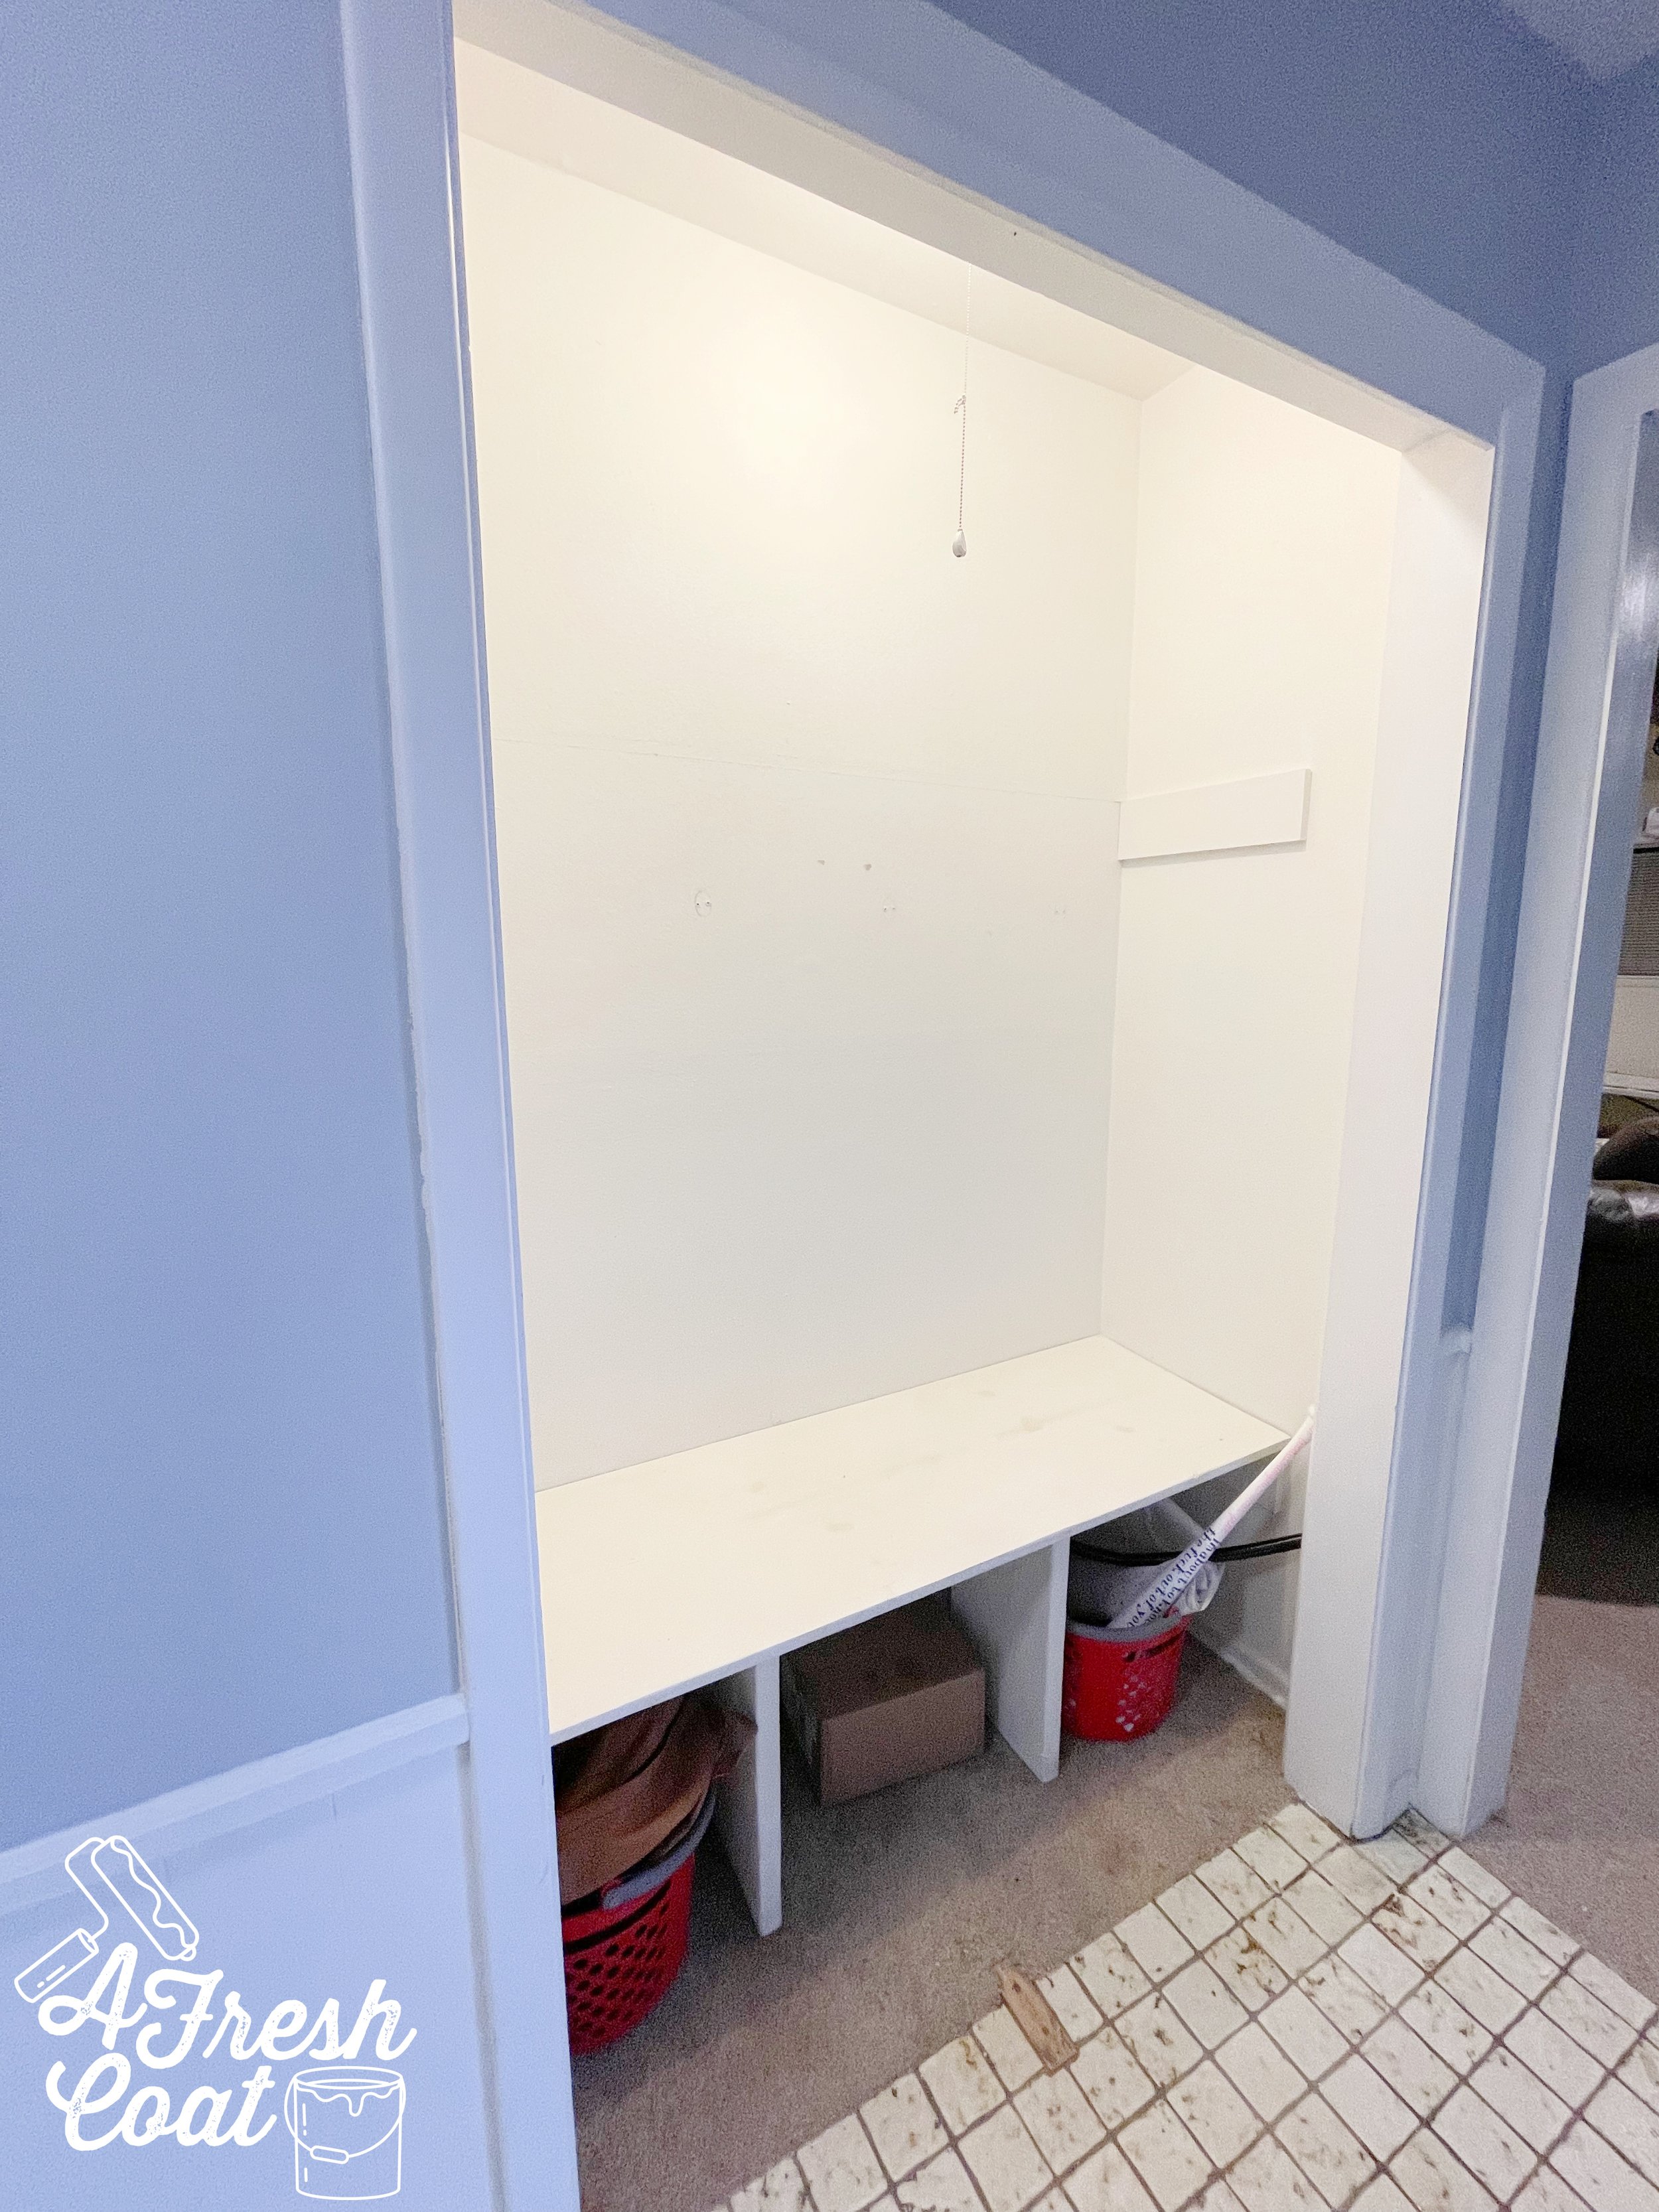
Using Sherwin Williams Creamy, the entire room got painted (thank you, Kari Lynn), which helped to lighten and brighten this room. Next, came the arch. In lieu of a headboard, my daughter, Annie wanted this arch, painted the same width as her double-sized bed.
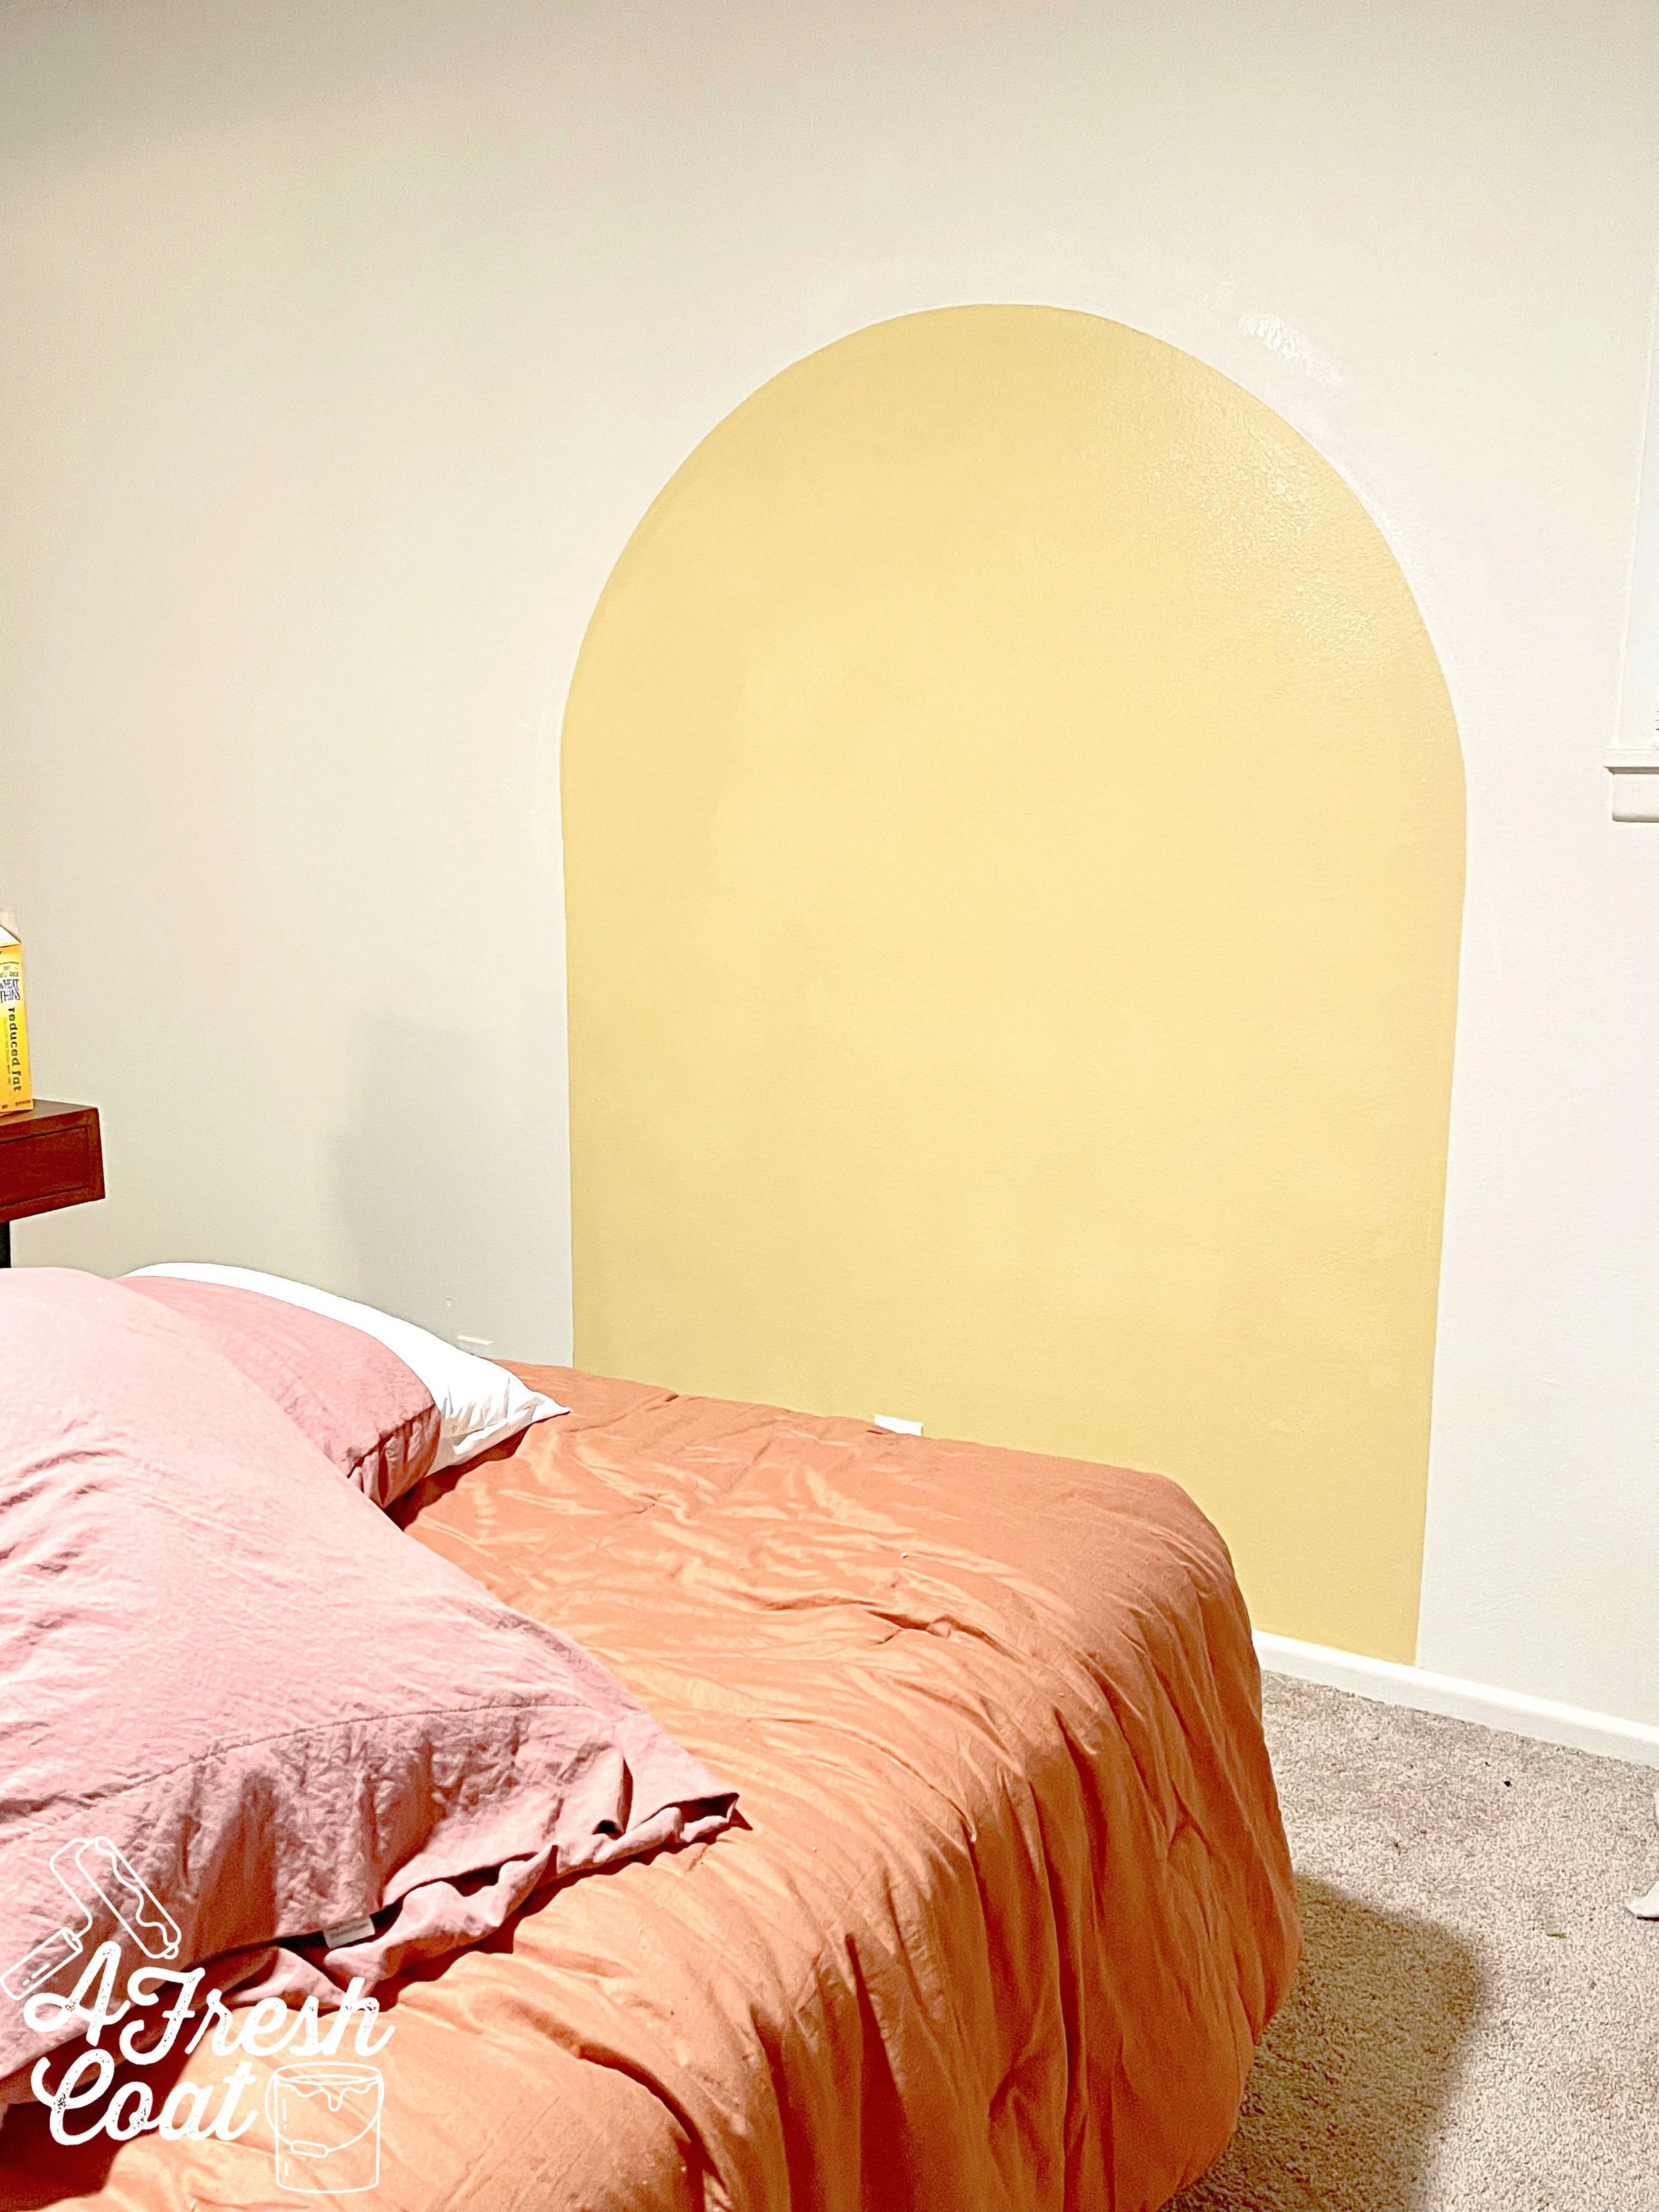
Once this baby was painted and the old ceiling fans and blinds were changed out, it was time to decorate. This is always my favorite part…always!
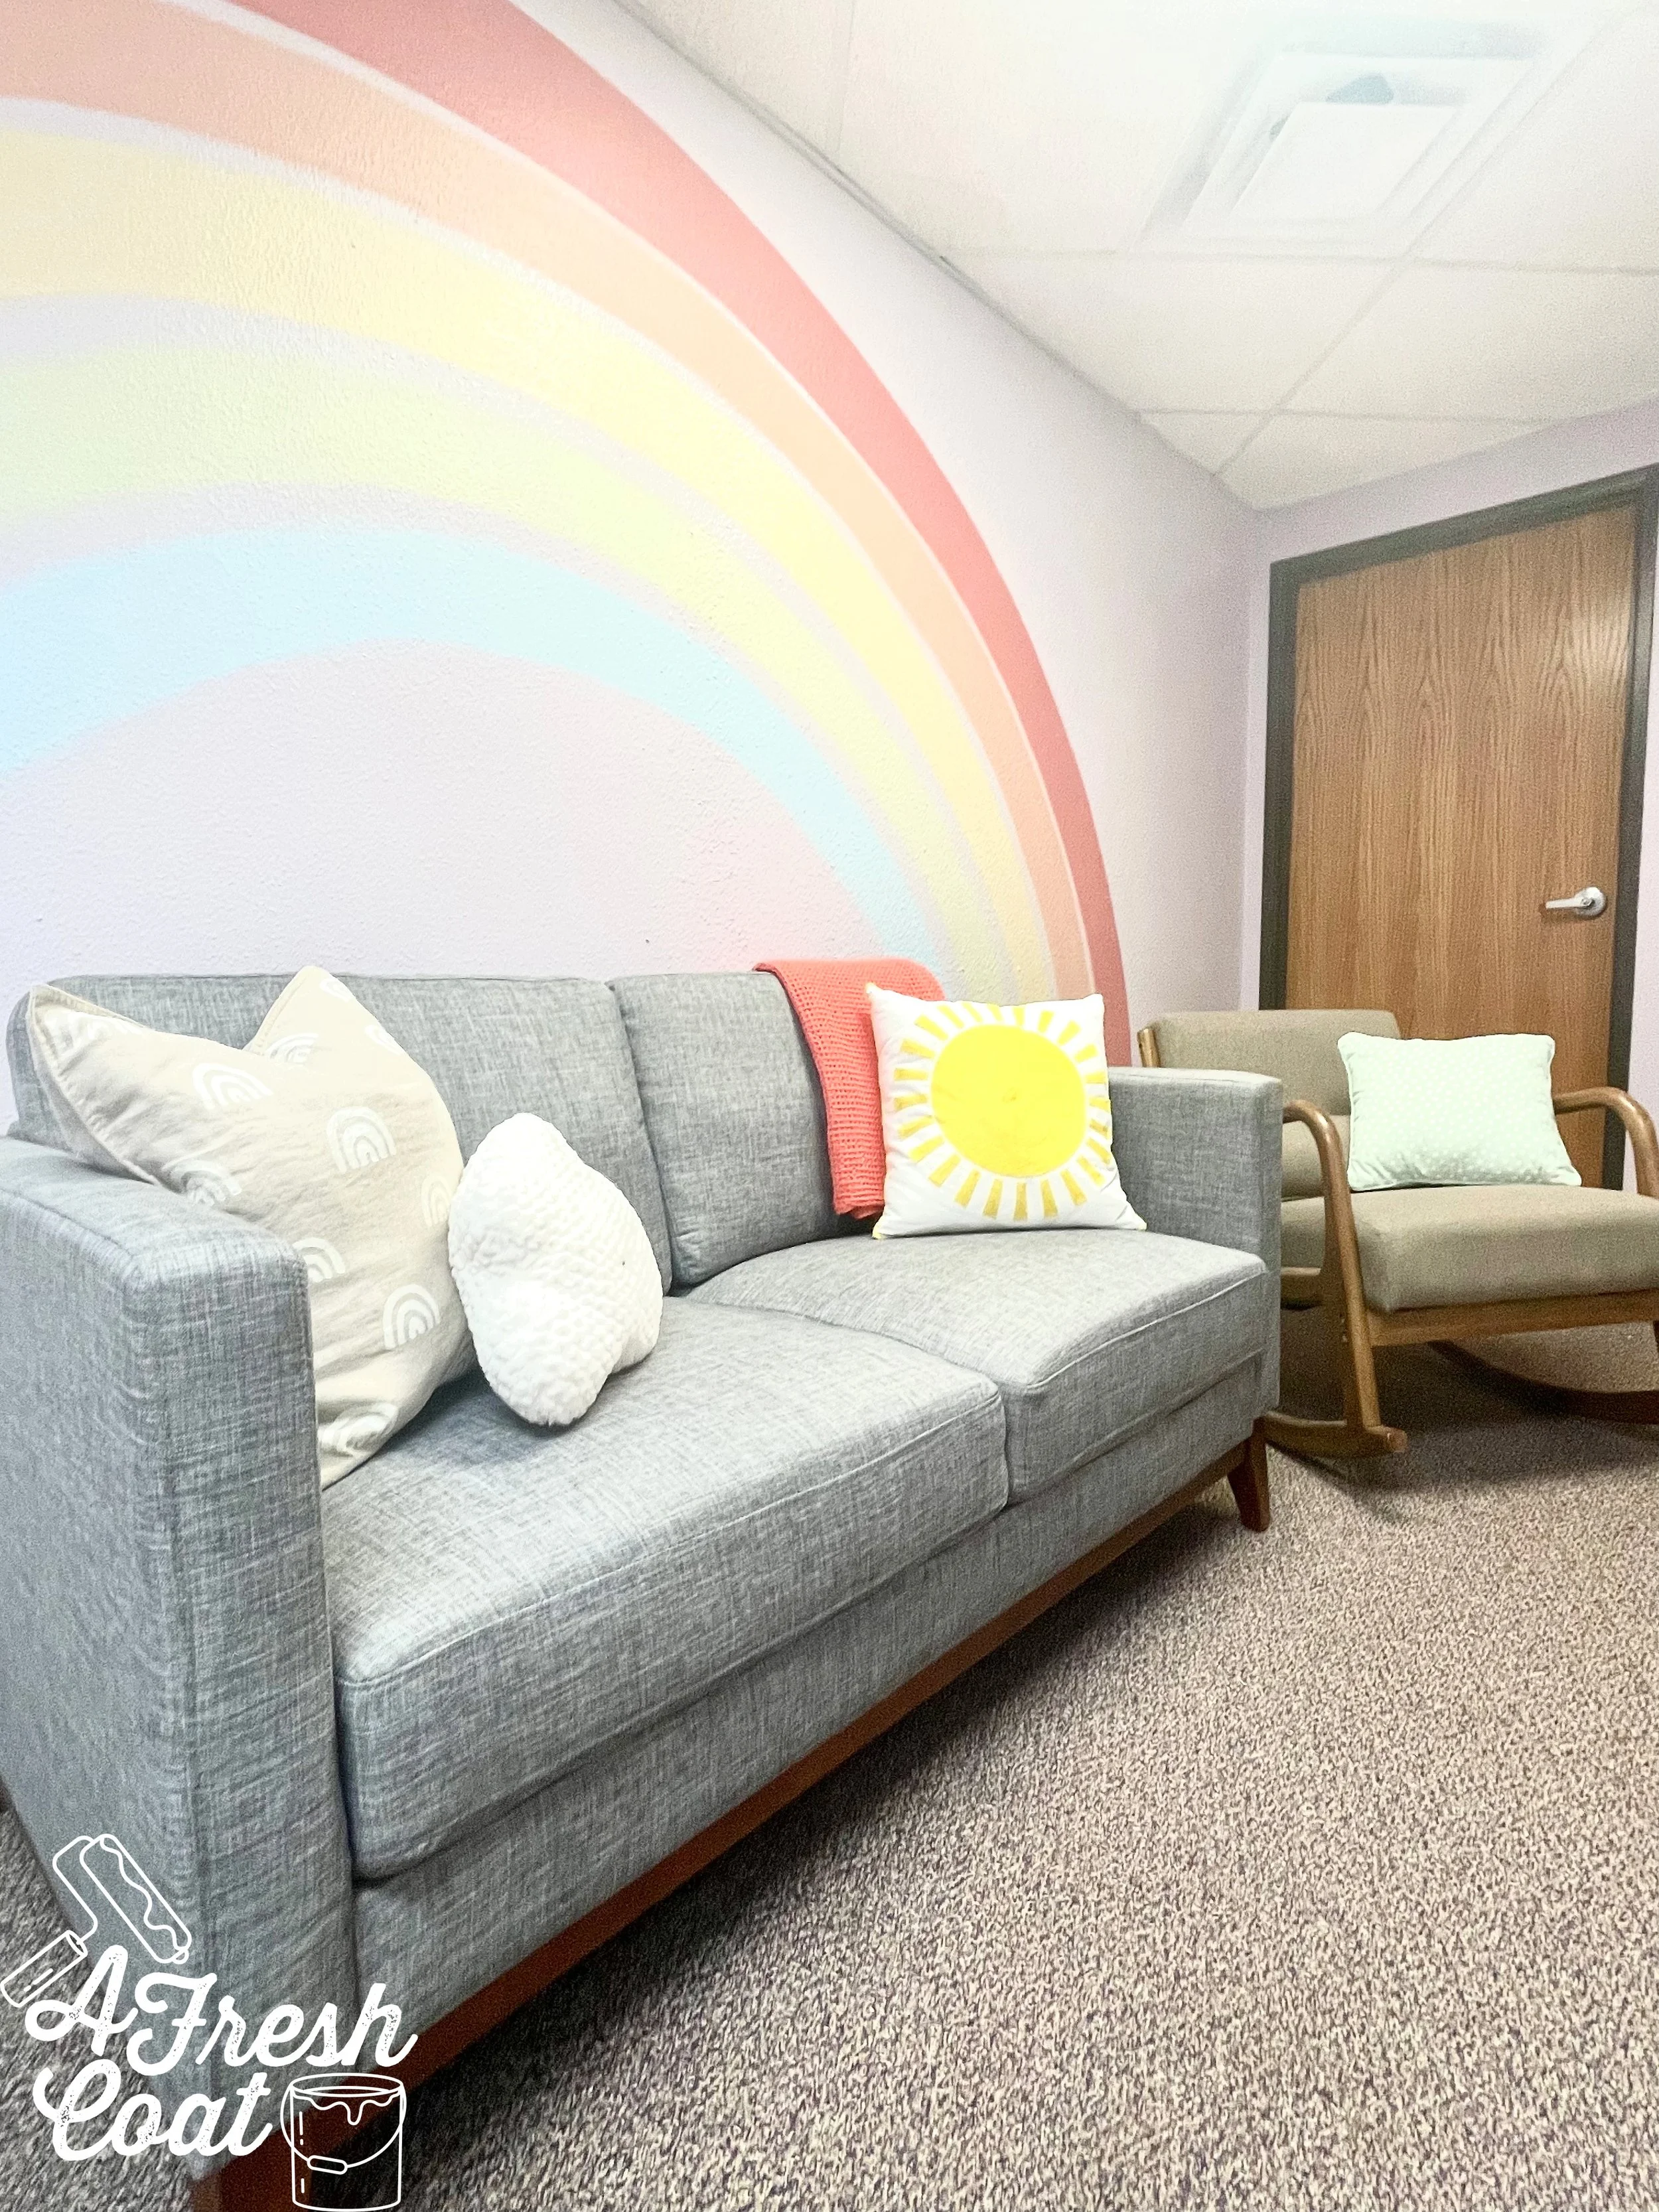
But rather than ramble on and on, here’s the finished product along with all the details below.
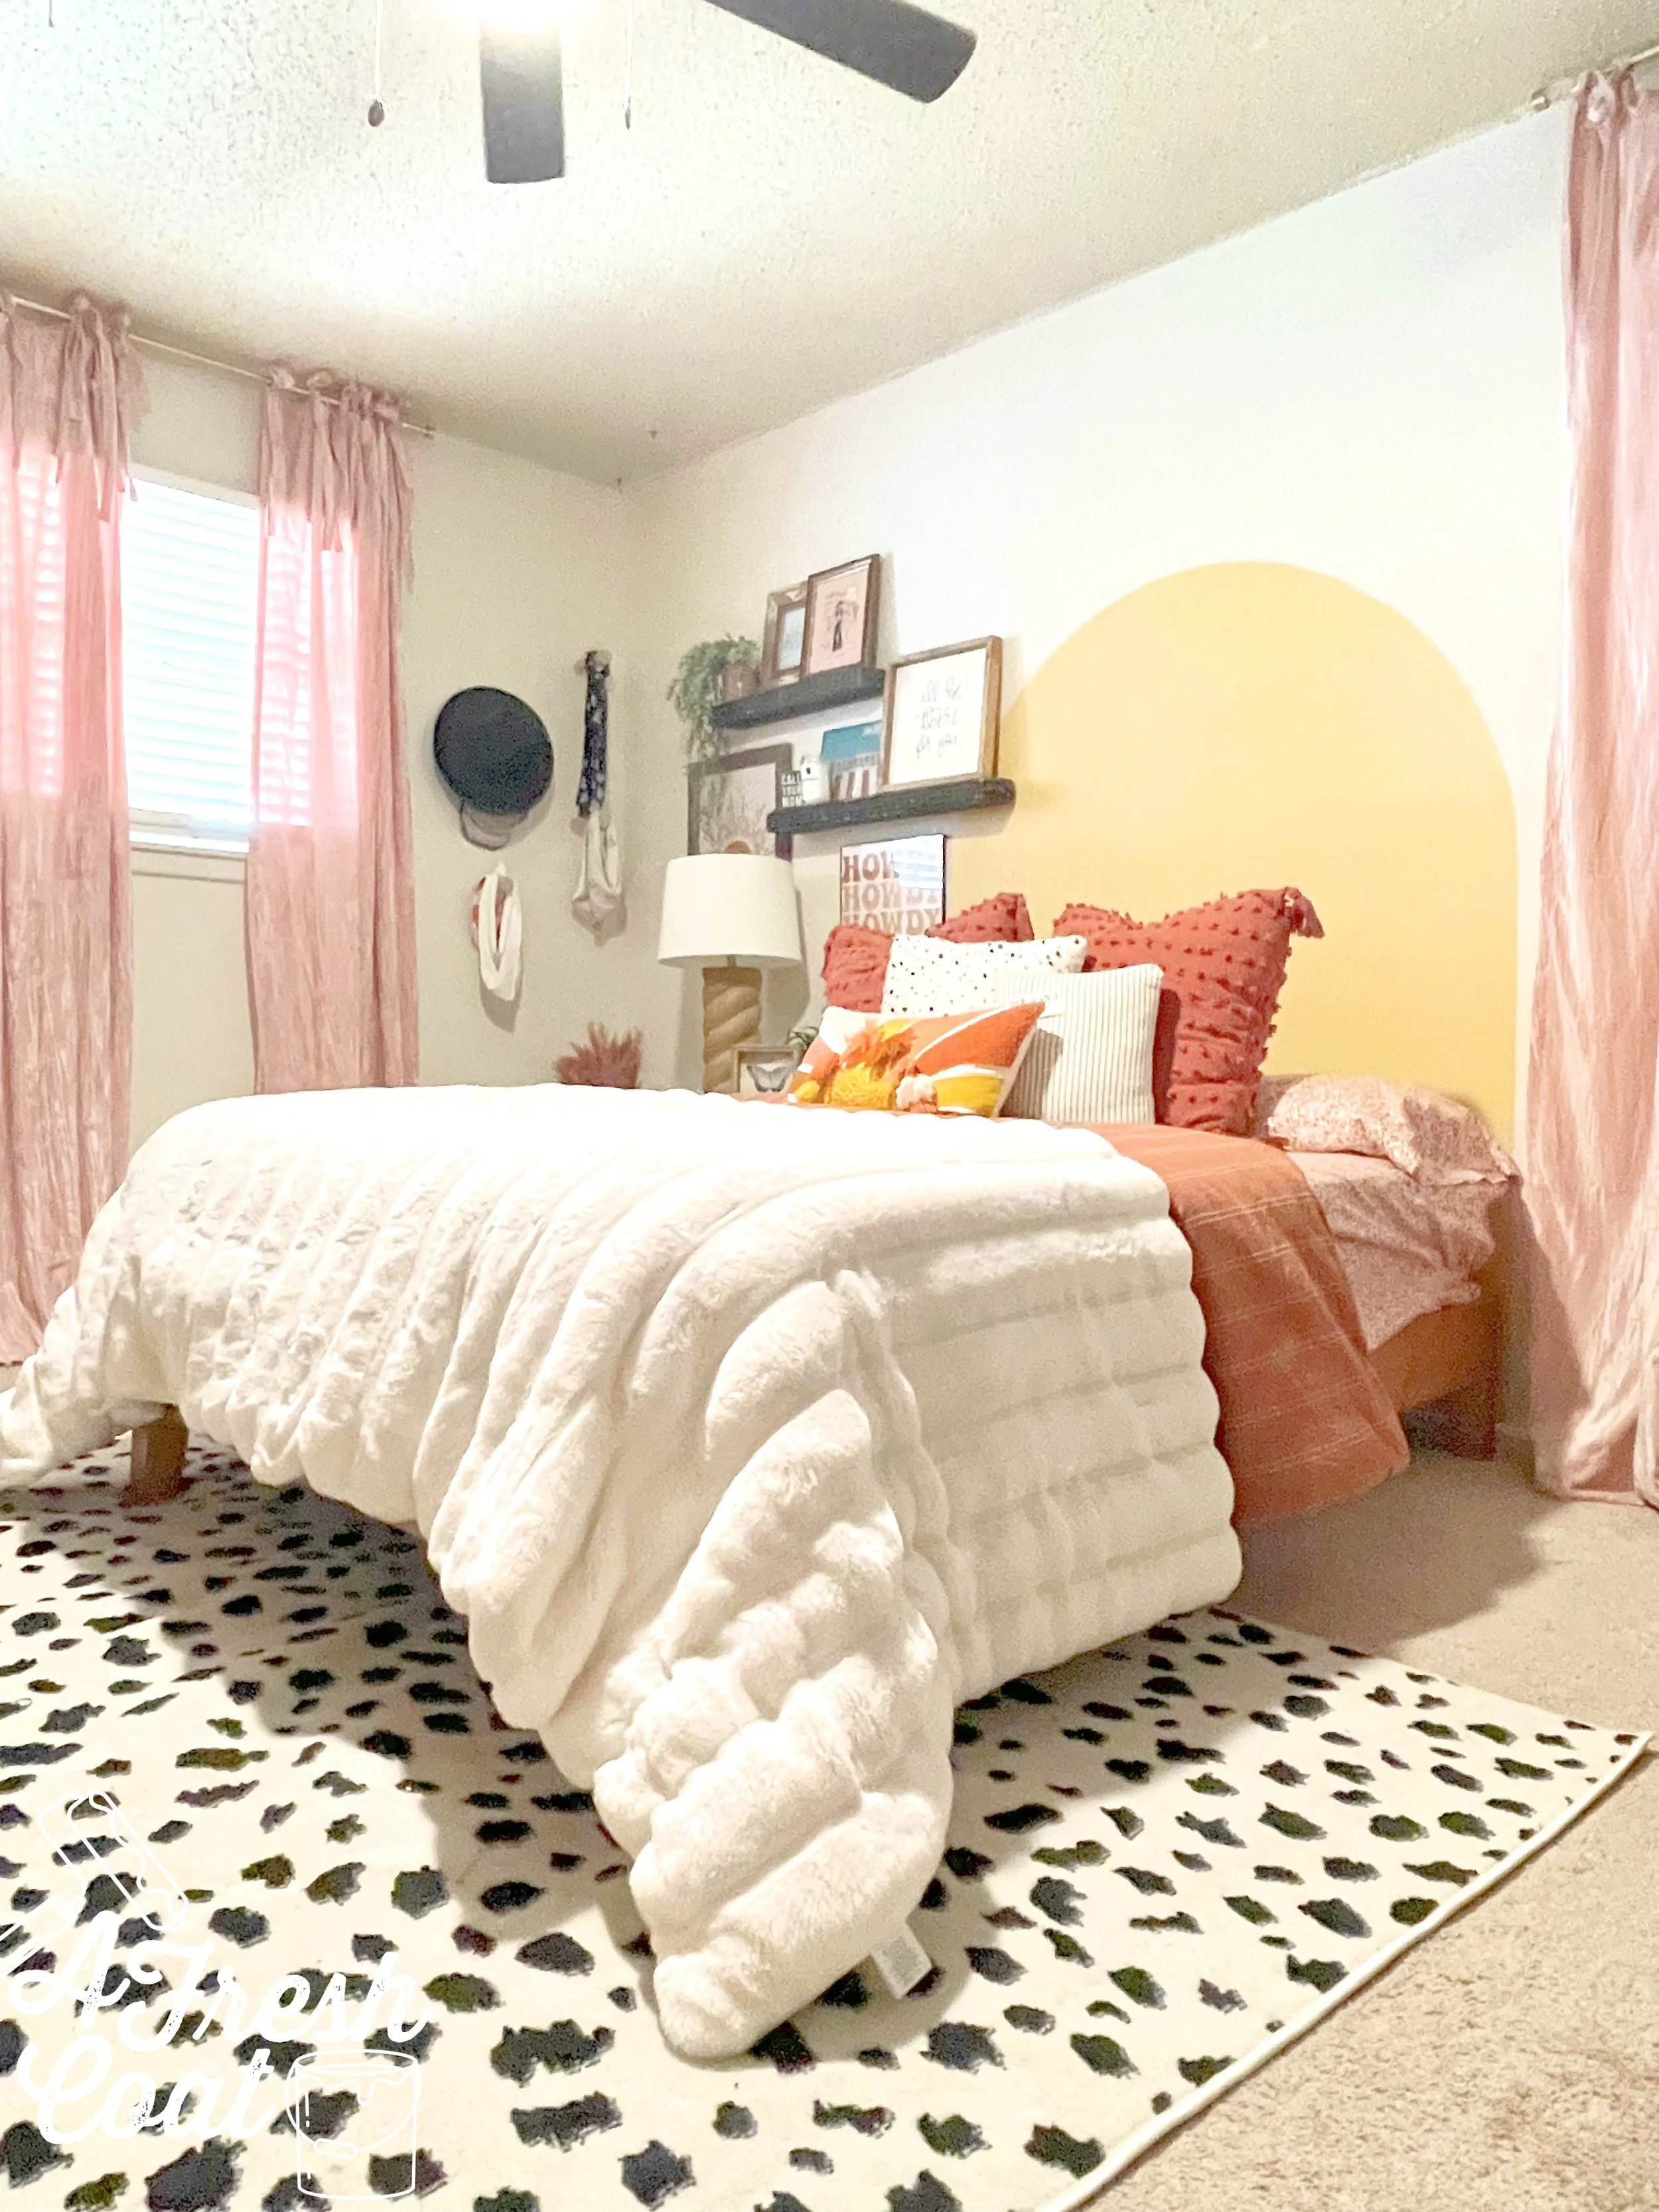
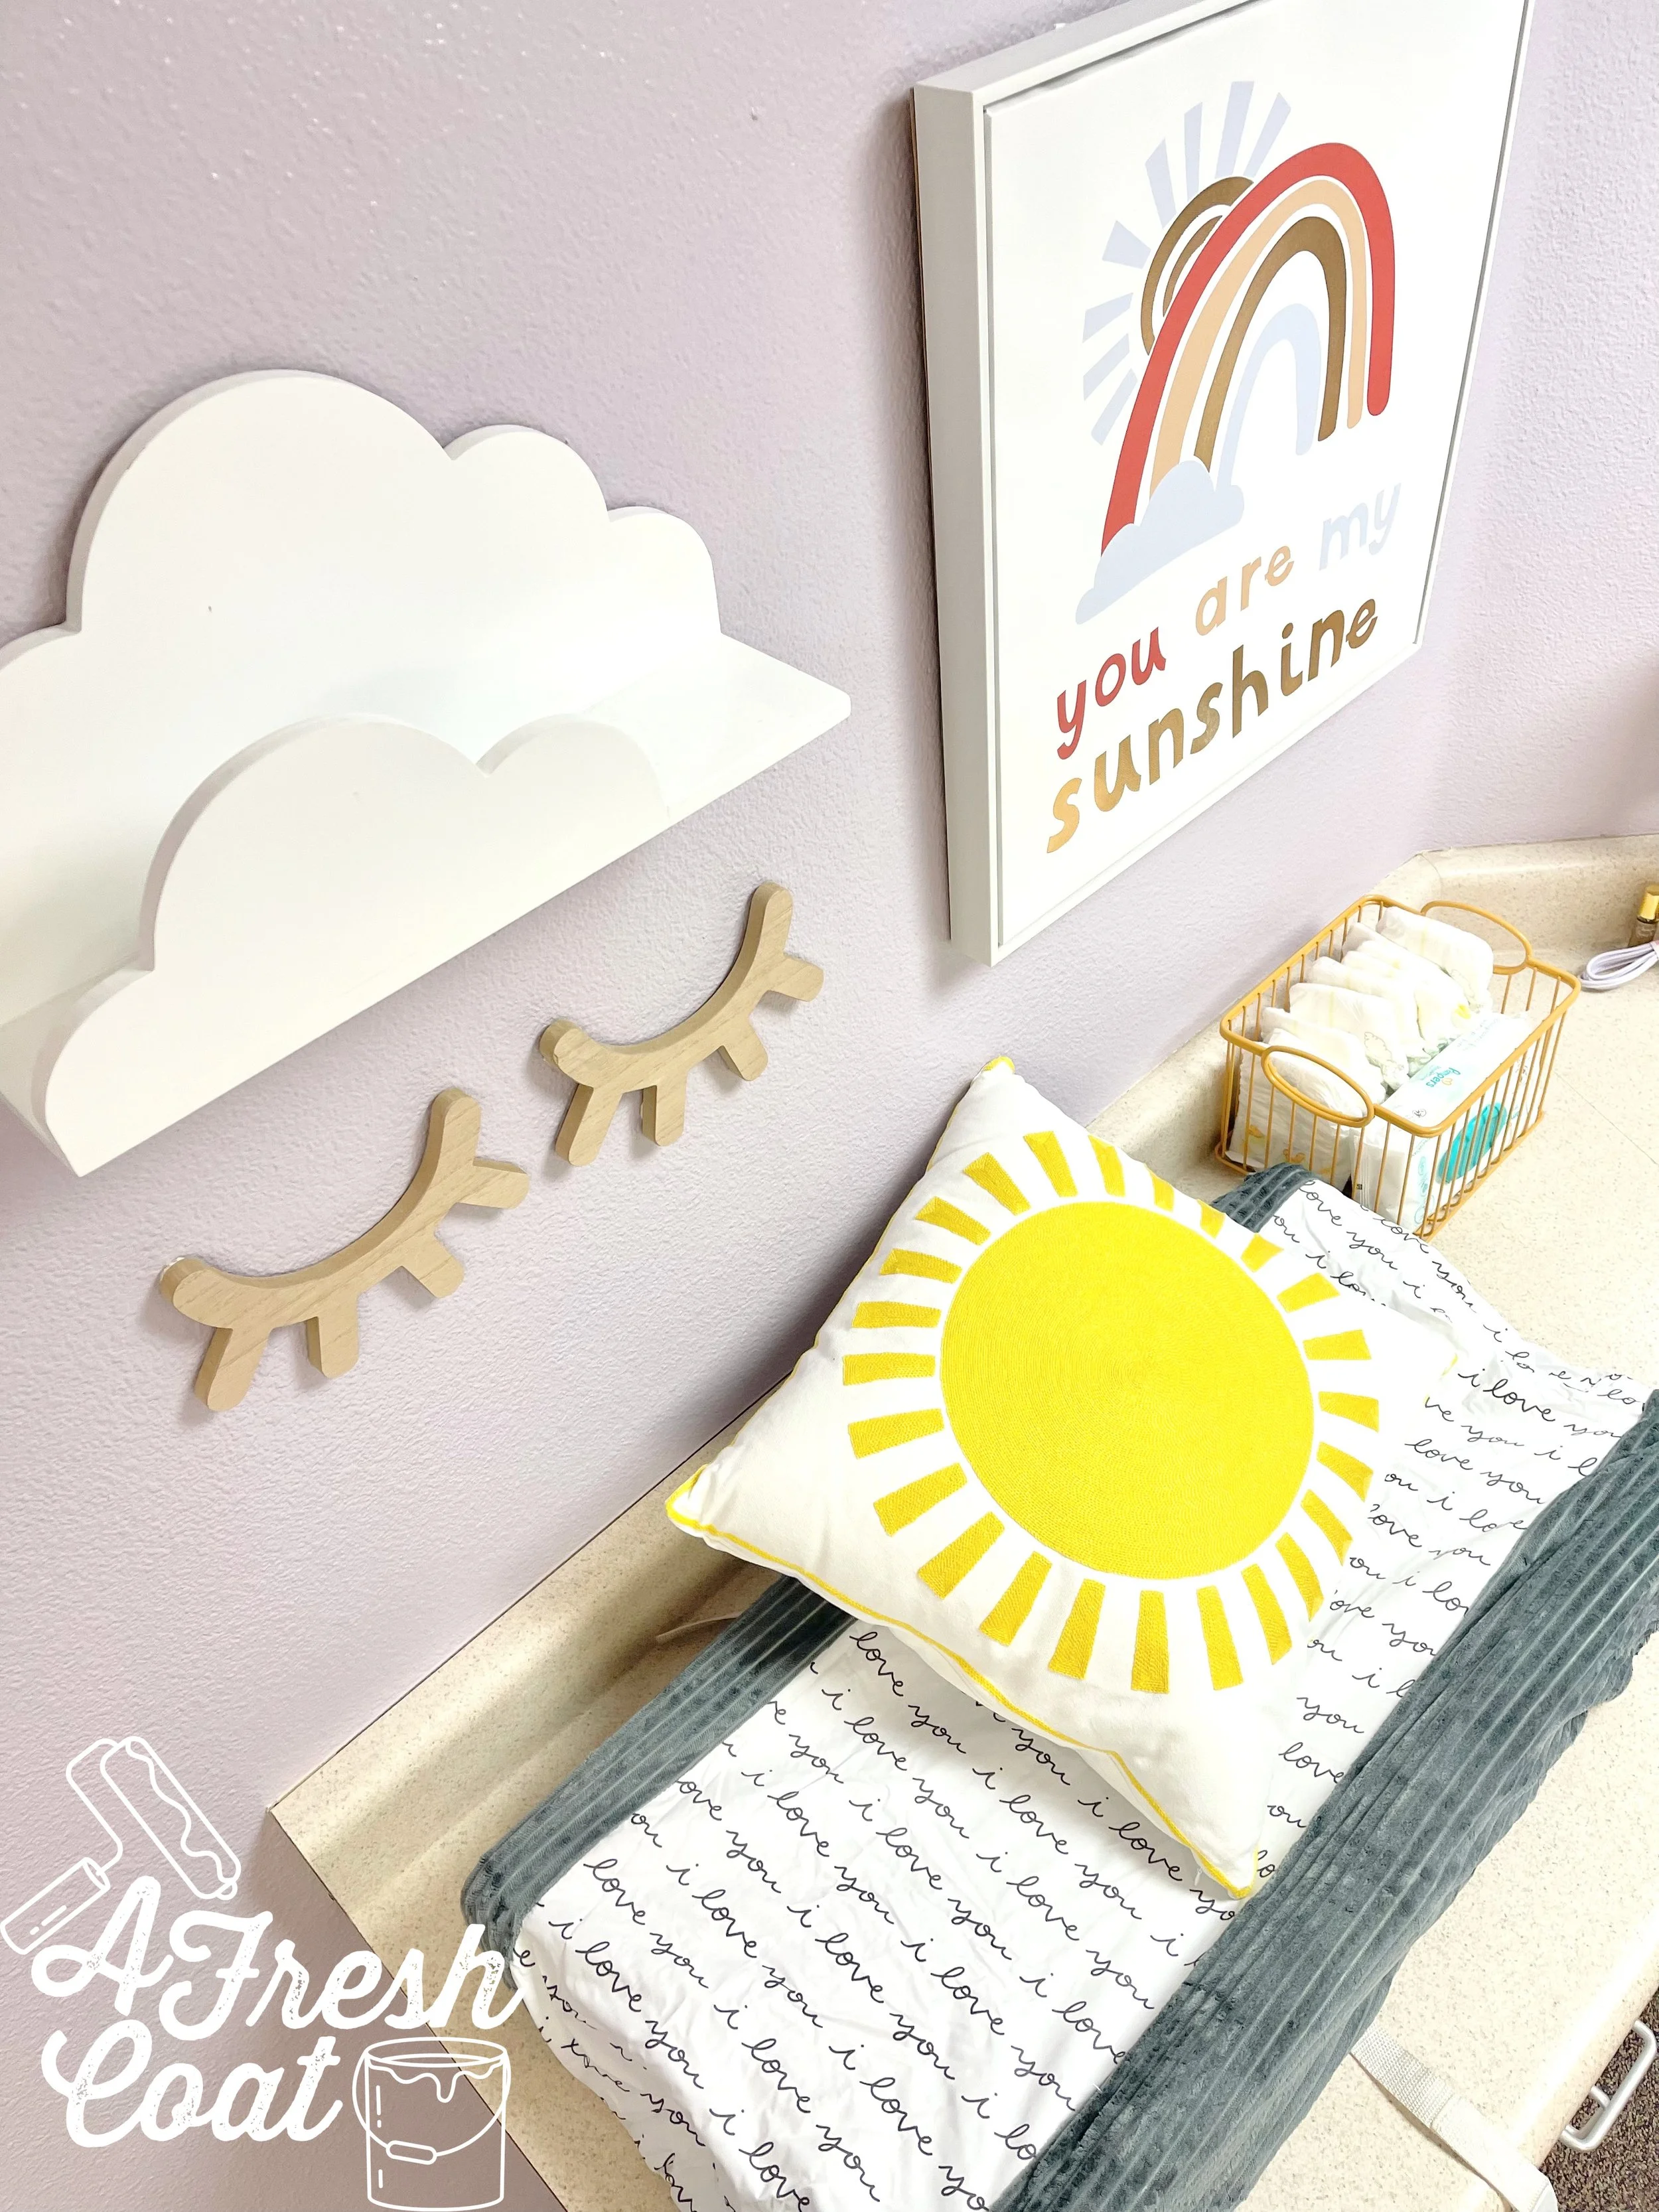
A mixture of colors, textures, and patterns work together to bring a fun Boho vibe to this space.
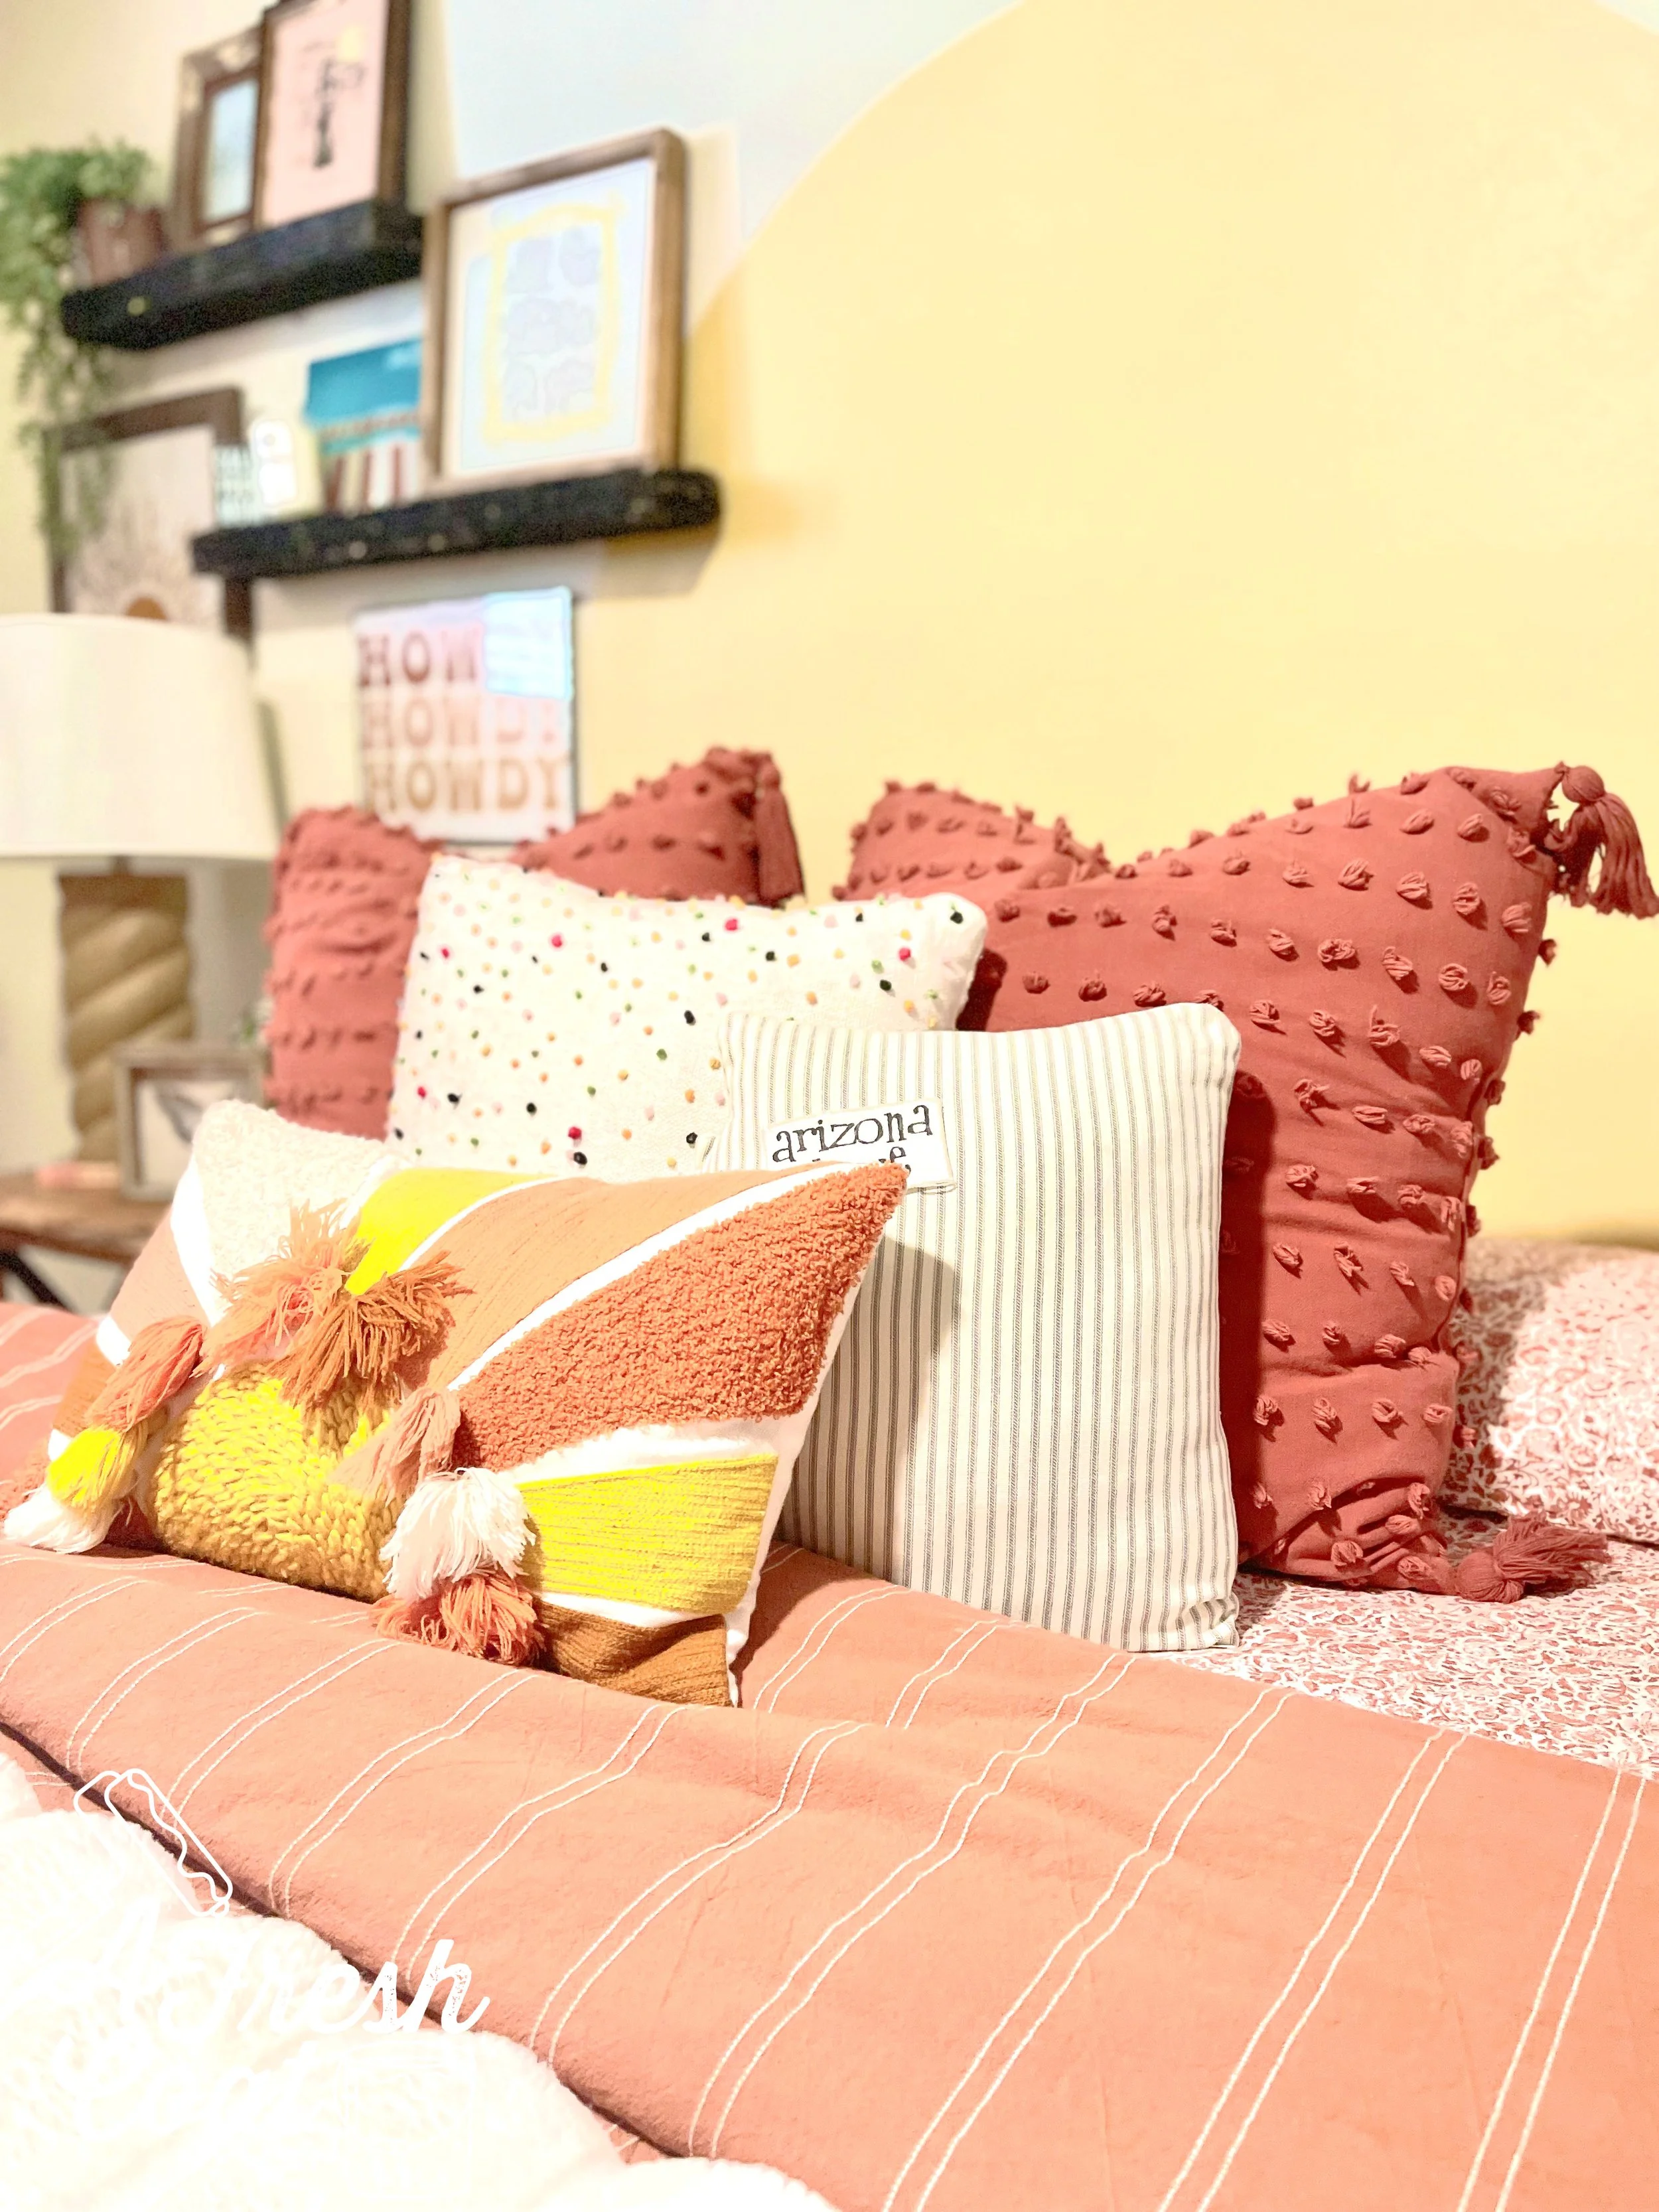
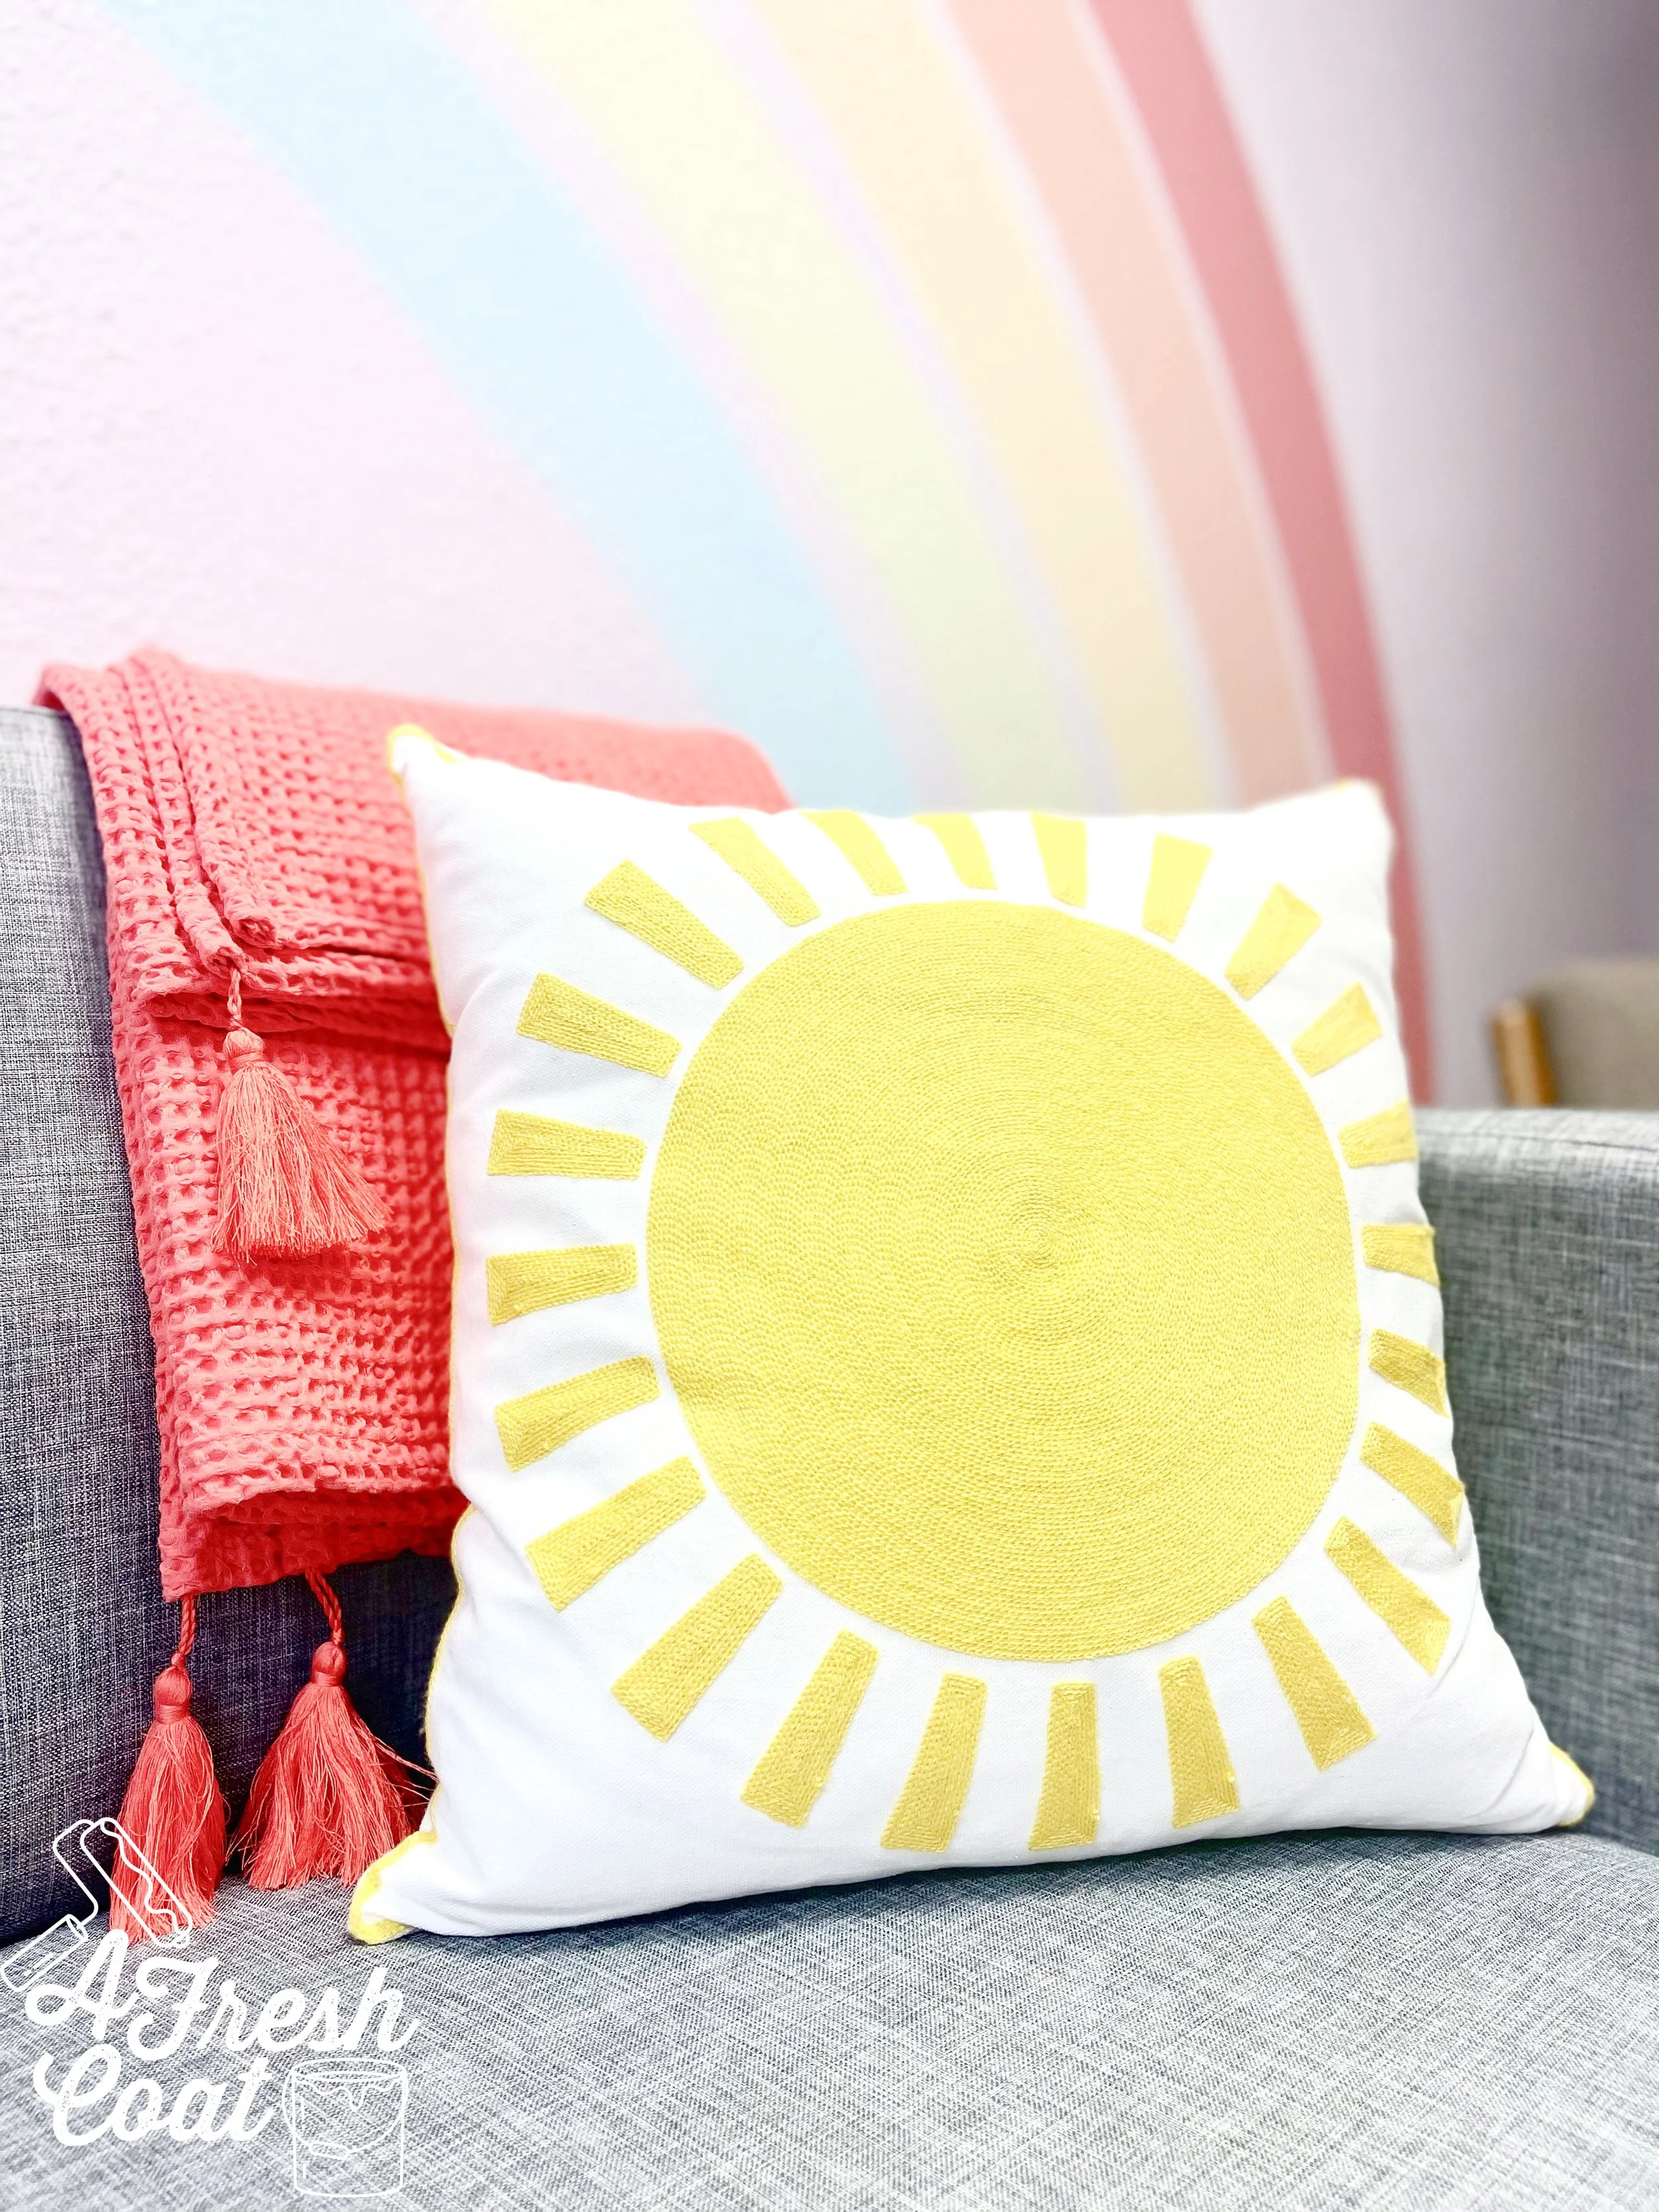
What’s a girl’s room without throw pillows. A mix of these babies from Target and Dandy Home & Ranch tie every element (and color) of this room together.

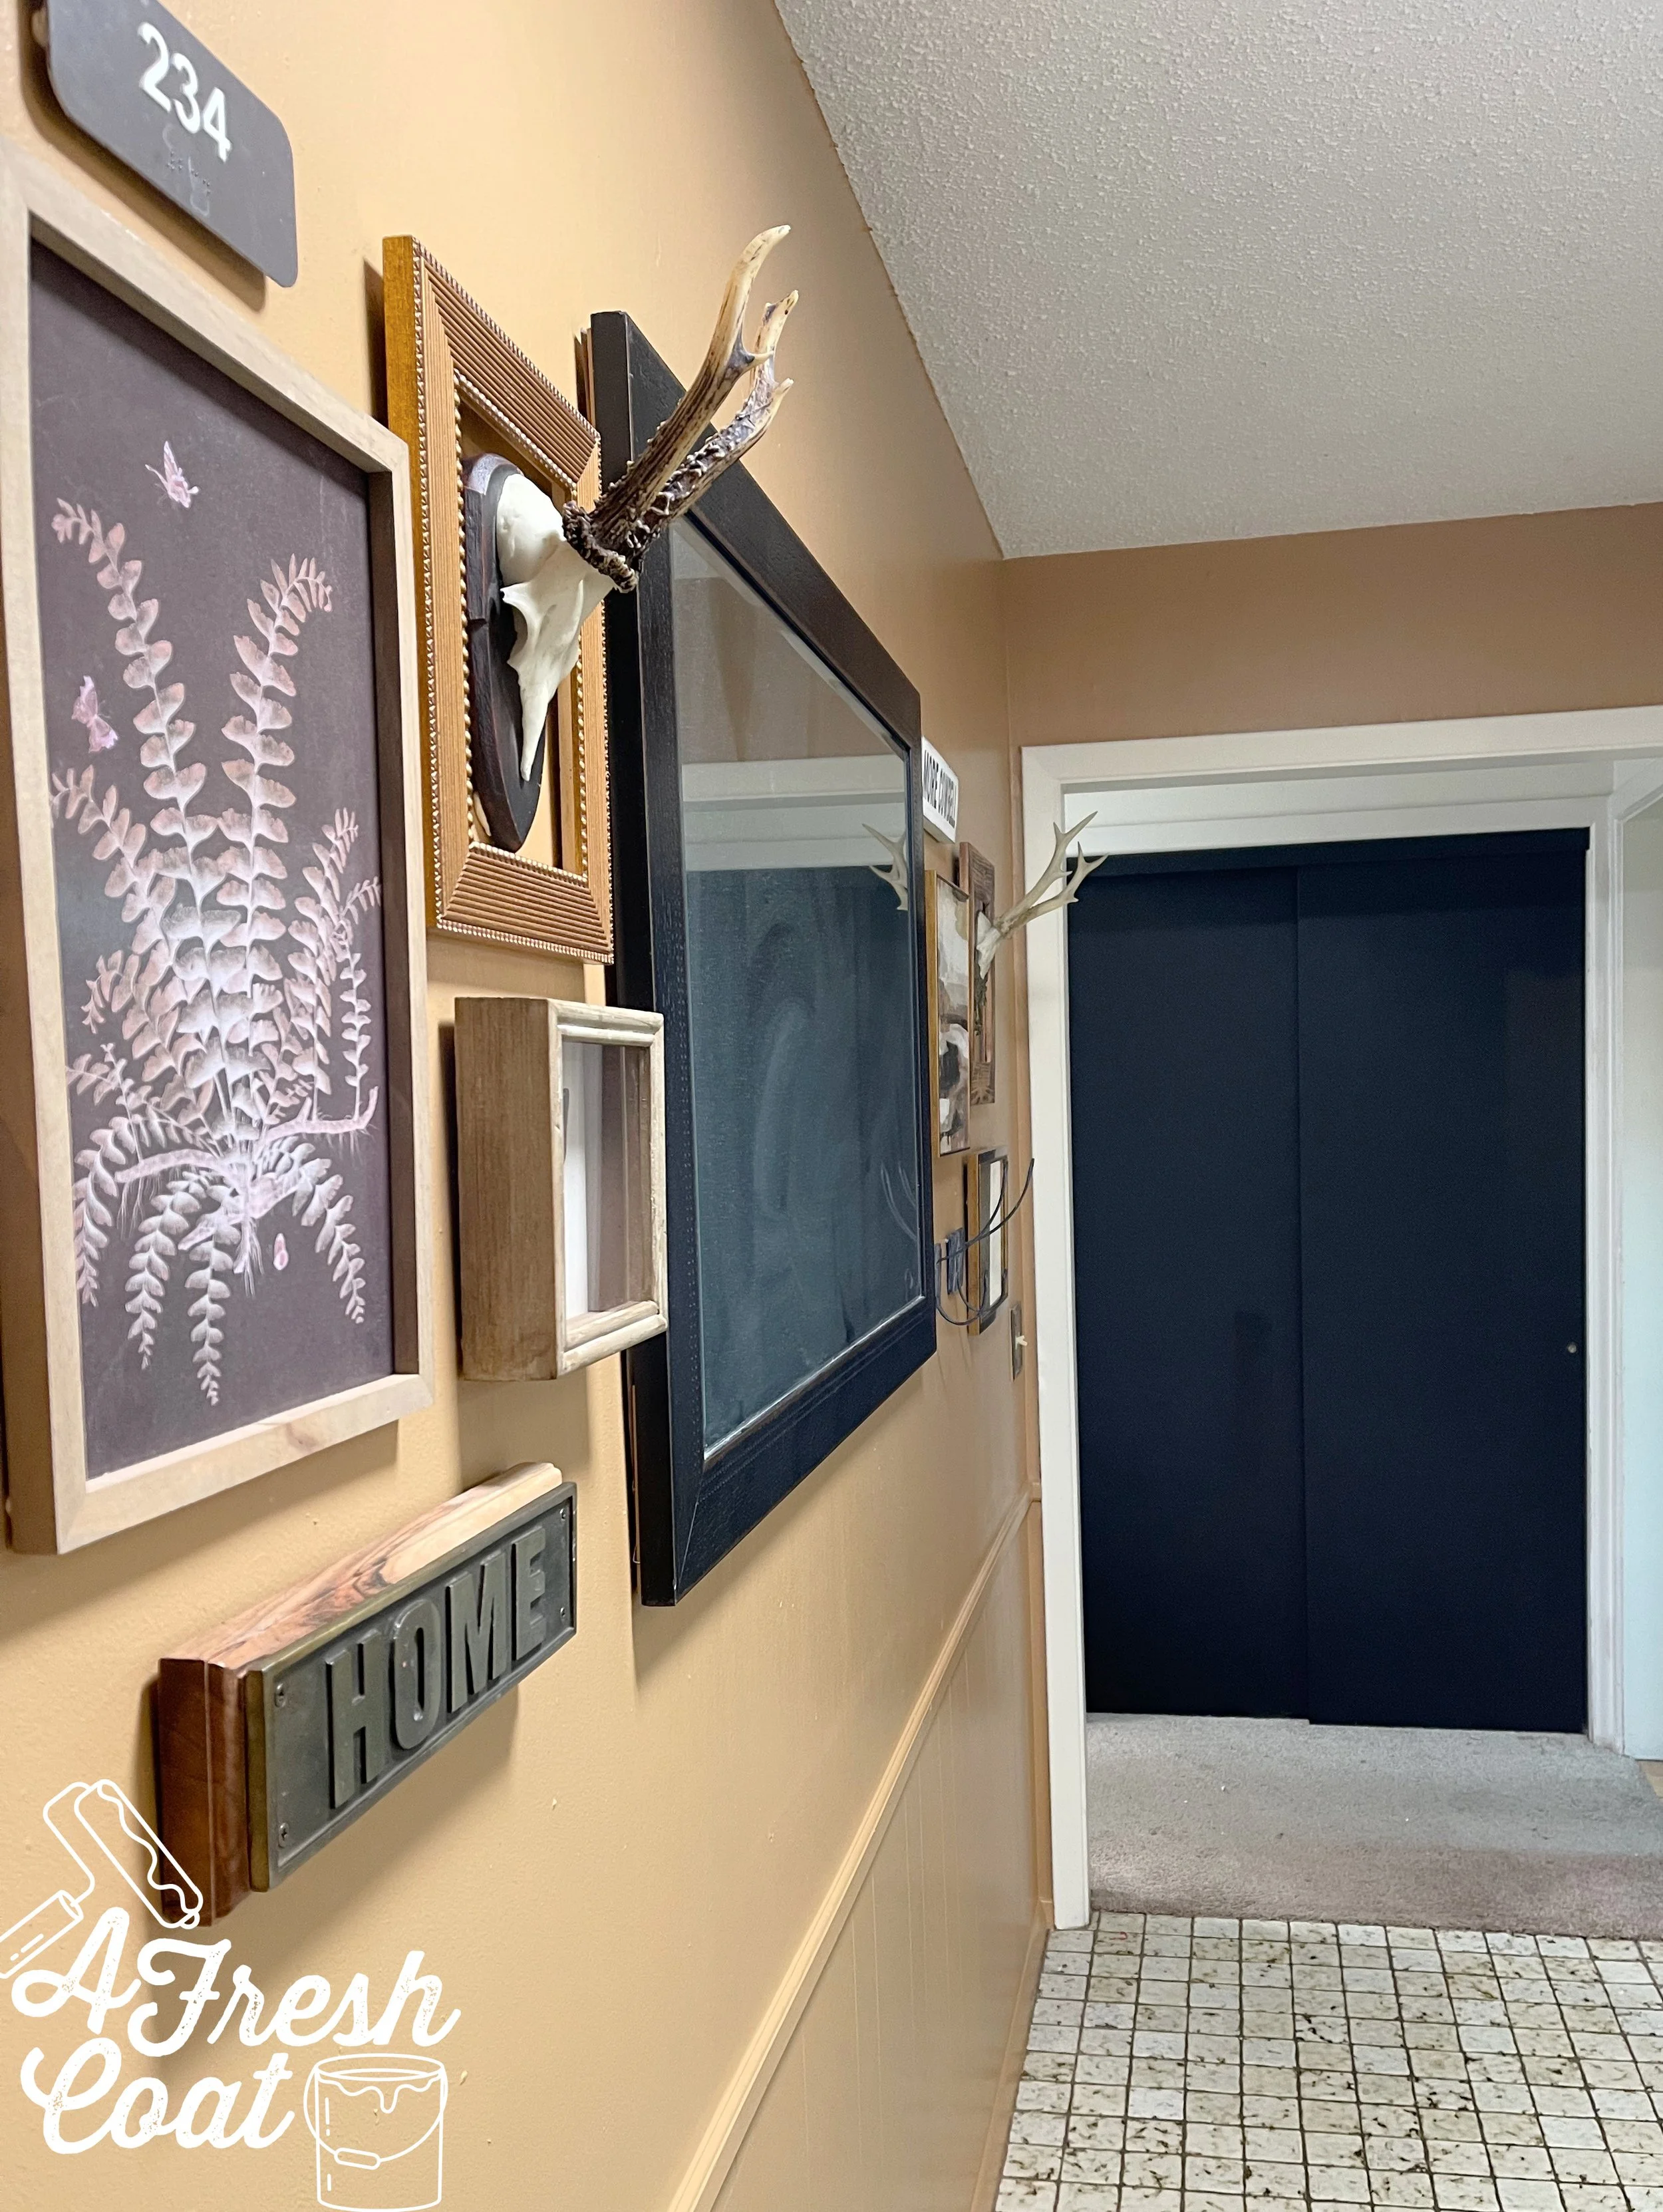
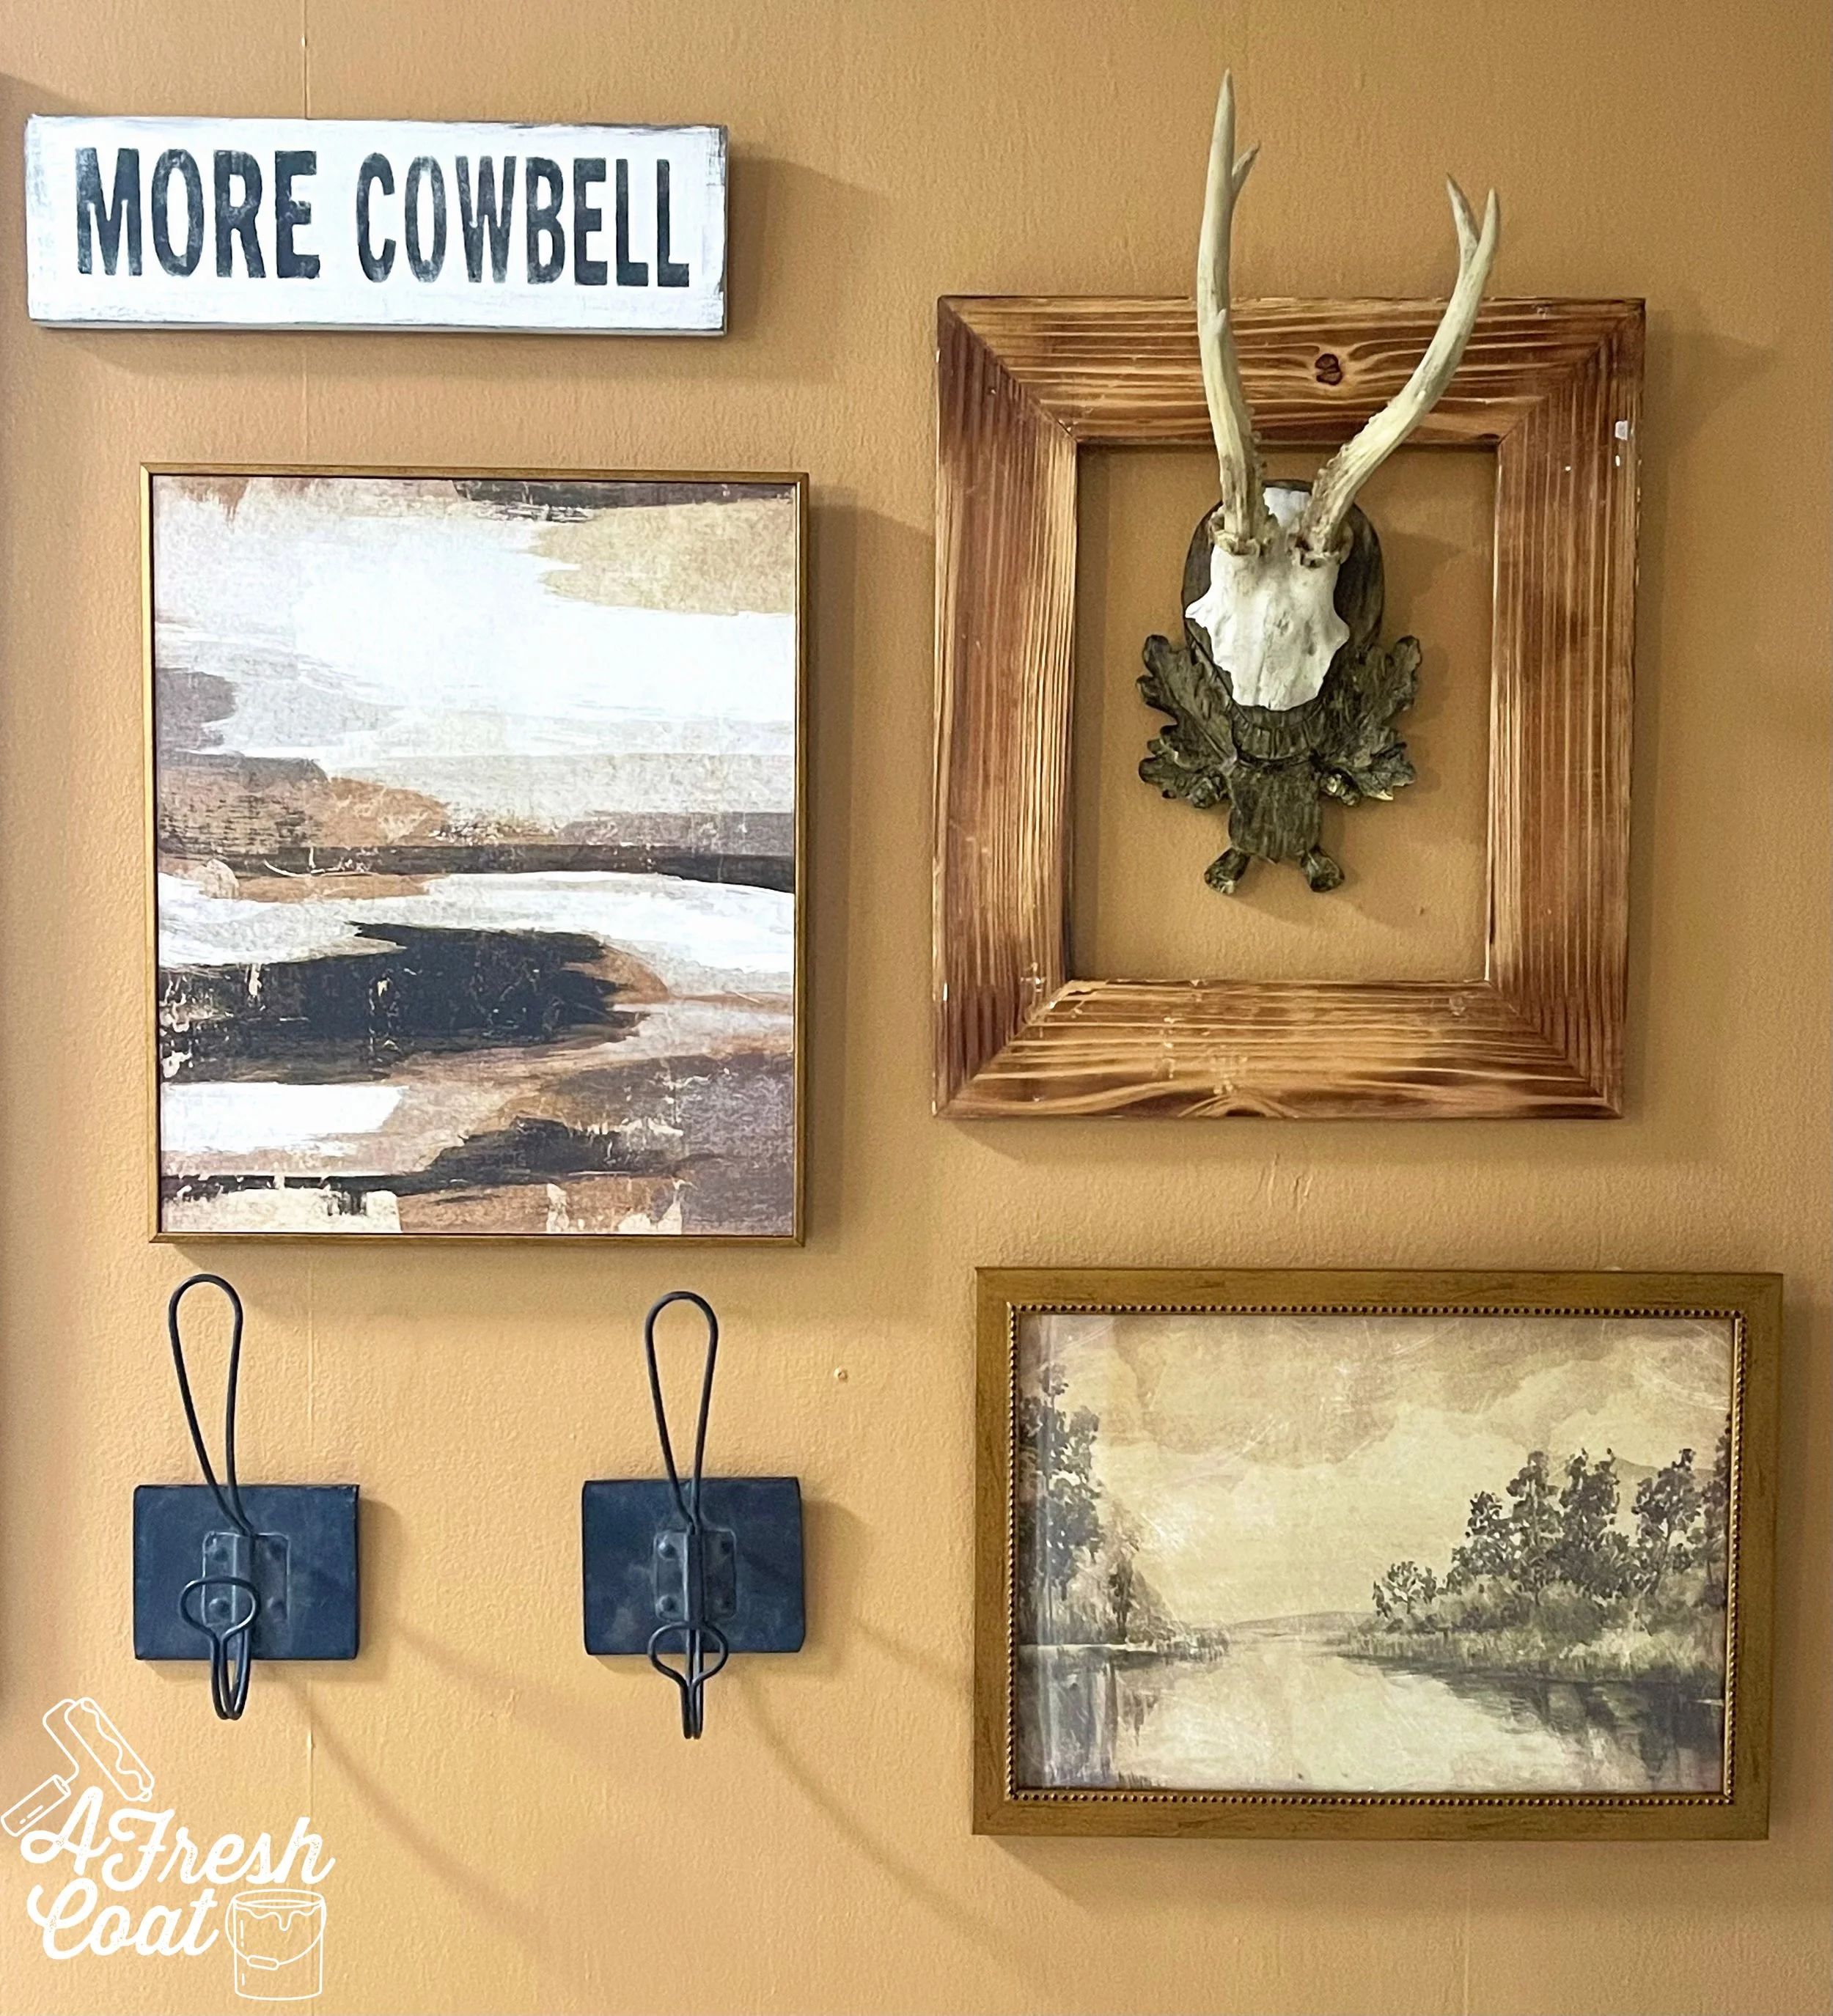
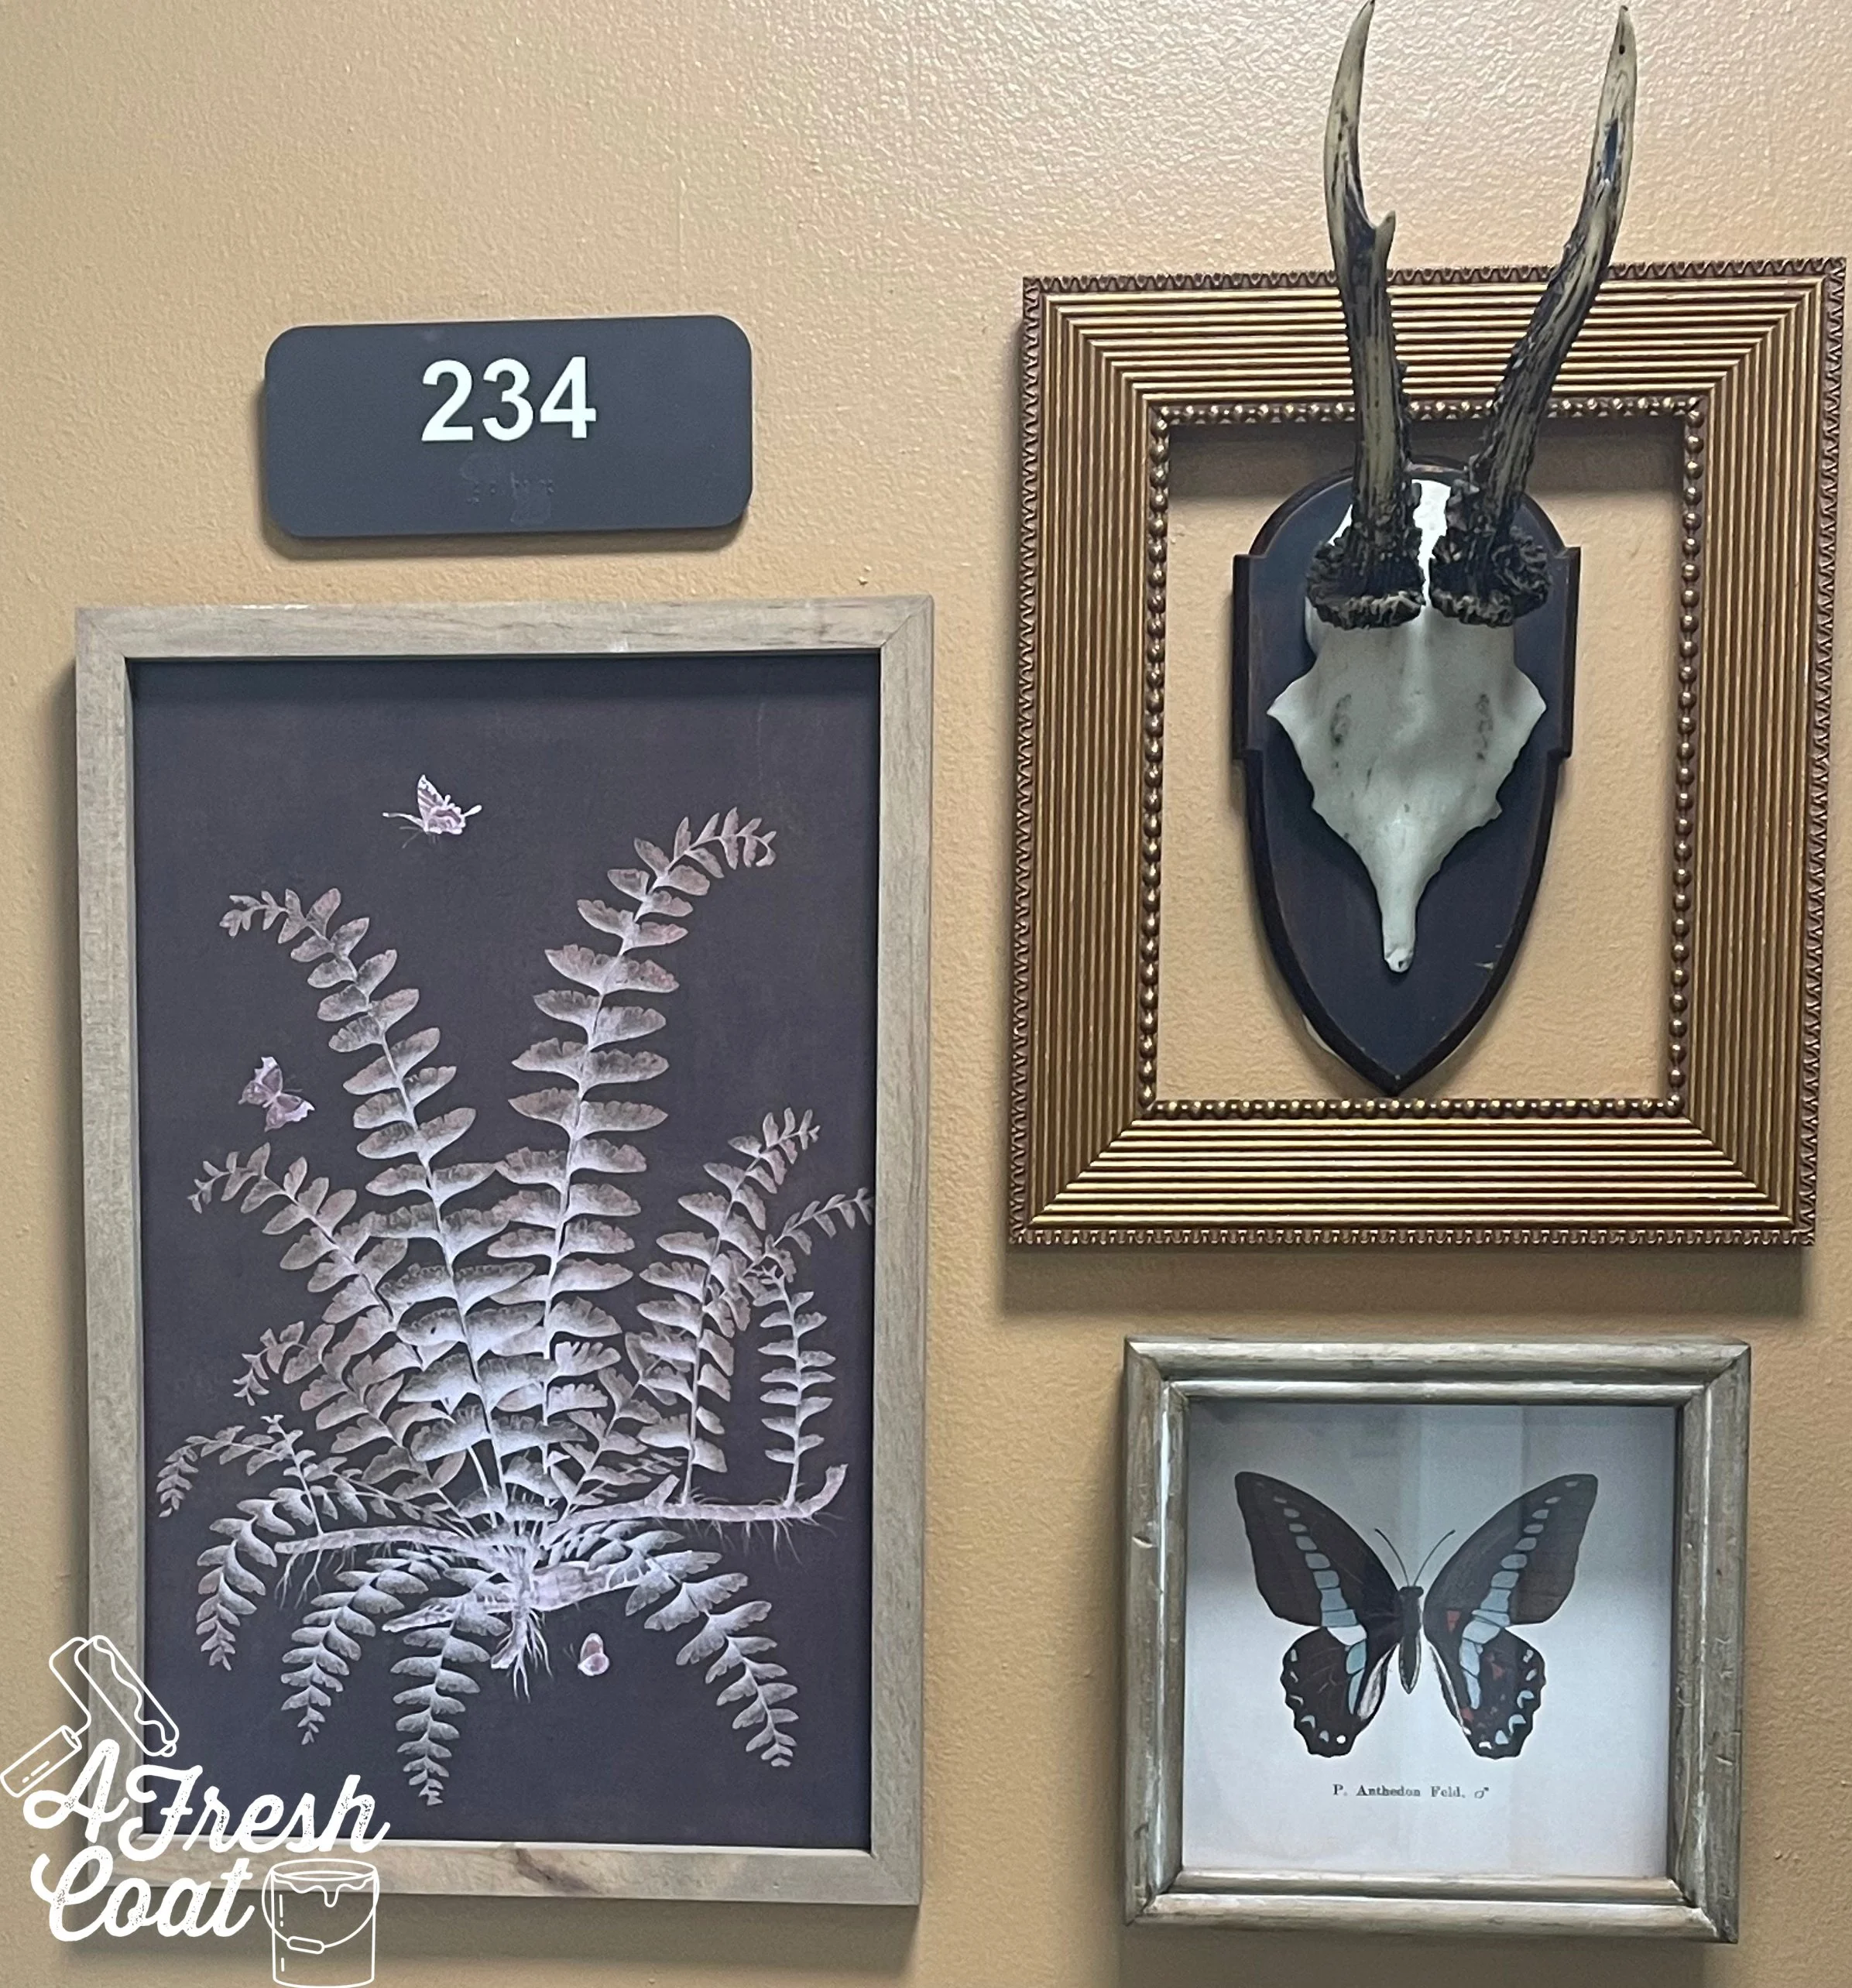
One of my favorite parts of Annie’s dorm room last year was the collection of artwork and photos we collected and curated prior to moving her in. We literally brought every piece over to this home and incorporated them all here.
We also added in an inexpensive live edge side table from HomeGoods, and that really cool lamp from Target to finish it off.
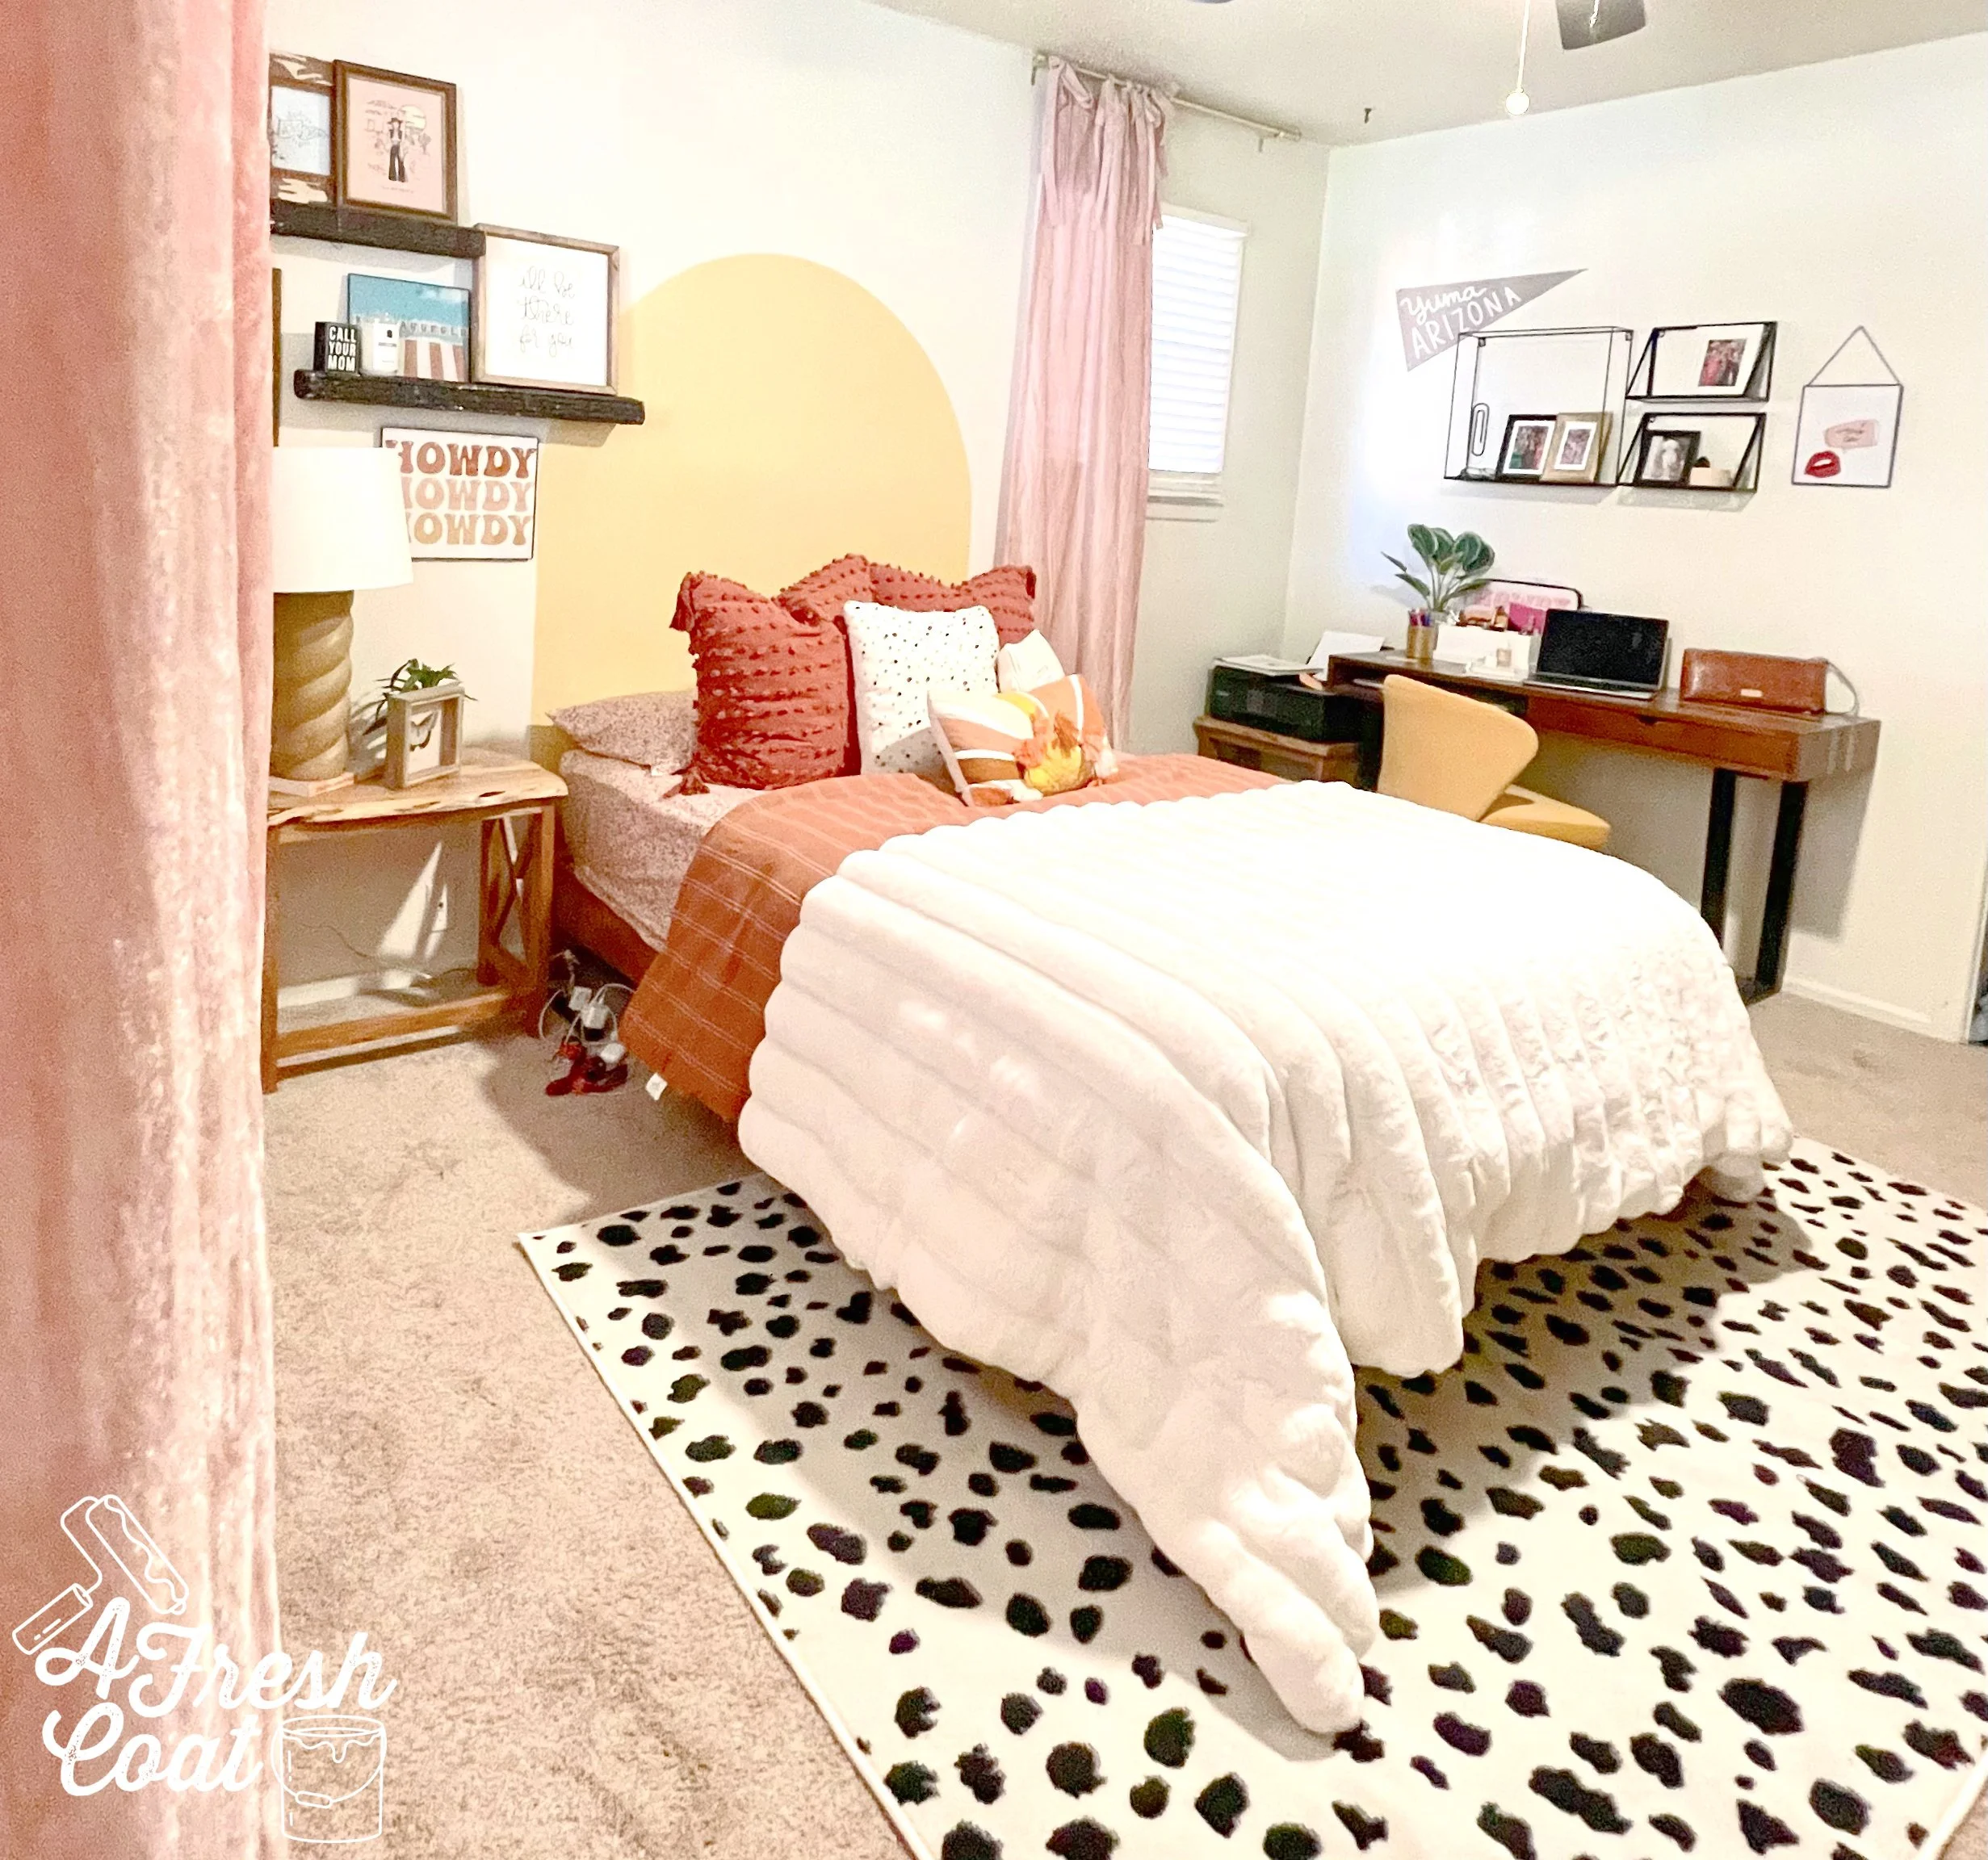
Next came the draperies.We scored these babies off of Amazon for super cheap and they worked perfectly! A crushed pink velvet with ties at the top to add a bit more femme to this space.
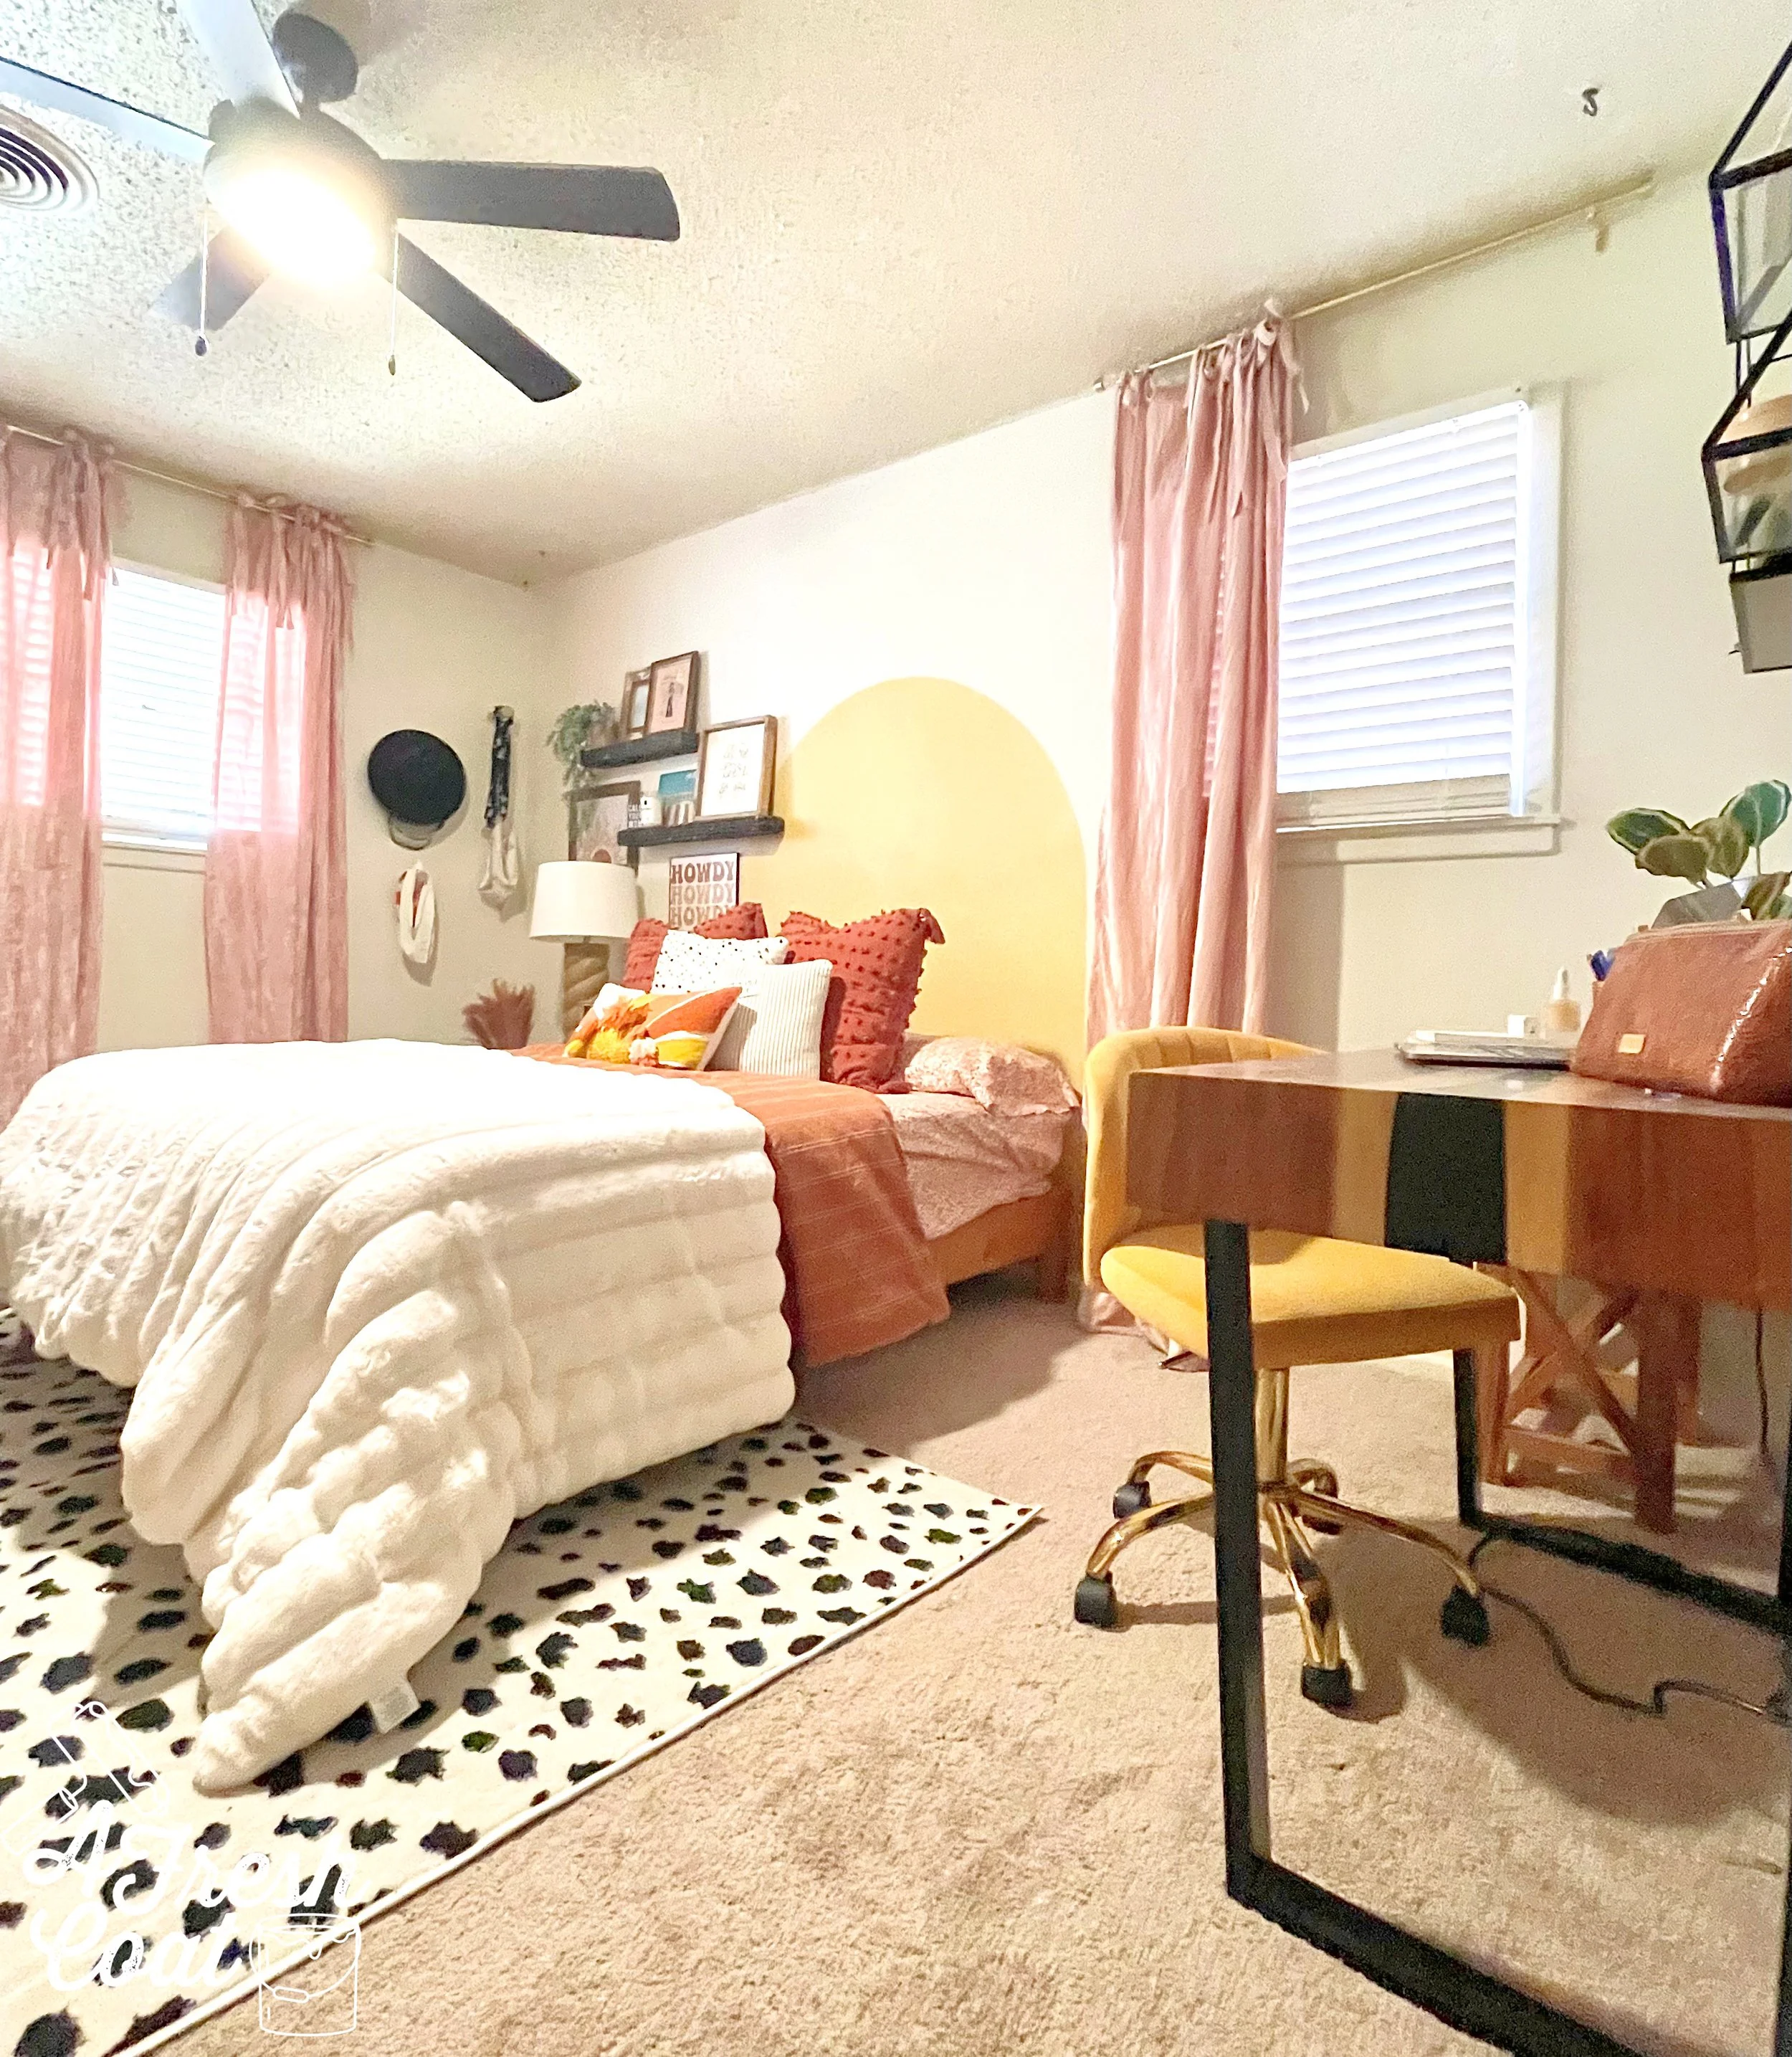
A really great live edge desk from World Market (on sale) fit the room perfectly as did the mustard yellow velvet desk chair I grabbed from Overstock to go with it.
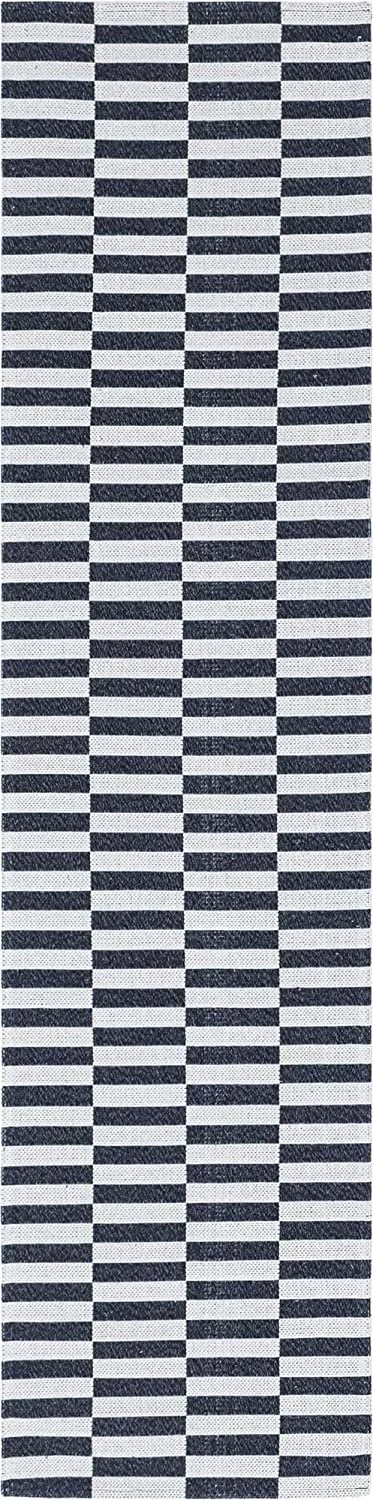
Those items combined with a finishing touch—a Dalmatian print area rug and bam (!), this baby was done!
I love being able to do these projects for and with my girl…and I love her style.
Leaving Lubbock is never easy but the trips are never devoid of productivity, some serious shopping, and loads of fun.
THE DETAILS
Paint: Sherwin Williams Creamy
Paint Labor: A Fresh Coat-Yuma and Kari Bhana
Bedding: Target, Amazon
Throw Pillows: Target, Dandy Home & Ranch
Shelving: Dandy Home & Ranch
Lamp: Target
Wall Decor: Etsy, Target, Hobby Lobby, Rebel & Rove, Fearfully Made Creations
Desk: Cost Plus World Market
Side Tables: HomeGoods
Draperies: Amazon
Area Rug: Overstock
Desk Chair: Overstock
Ceiling Fan: Home Depot