
As I sit down to write this post we are exactly T-3.5 days until Christmas…and counting. Seriously, I have no clue where December went but I do know that a major project in my home is officially finished as of today—just in time for Christmas.
And I couldn’t be more excited!
When we moved into this house over four months ago, I knew one of the first things I wanted to renovate was the fireplace. The previous owners had done a nice job adding their own touch, but it just wasn’t me. There wasn’t a mantle, really-—a ledge would be a more accurate description—and the angles of the unit were off, just as the hearth was a bit strange with varying heights in addition to. It just wasn’t working and as the focal point/center of the family room, it needed some help.
I knew I wanted shiplap. White shiplap. I also knew I wanted a big, chunky, rustic mantle as well (10” deep, 8” high, and 54” wide to be exact). Oh, and concrete. I wanted the look and feel of concrete on the fireplace surround to add a more modern feel to it.
After searching on Pinterest and meshing multiple images and ideas , I was able to visualize the design of the new fireplace, the desired materials, and the goal for the new hearth.
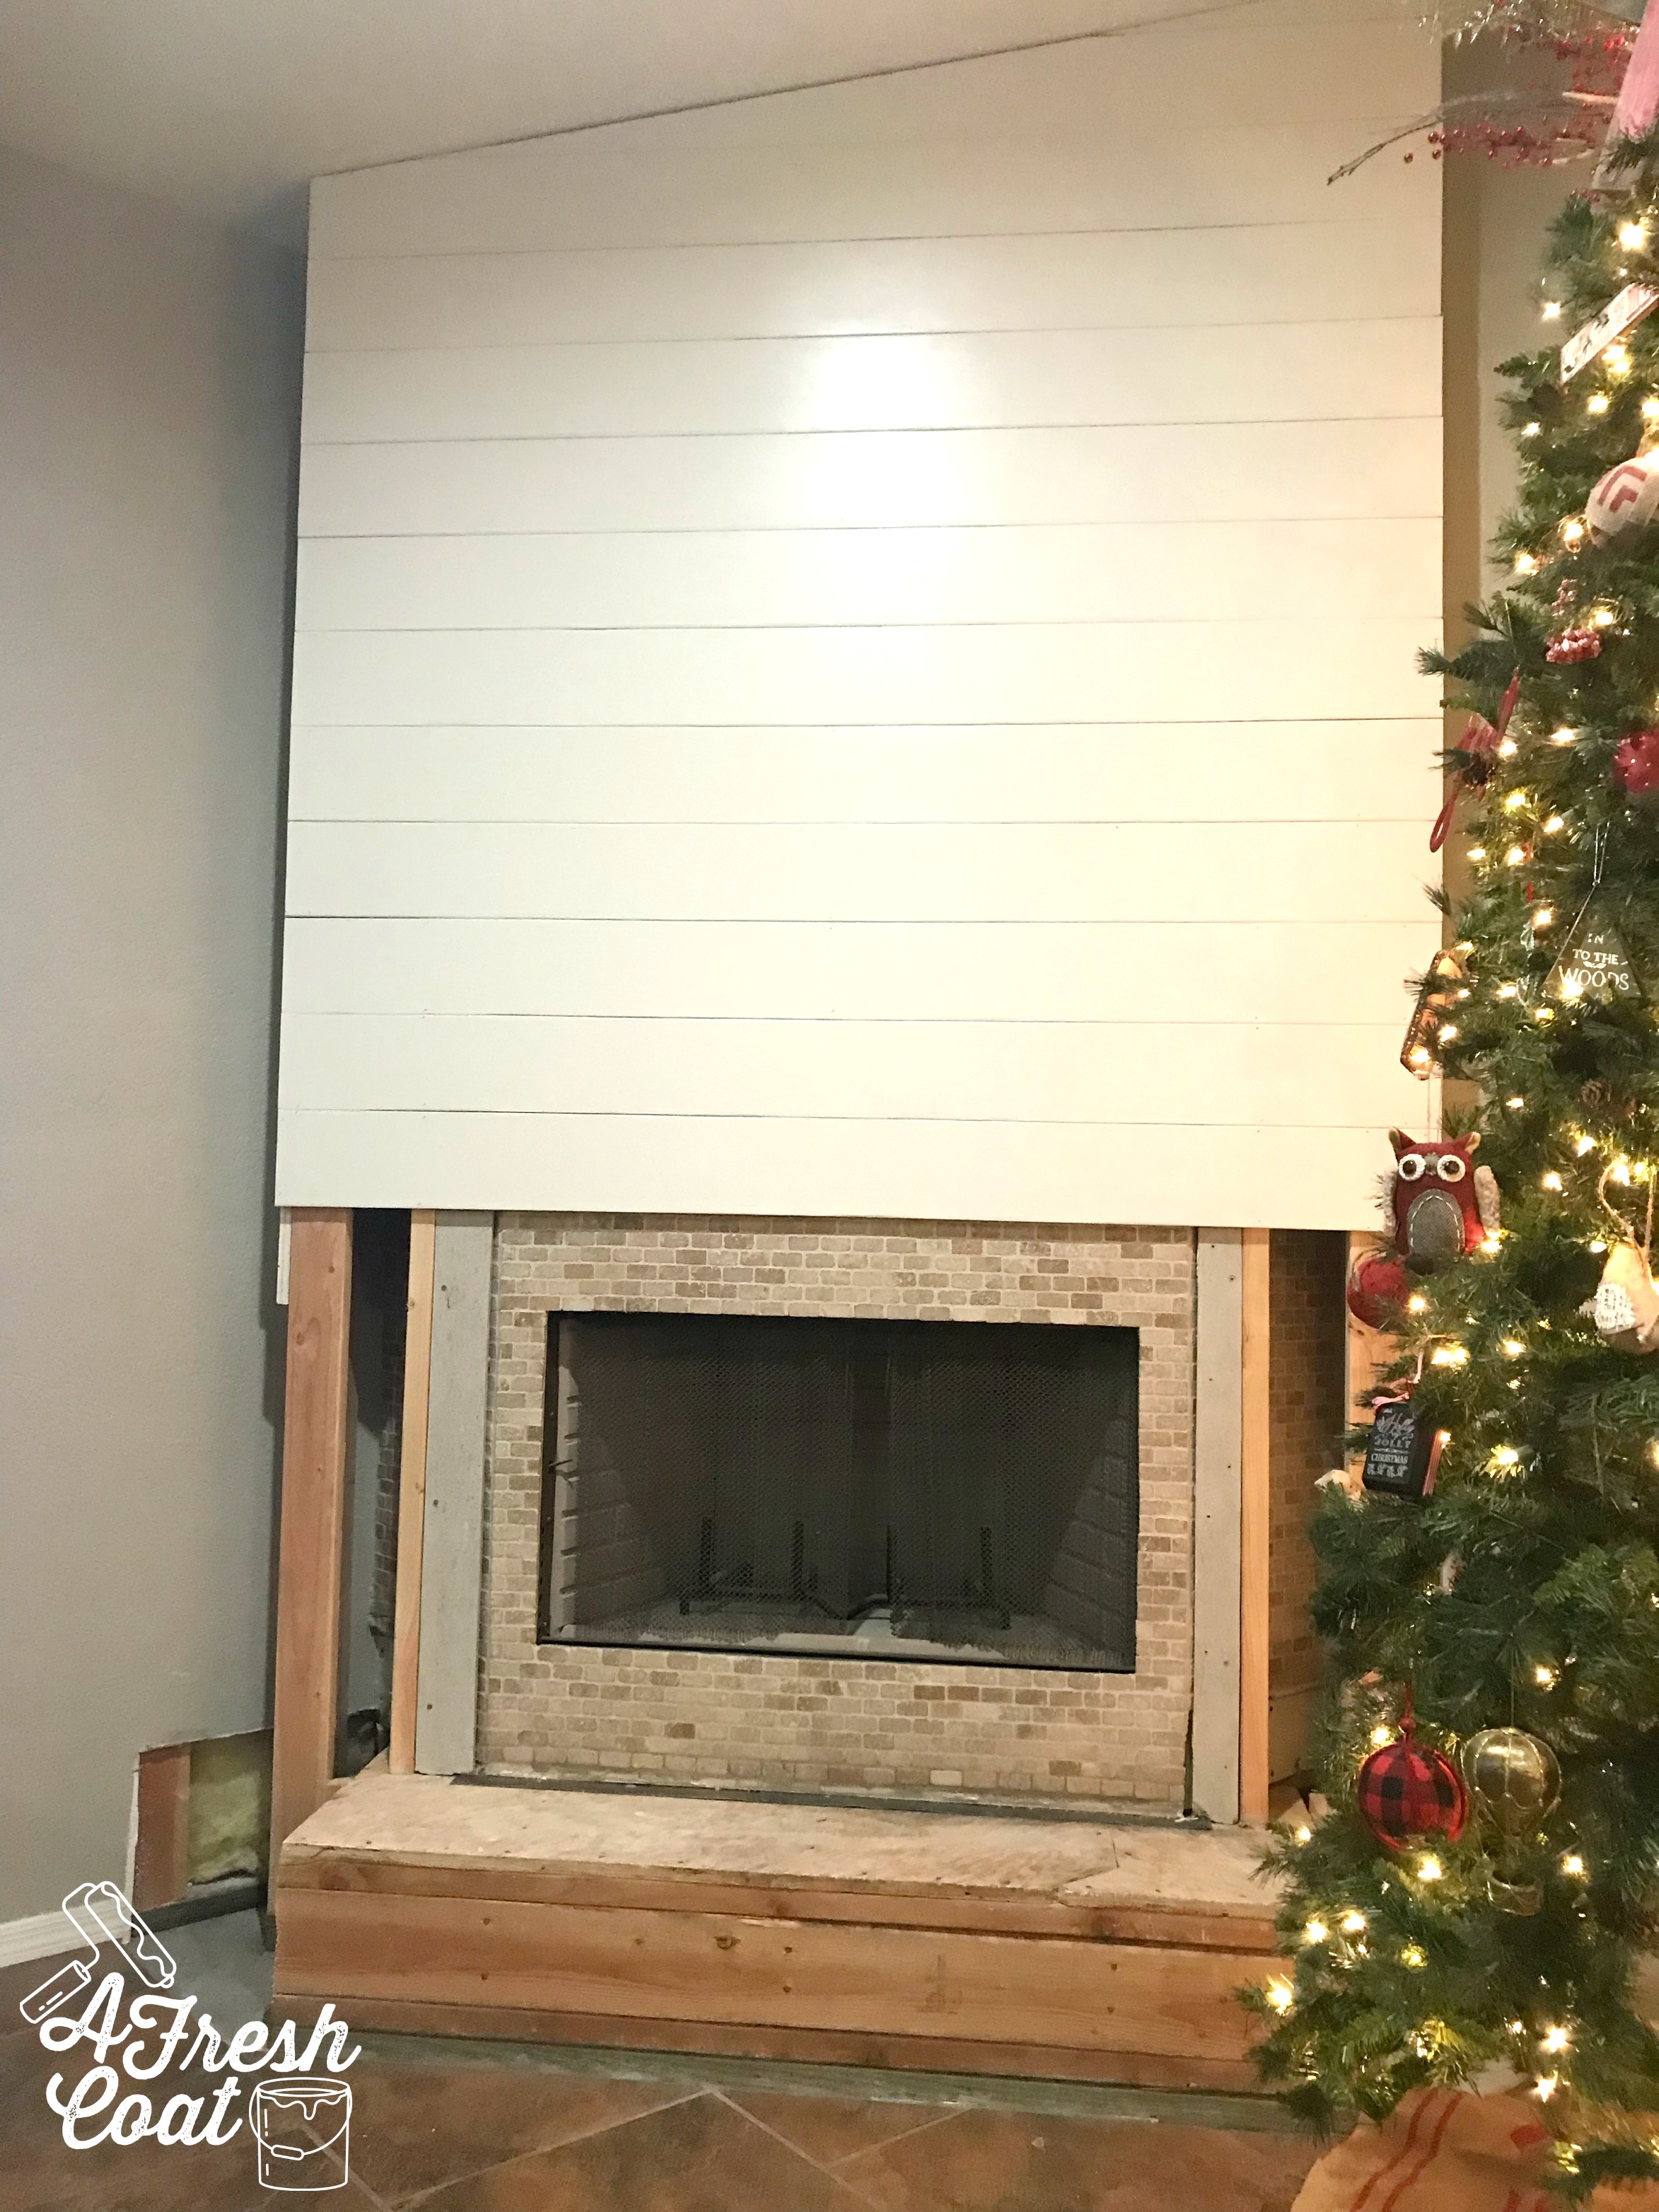
But before I get way ahead of myself, here’s where we started along with where we finished. I still can’t believe the transformation. It turned out even better than I had hoped!


Here’s how it all went down.
1.) Shiplap: I recruited —okay, begged(!!)—local carpenter, Nate Koogle to tackle this project for me, and once he agreed, he busily got to work. After sanding down the 16 pieces of pine boards needed for the new fireplace, he then handed them off to me for painting. I used Sherwin Williams’s Alabaster (my fave for trim and molding work) in a semi-gloss finish. Honestly, I didn’t even prime these boards like I should have. I just slapped on three coats and boom! Done.
2.) Framing: Nate figured out everything about this project. The new angles along with the necessary framing needed to transform the shape of the unit. Once the framing was in place, the shiplap boards made their way up.
3.) Mantle: As I stated earlier, I knew I wanted rustic, thick, and chunky and after searching on Etsy, I narrowed down my search to one seller. The only problem? The $150 to ship it. I just couldn’t justify spending that amount. It was actually painful thinking about it. Instead, I contacted Kyle Hardin (Hardin Development in Yuma, AZ), to make one for me. It was done in less than a week and I love how it turned out. The perfect dimensions for sure.

Kyle delivered it unstained as requested. I mixed Golden Oak and Classic Grey stains together in a 1:1 ratio and wiped it on. I then added a small amount of Dark Walnut into the mix to give it a bit more “umph.”
Unfortunately, I had to omit those awesome corbels because once the mantle was secured into place, the corbels were too long and big. I was bummed but still love the outcome.
4.) Tile: Okay, this was the hardest and easiest part og the whole project. I knew I wanted the look of concrete and wanted the finish to appear seamless. I didn’t necessarily want to pay for the construction of a complete concrete surround, so I committed to finding a grey tile in 48” dimension (length) instead. Locally, I was out of luck so I resorted to looking online instead. Wayfair had just what I needed *cue jingle* and the price? $60 with free shipping. Not bad.

However, here’s where it got a little hairy.
Due to the size of the tile, it needed to ship via freight carrier. Shipping took a month and when it arrived, it was the wrong tile! I was so bummed. Wayfair replaced it, no problem, but I had to wait another three weeks to get the tile I originally ordered. Labor of love for sure and a serious test of my patience but it was worth it.
BUT(!), when the tile came in, I wasn’t overly excited about how it looked in person. The color seemed slightly off—less gray and more of a brown. I kind of freaked so I ran to the boneyard of a local tile facility and found two different options just in case.
My anxiety was put to rest though. Once Kyle made the cuts, the look was perfect! Seamless (for the most part), inexpensive, with a hint of movement like I wanted, and the modern farmhouse look I was hoping for for the focal point of my home.

One project done and many more to go. As for the rest of this space—new flooring has to take place and I’m itching to add some board and batten moldings to the TV/adjoining wall. I think I may enclose the fireplace with a custom fit screen also. But here’s a little before and after of what’s transpired thus far in just four short months.


Merry Christmas, friends and Happy 2019!
Love, J
The Details:
Paint: SW Alabaster in semi-gloss finish—Lowe’s.
Carpentry & Tile: Nate Koogle and Kyle Hardin
Tile: Wayfair—Grey Gris 24’x48”
Mantle Decor: Hobby Lobby and Dandy Home & Ranch
Clock: Bellacor


