Modern Colonial.
I think it’s my new fave style.
Okay, I’m not even sure if that’s truly a style but I dig it anyways.
For reals.
A few months back, I had the pleasure of working with the “C” family (and their brand new, beautiful home) when we created their daughters’ awesome playroom. Seriously, it’s one of my most favorite transformations. Like, ever. And when they asked me to come back and help create a special space for “Mr. C.” in his office, I couldn’t wait.
But, it gets better.
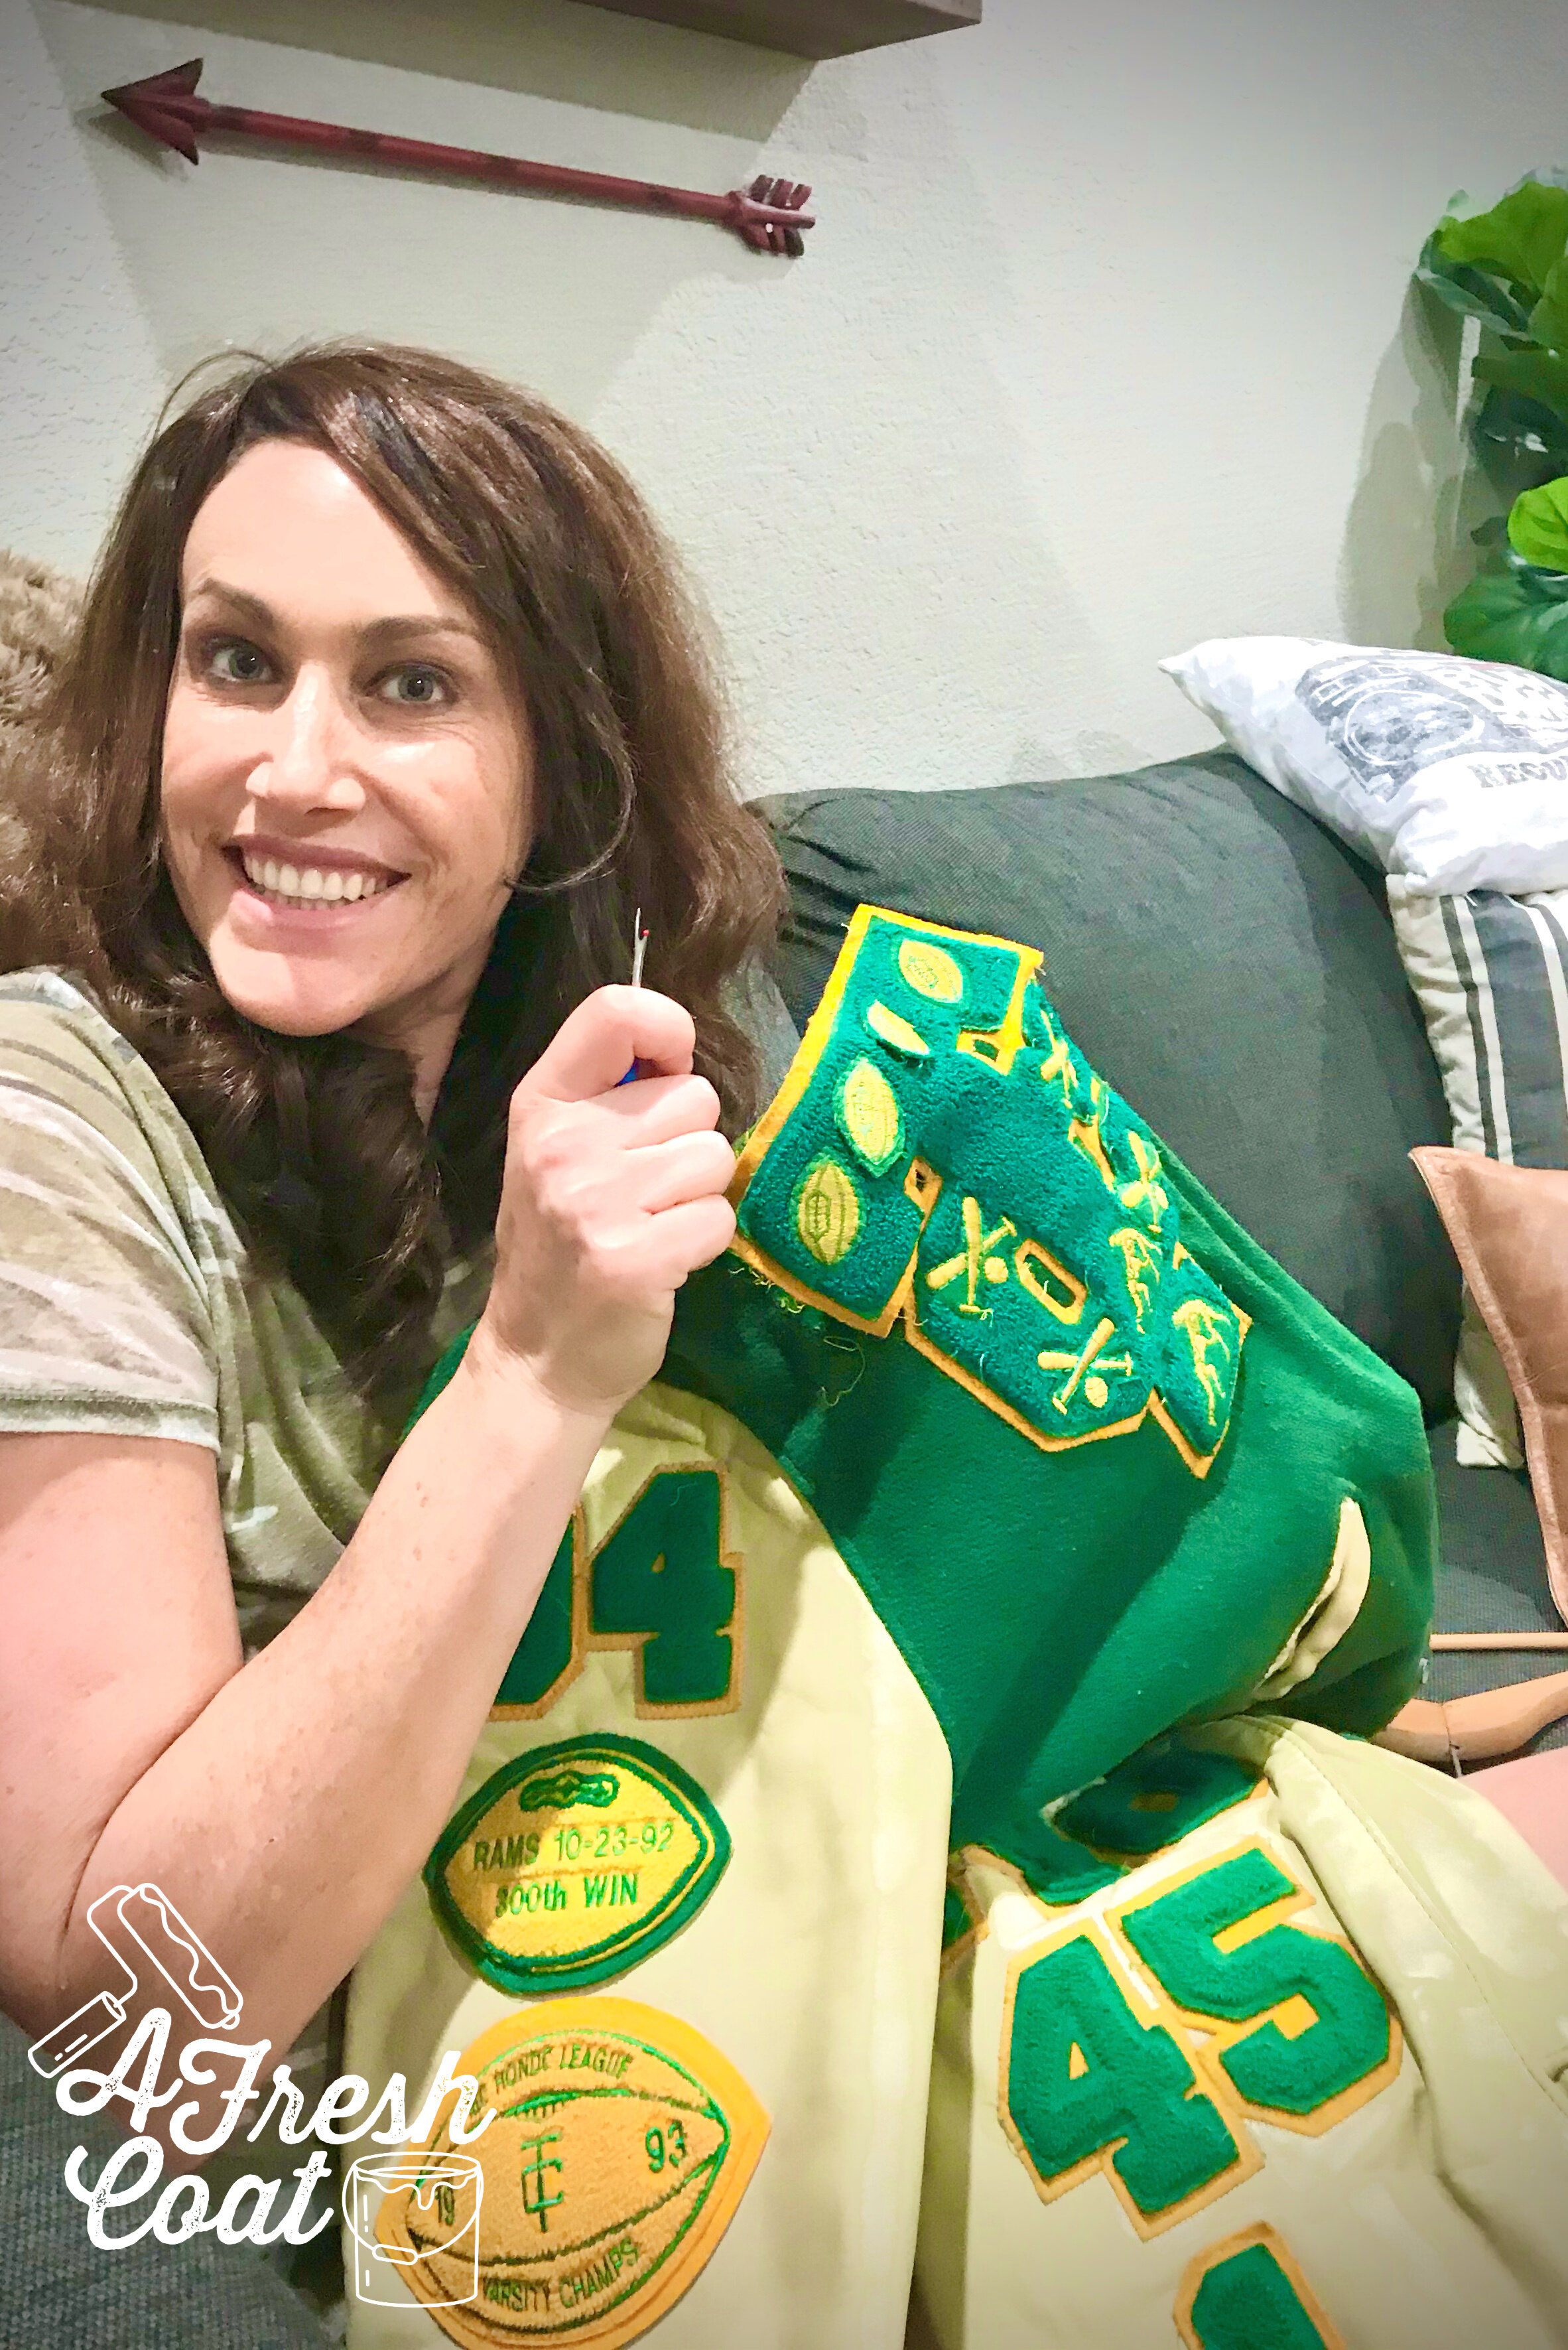
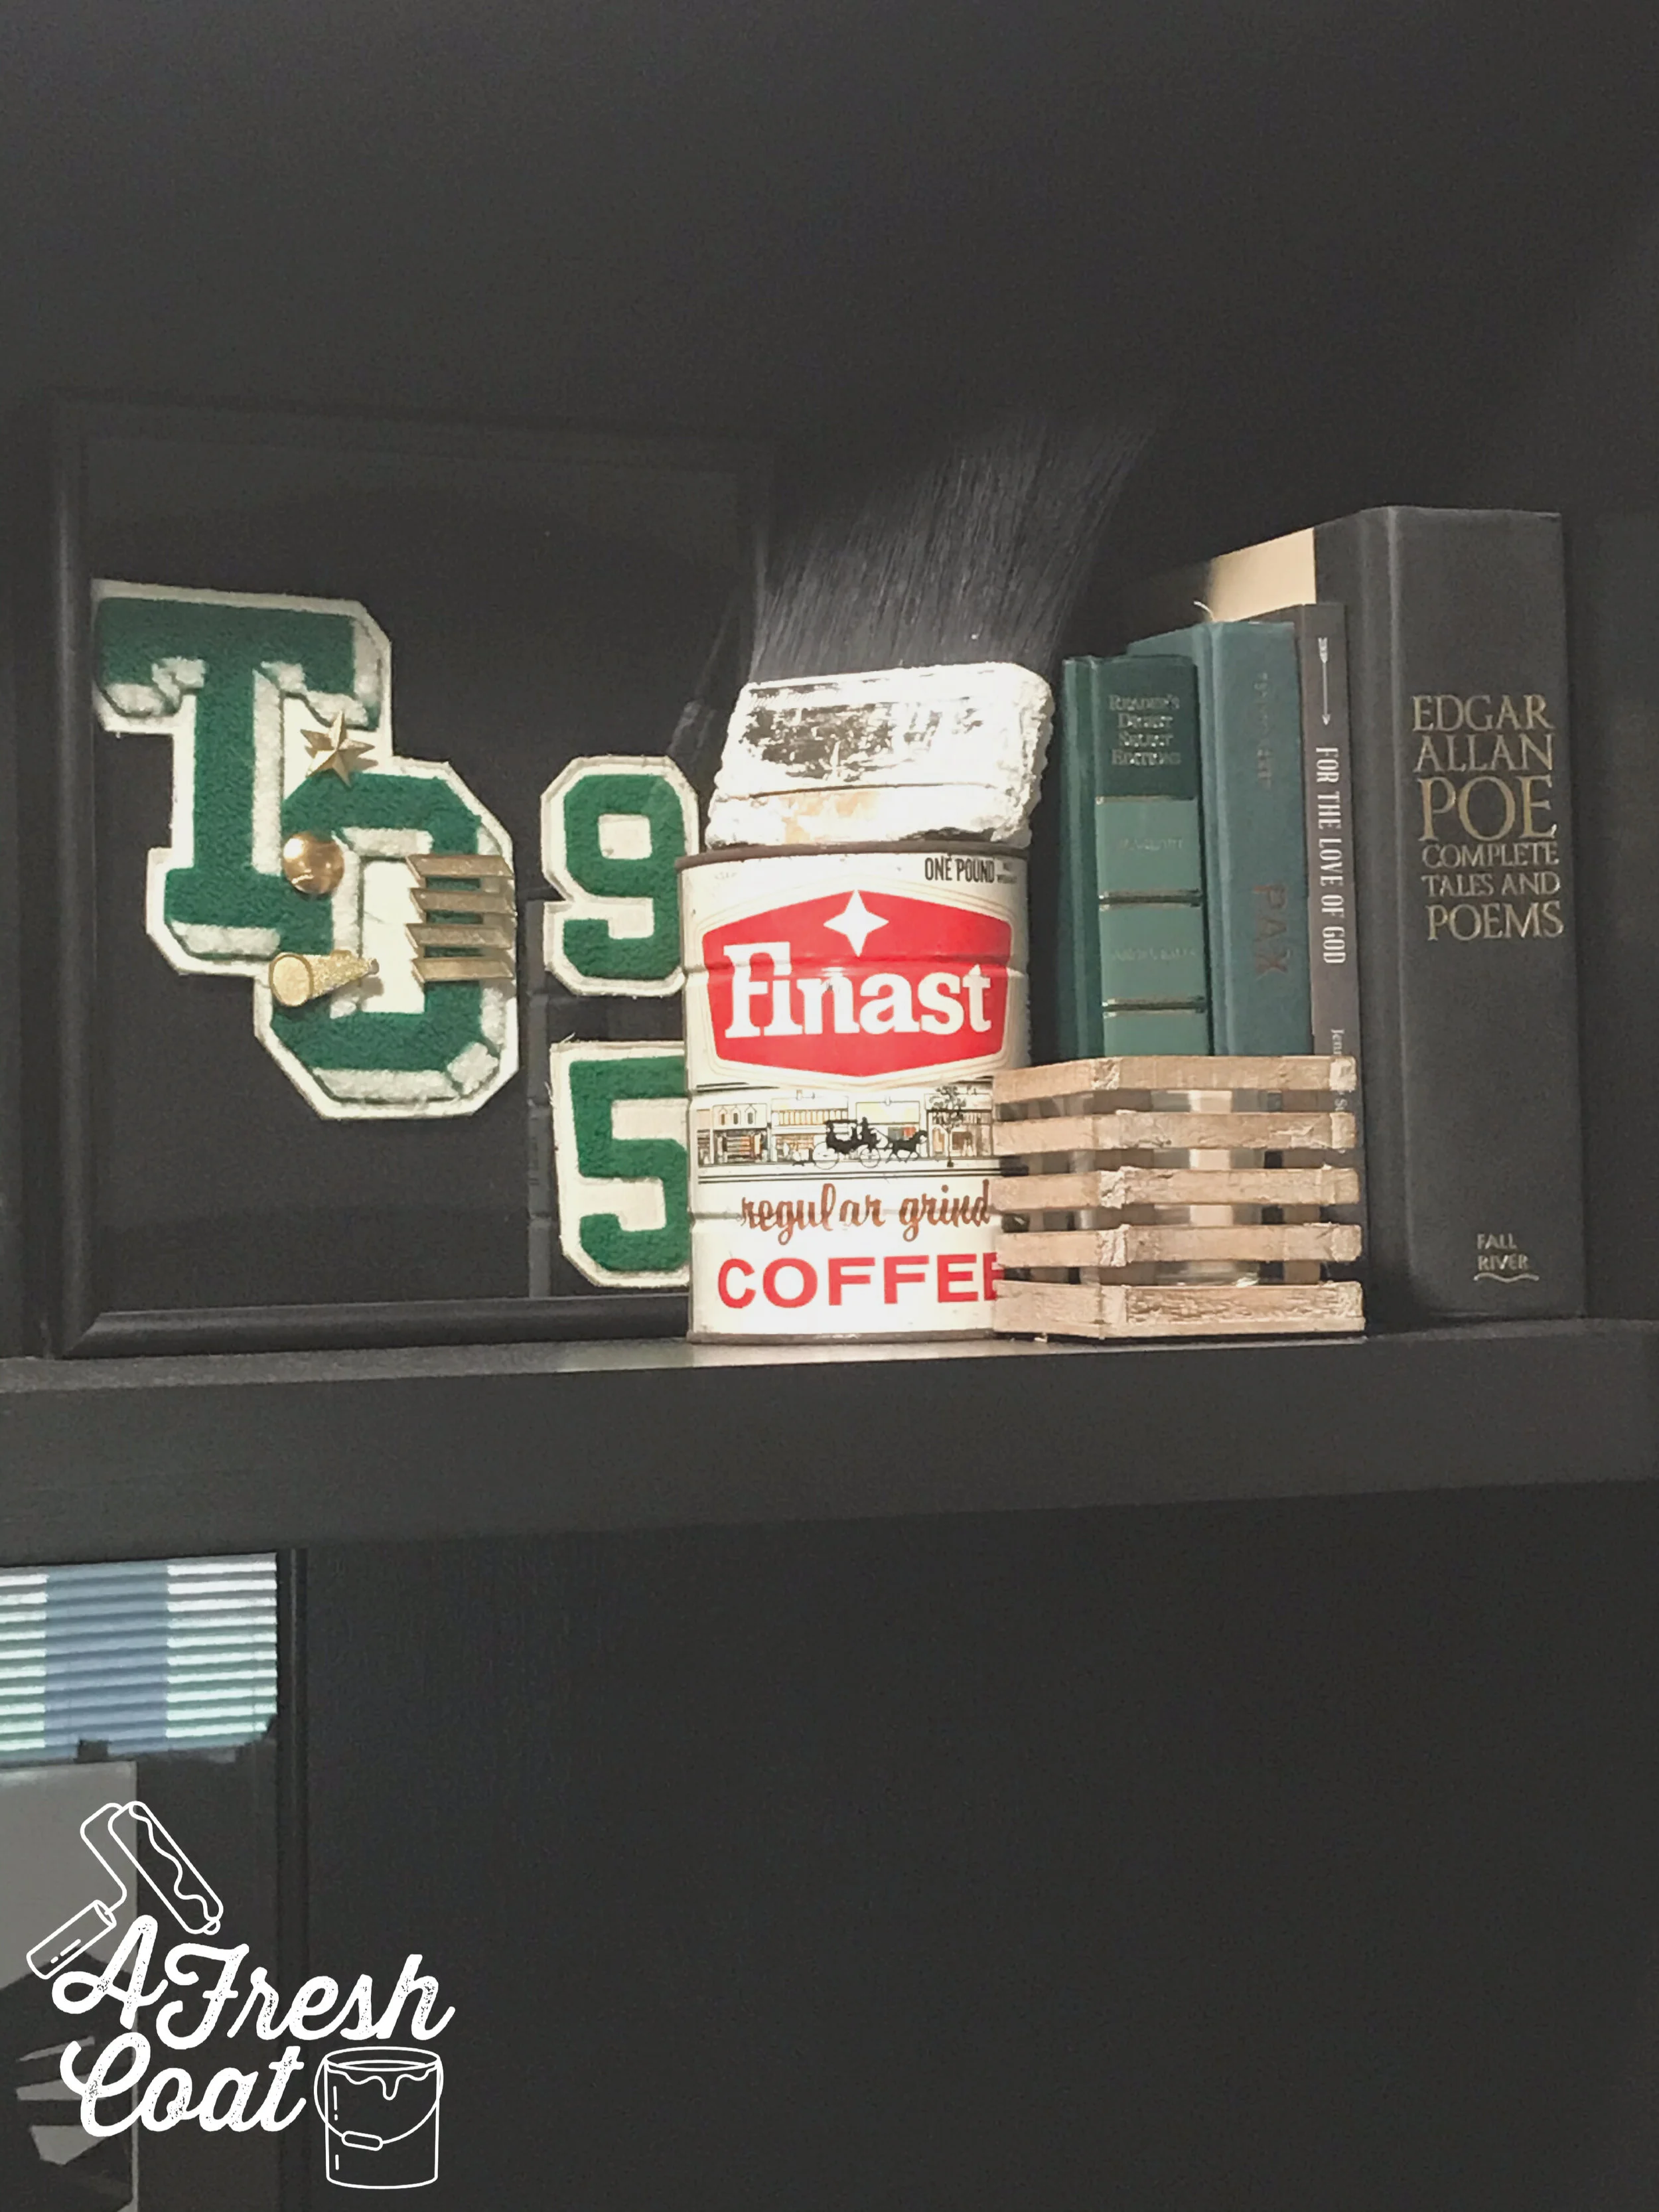
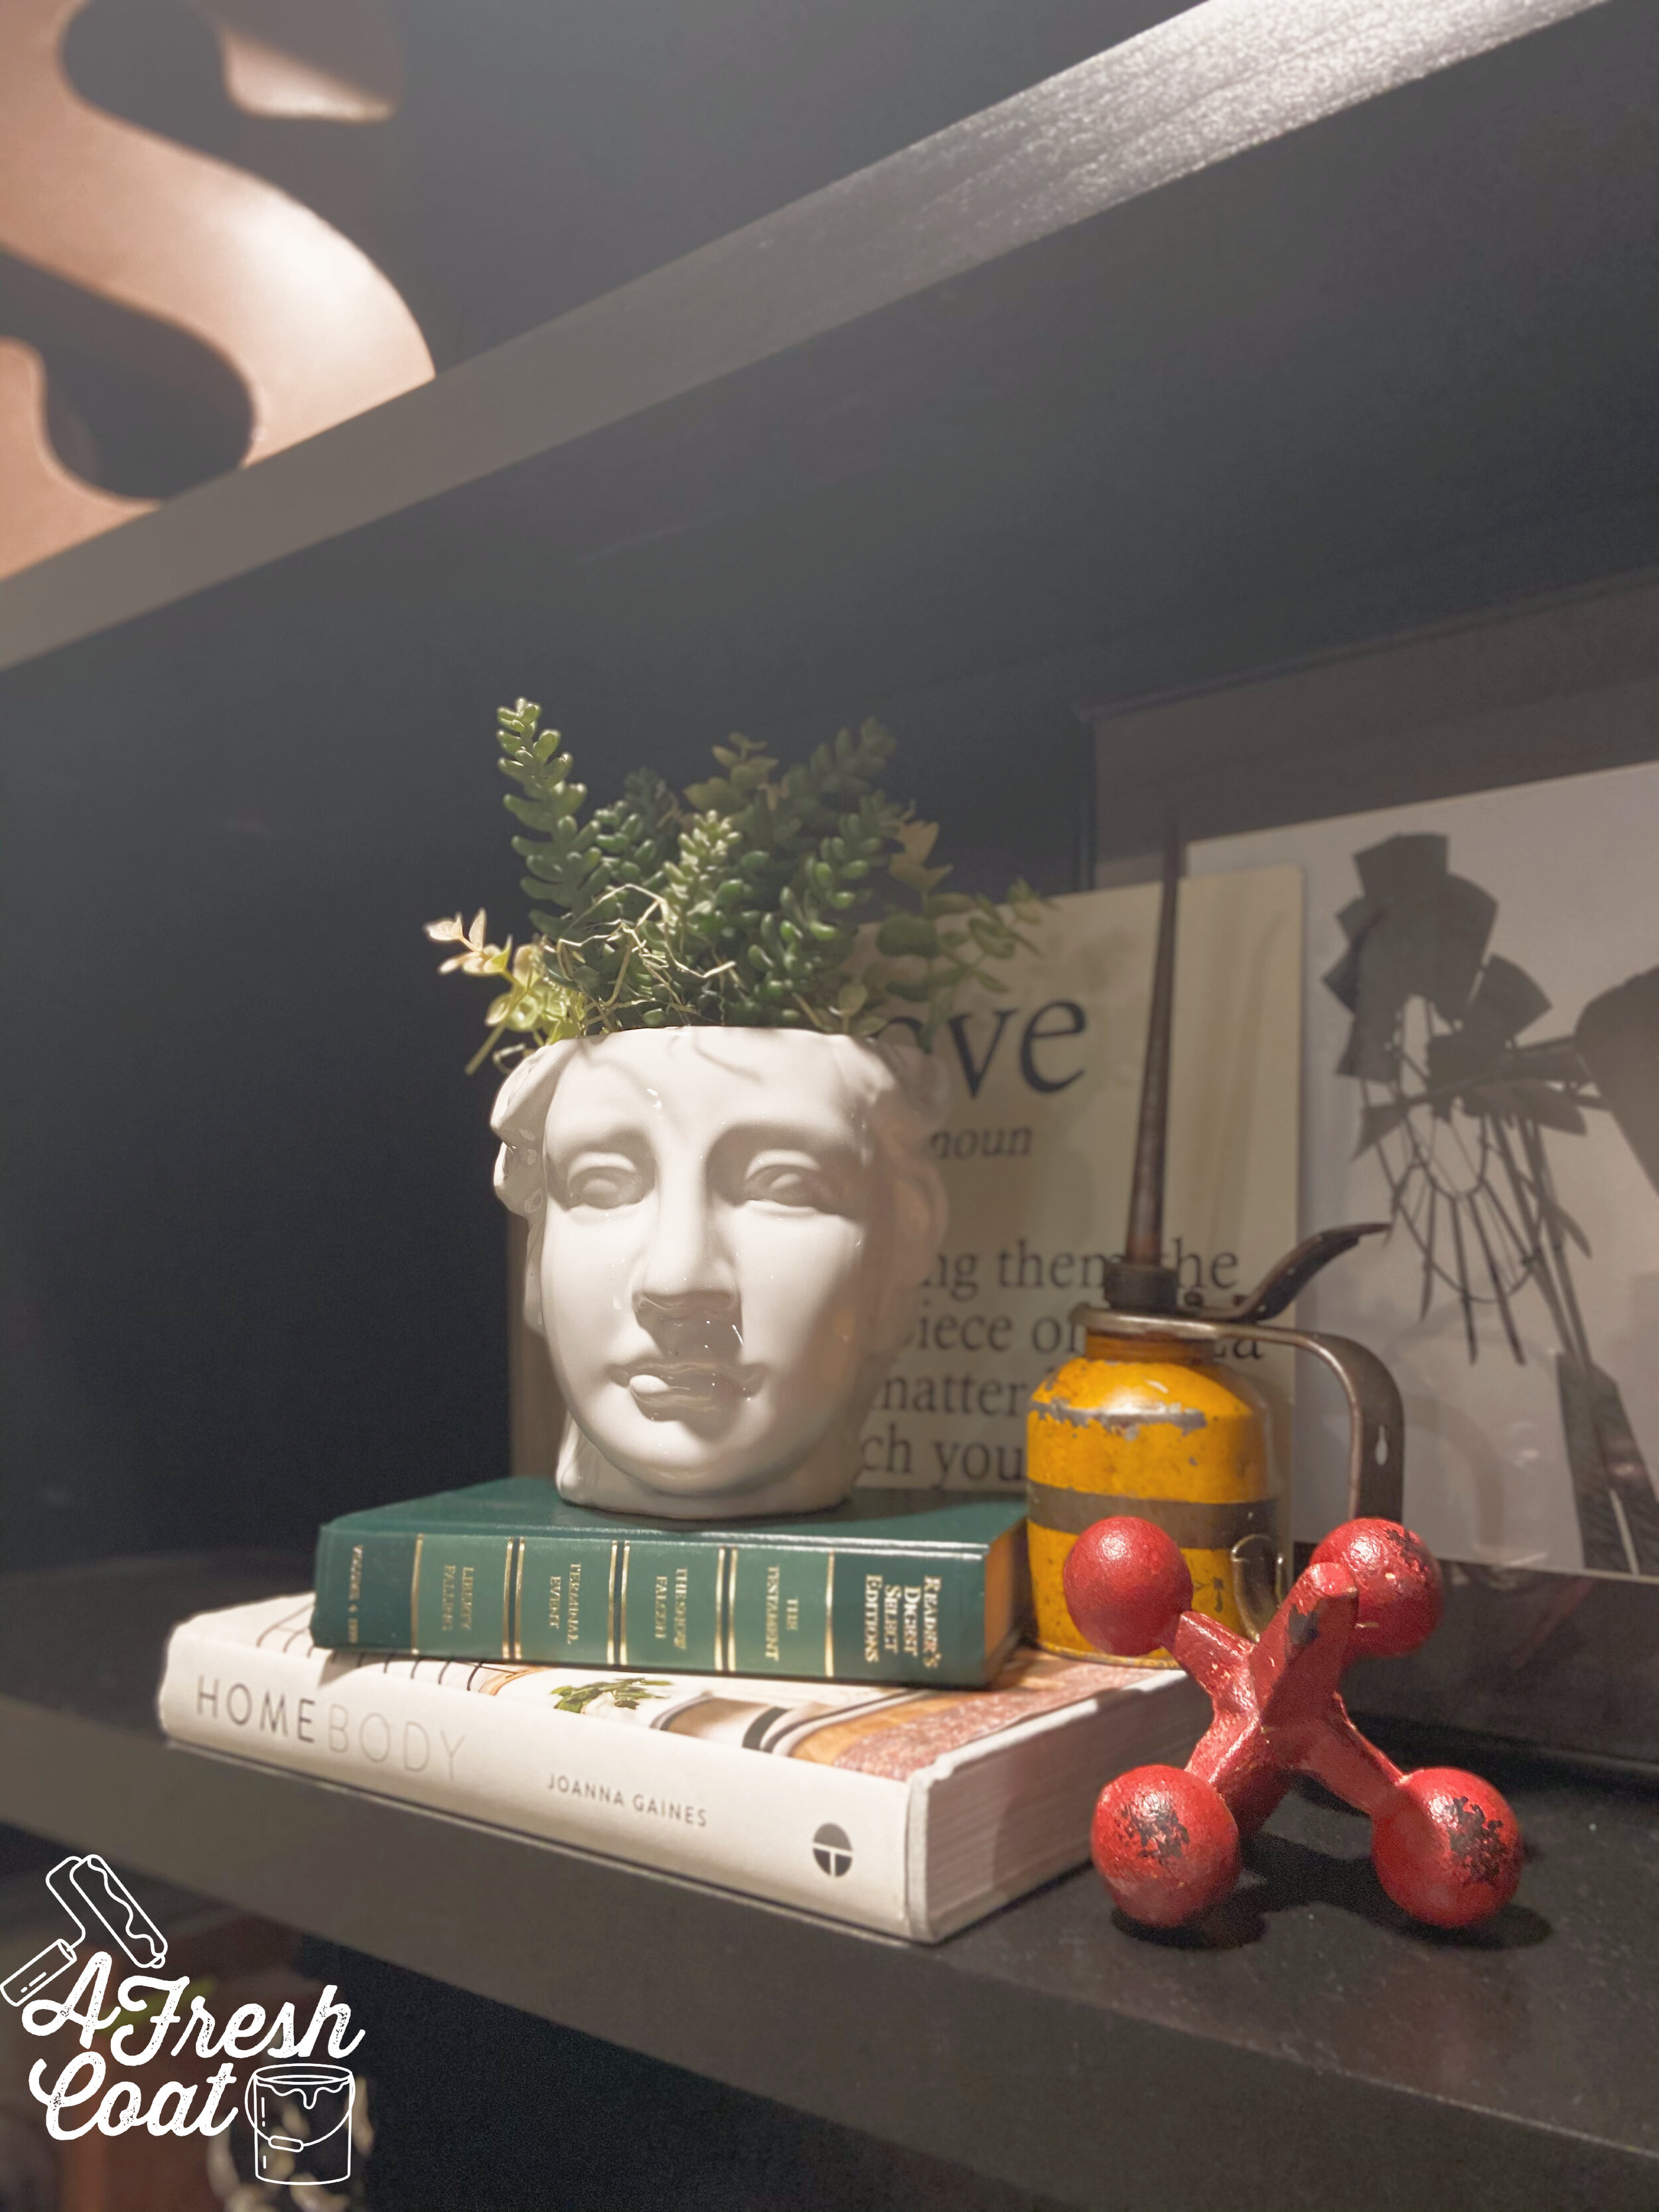
See, I love the opportunity to create spaces that blend styles. Rooms that are truly custom not because of the furniture, or lighting (I love those elements, too), but because of the items brought to life within that room—-the decor that is super sentimental—whether it be pictures (new and old), artifacts, pieces from one’s childhood, books, and the list goes on and on.
Such was the case with this space—blending old with new and creating a room that was all his.
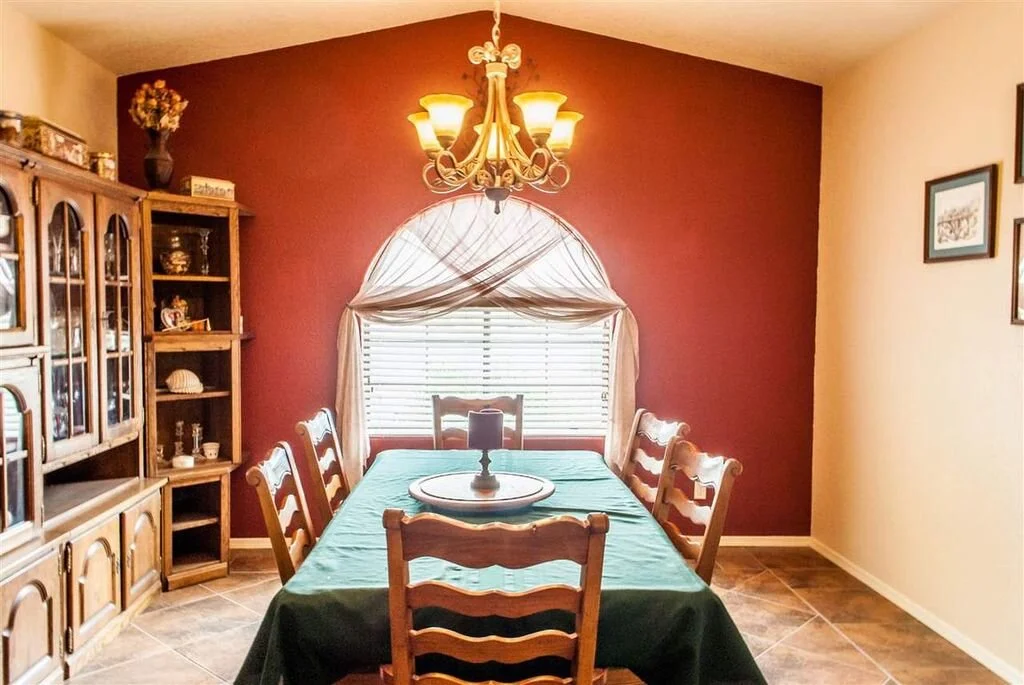
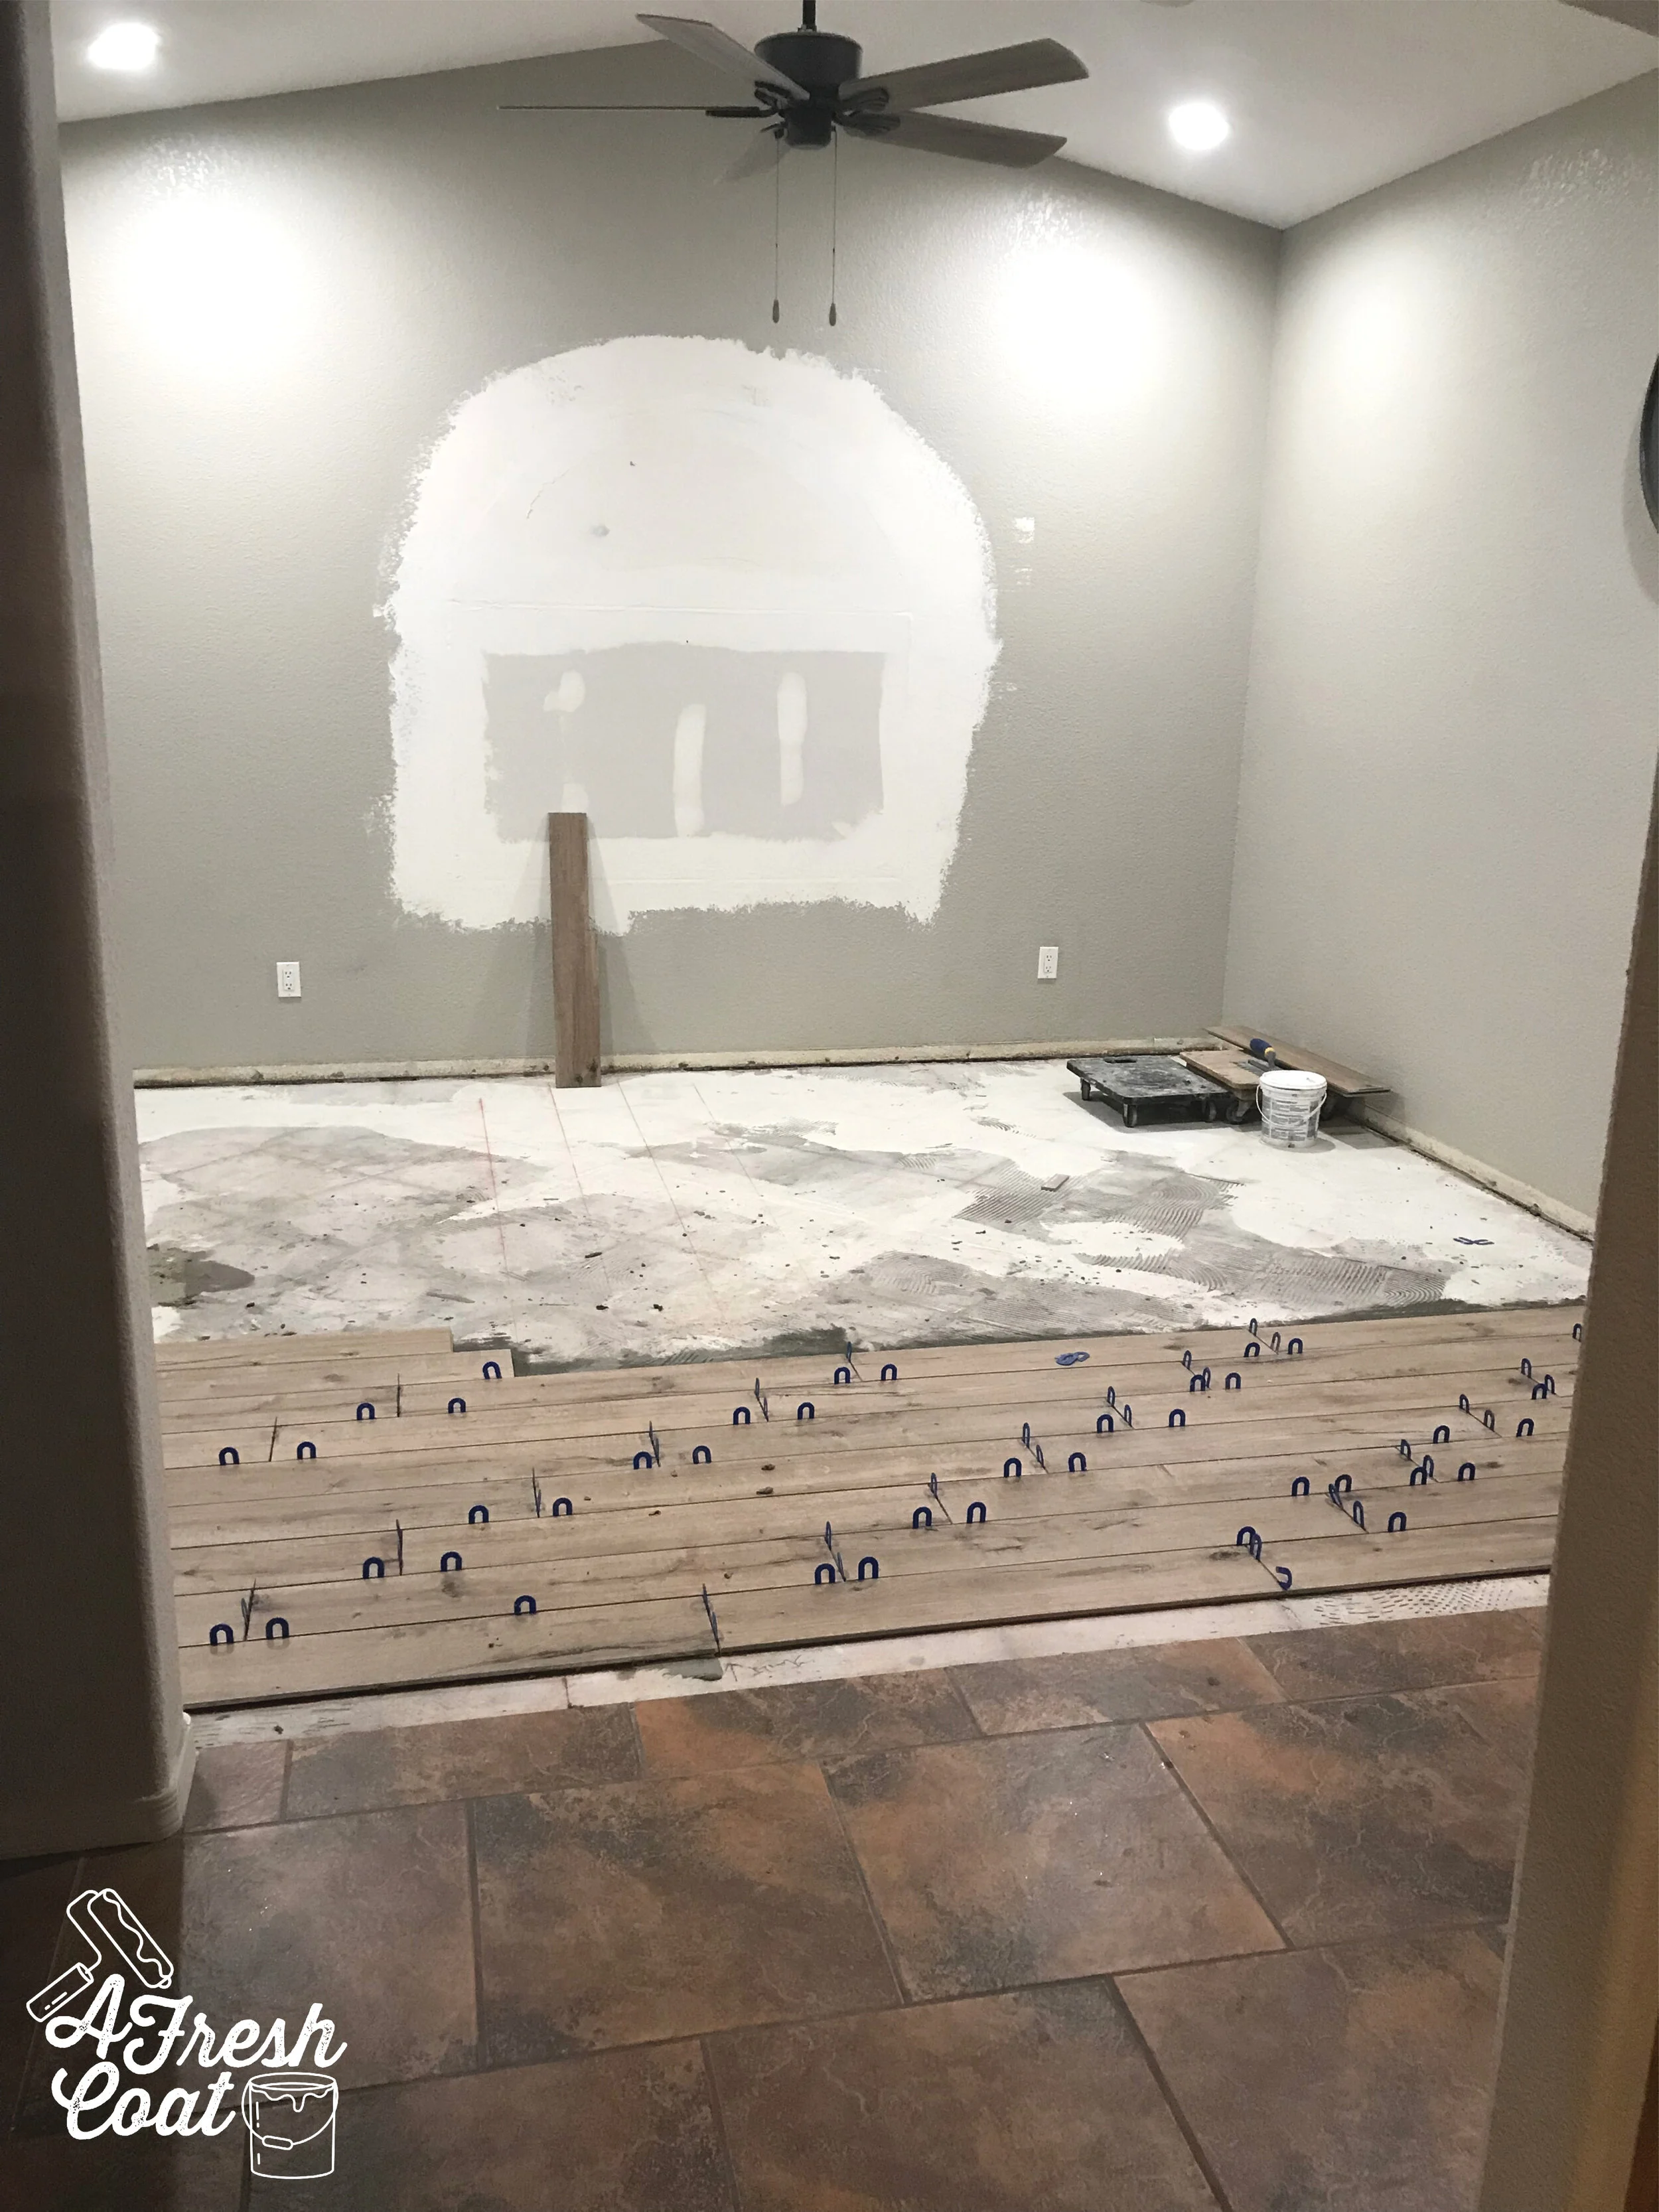
Here is where we started:

PC: Kayla Comella
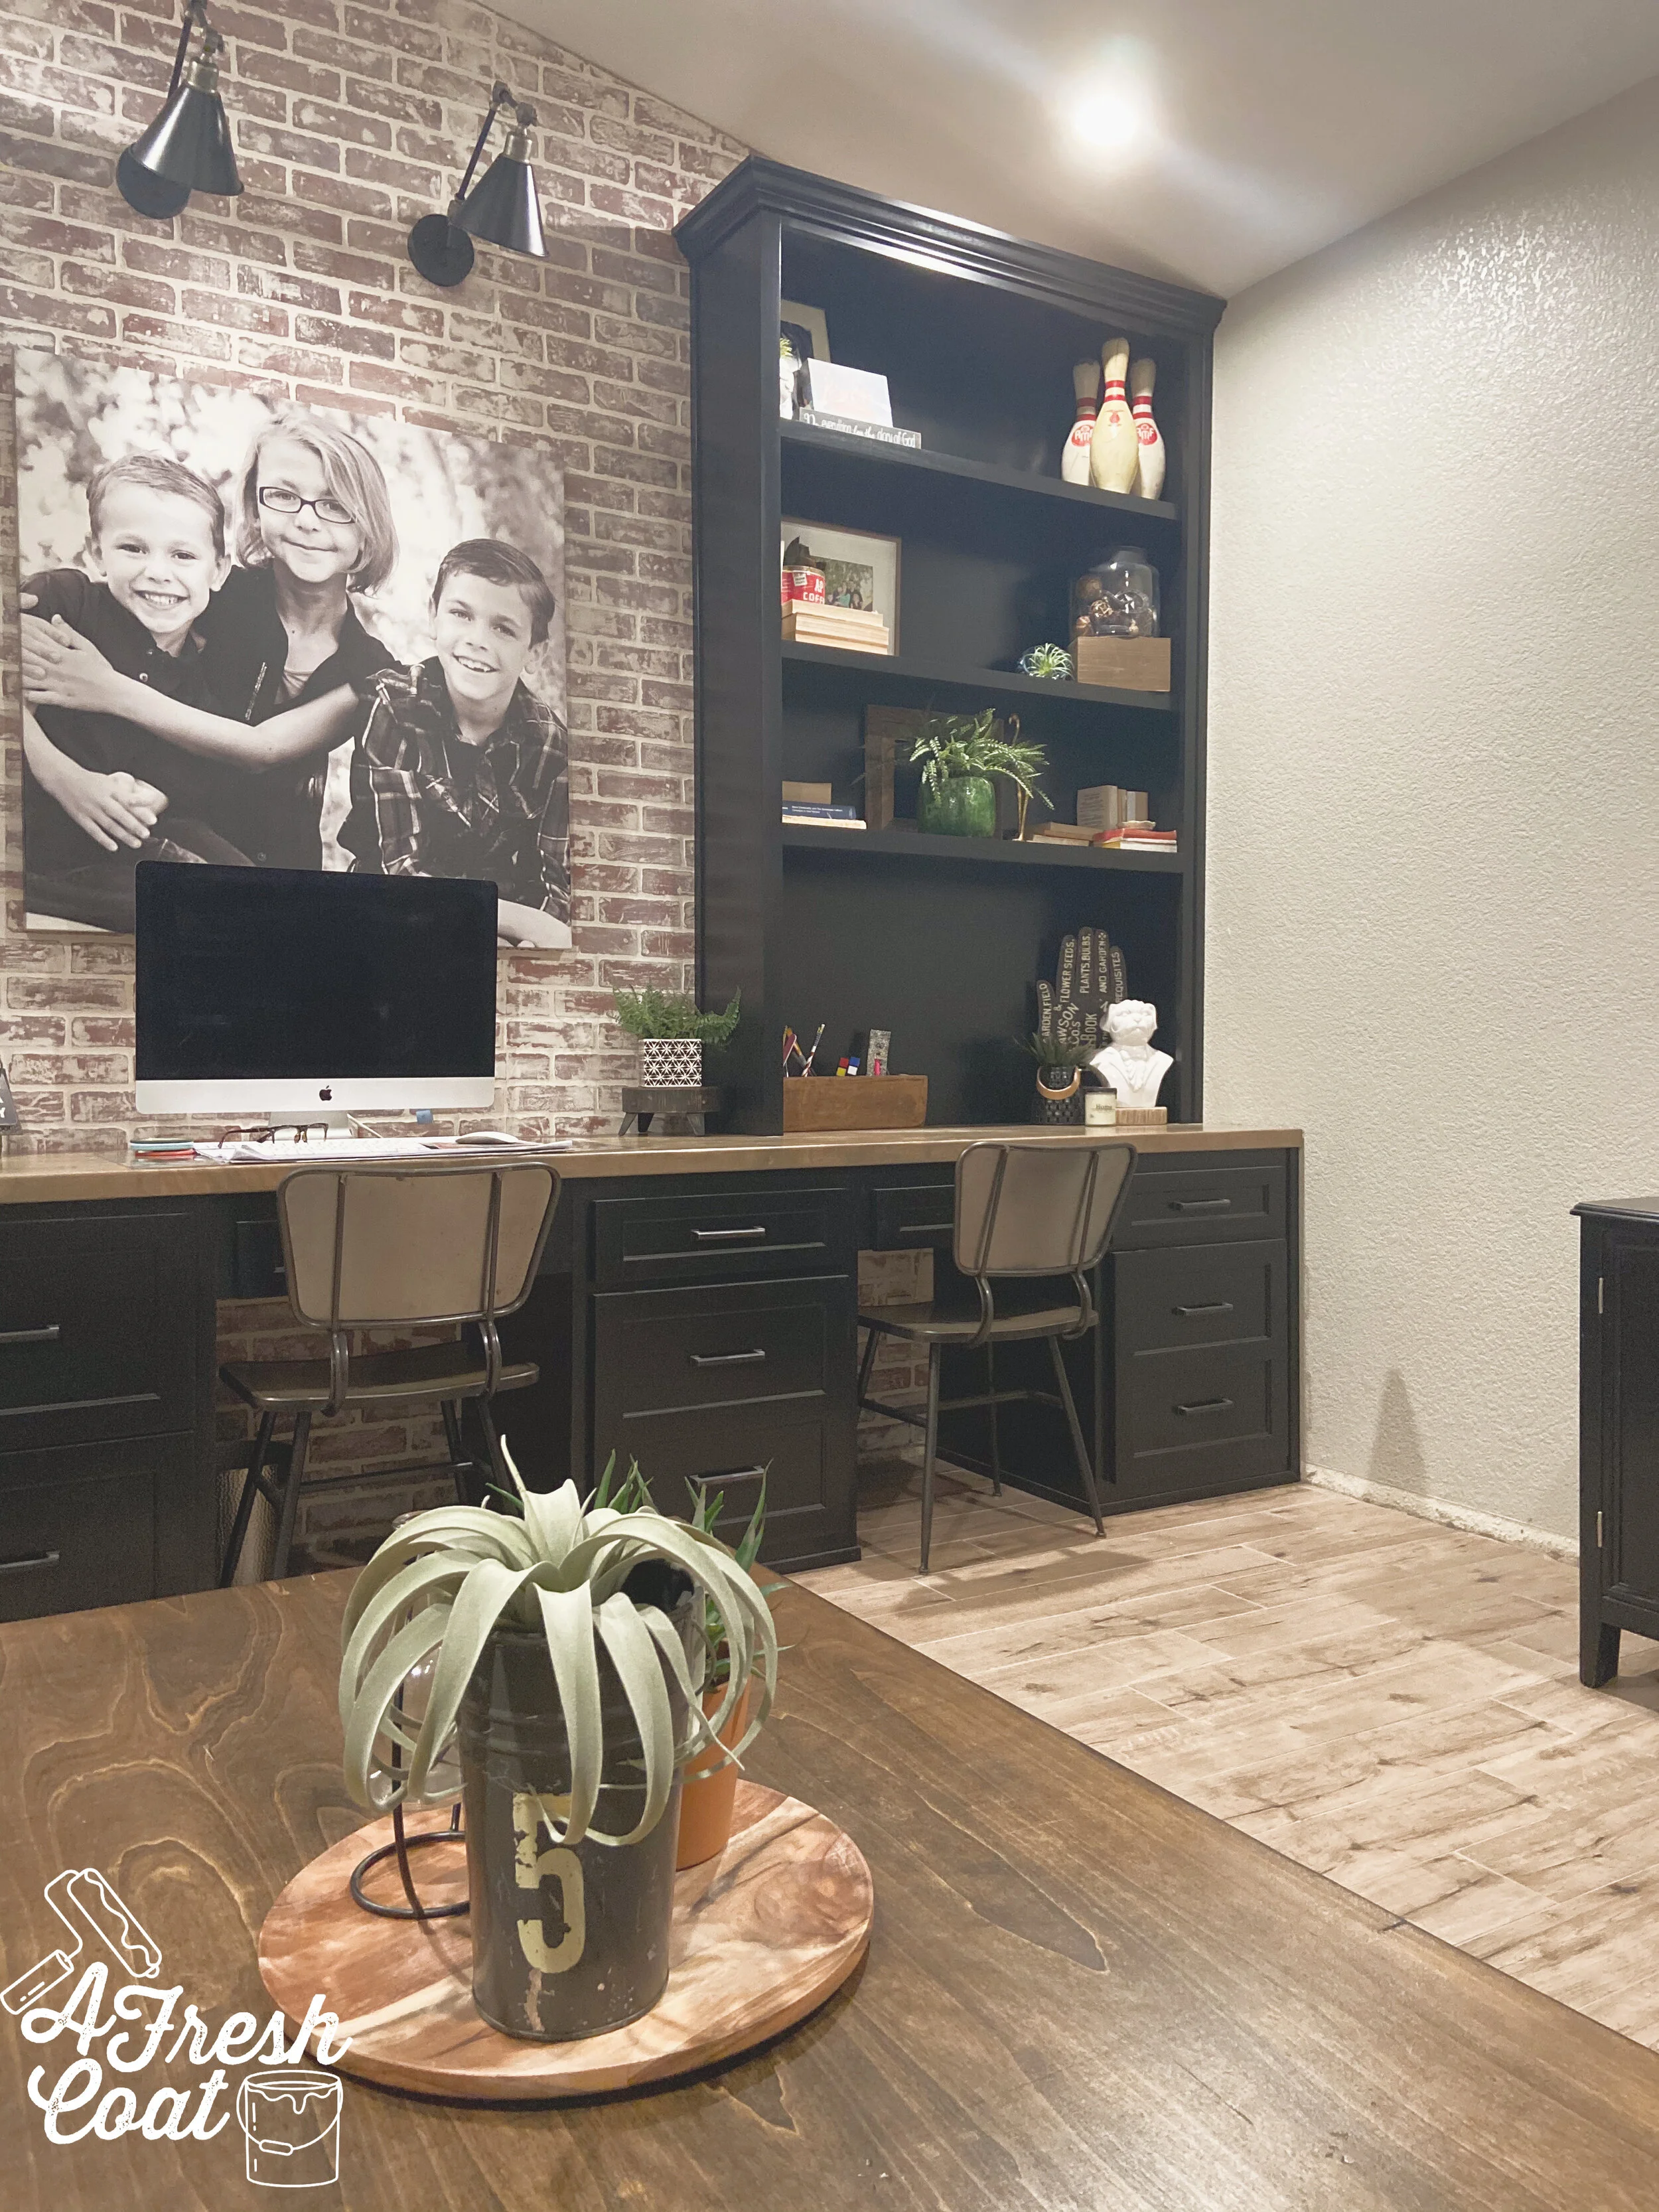
This room with its beautiful French doors is right off the home’s entryway. It’s actually one of the first spaces you see upon walking in and we wanted to make it big and bold. The challenge? Mr. C’s safe needed to be included in the design. If you don’t already know, gun safes are big, bulky, and H E A V Y ! Once they are in place, they aren’t moving without a whole lotta effort, that’s for sure. And that’s a good because I loved the idea of keeping it in this room.
It’s always my goal to create a beautiful room that works with the owner’s must-have list. That might include decor they want to implement, furniture they have to include, or even melding my own ideas to the overall vision they have in their minds. It is their home, afterall.
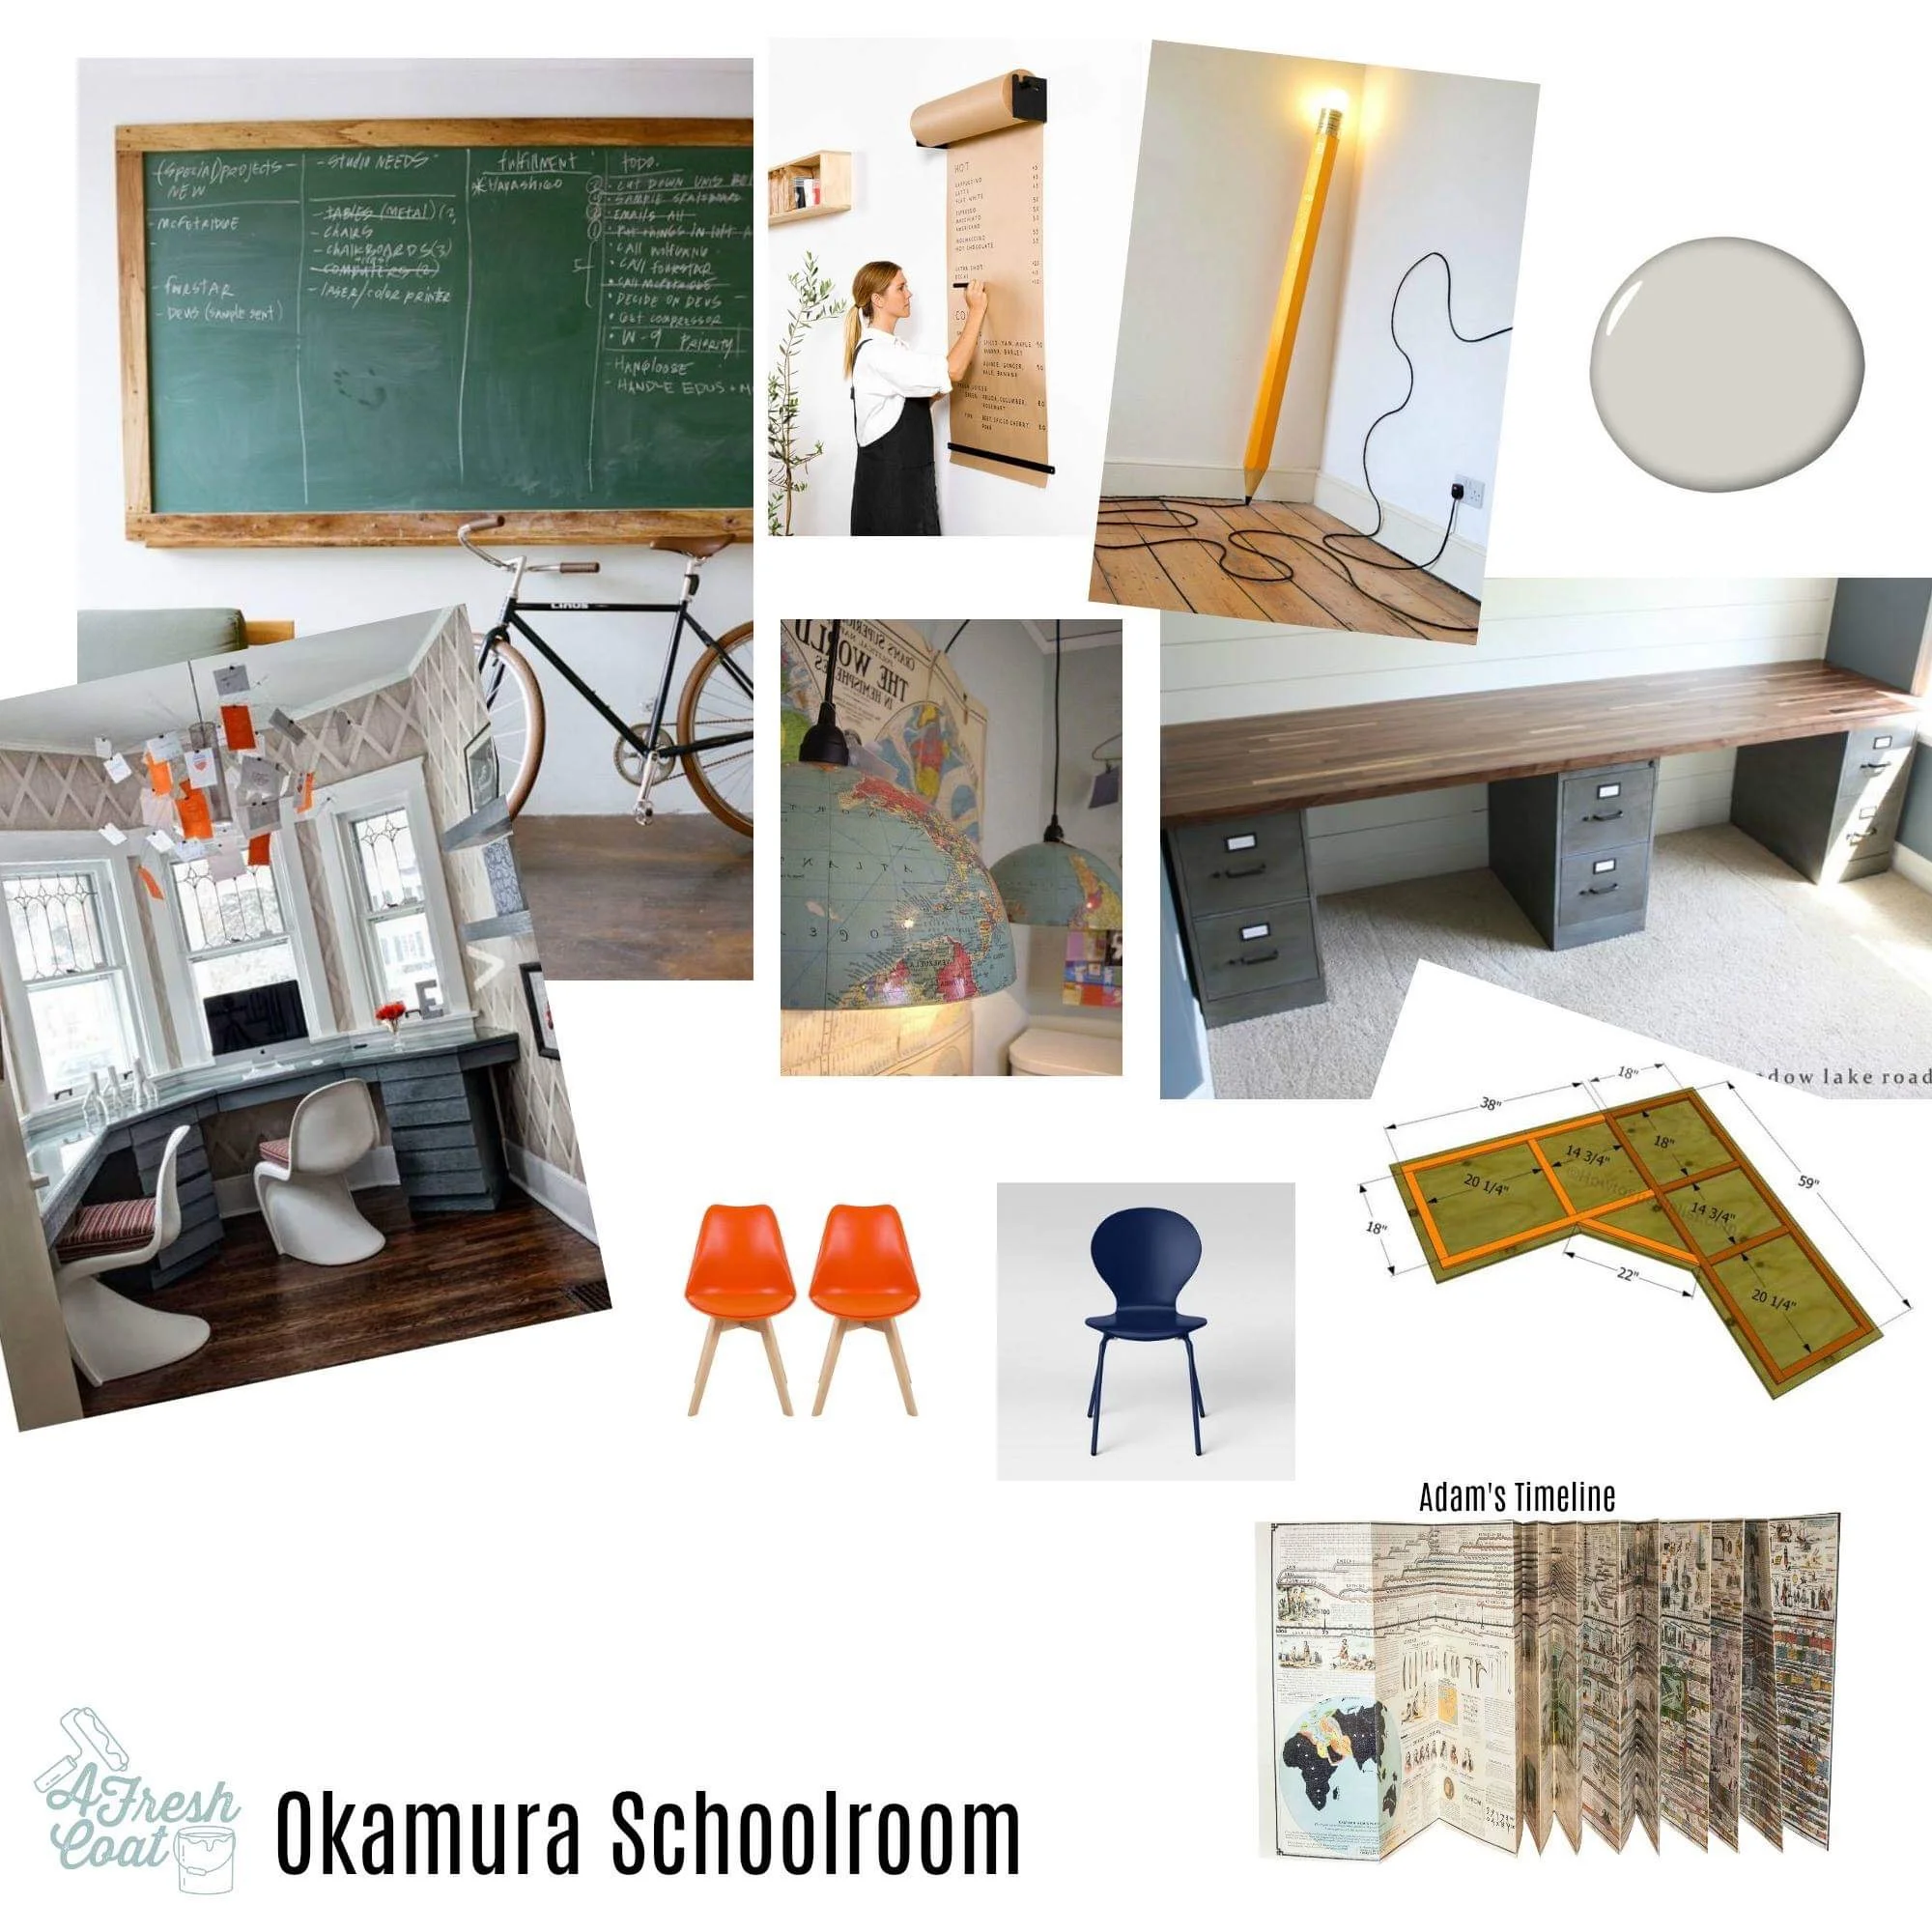
But before we get too far, you know what comes first—the vision board:
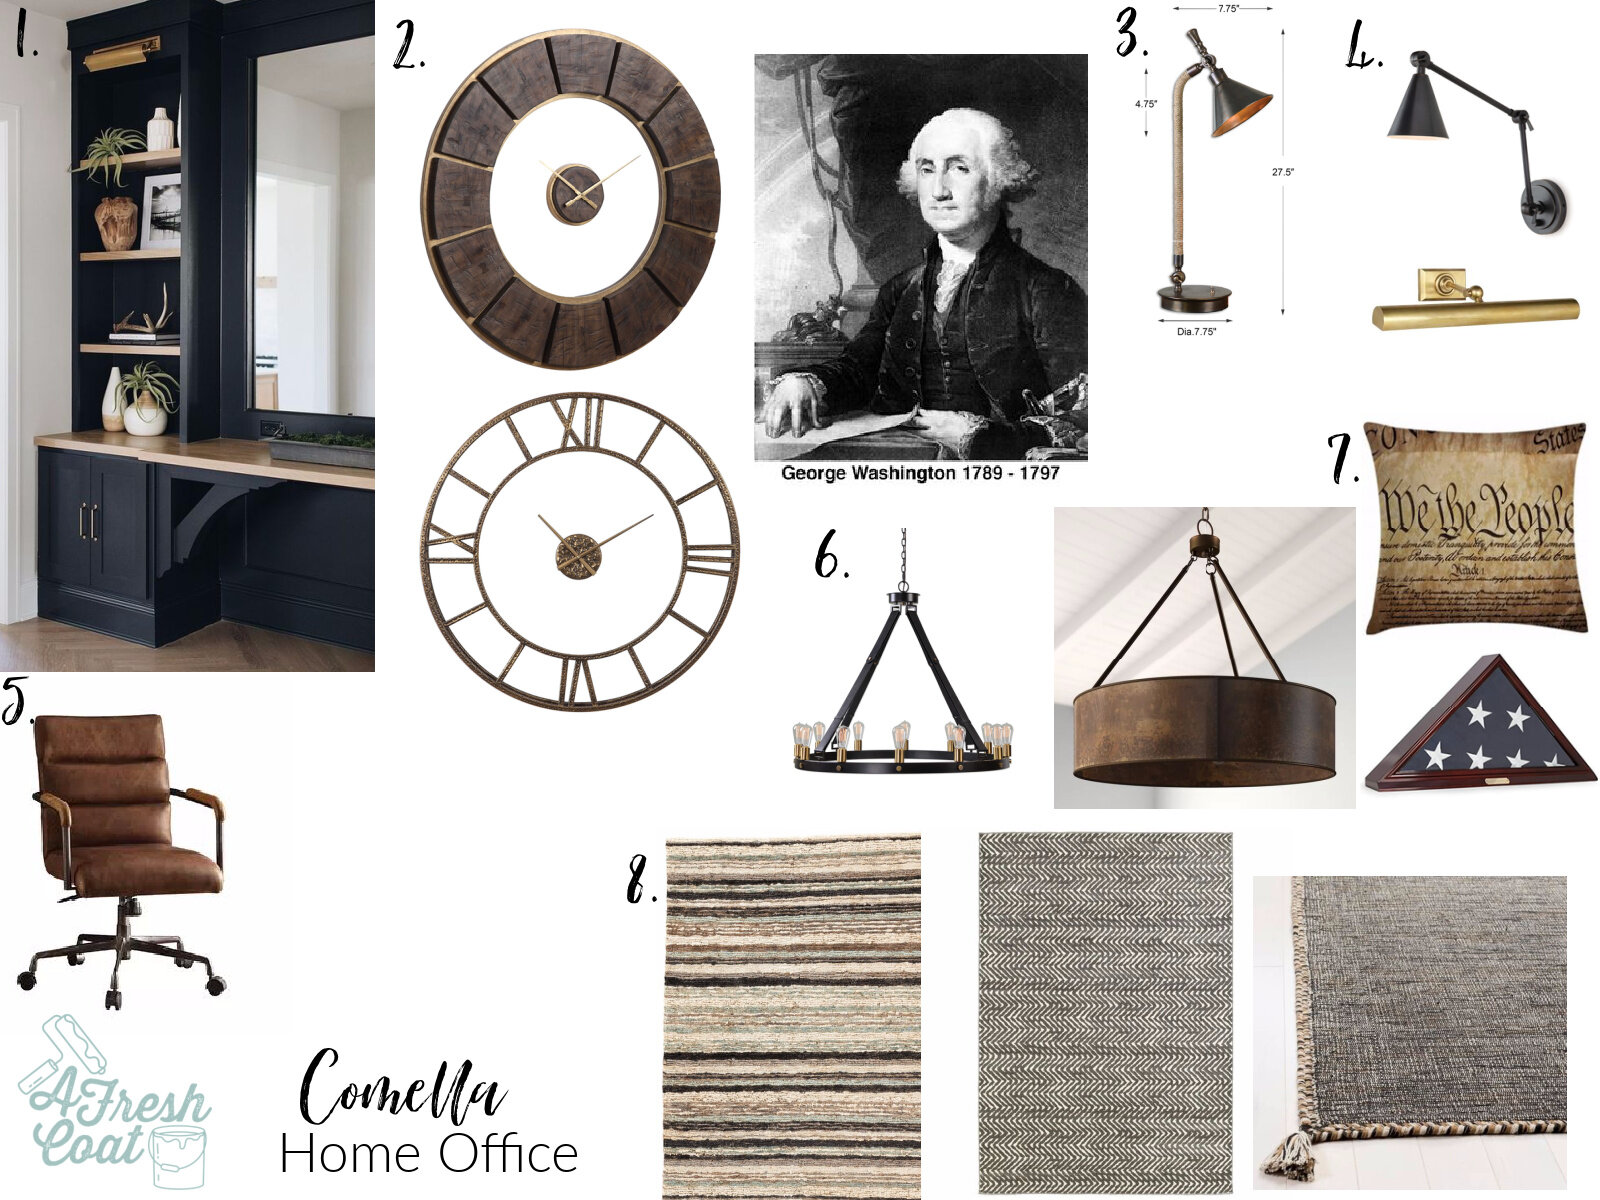
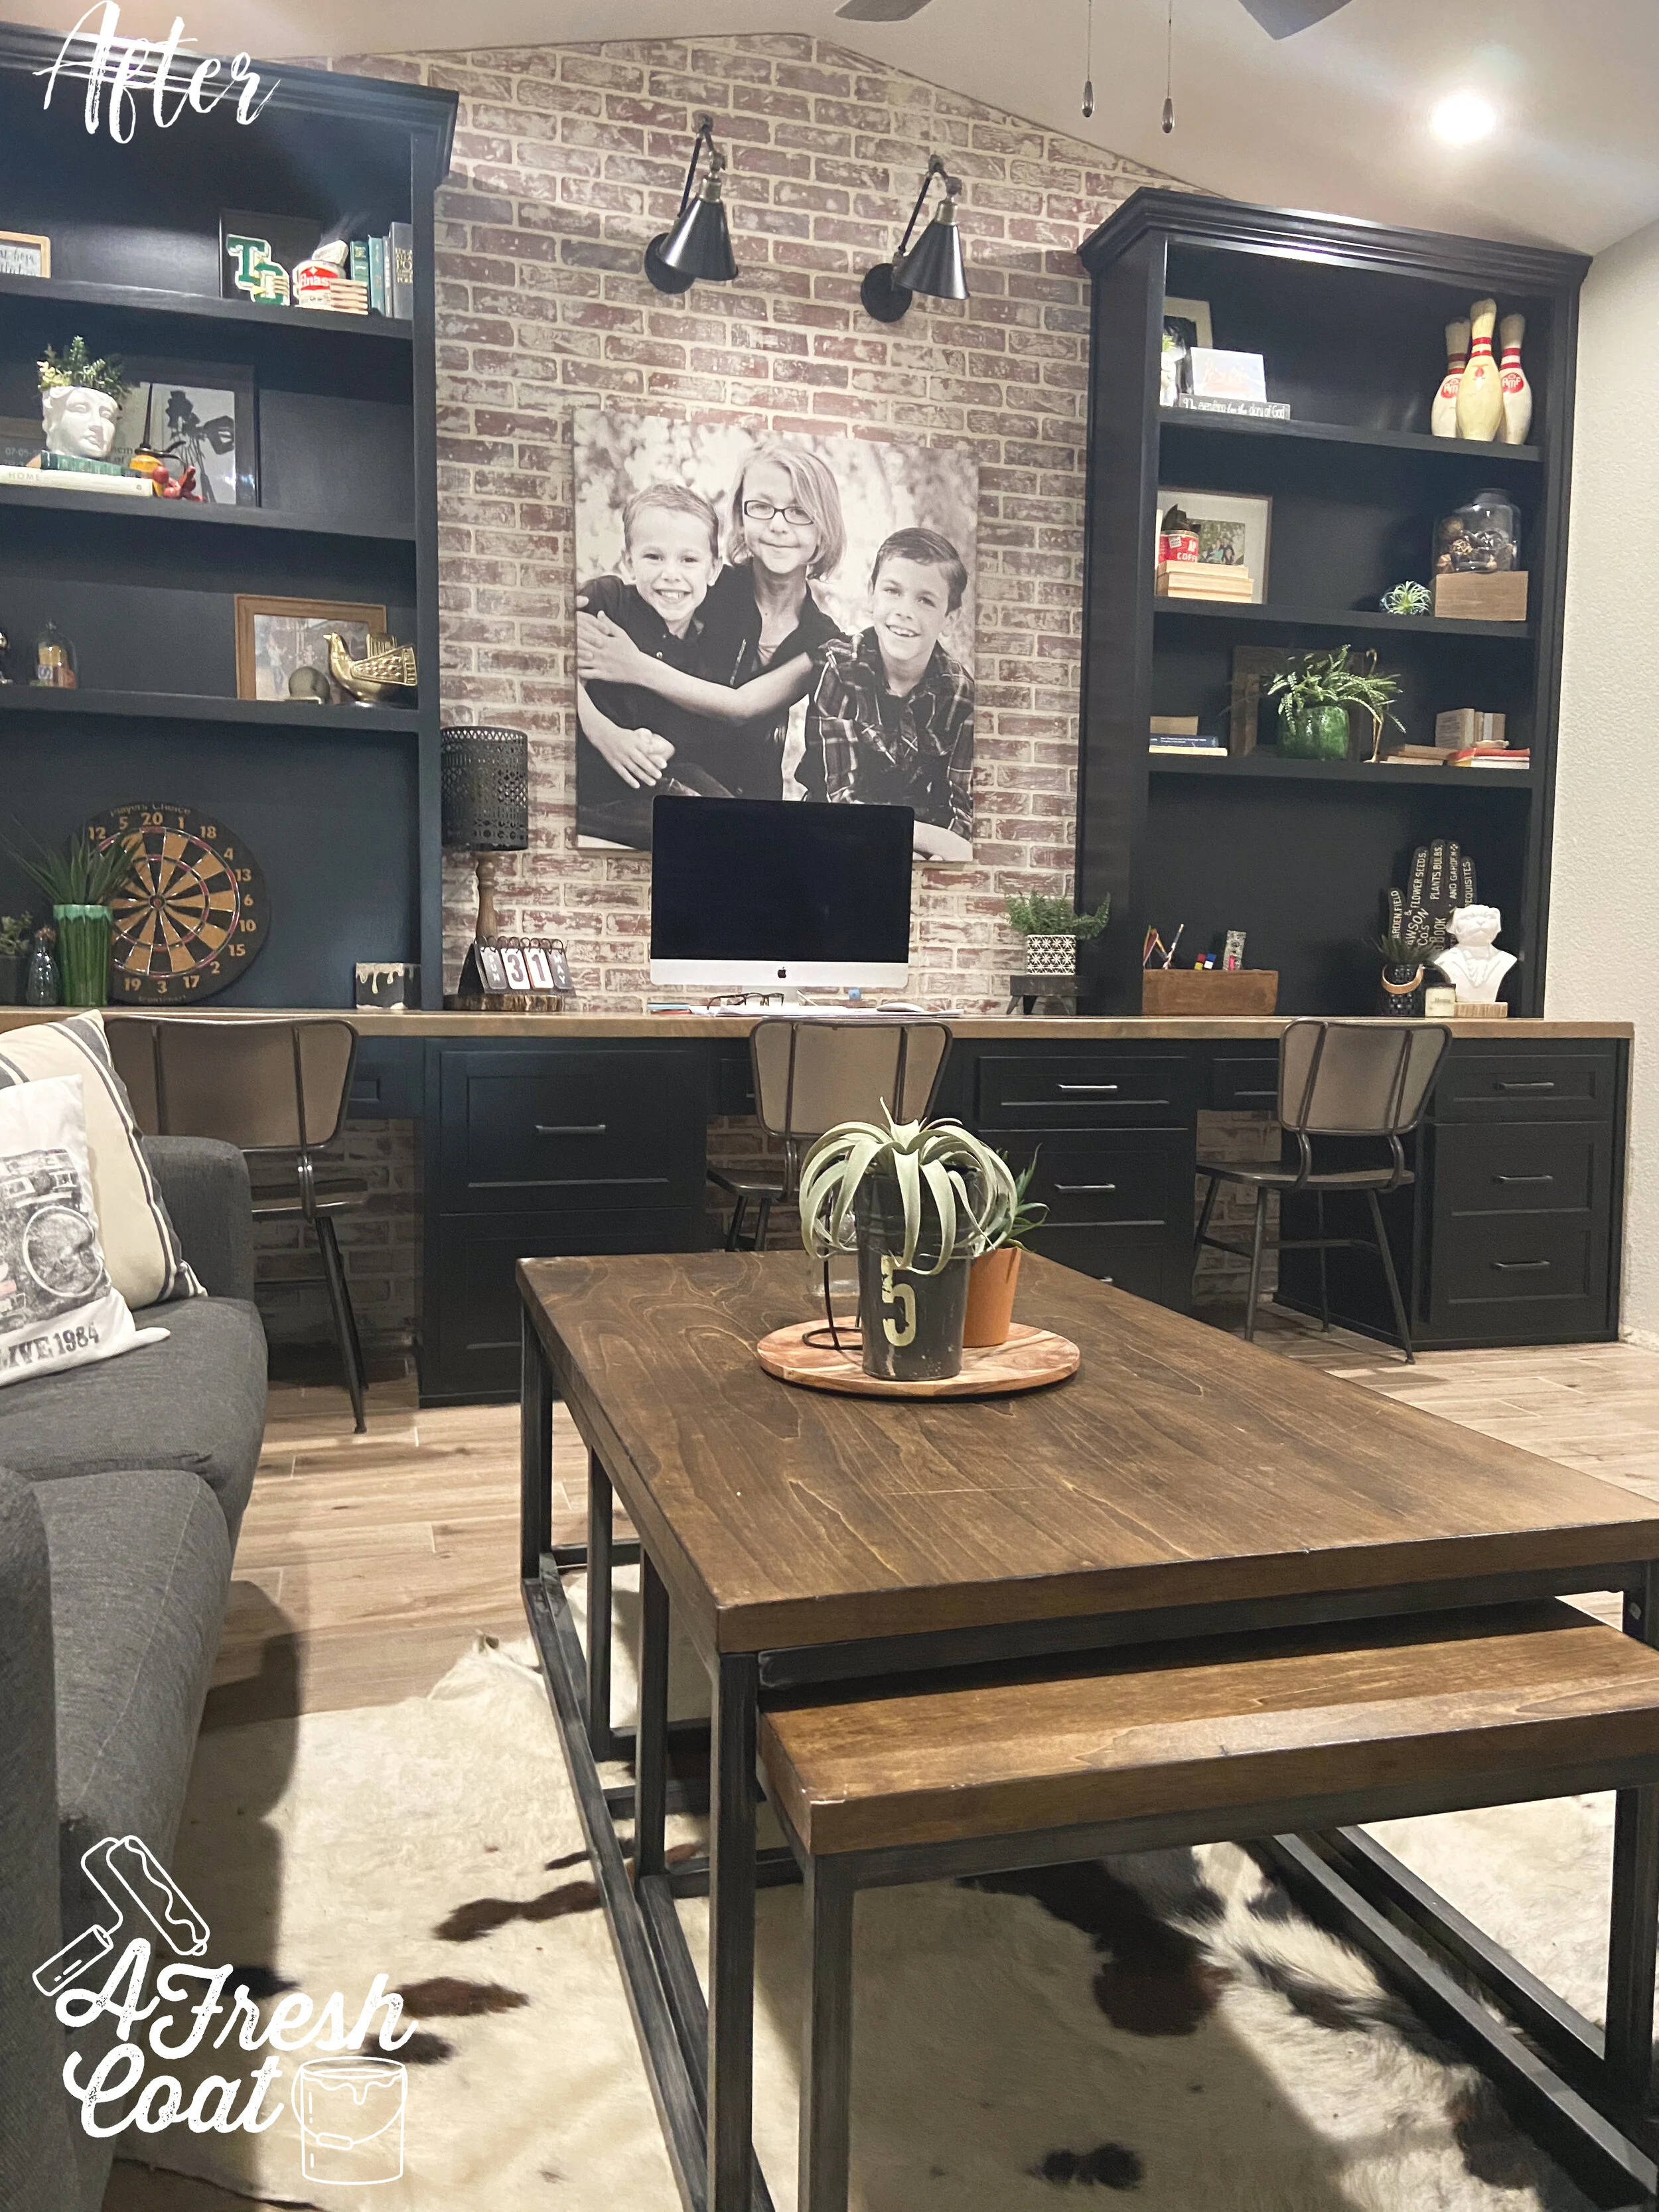
The idea was to introduce deep black built-ins from floor to ceiling with a medium-light finish butcher block counter and shelving. The safe would be housed within this main unit to give a super custom, uniform look.
After purchasing a few decor pieces, a huge wall clock, some sweet lighting, and a new area rug, this room came together quickly. Oh, and we can’t forget George. George Washington served up some major inspo for this masculine, modern colonial office.
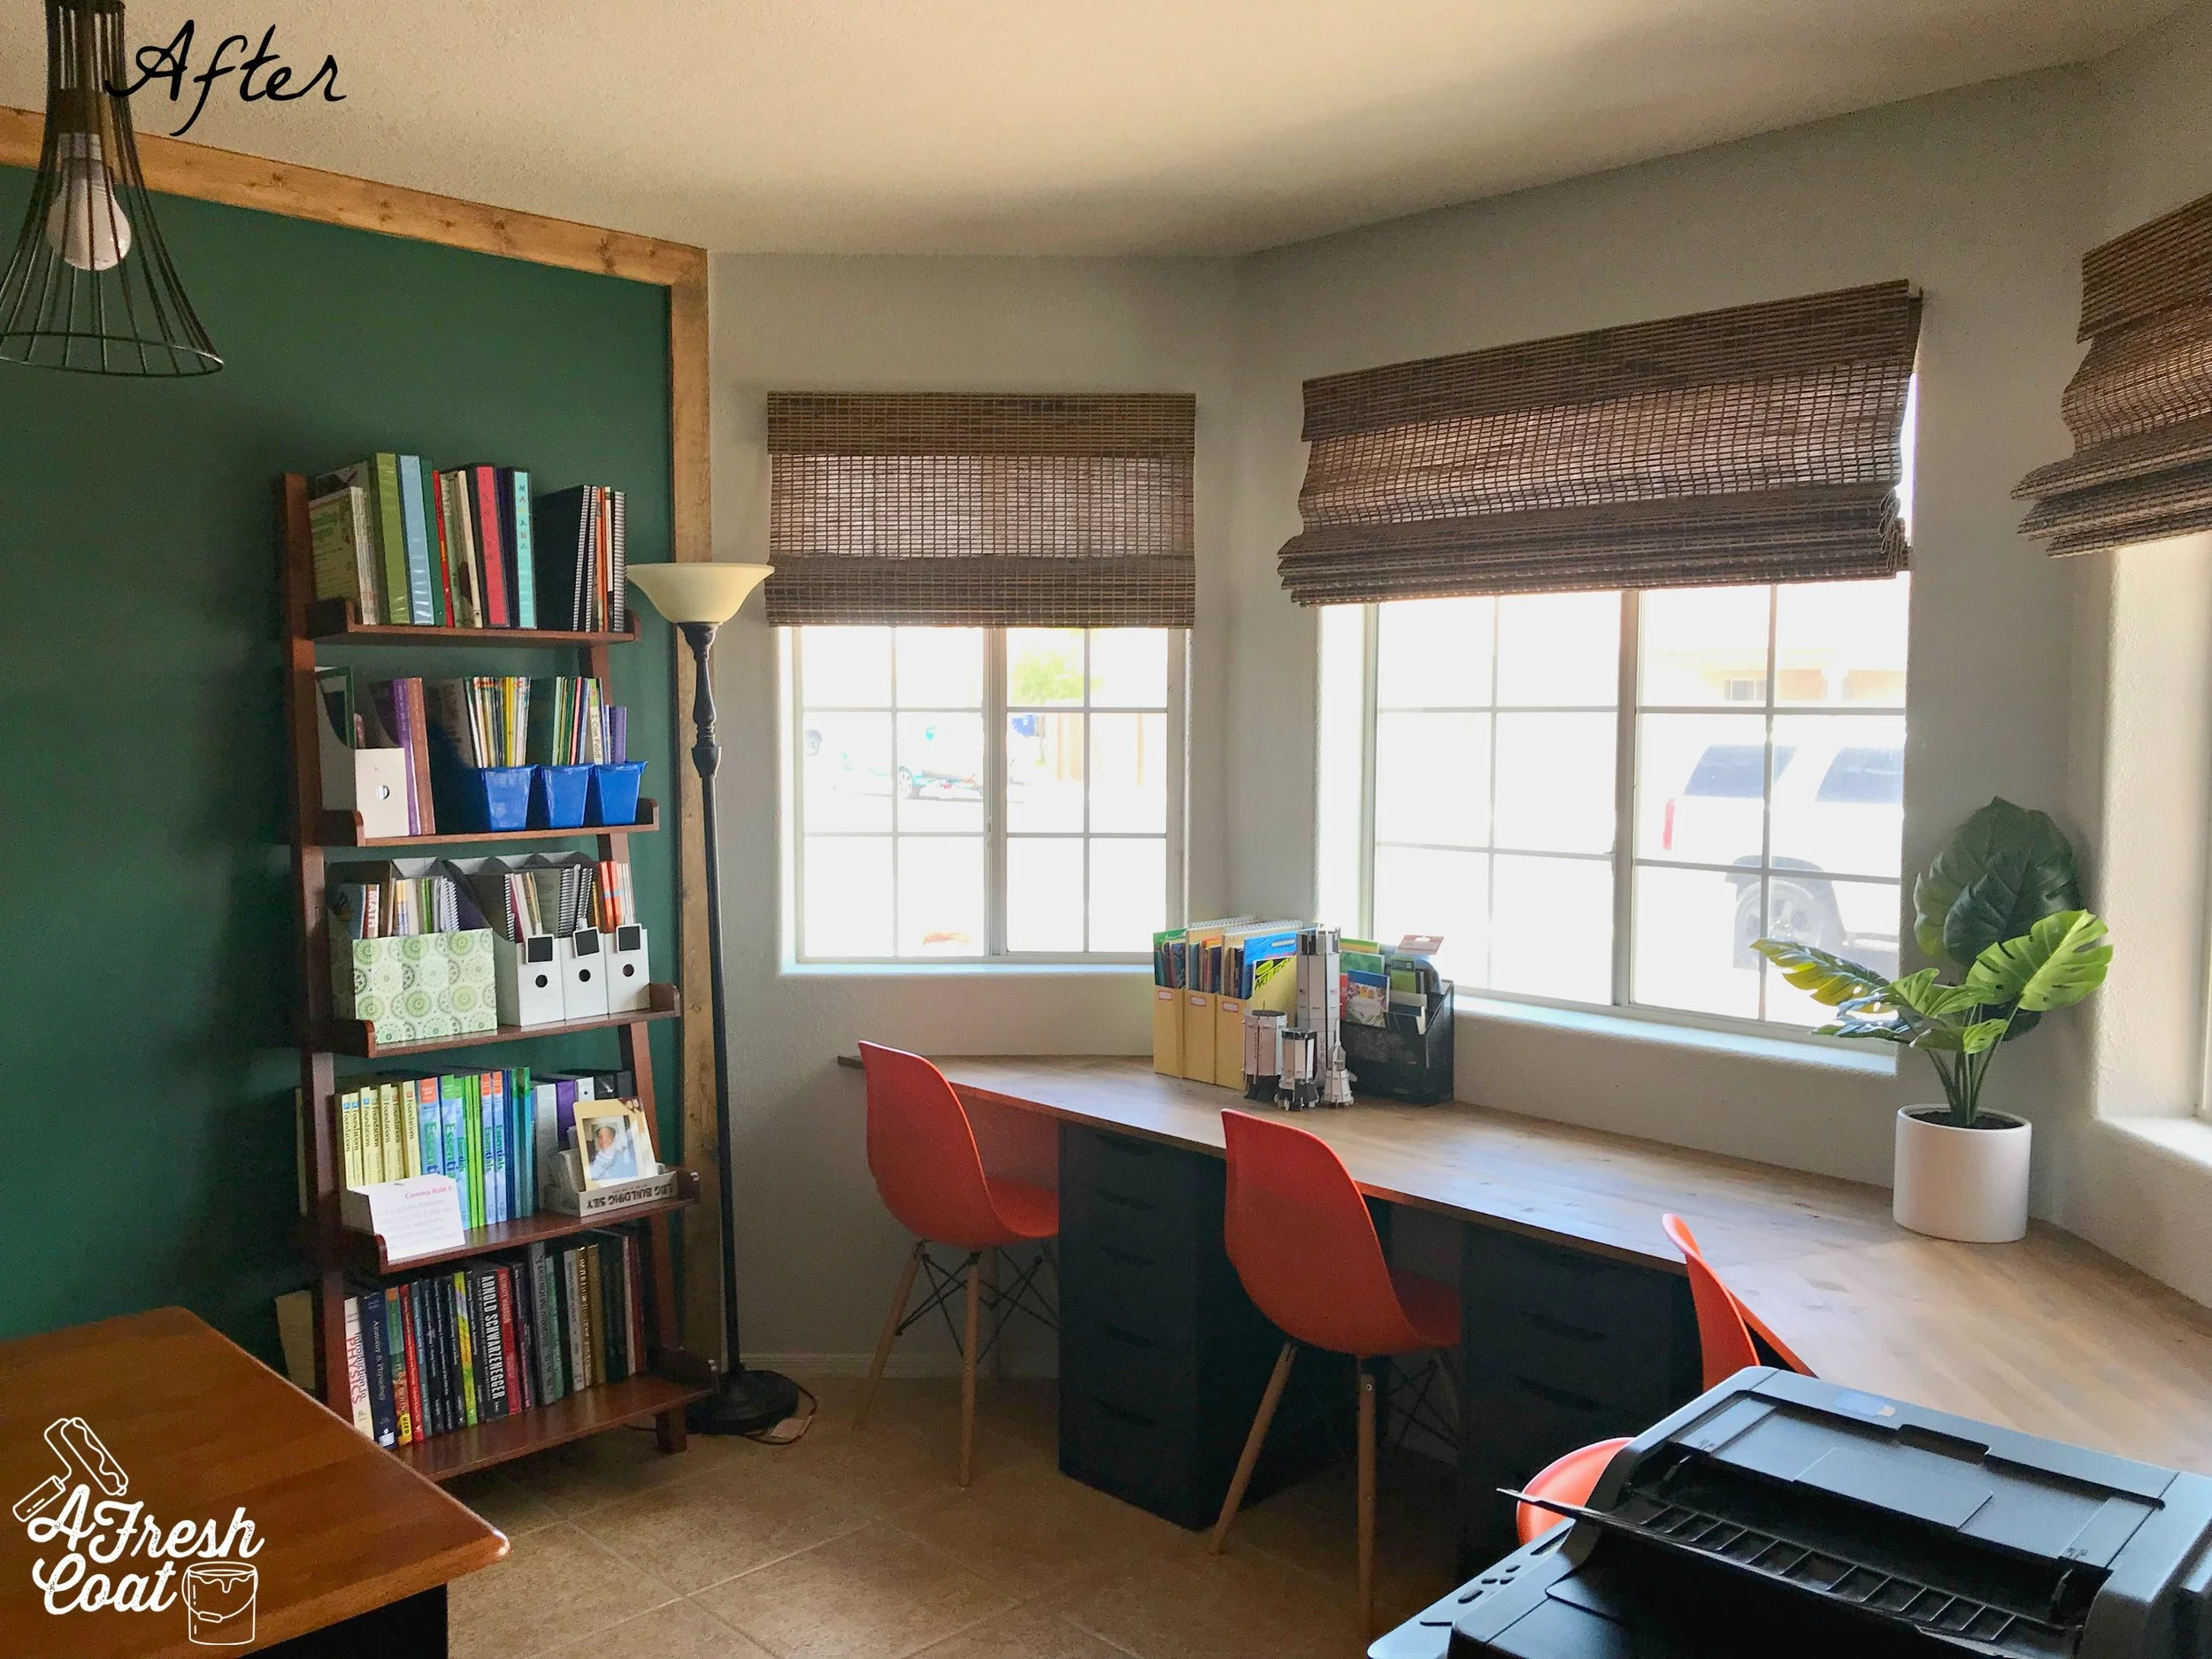
Here come the “after” pics:

PC: Kayla Comella

PC: Kayla Comella

PC: Kayla Comella

PC: Kayla Comella

PC: Kayla Comella

PC: Kayla Comella
Pretty fun, right? Sky’s the limit with design and blending different styles to create a custom, sentimental yet fun, functional space.
And how about that clock?!!
Yum.
Tell me—what keeps you from venturing out and taking risks with your own home decor?
THE DETAILS:
Custom Cabinets: Master Finishes—Yuma, AZ
Drum Pendant: Wayfair
Library Light: Target (spray painted gold)
Wall Clock: Dandy Home & Ranch
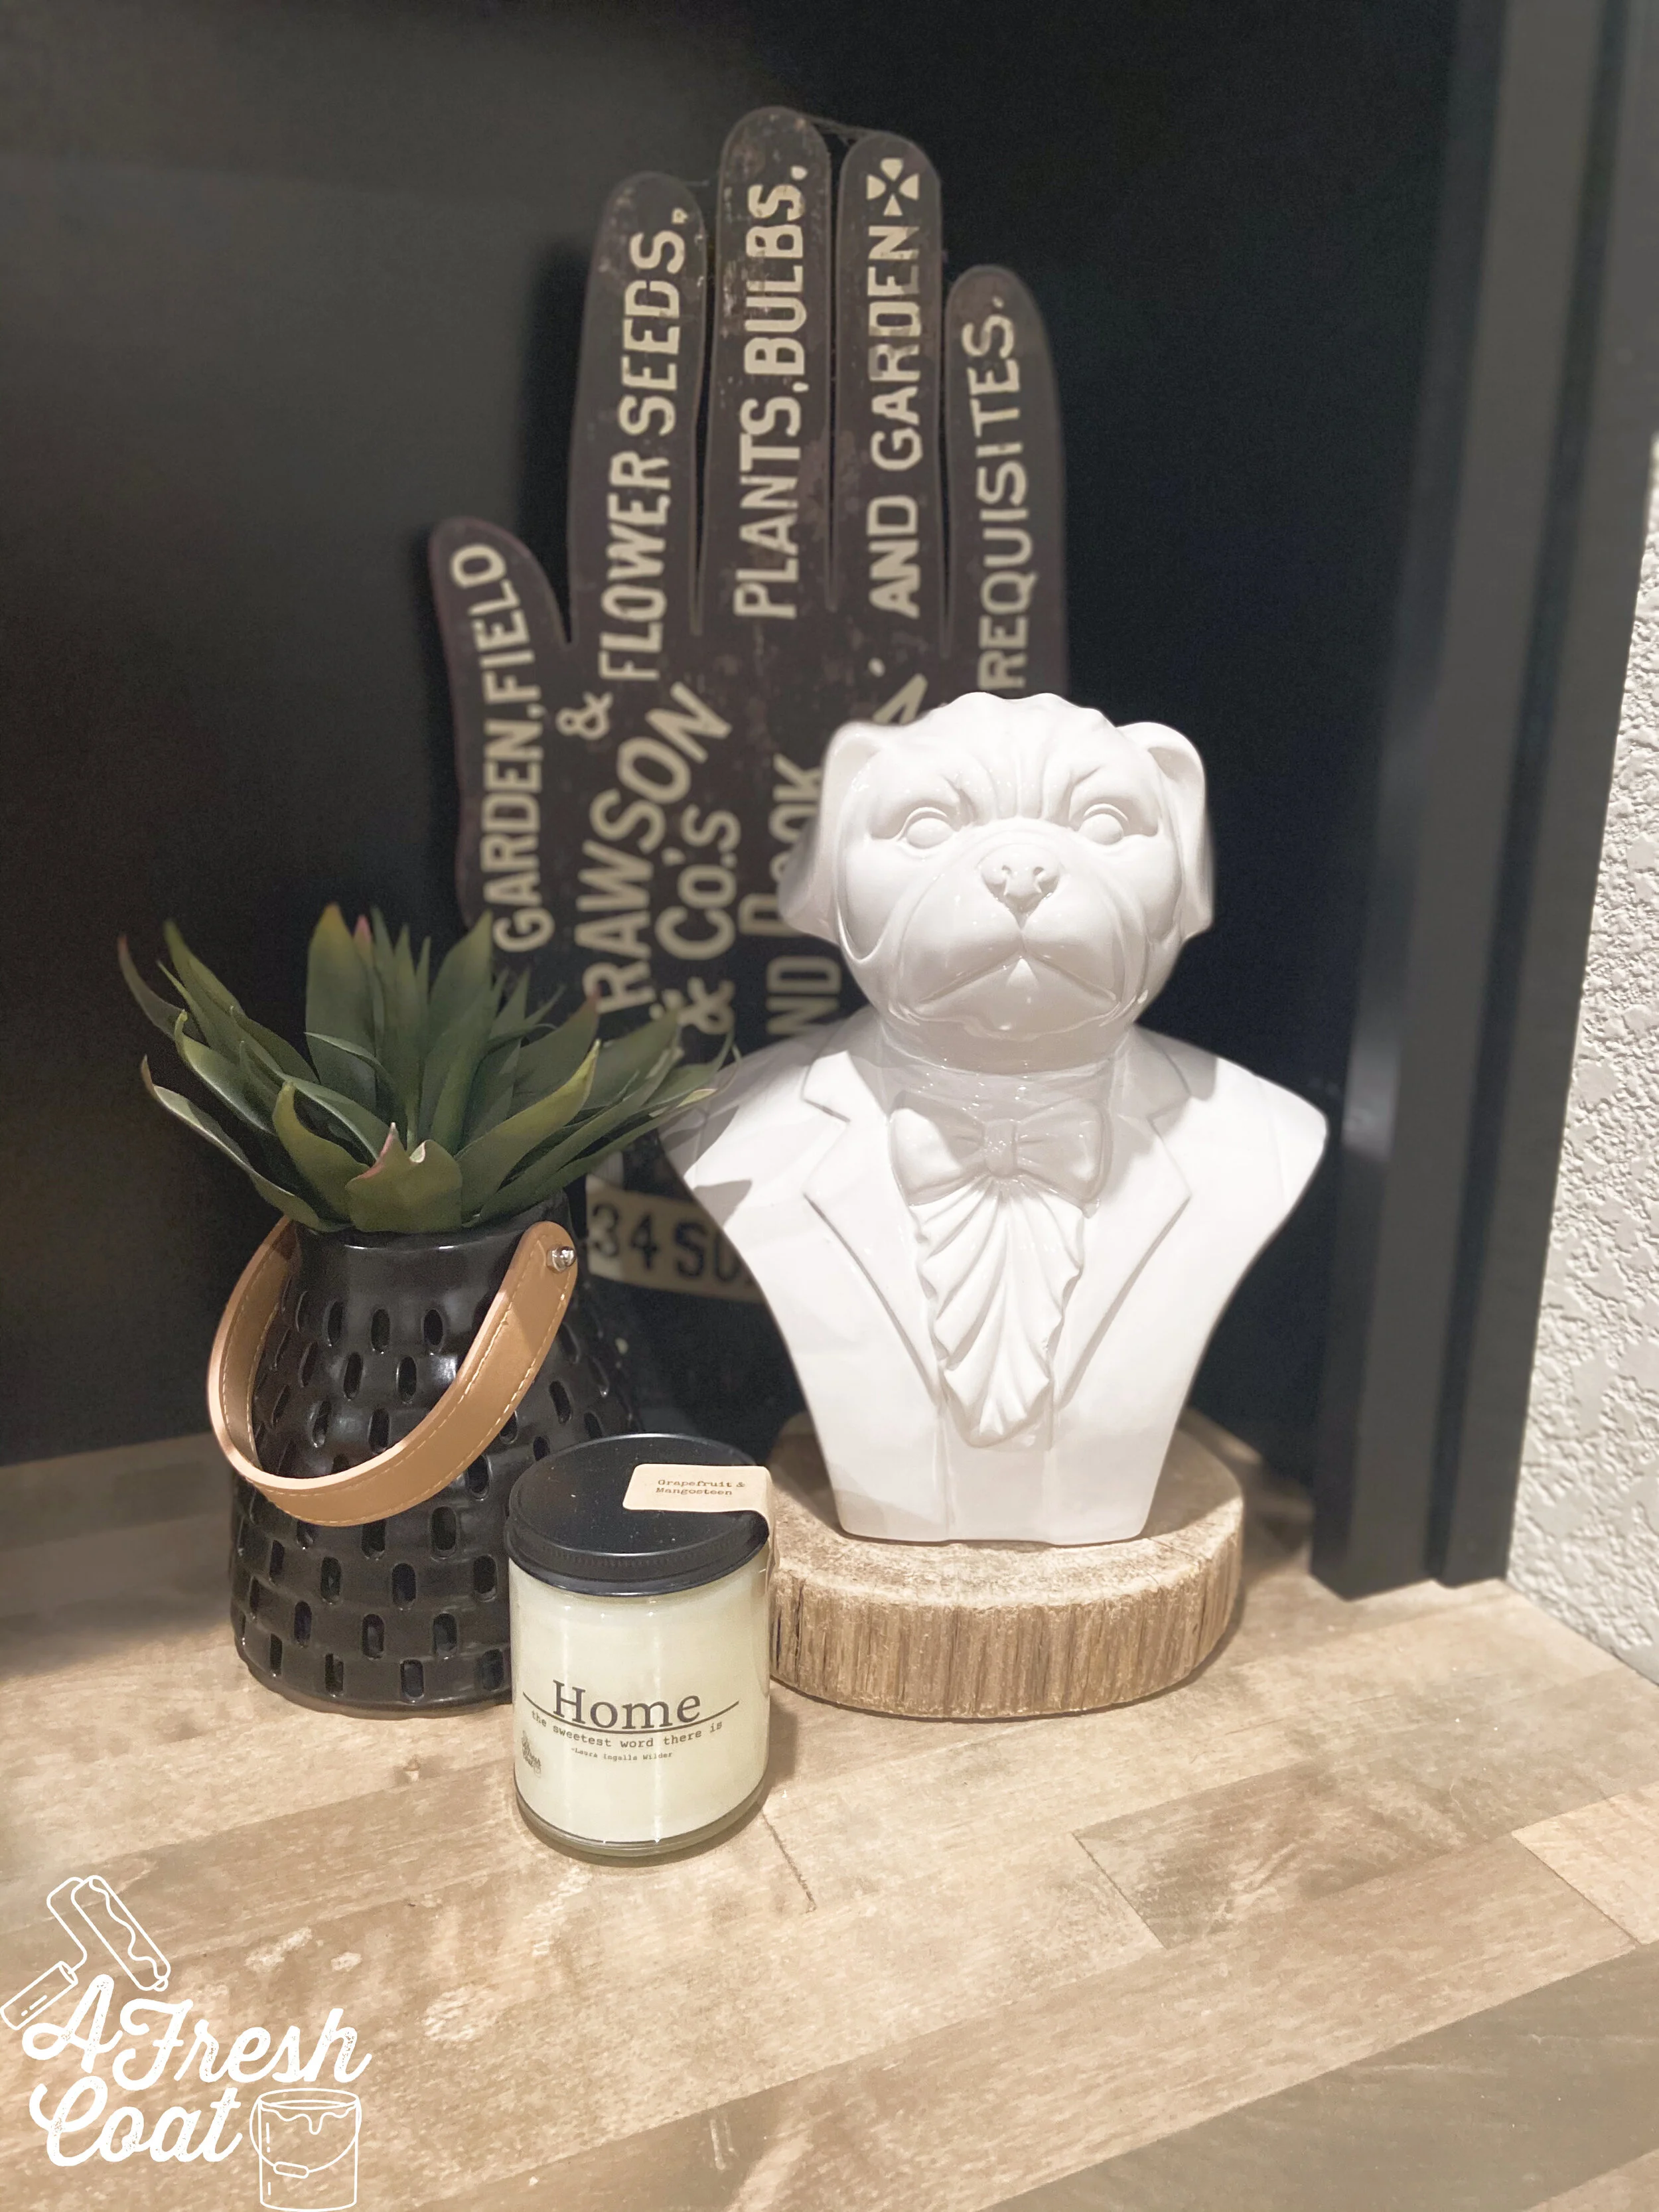
Decor: Goodwill, Hobby Lobby, HomeGoods, Marshall’s, Target, IKEA, Owner’s collection
Rug: Wayfair
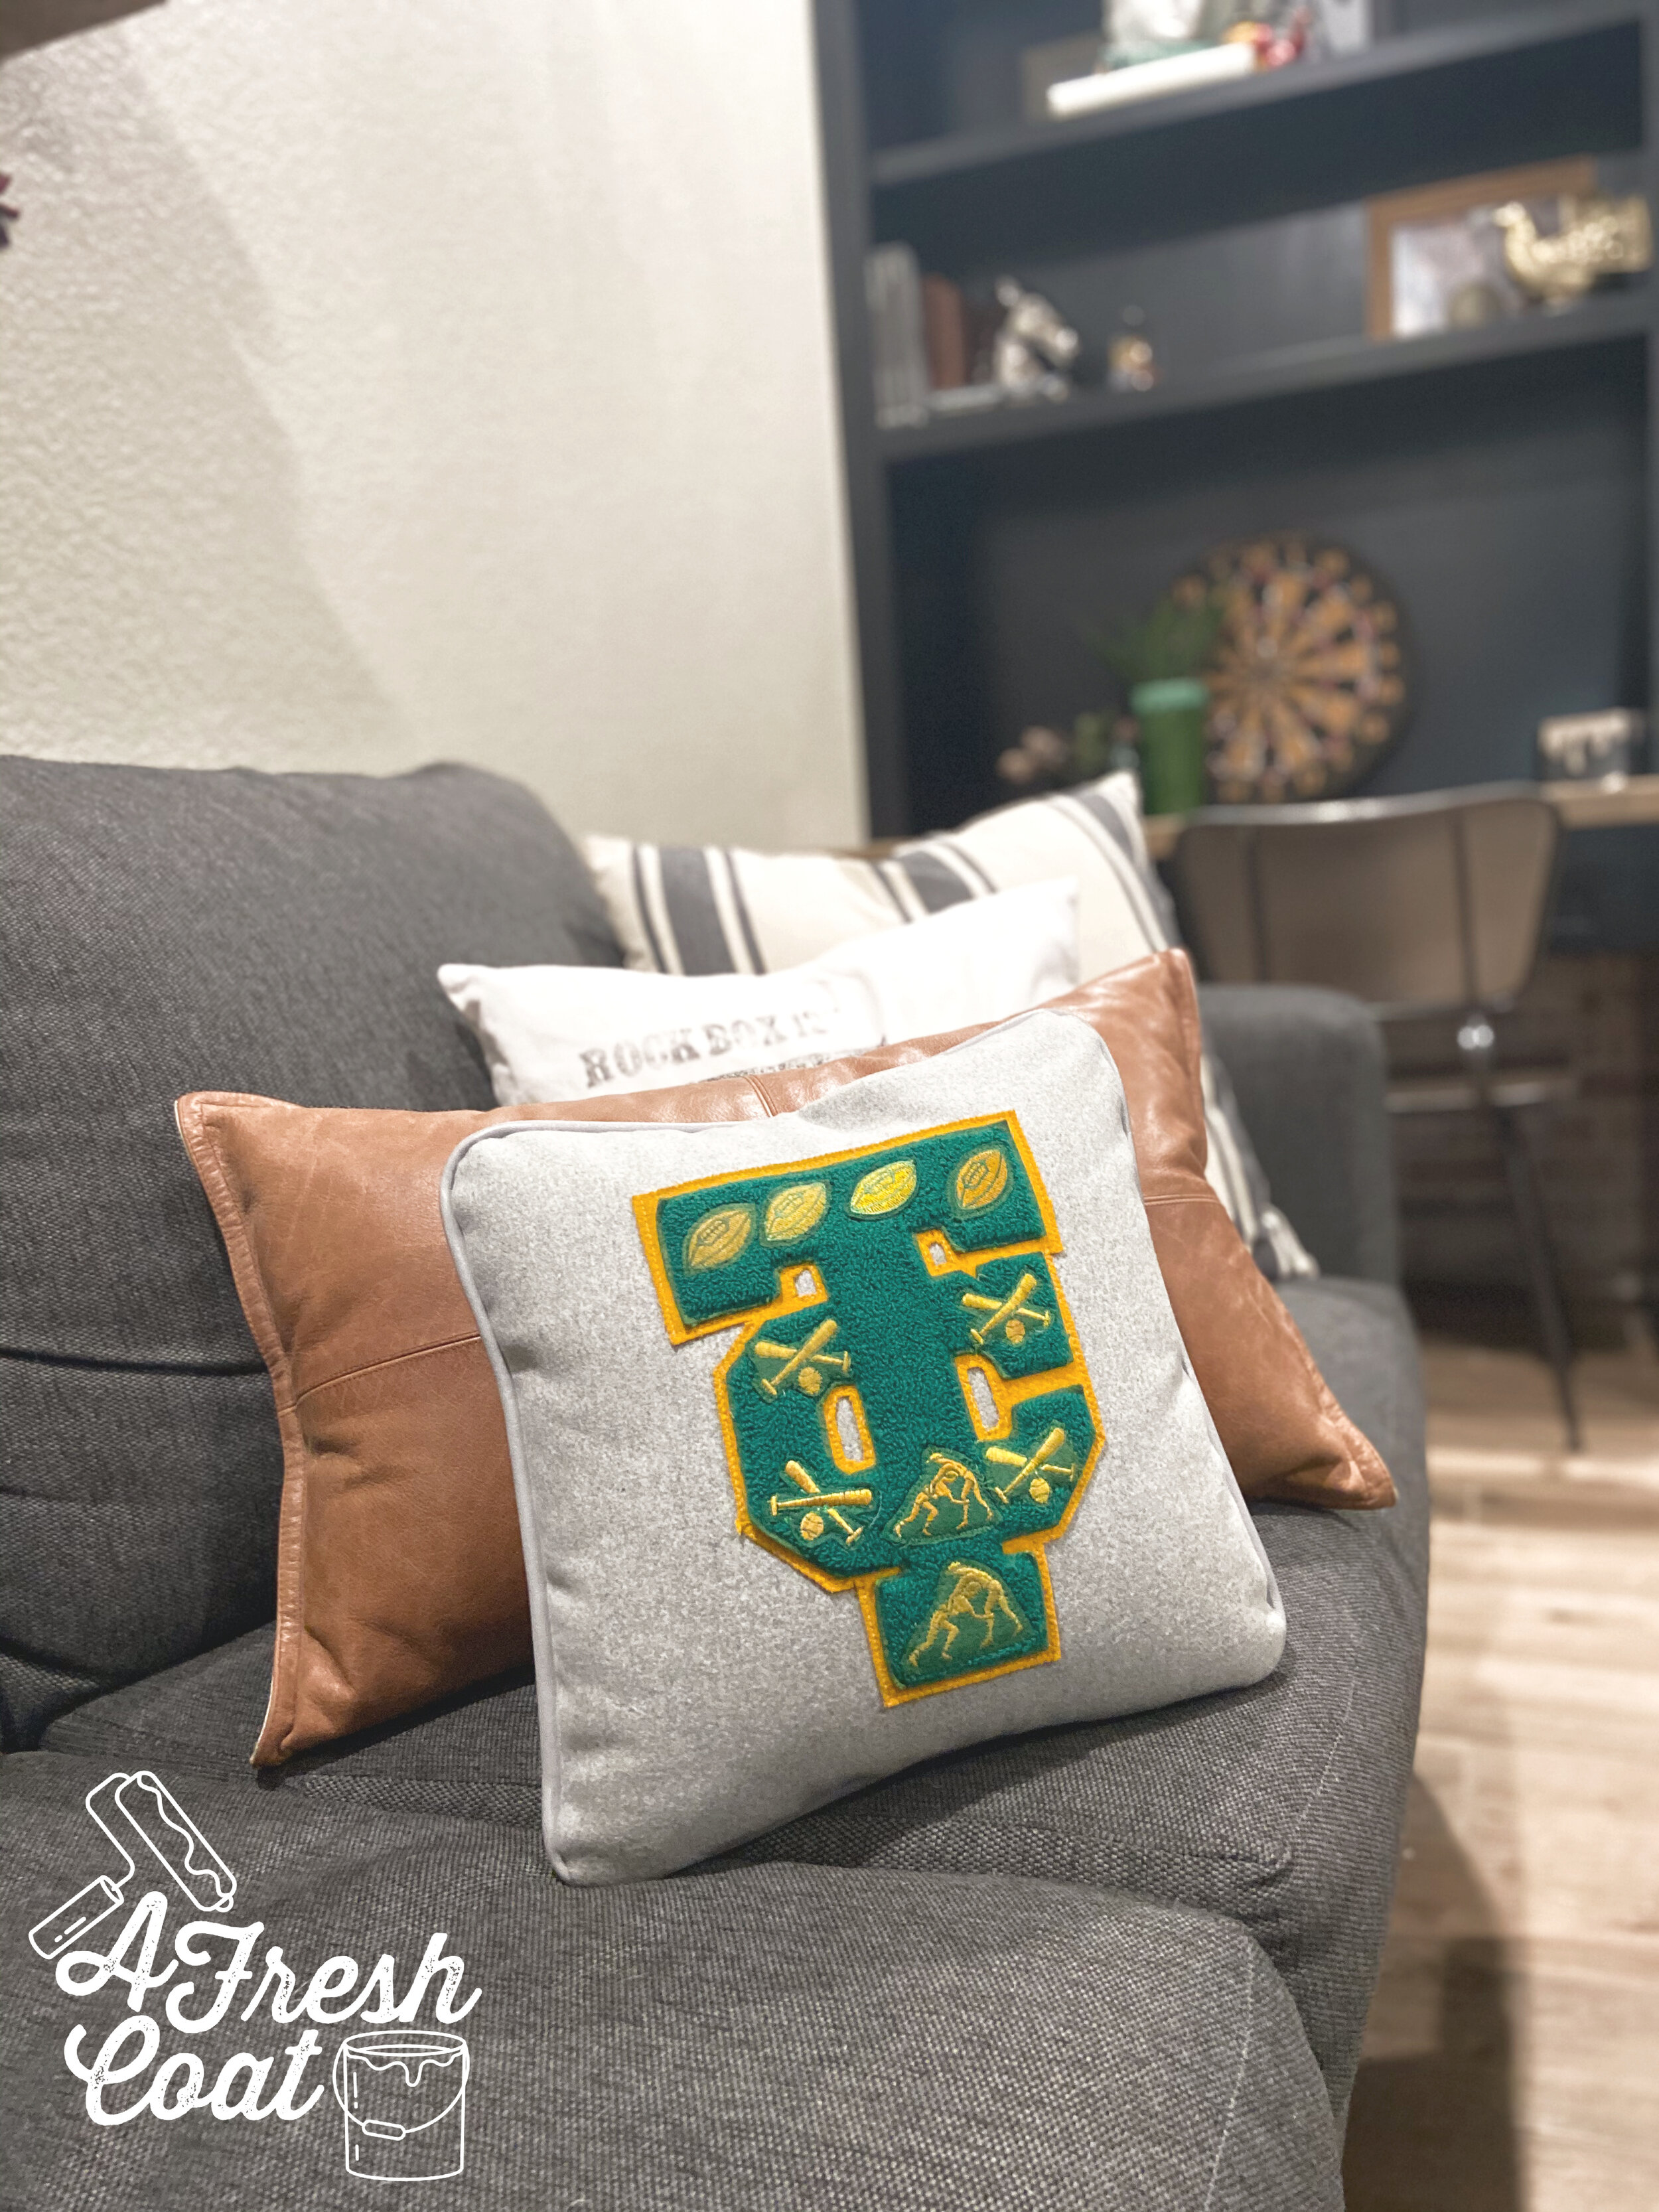
Pillow: Amazon
Desk: Wayfair
Mud Globe: Teresa Kerley
Cabinet Hardware: Amazon