
I’m having a moment for sure…maybe a number of them at this point.
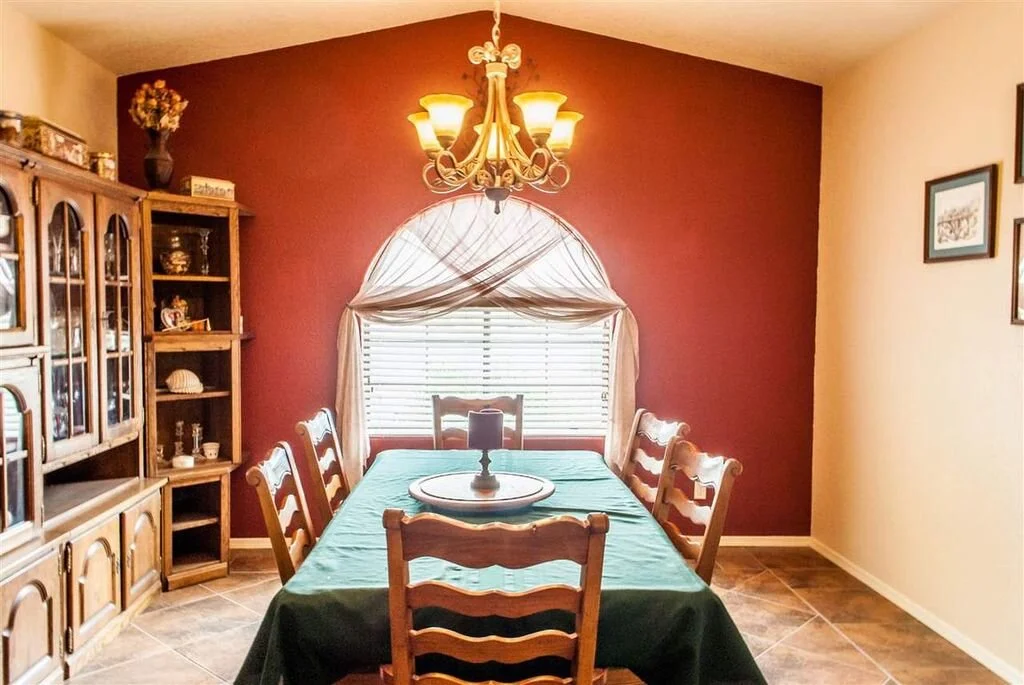
Prior to moving into our home almost three years ago, I knew exactly what I wanted to do with this space. Built as a dining room for the original owners, my goal was to revamp it into something bigger and better. Since I couldn’t enlarge the space (the dimensions are too small for a true dining room), and we were in need of an office/gathering spot for ourselves AND our kids, I decided to make this a multi-purpose room of sorts—an office and teen room combined.
Check out the before pic here.
PC: Andrew Knizley
You guys! This room was in desprate need of some serious updating. I mean, for reals. From the red accent wall, to the draperies, the oversized oak furniture, and the orange tile floor—let’s just say this baby was stuck in a serious rut…and then some.
Once we moved in, I got to work and immediately removed those draperies for my own sanity. And even though this particular space was (a little) less dated without the previous owners furniture in it, it still needed a lot of love.

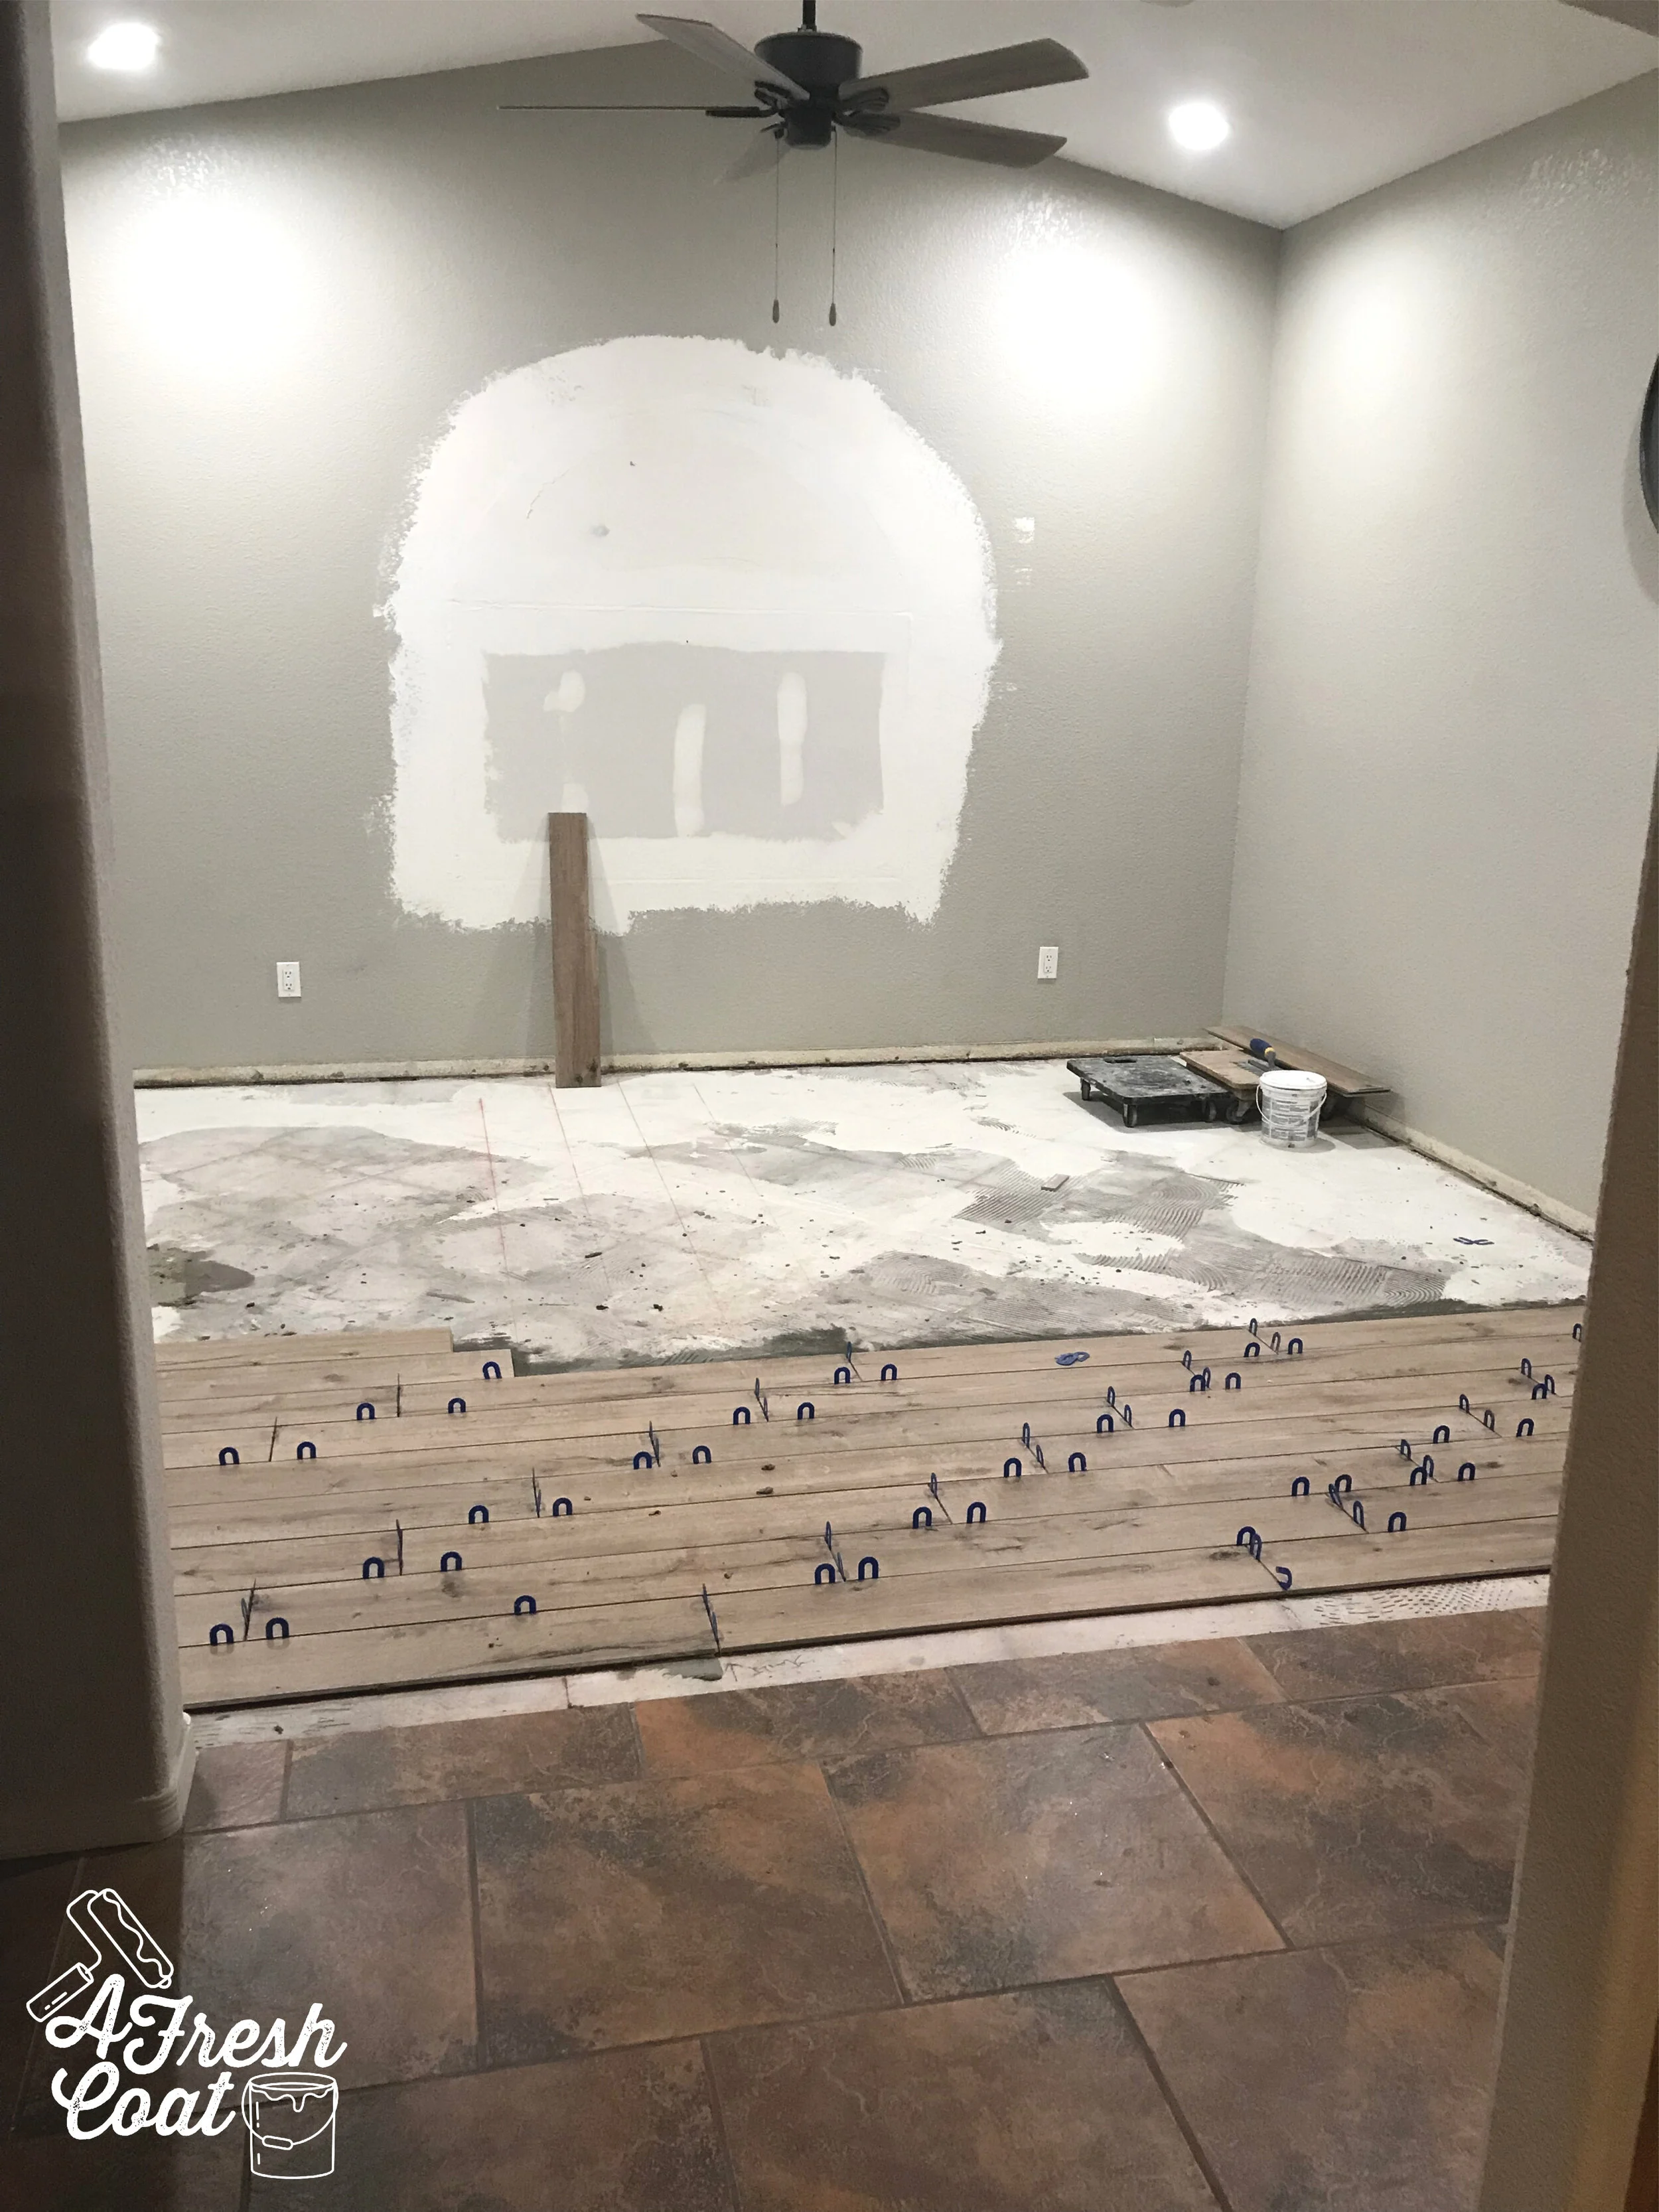
Paint was the first thing on the list. After tackling the ceiling with a bright white, the walls came second with a cool grey (Behr Tanglewood -25%). I then replaced the fan and added recessed lights to create more evenly distributed lighting throughout the room.
Next up? Covering the window!

Yep, you read that right. I had the window closed off and up. The main reason being that any desk I put in there would sit too high and actually block a portion of the window. This wasn’t going to work long term, so away it went.
But(!) totally removing it would have cost a lot and made the outside aesthetic wonky and weird. So, we just closed it off inside and left the outside just as it was.
Next step? The tile floor. If you follow my Instagram stories, you know I have this orange tile ALL over my home. Removing it in steps has been a process…a messy but super satisfying one.

P-R-O-G-R-E-S-S !
Out with the old and in with the new.
Once the flooring was finished, it was time for the brick accent wall. Since I wanted to keep costs down to make room for the next phase (built-in cabinetry), I decided to use brick paneling as opposed to brick veneers. Plus, if there were ever any issues with that window being closed off, I wanted something semi-permanent so we had access to it.
Nate Koogle rocked it again!

It was just starting to come together…

The next phase was construction of the built-in units. I contracted Master Finishes in Yuma, AZ, provided them my drawings, explained my vision, and they got to work while I began treatment on the brick wall. I knew I wanted black cabinetry with a medium stained butcher block counter in order finish this room off right. They completely exceeded my expectations and then some…

The final step before the built-ins were installed was adding a treatment to the brick accent wall. I wanted a more vintage-y/urban vibe and got a hold of a big bucket o’ joint compound in order to produce the final result I originally envisioned.

Slapping this stuff on using a straight edge was the easiest thing ever. Easy but a little messy. Once dry (and using a wet rag), I removed any excess. The end result? A super fun faux brick wall.


Getting closer…
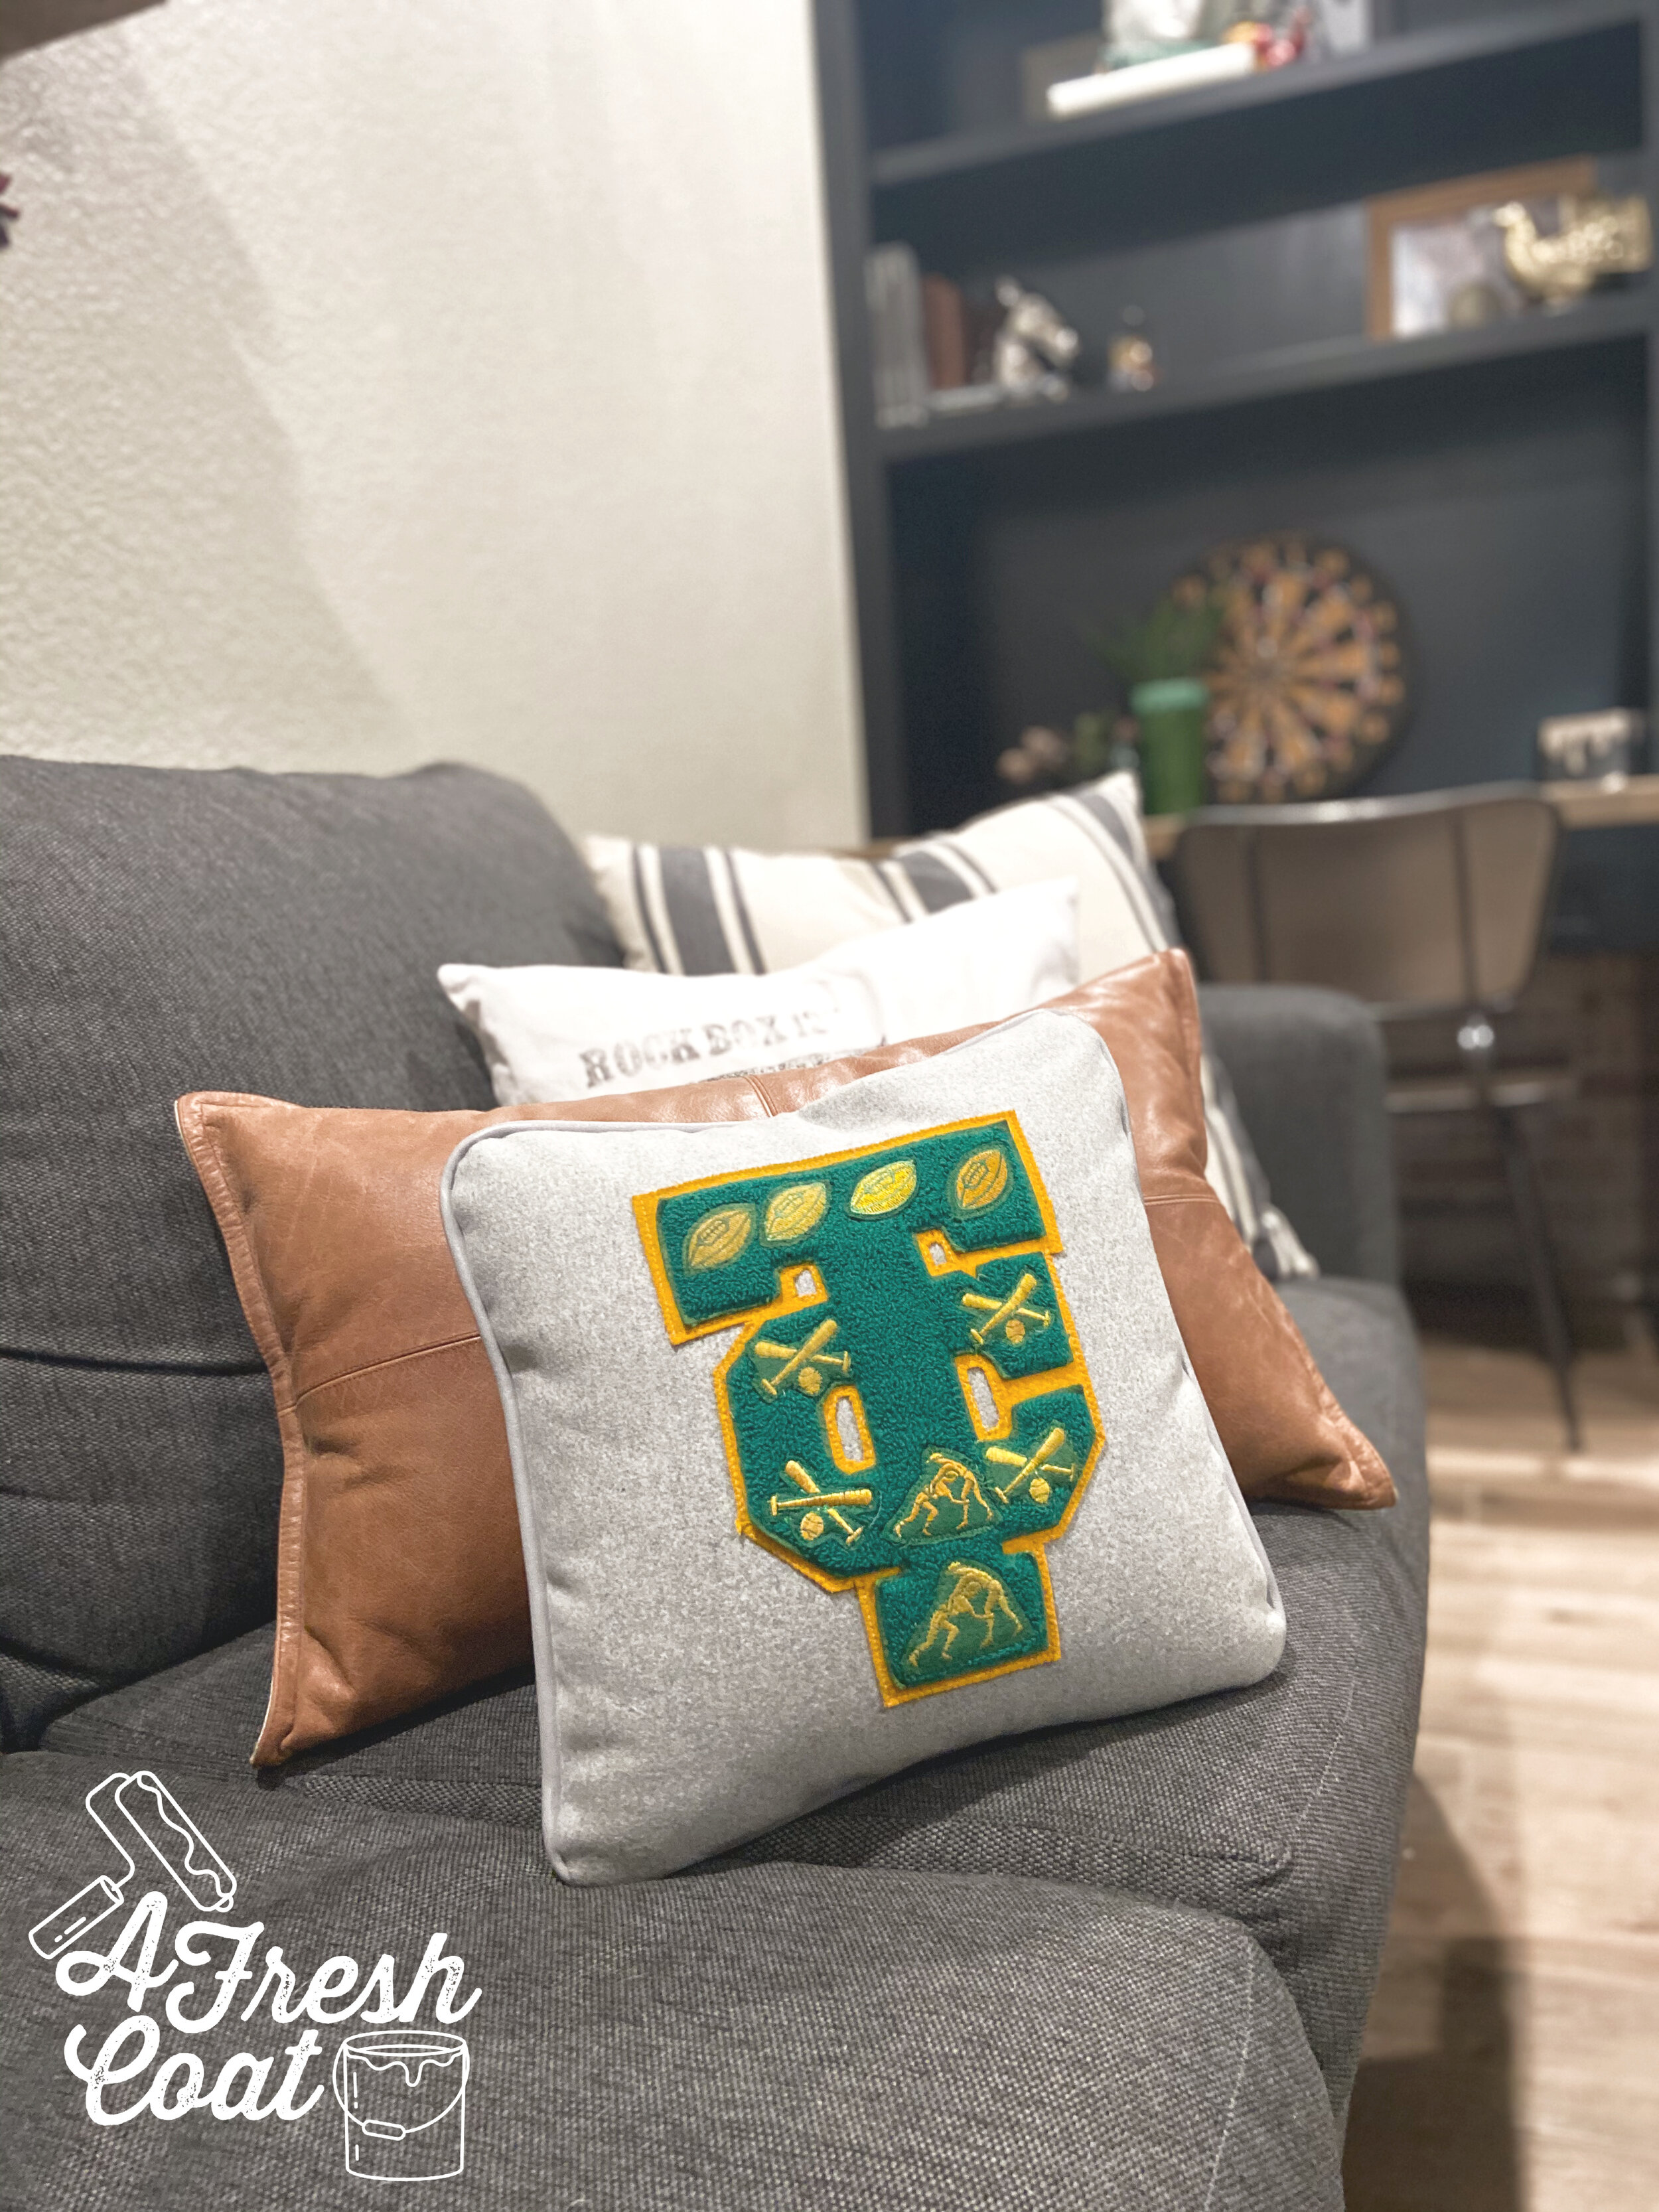
While waiting for the built-ins, I also wanted to tackle a couple of projects I’d been meaning to get to. The main one involved my husband’s (and mine) letterman jackets. After years of just sitting in our closets, I dusted them off and got to work disassembling them.
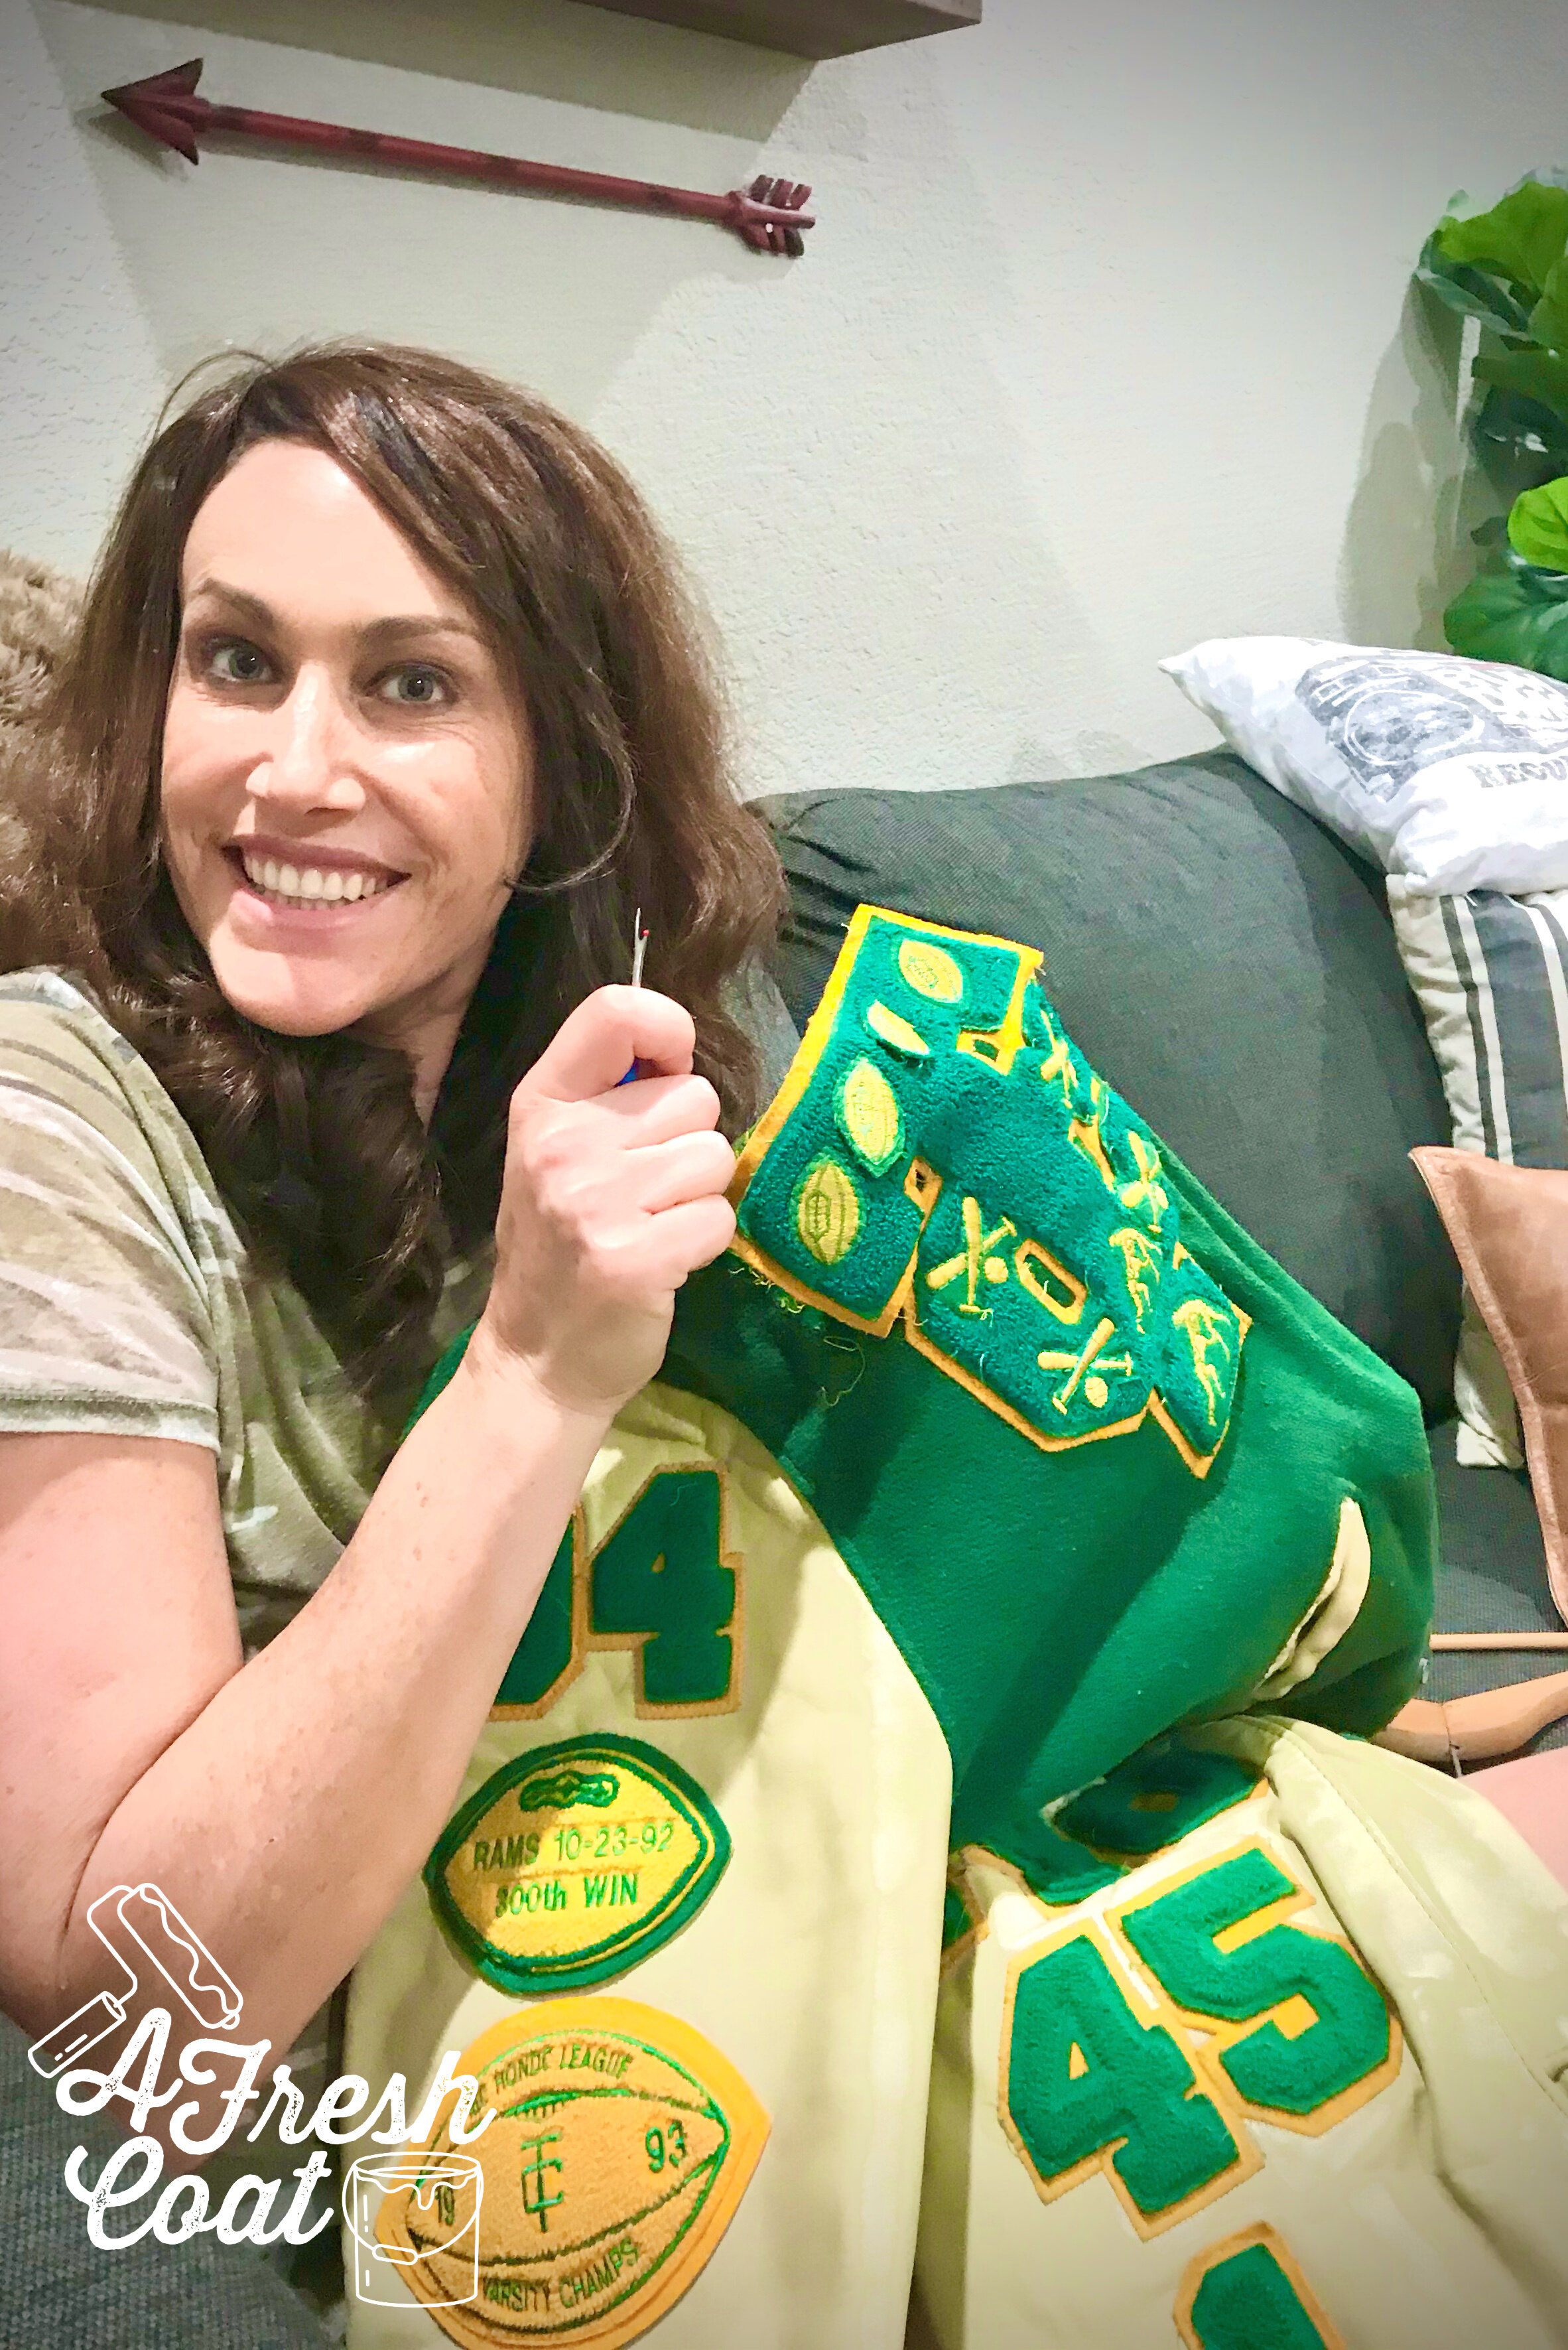
I think I enjoy demo work a little too much.

Anyways, once all of my numbers and patches were removed, I sent hubby’s letter off to make a super fun and crazy special throw pillow—a throw pillow he would actually like!
Just look at what Letterman Supply Company—based out of Utah—did. Wow!

PC: Letterman Supply Company
Okay, here we go. After curating items for over two years, planning, saving, and working hard towards the refinishing of this room, here it is.
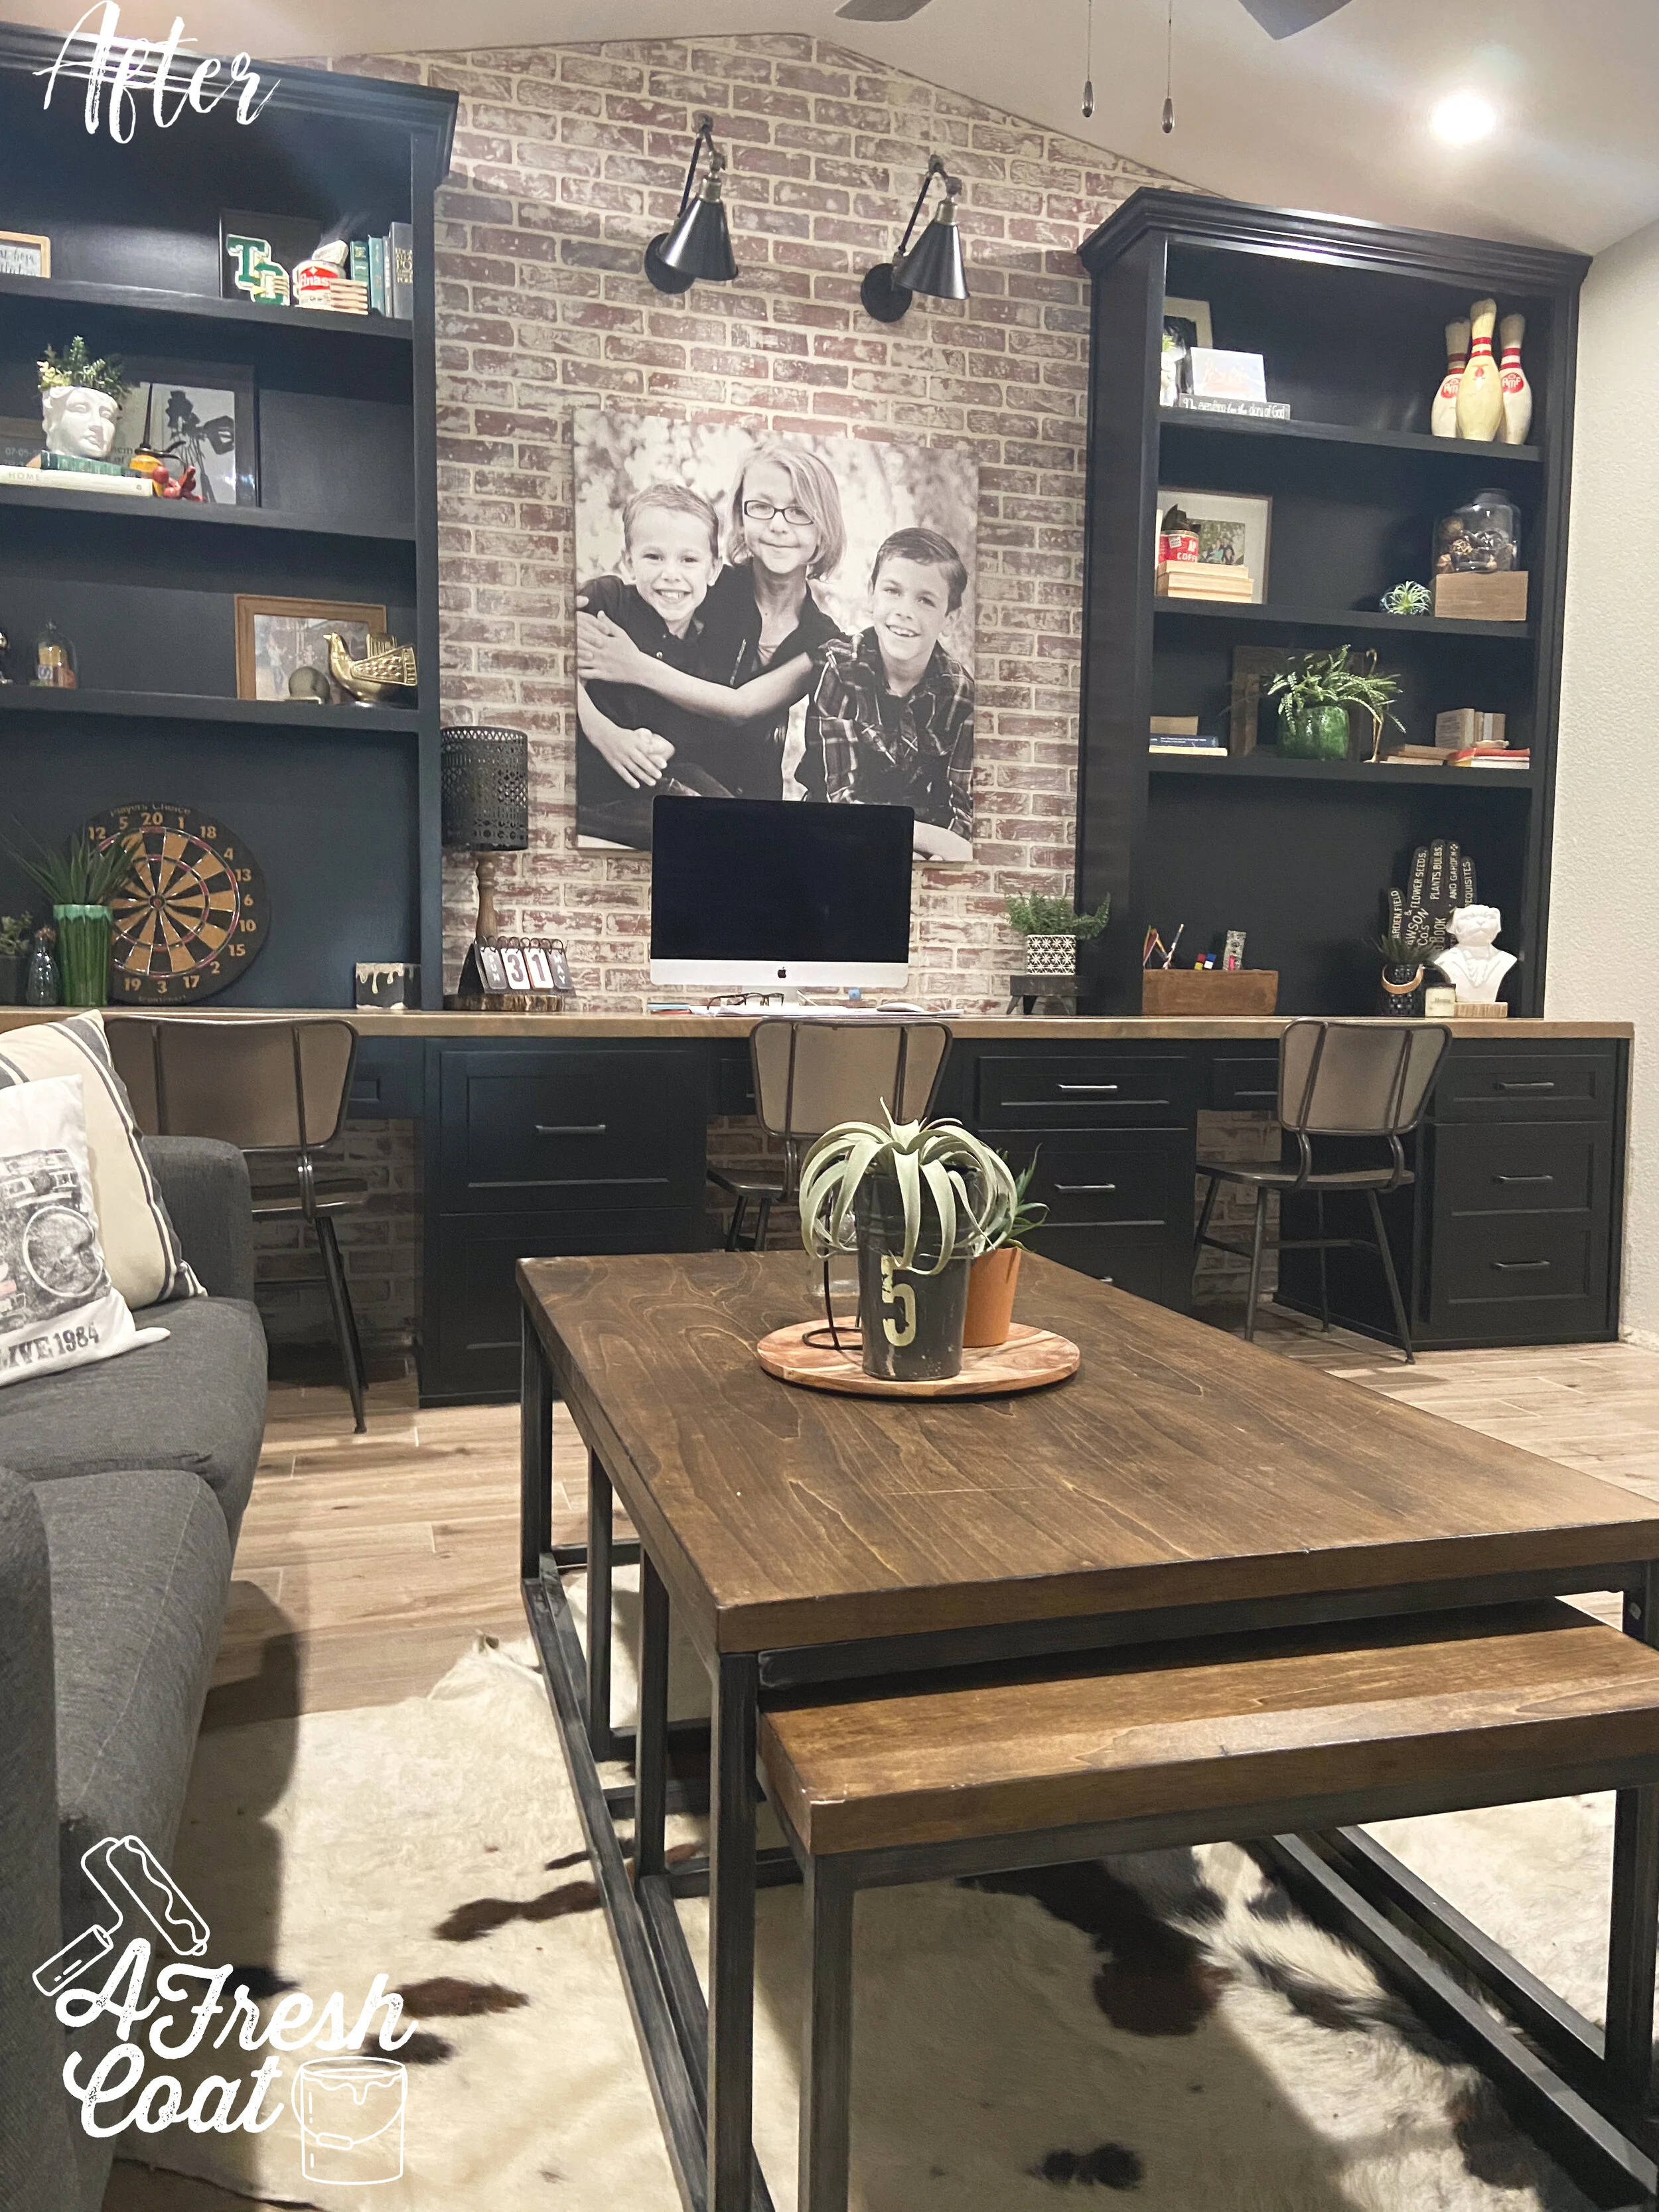
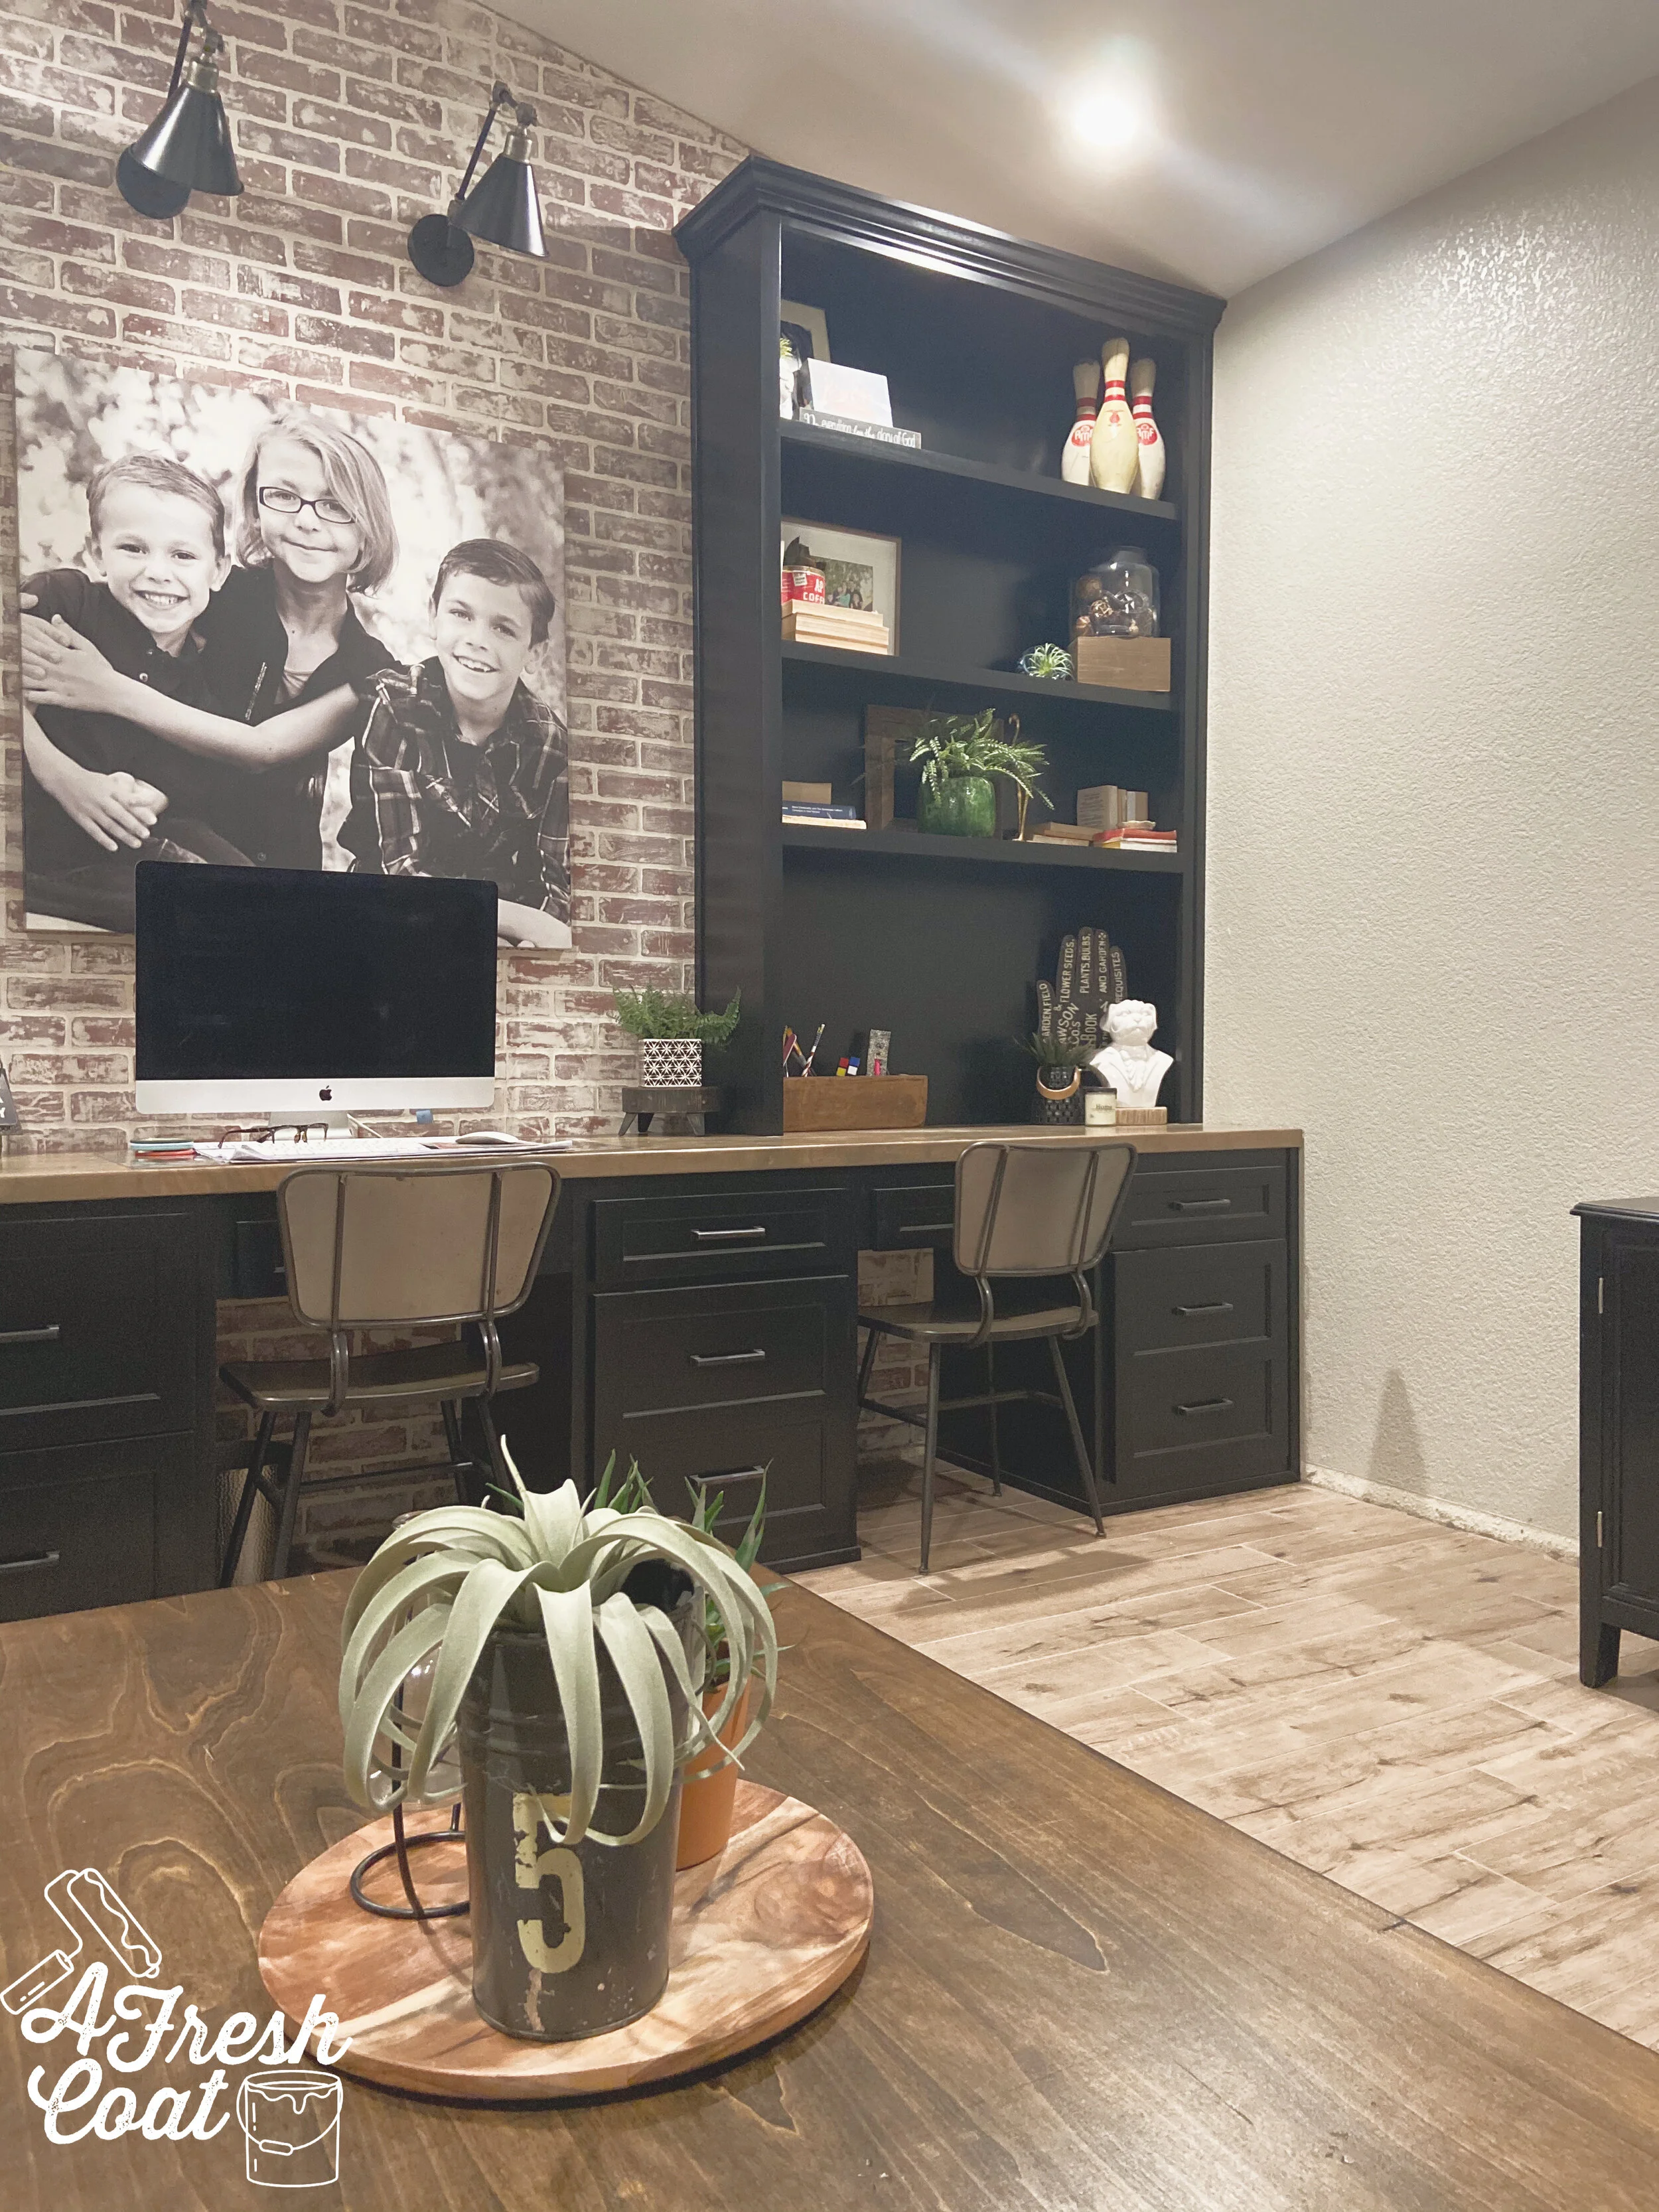

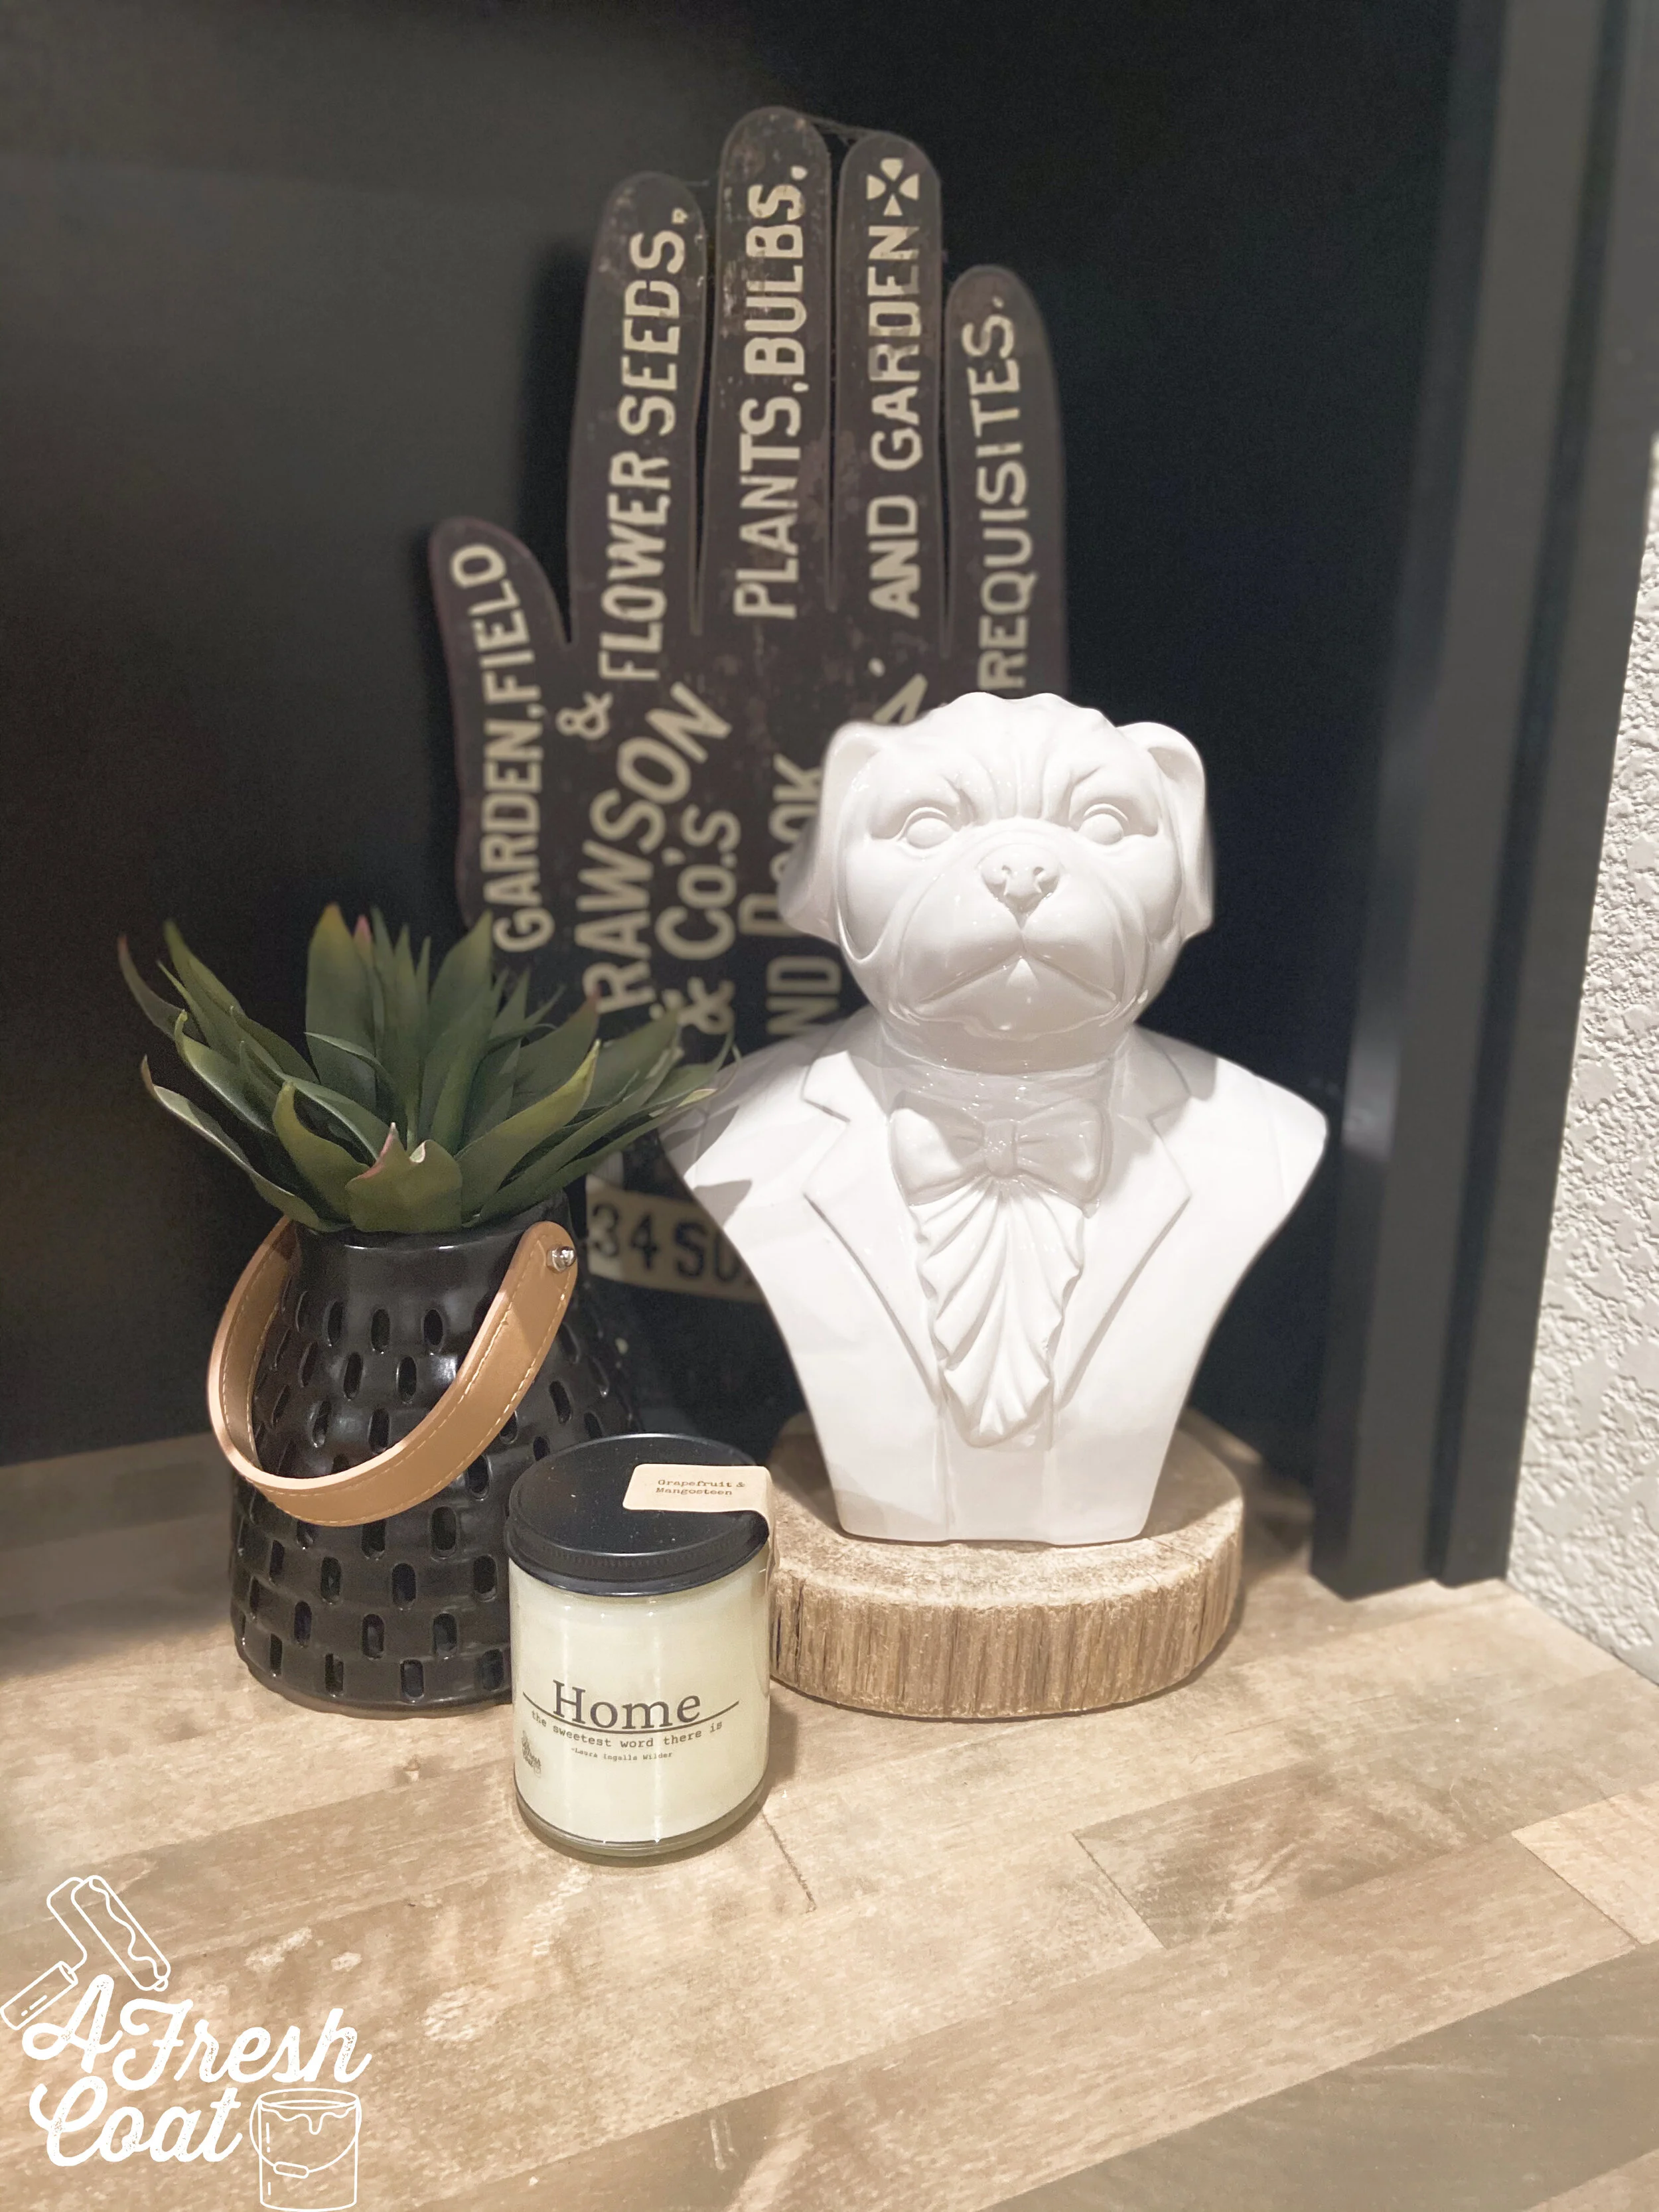
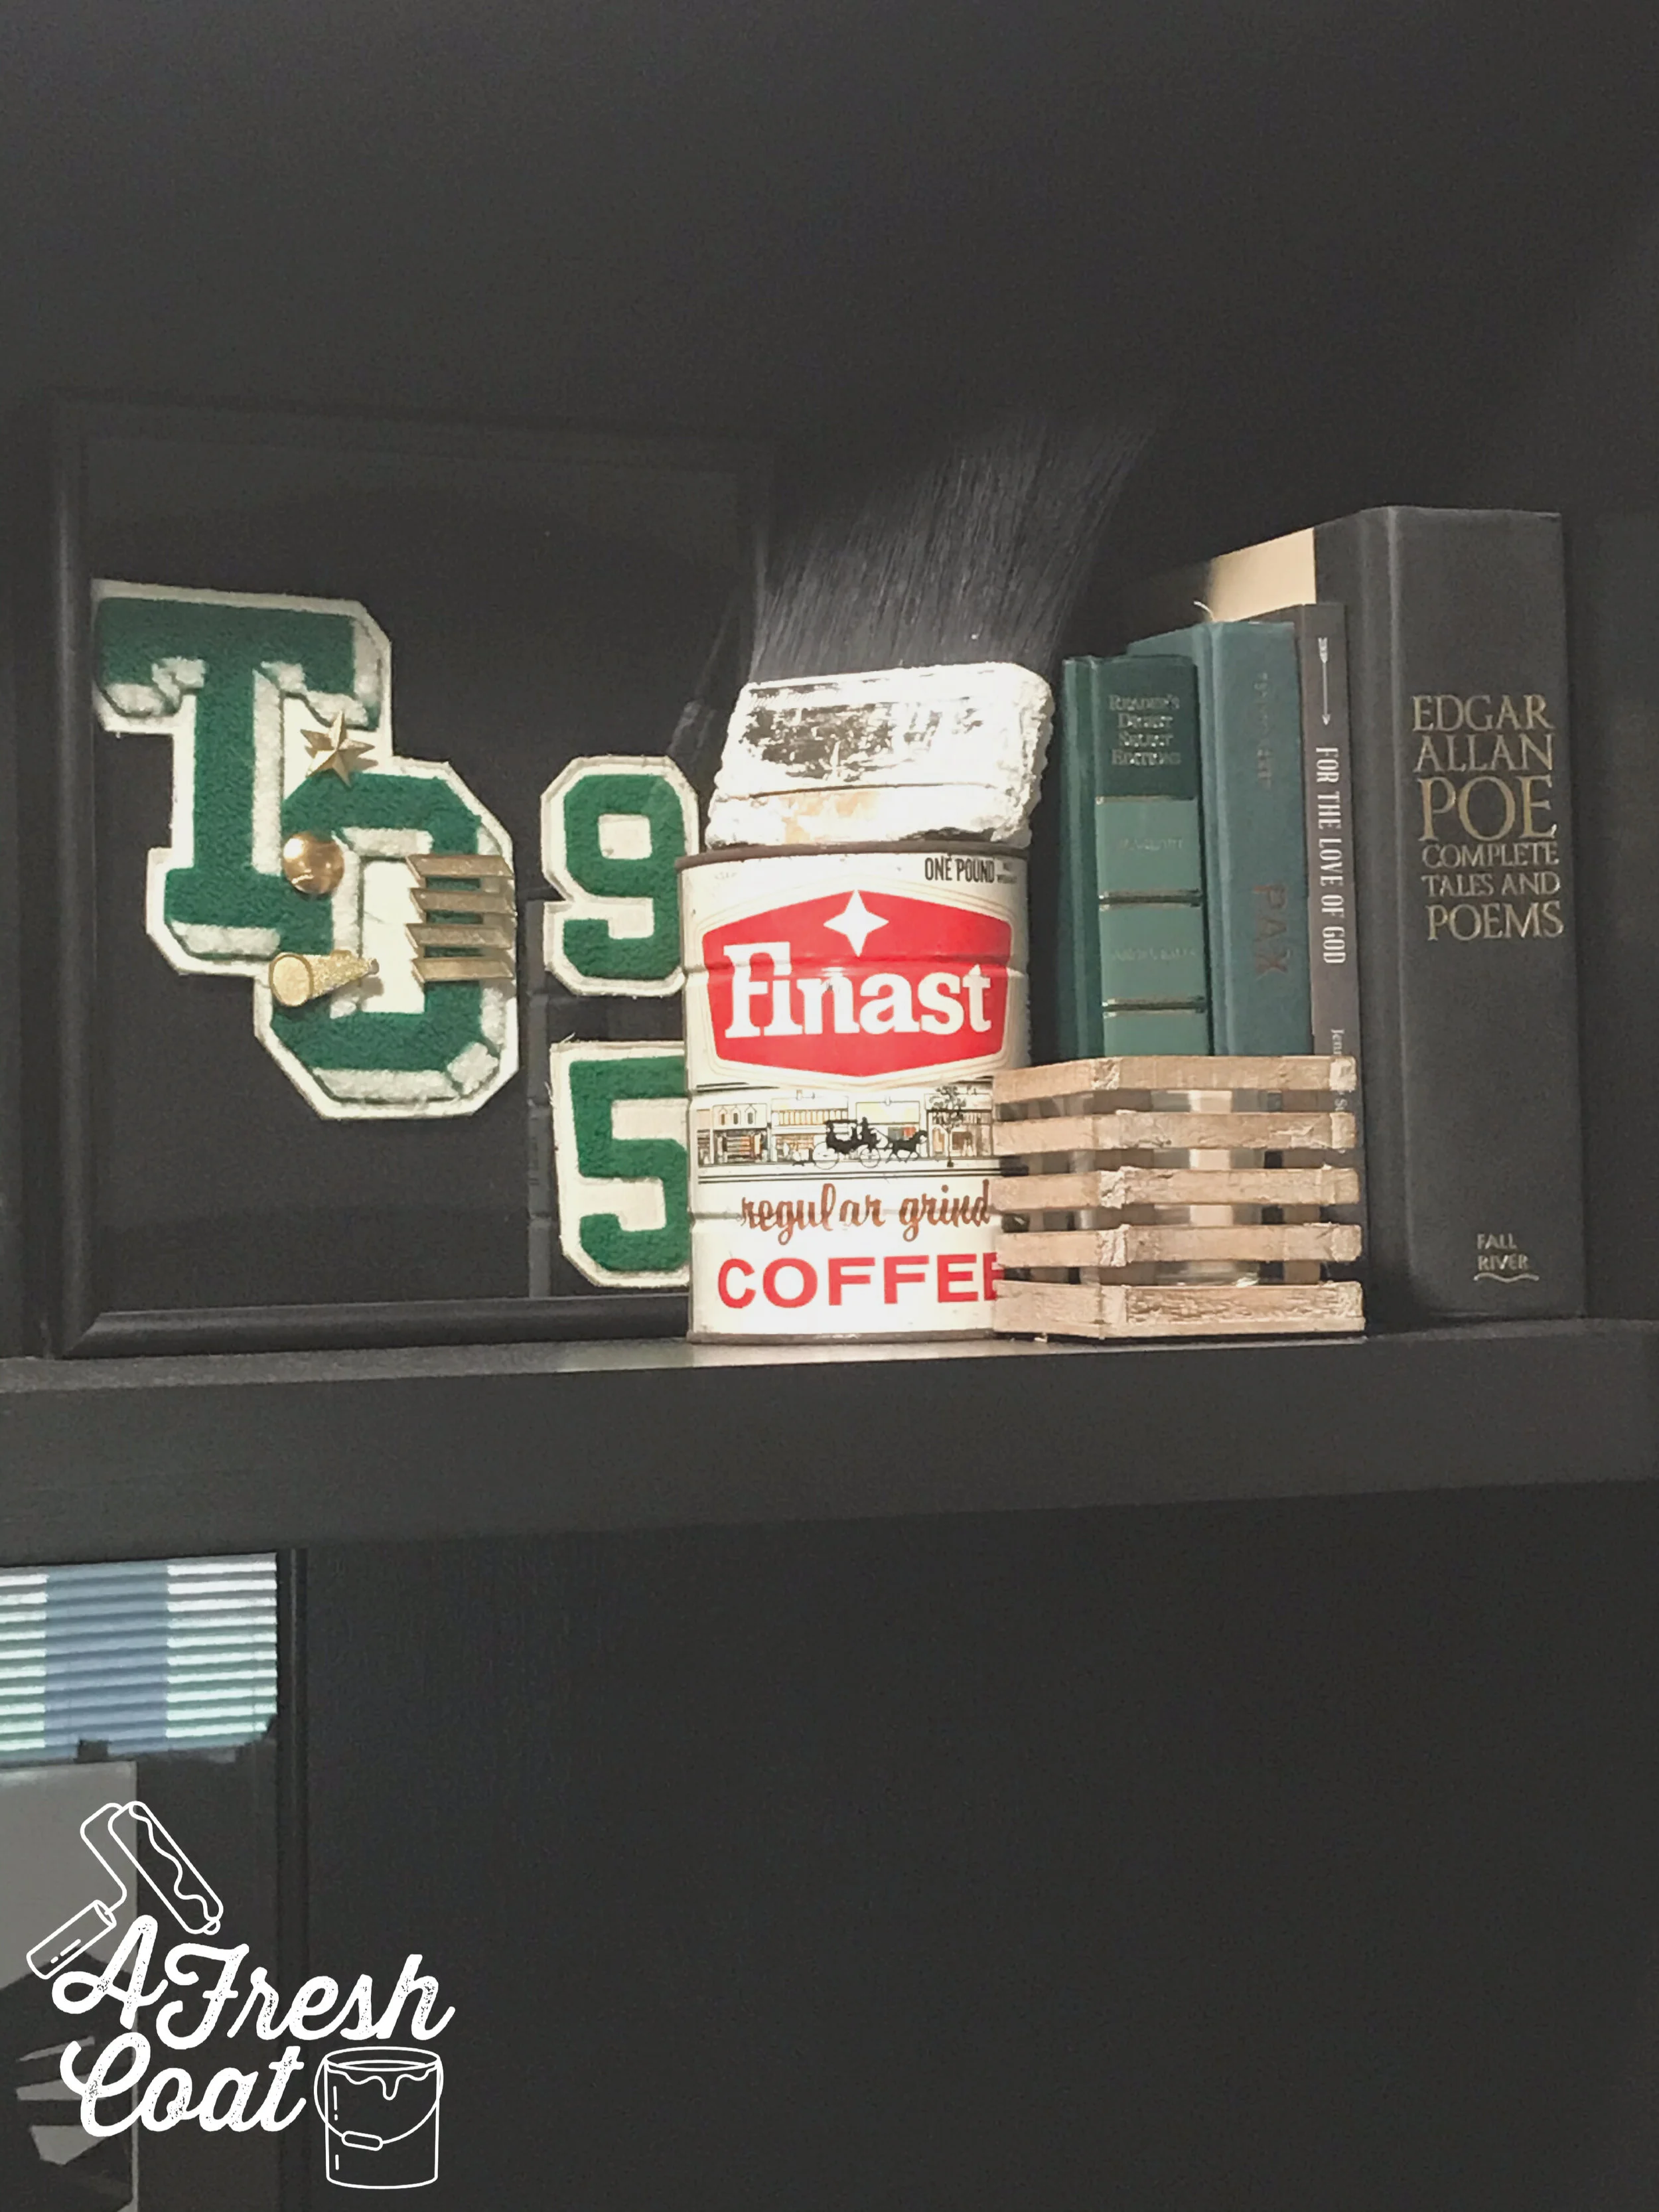
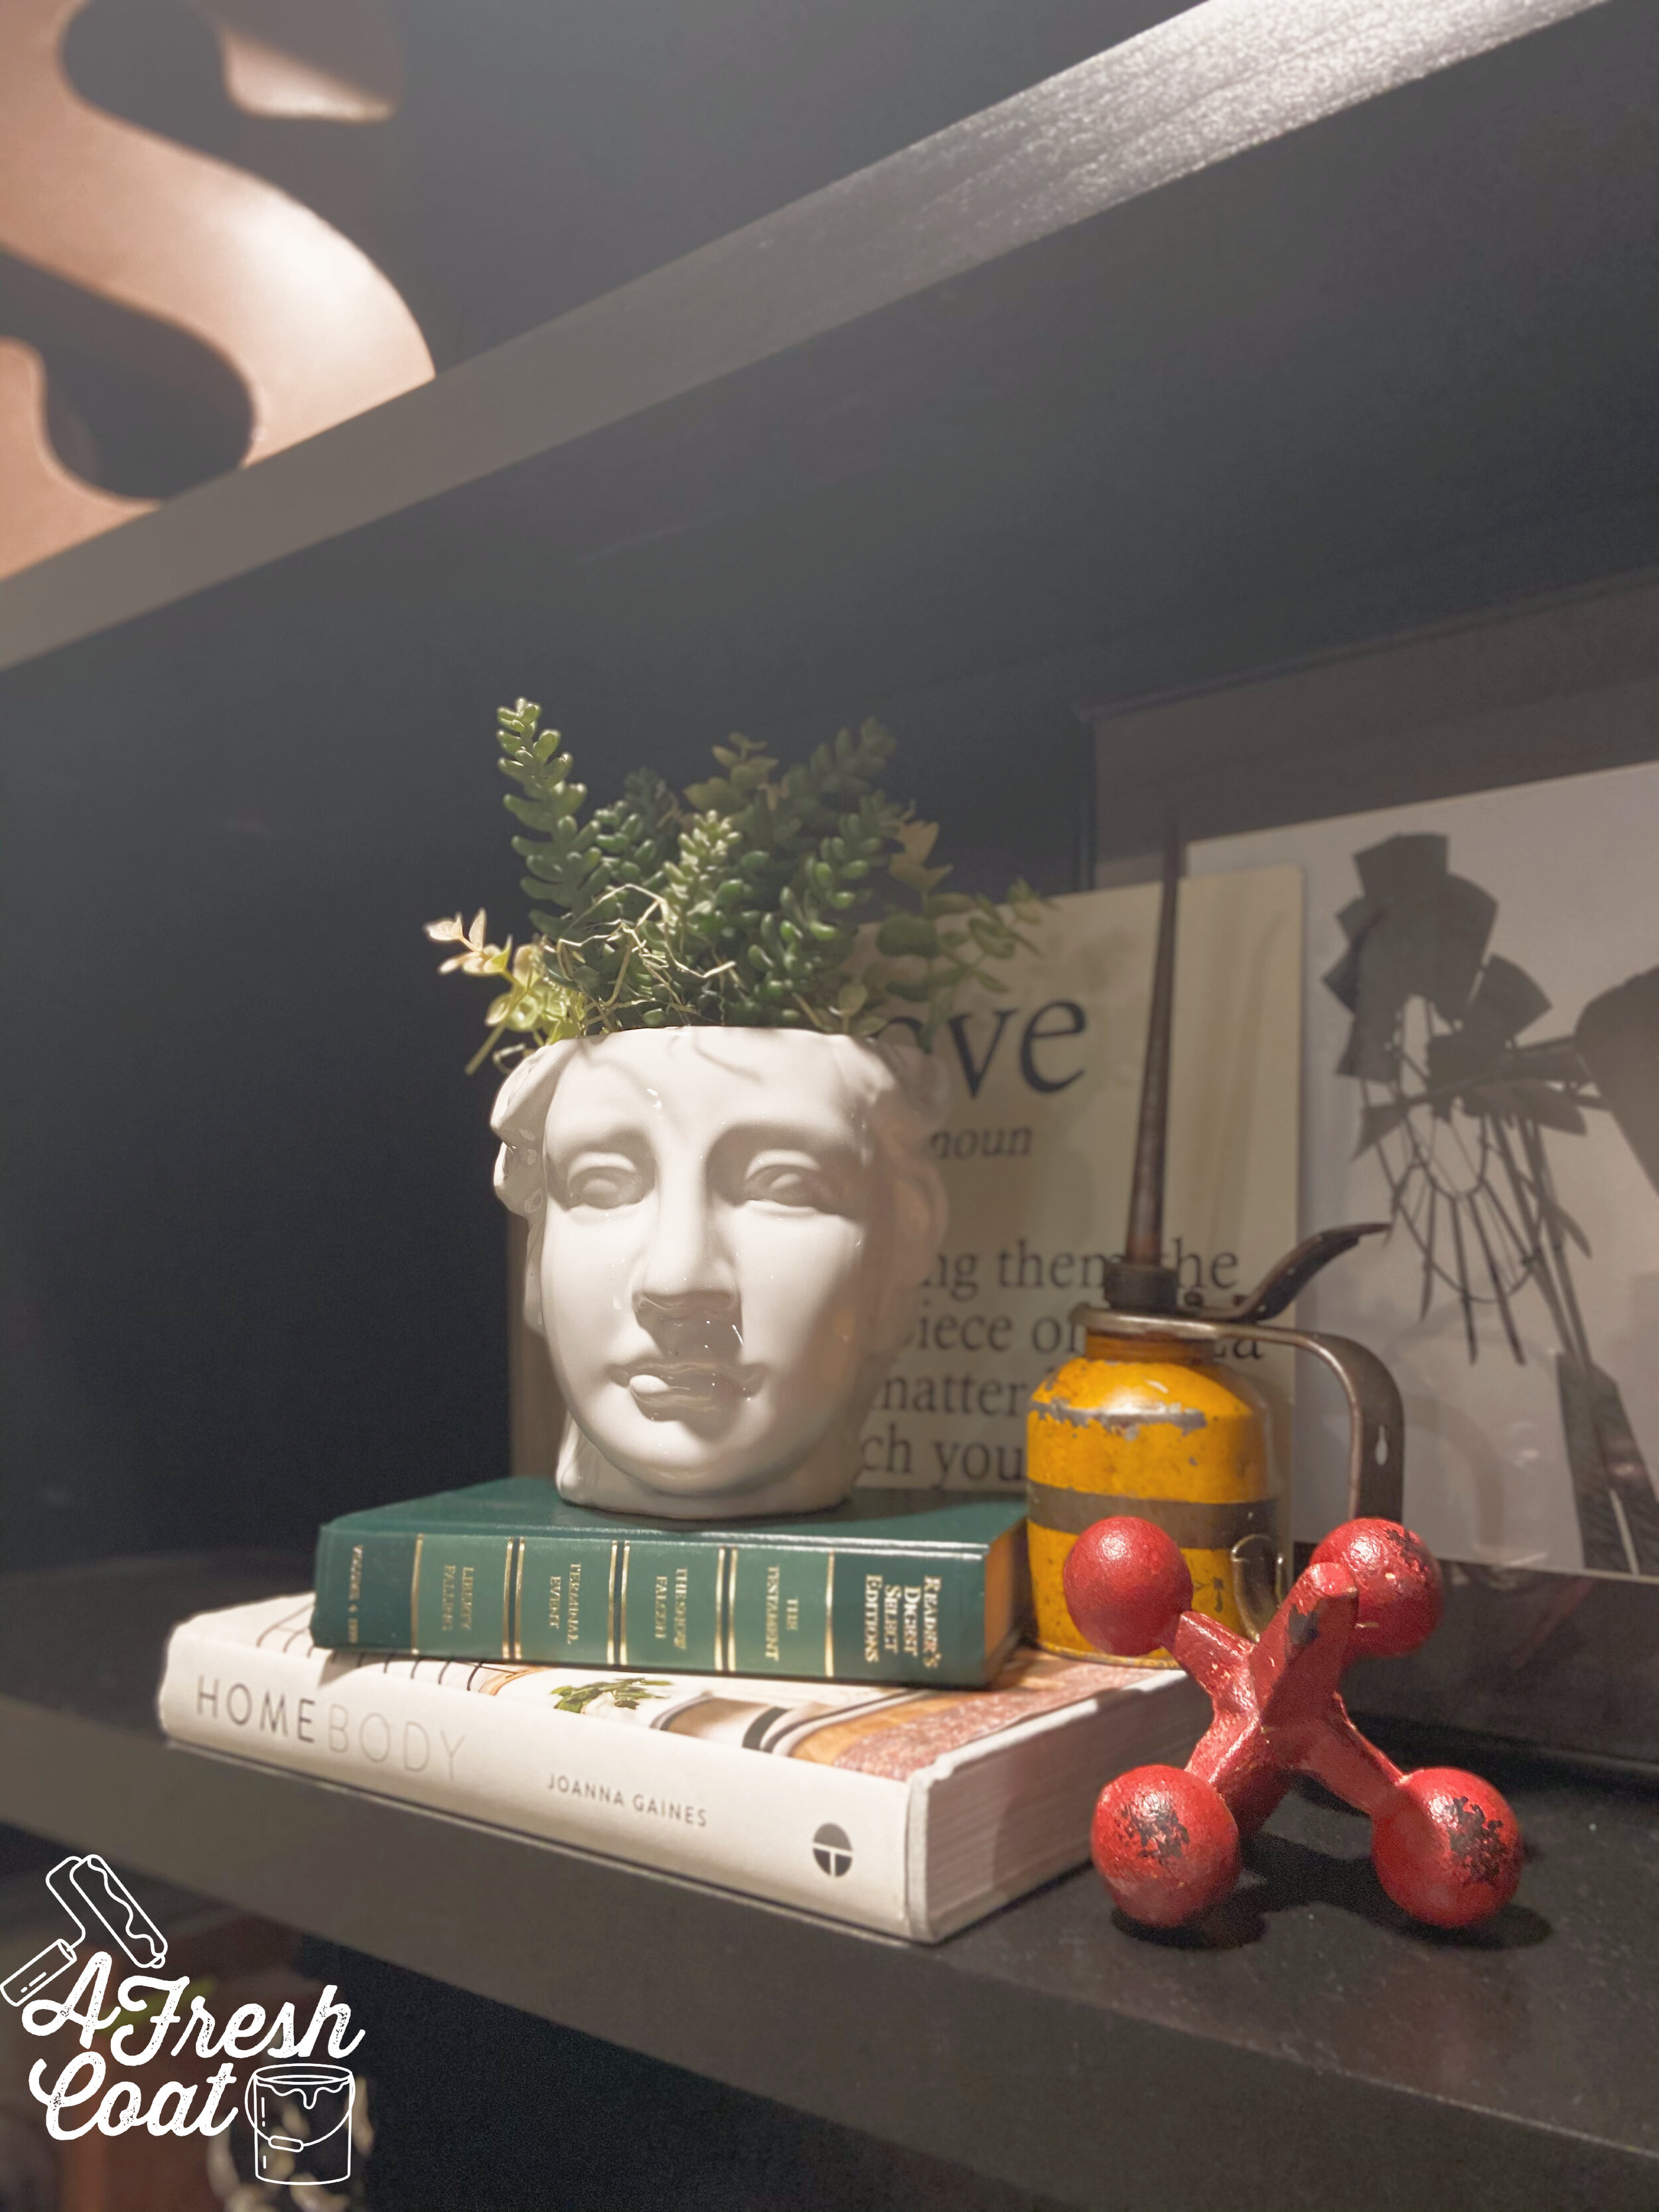
I am so, so proud of every element and every detail of this room…especially the decor. From the pug bust, the oil can, the collection of books and Bibles, to the unique planters and other items, this room’s unique decor is a mixture of old and new. Numerous trips to the Goodwill, Dandy, Hobby Lobby, Junk in the Trunk, and Rebel and Rove made everything you see here come together. I even have my daughter’s ceramics projects (back when she attended school), along with framed photos she entered in last year’s fair, and knick knack’s special to me.
I love it. I really, really love it.
One more before and after comparison. I’m still amazed it’s finished—it’s a reality.

PC: Andrew Knizley

THE DETAILS:
Paint: Tanglewood (Behr), Valspar Ceiling Paint
Paint Labor: A Fresh Coat-Yuma
Window Closure: Kyle Hardin
Flooring: Julio Martinez
Built-ins: Master Finishes
Custom Stained Butcher Block: Master Finishes
Chairs: Wayfair
Throw Pillows: Pottery Barn Teen, Ashley Home Store, Hobby Lobby
Letterman Pillow: Letterman Sullpy Compant
Furniture: American Furniture Wharehouse
Cowhide: Dandy Home and Ranch
Decor: Junk in the Trunk, Dandy, Hobby Lobby, Rebl and Rove, Pier 1, Goodwill, Kirkland’s, Annie Sulpizio