This bathroom renovation at my daughter’s Texas home took a little while to complete…seven months to be exact. The reason? Even though the bathroom was in decent condition, the shower was not. A makeshift shower head had been rigged from the spout of the tub and with plumbing that was exposed on the exterior of the wall.
It was bad! And strange. And it wreaked havoc on the drywall in there. So much so, that we had to repair it…and renovate.
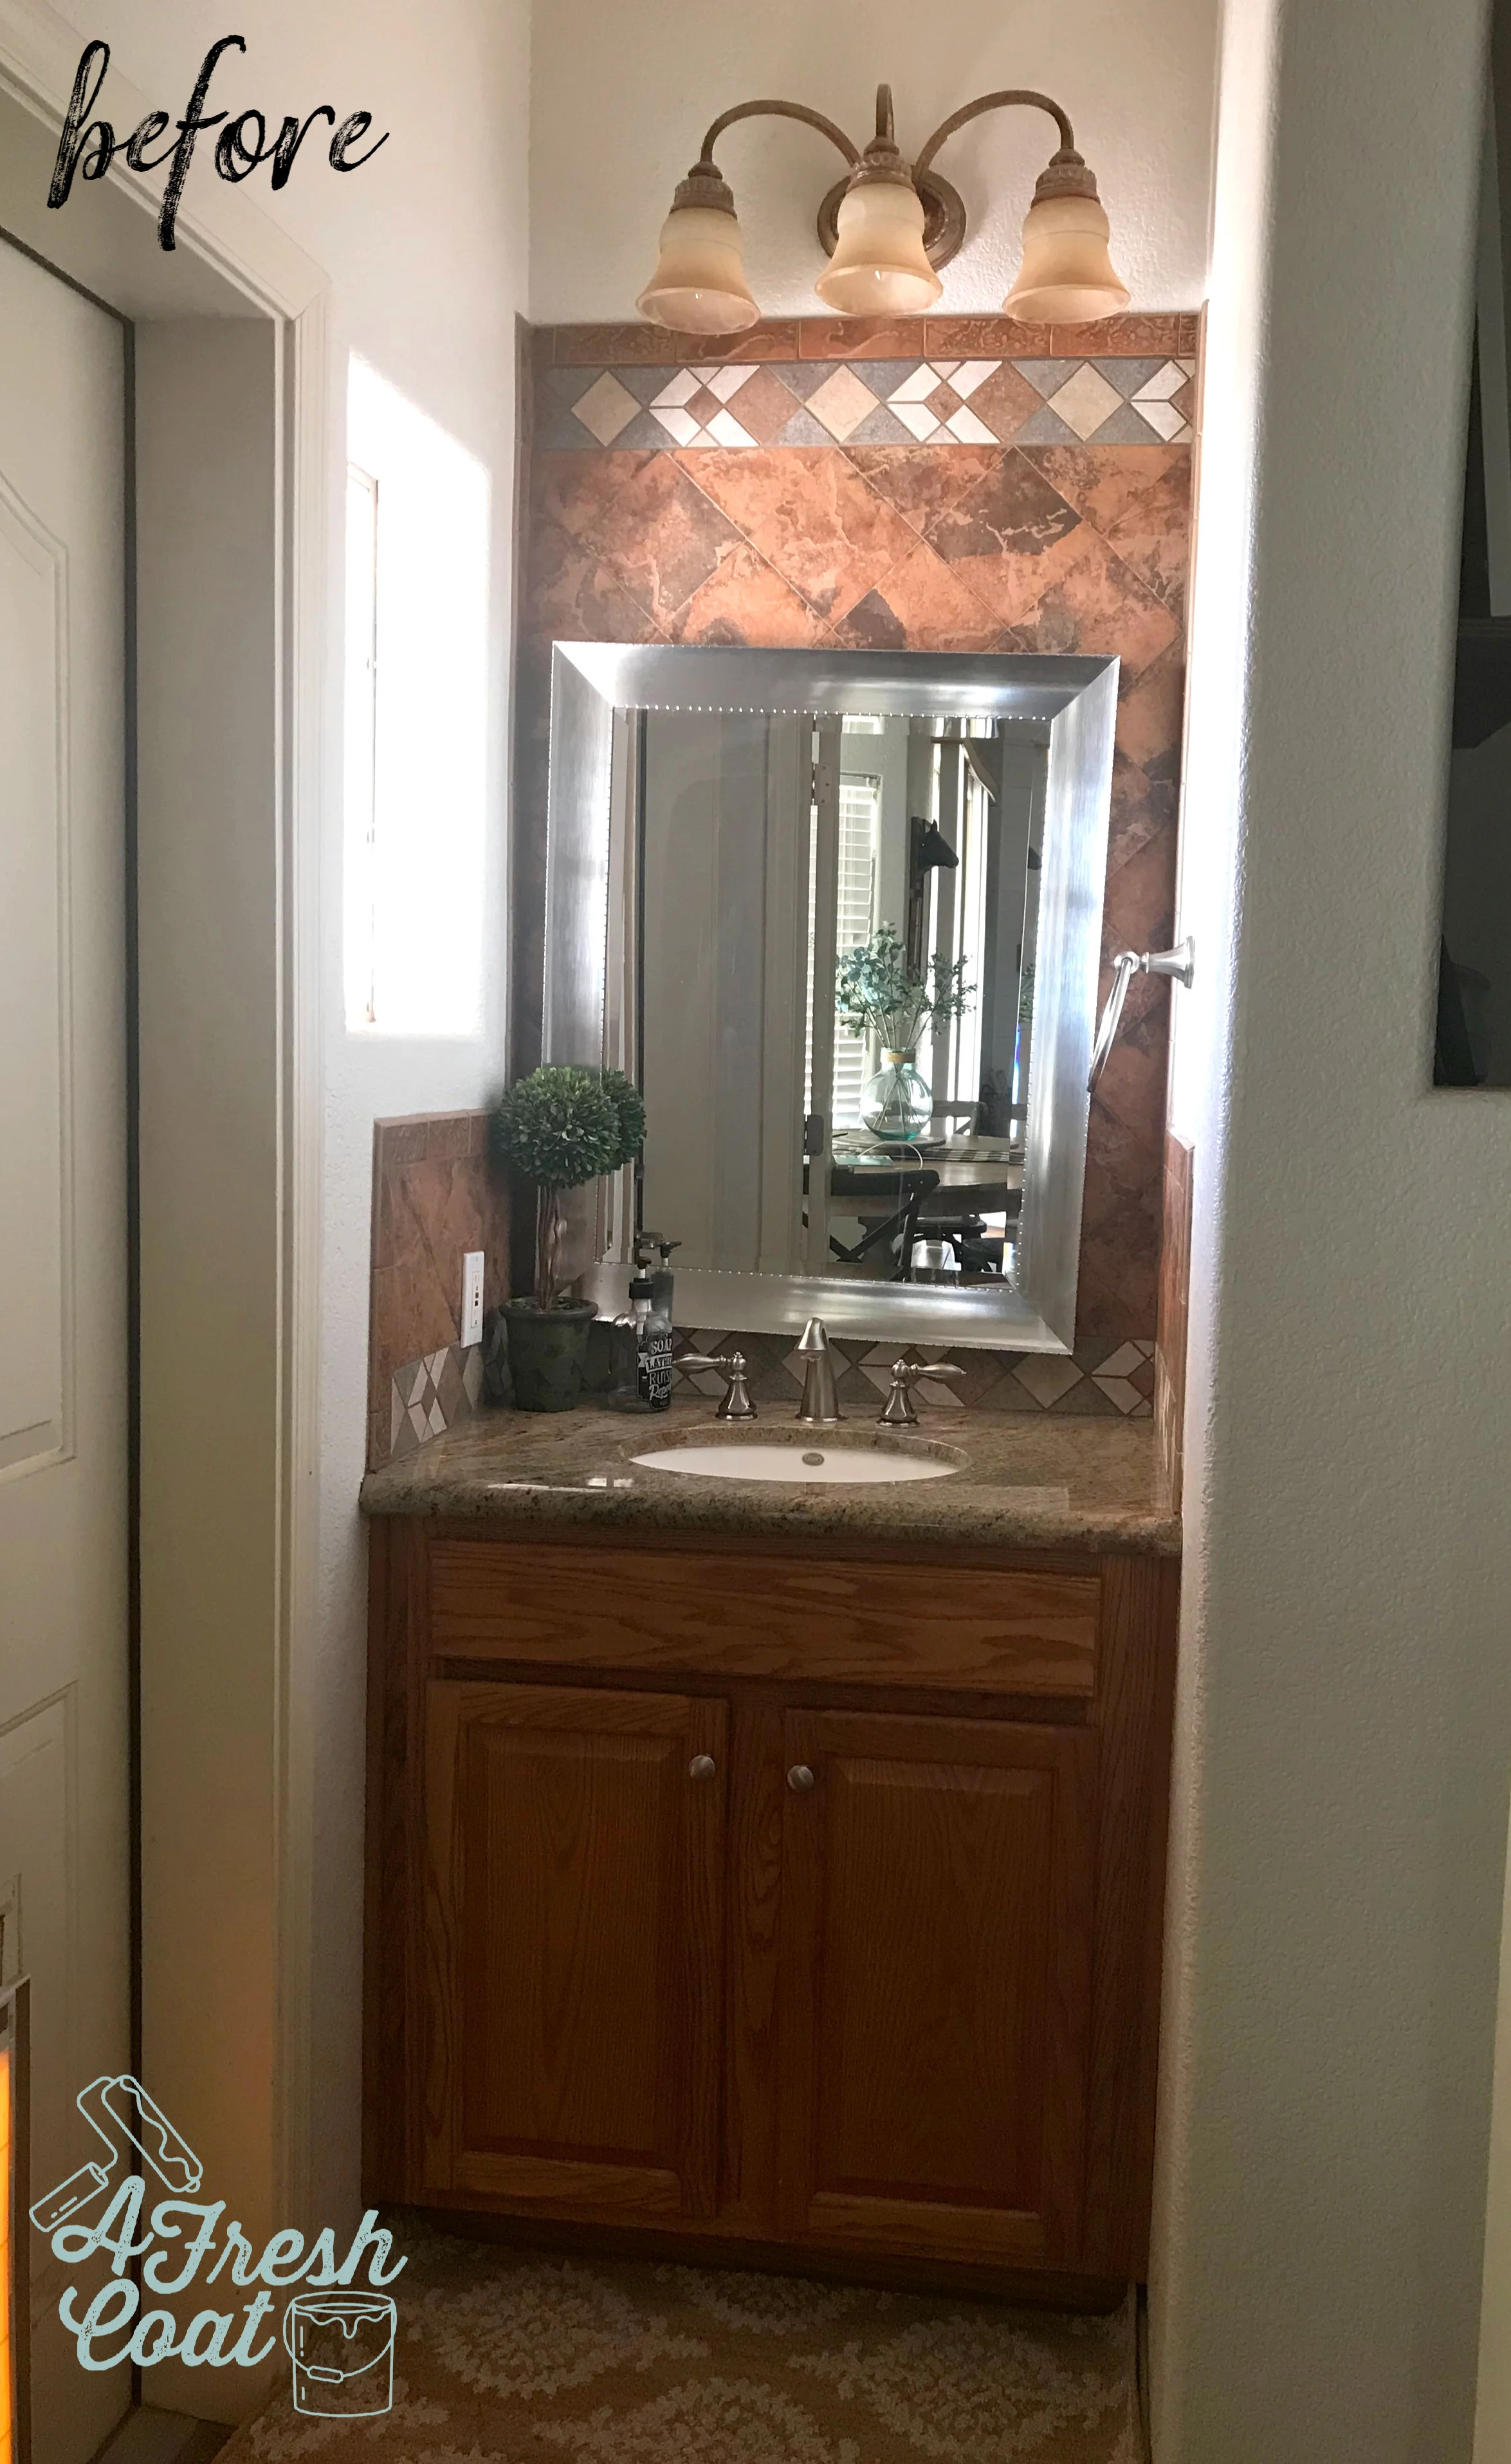
Here is where we started:

Photo courtesy of Zillow.com
With only one sink, dated countertops/cabinetry, and that weird shower issue, this space needed some help.
So, we located an awesome contractor and got on the waiting list back in January. Come May, it was “go time” and demolition got under way.

First things first—removing all the damaged drywall, framing up the wall, adding in the new tub, and getting the shower all plumbed up…oh, and covering up that window (gosh—maybe that’s my thing, I dunno).

Next came the tile. I opted for Subway tile because even though its been done ( a lot), it’s classic and timeless. Also, by going with a tile that has slight dimension or even a texture to it—a variation, if you will on the standard Subway tile—it adds a hint of a custom look and vibe.
Also, see the flooring? As with most remodels, deviations/changes from the original plans tend to happen…and since they were already in there renovating, we decided to change out the existing floor tile for something newer…fresher…and more fun.
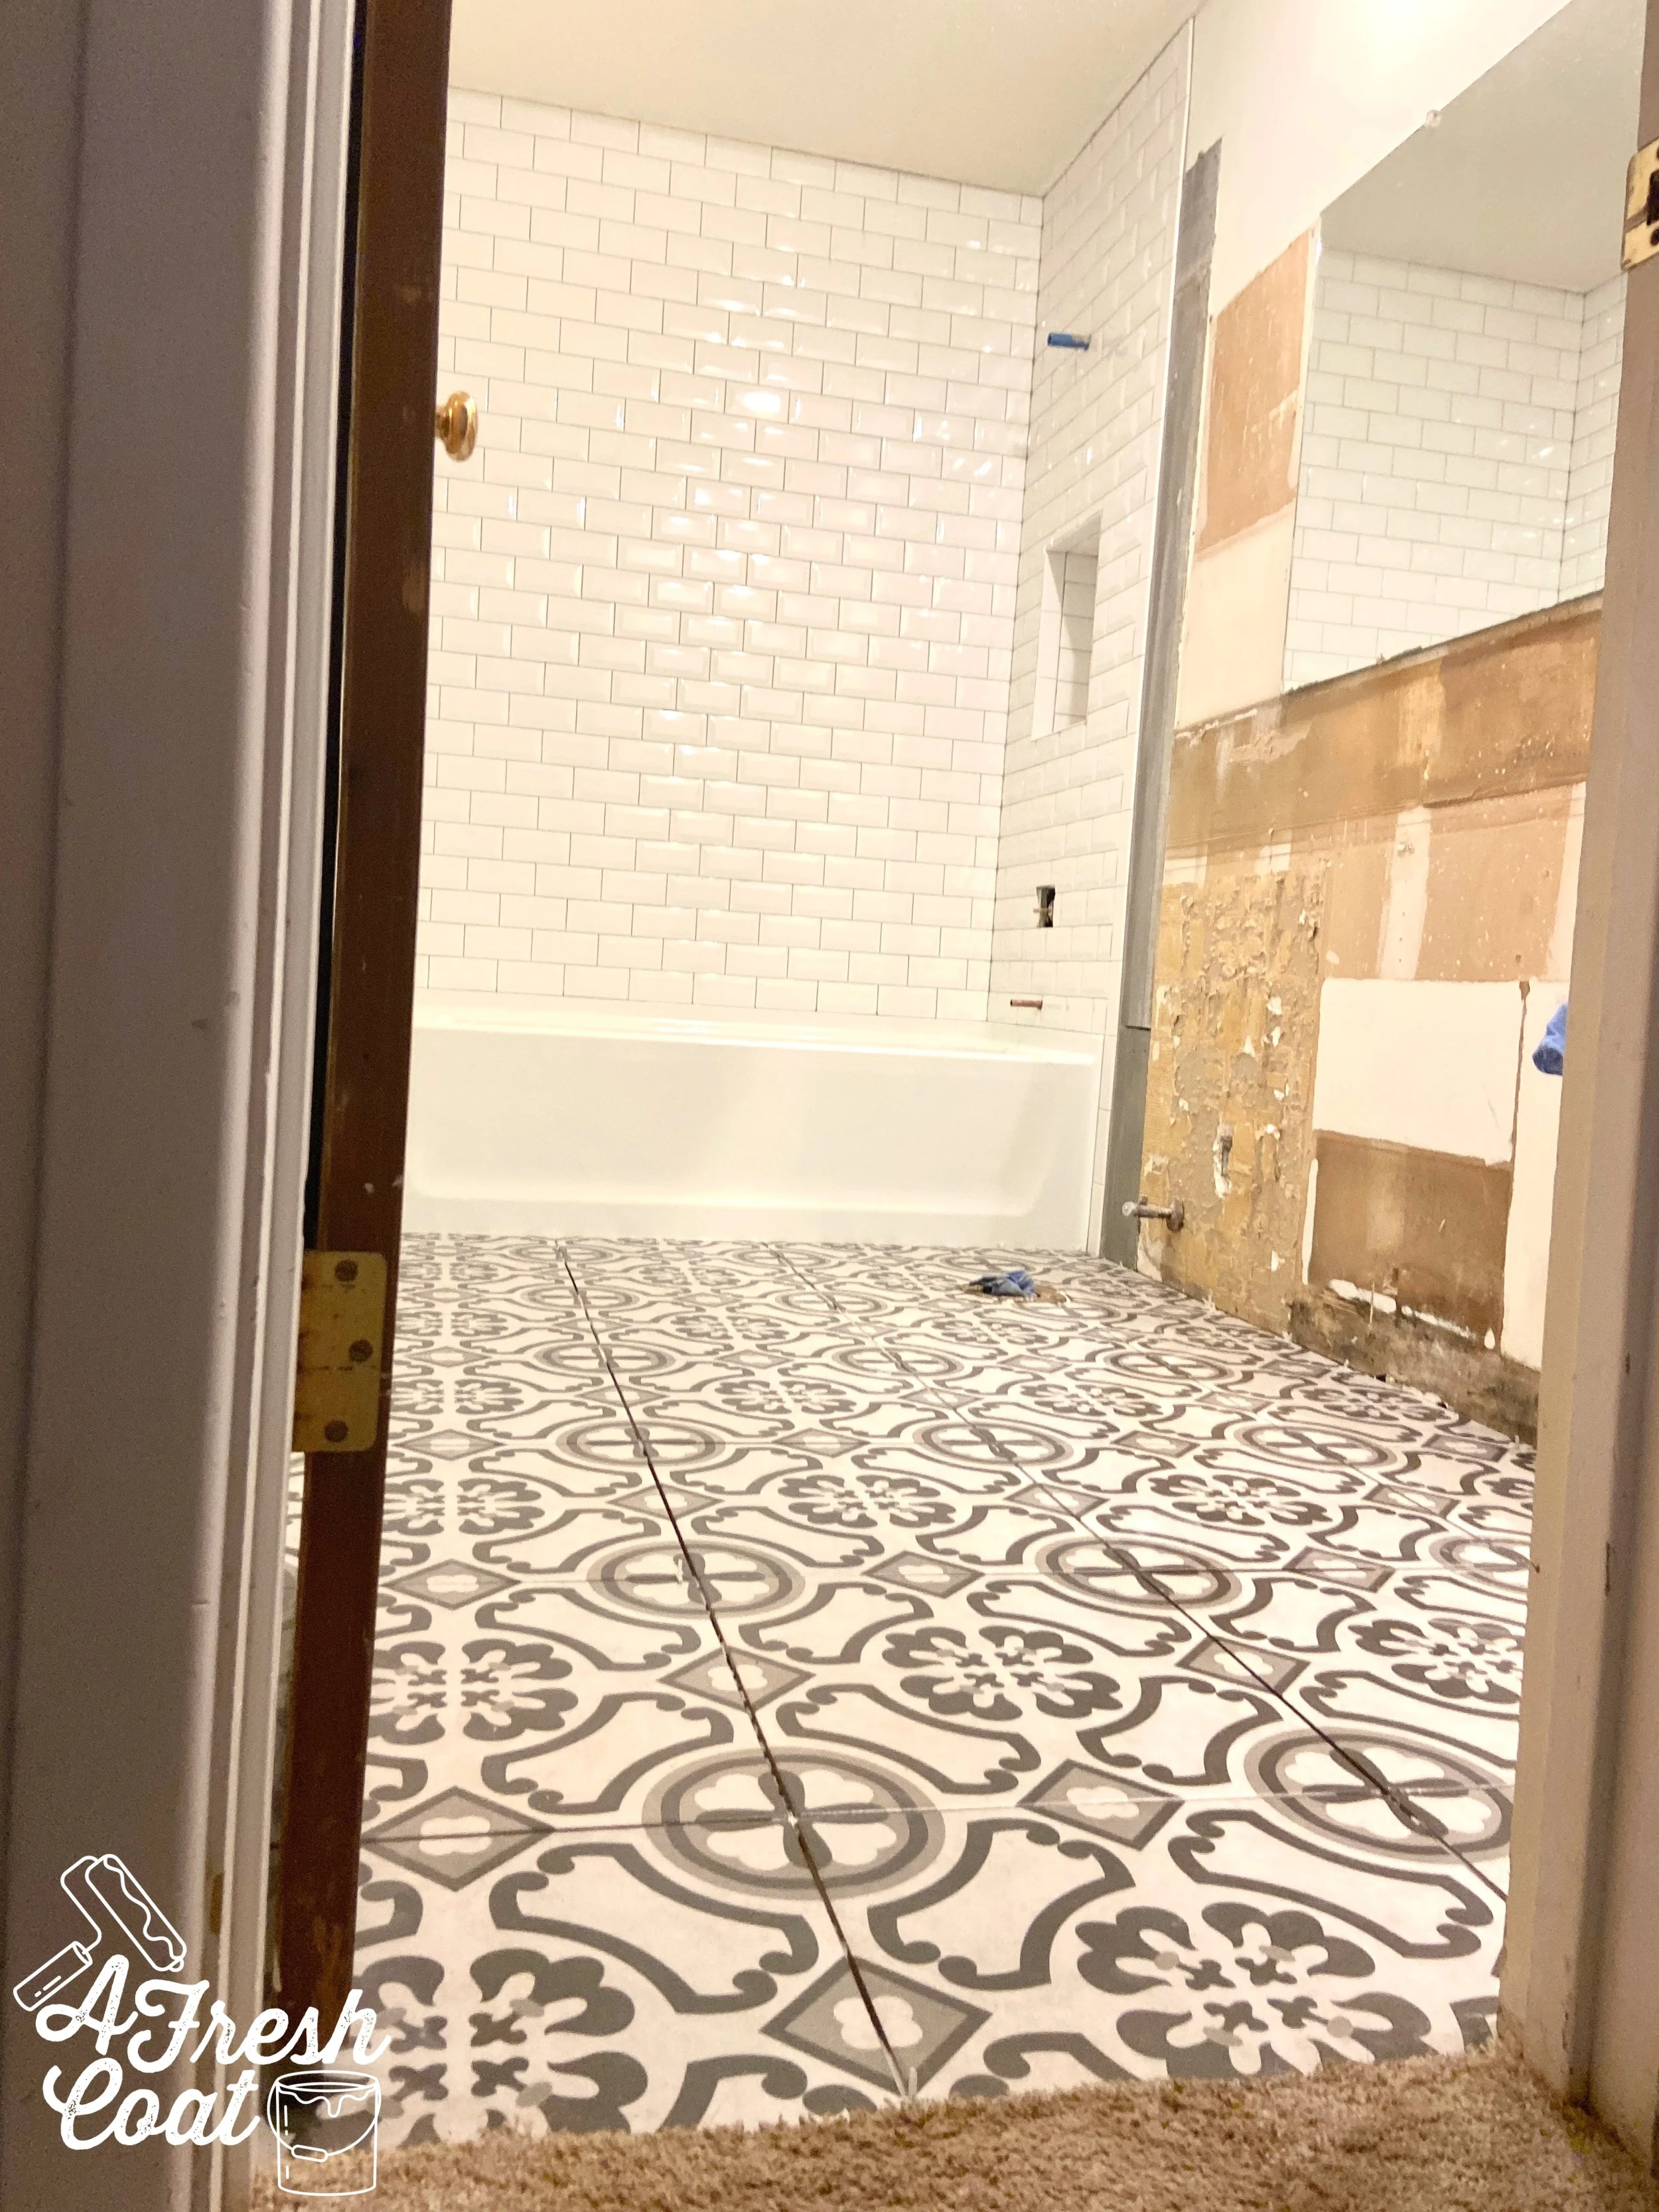
Disclaimer: I usually don’t opt for trends when it comes to tiling BUT this space actually warranted it.
I gave my daughter five floor tile options and these babies from Wayfair are what she chose. Again, super inexpensive and the biggest bang for one’s buck!
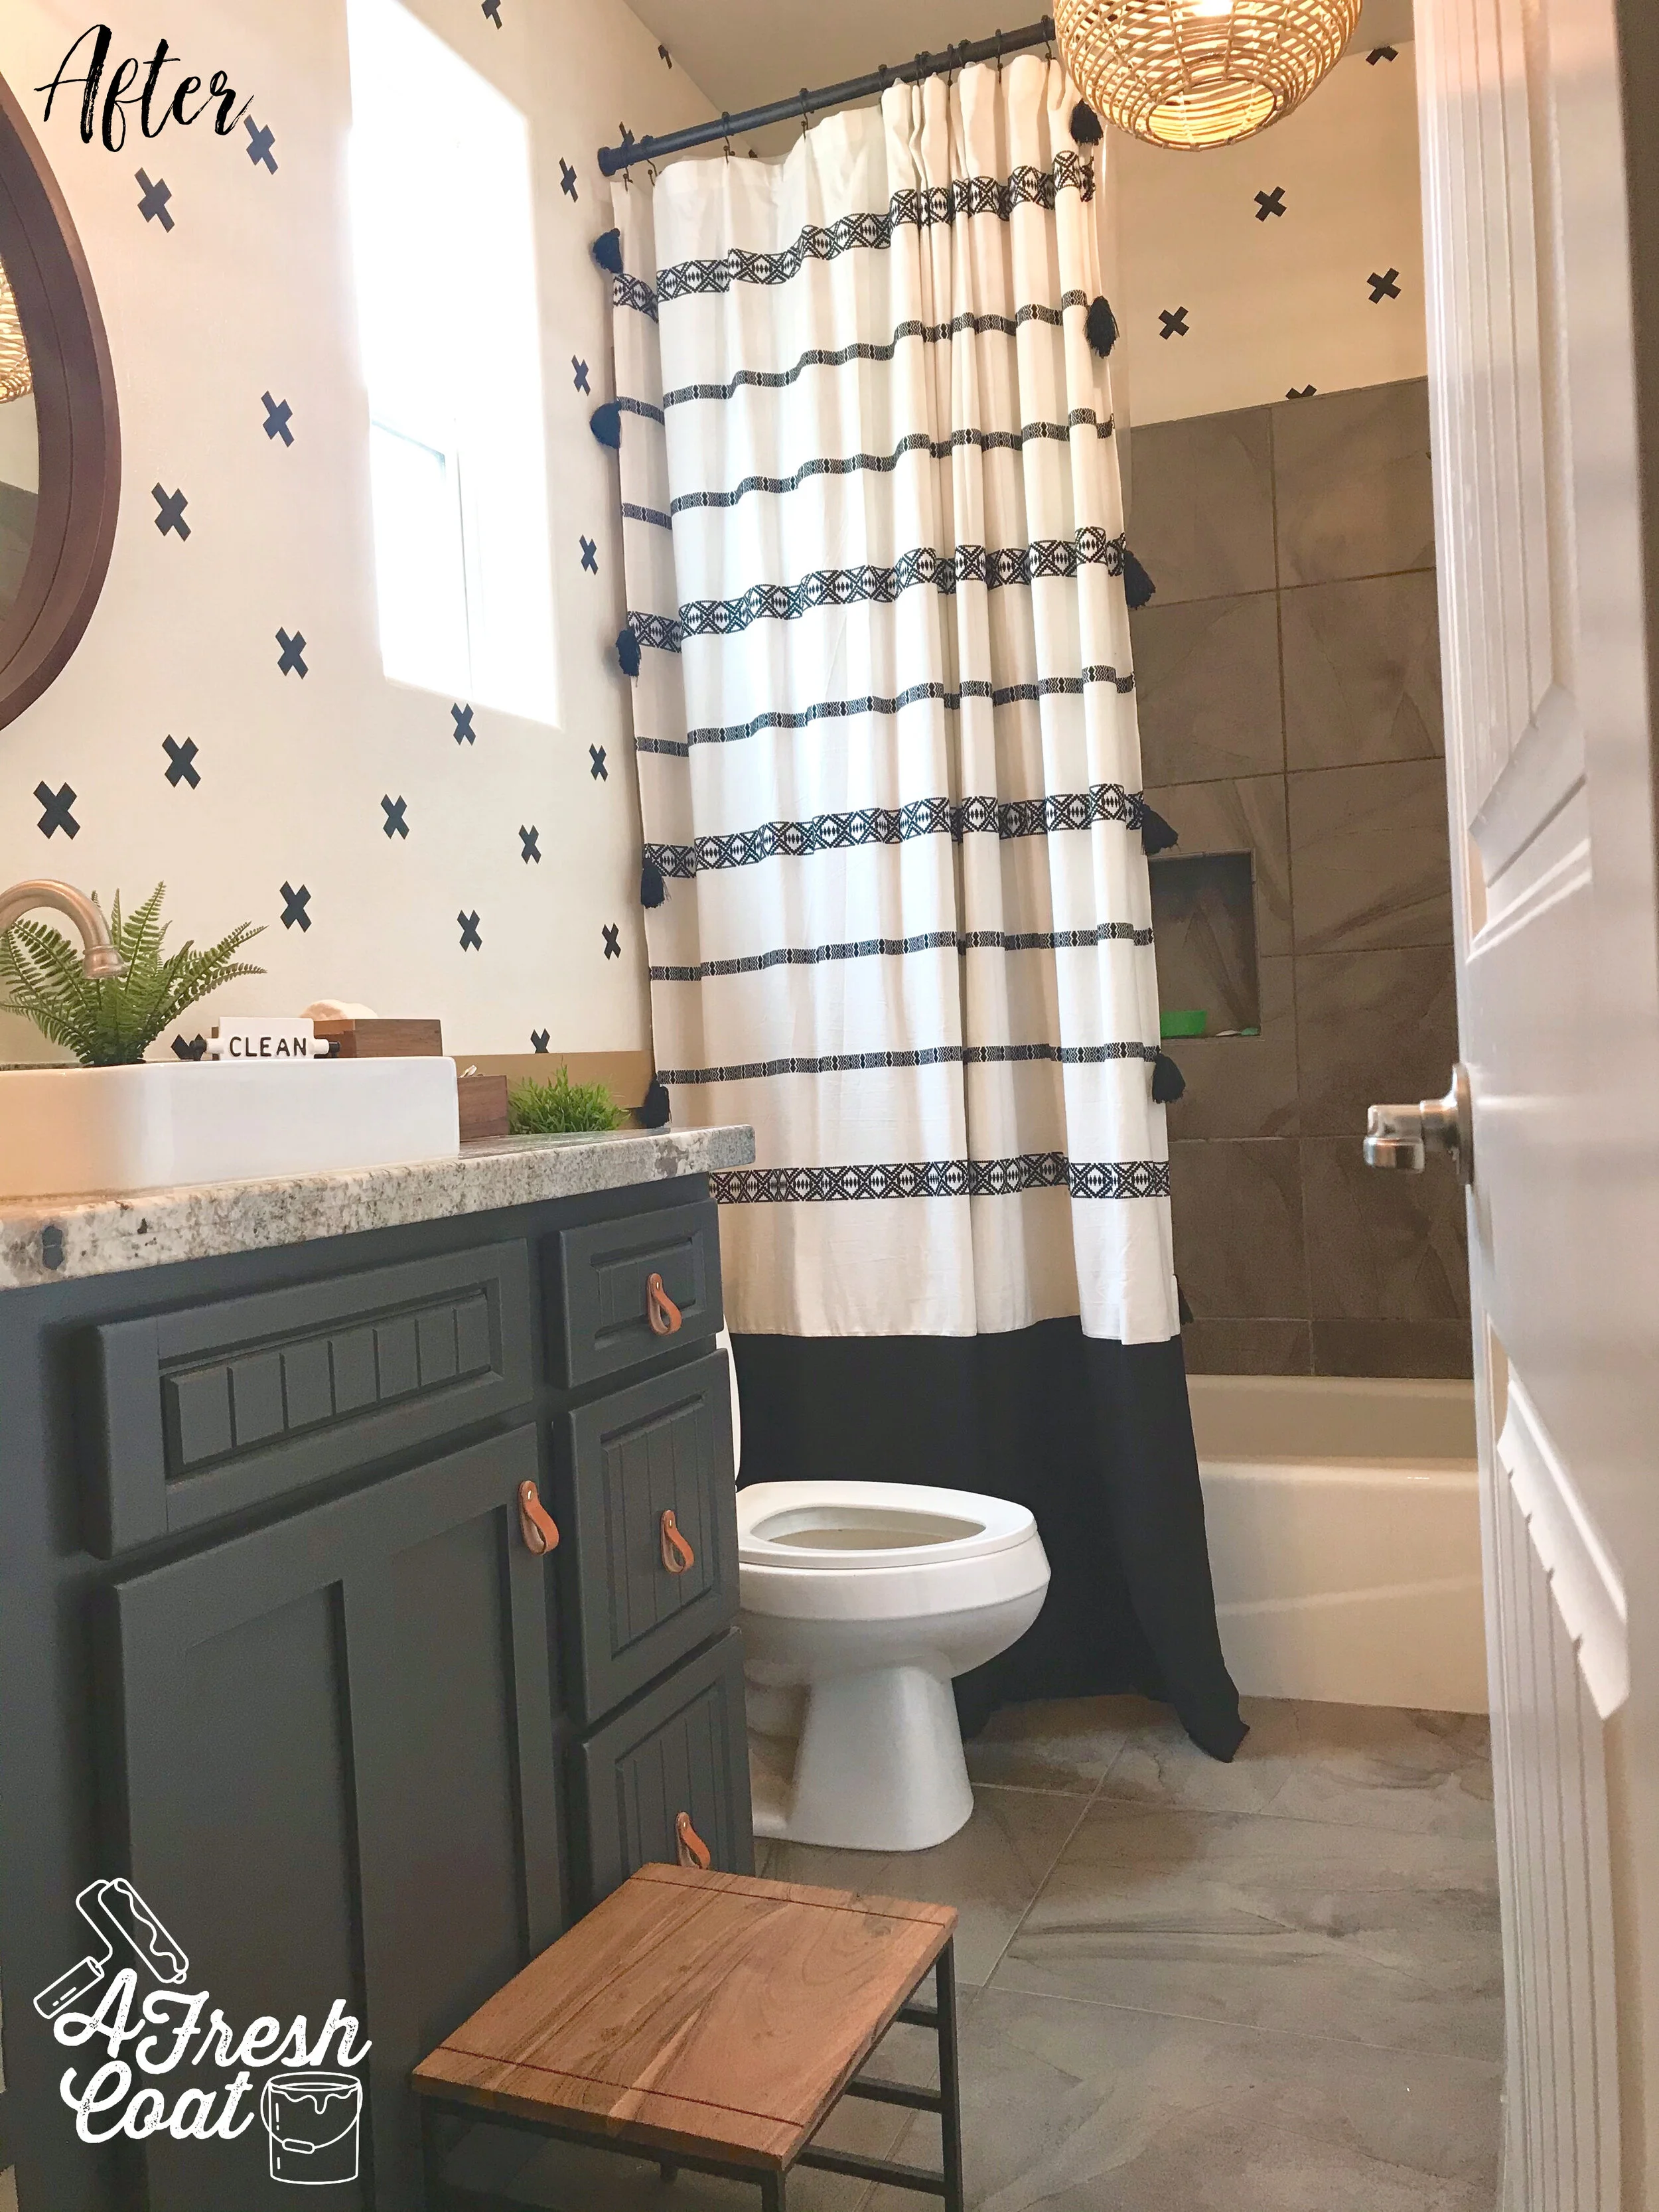
Ready for the reveal?
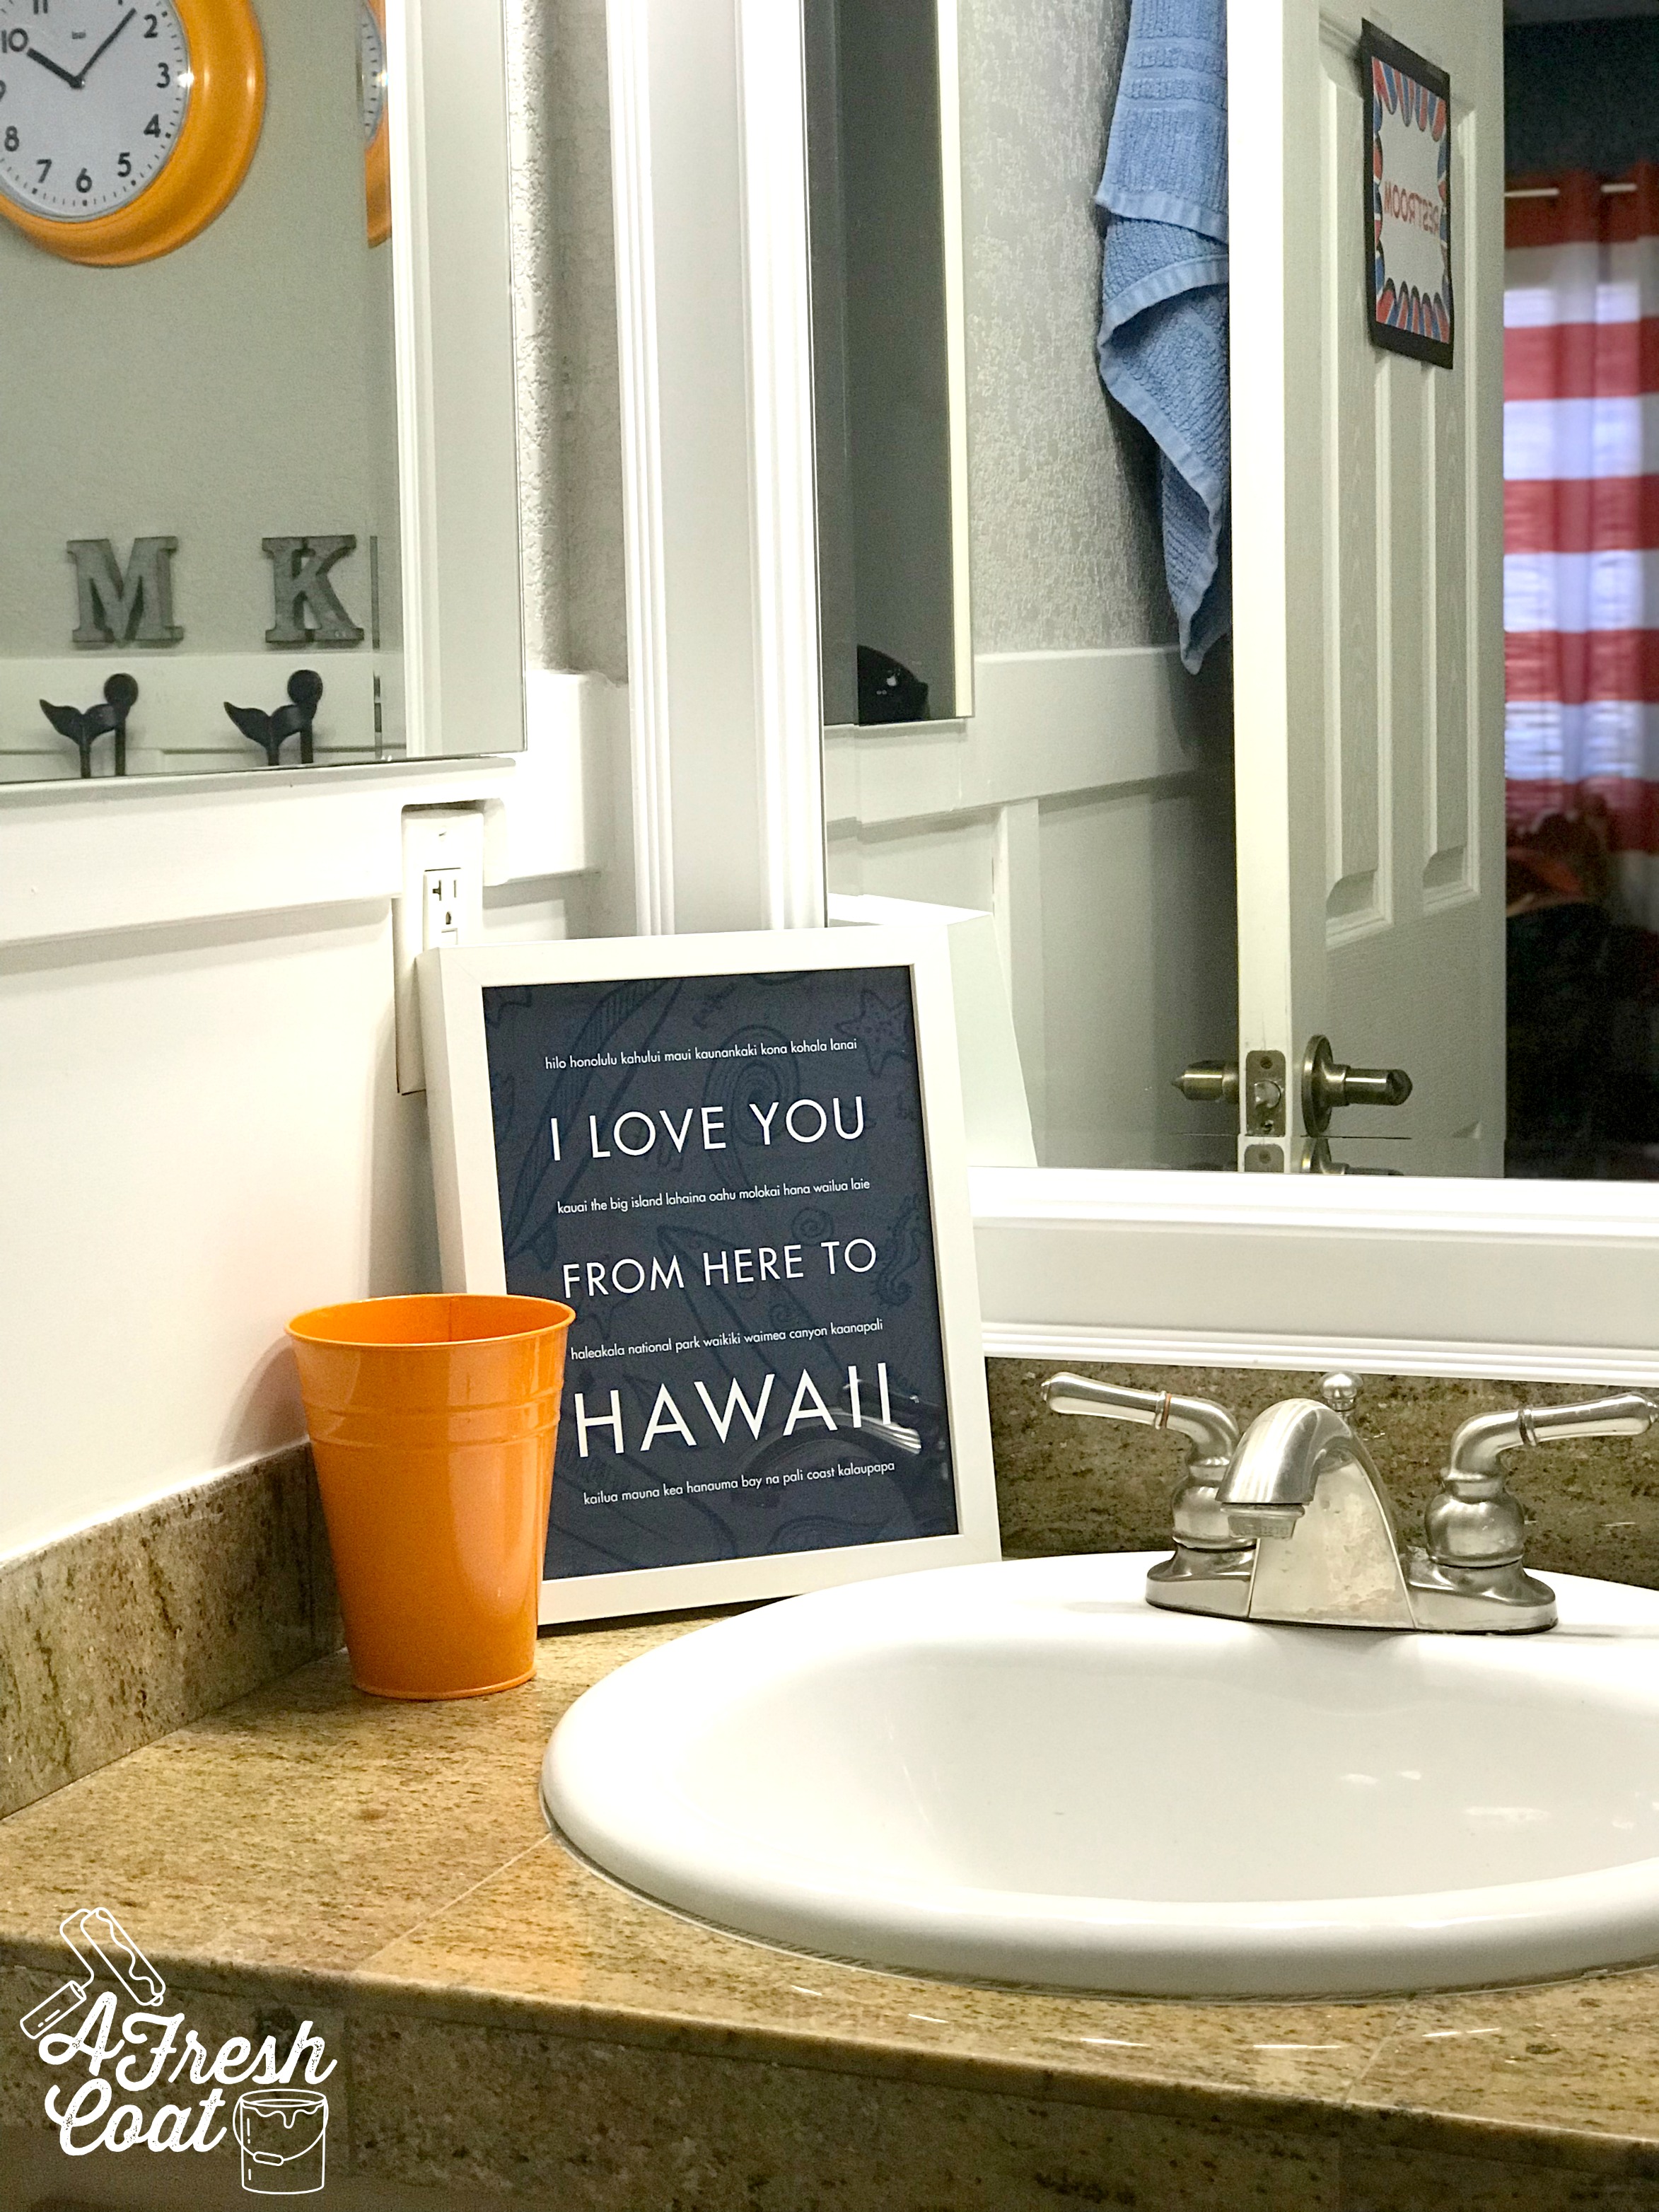
After adding in the new vanity, new shelving, a custom shower curtain, cutting and then framing out the old mirror, some fun decor, and fresh paint, here is the outcome:


Keep in mind, that every element was sourced on the cheap, meaning, that the main elements of this bathroom came primarily from big box stores.

The finishing touches are always my favorite part and these pieces usually come from a number of different sources. In this case, I grabbed some clearance items from Hobby Lobby, scoured my daughter and her roommates decor stash, and topped it off with some greenery.

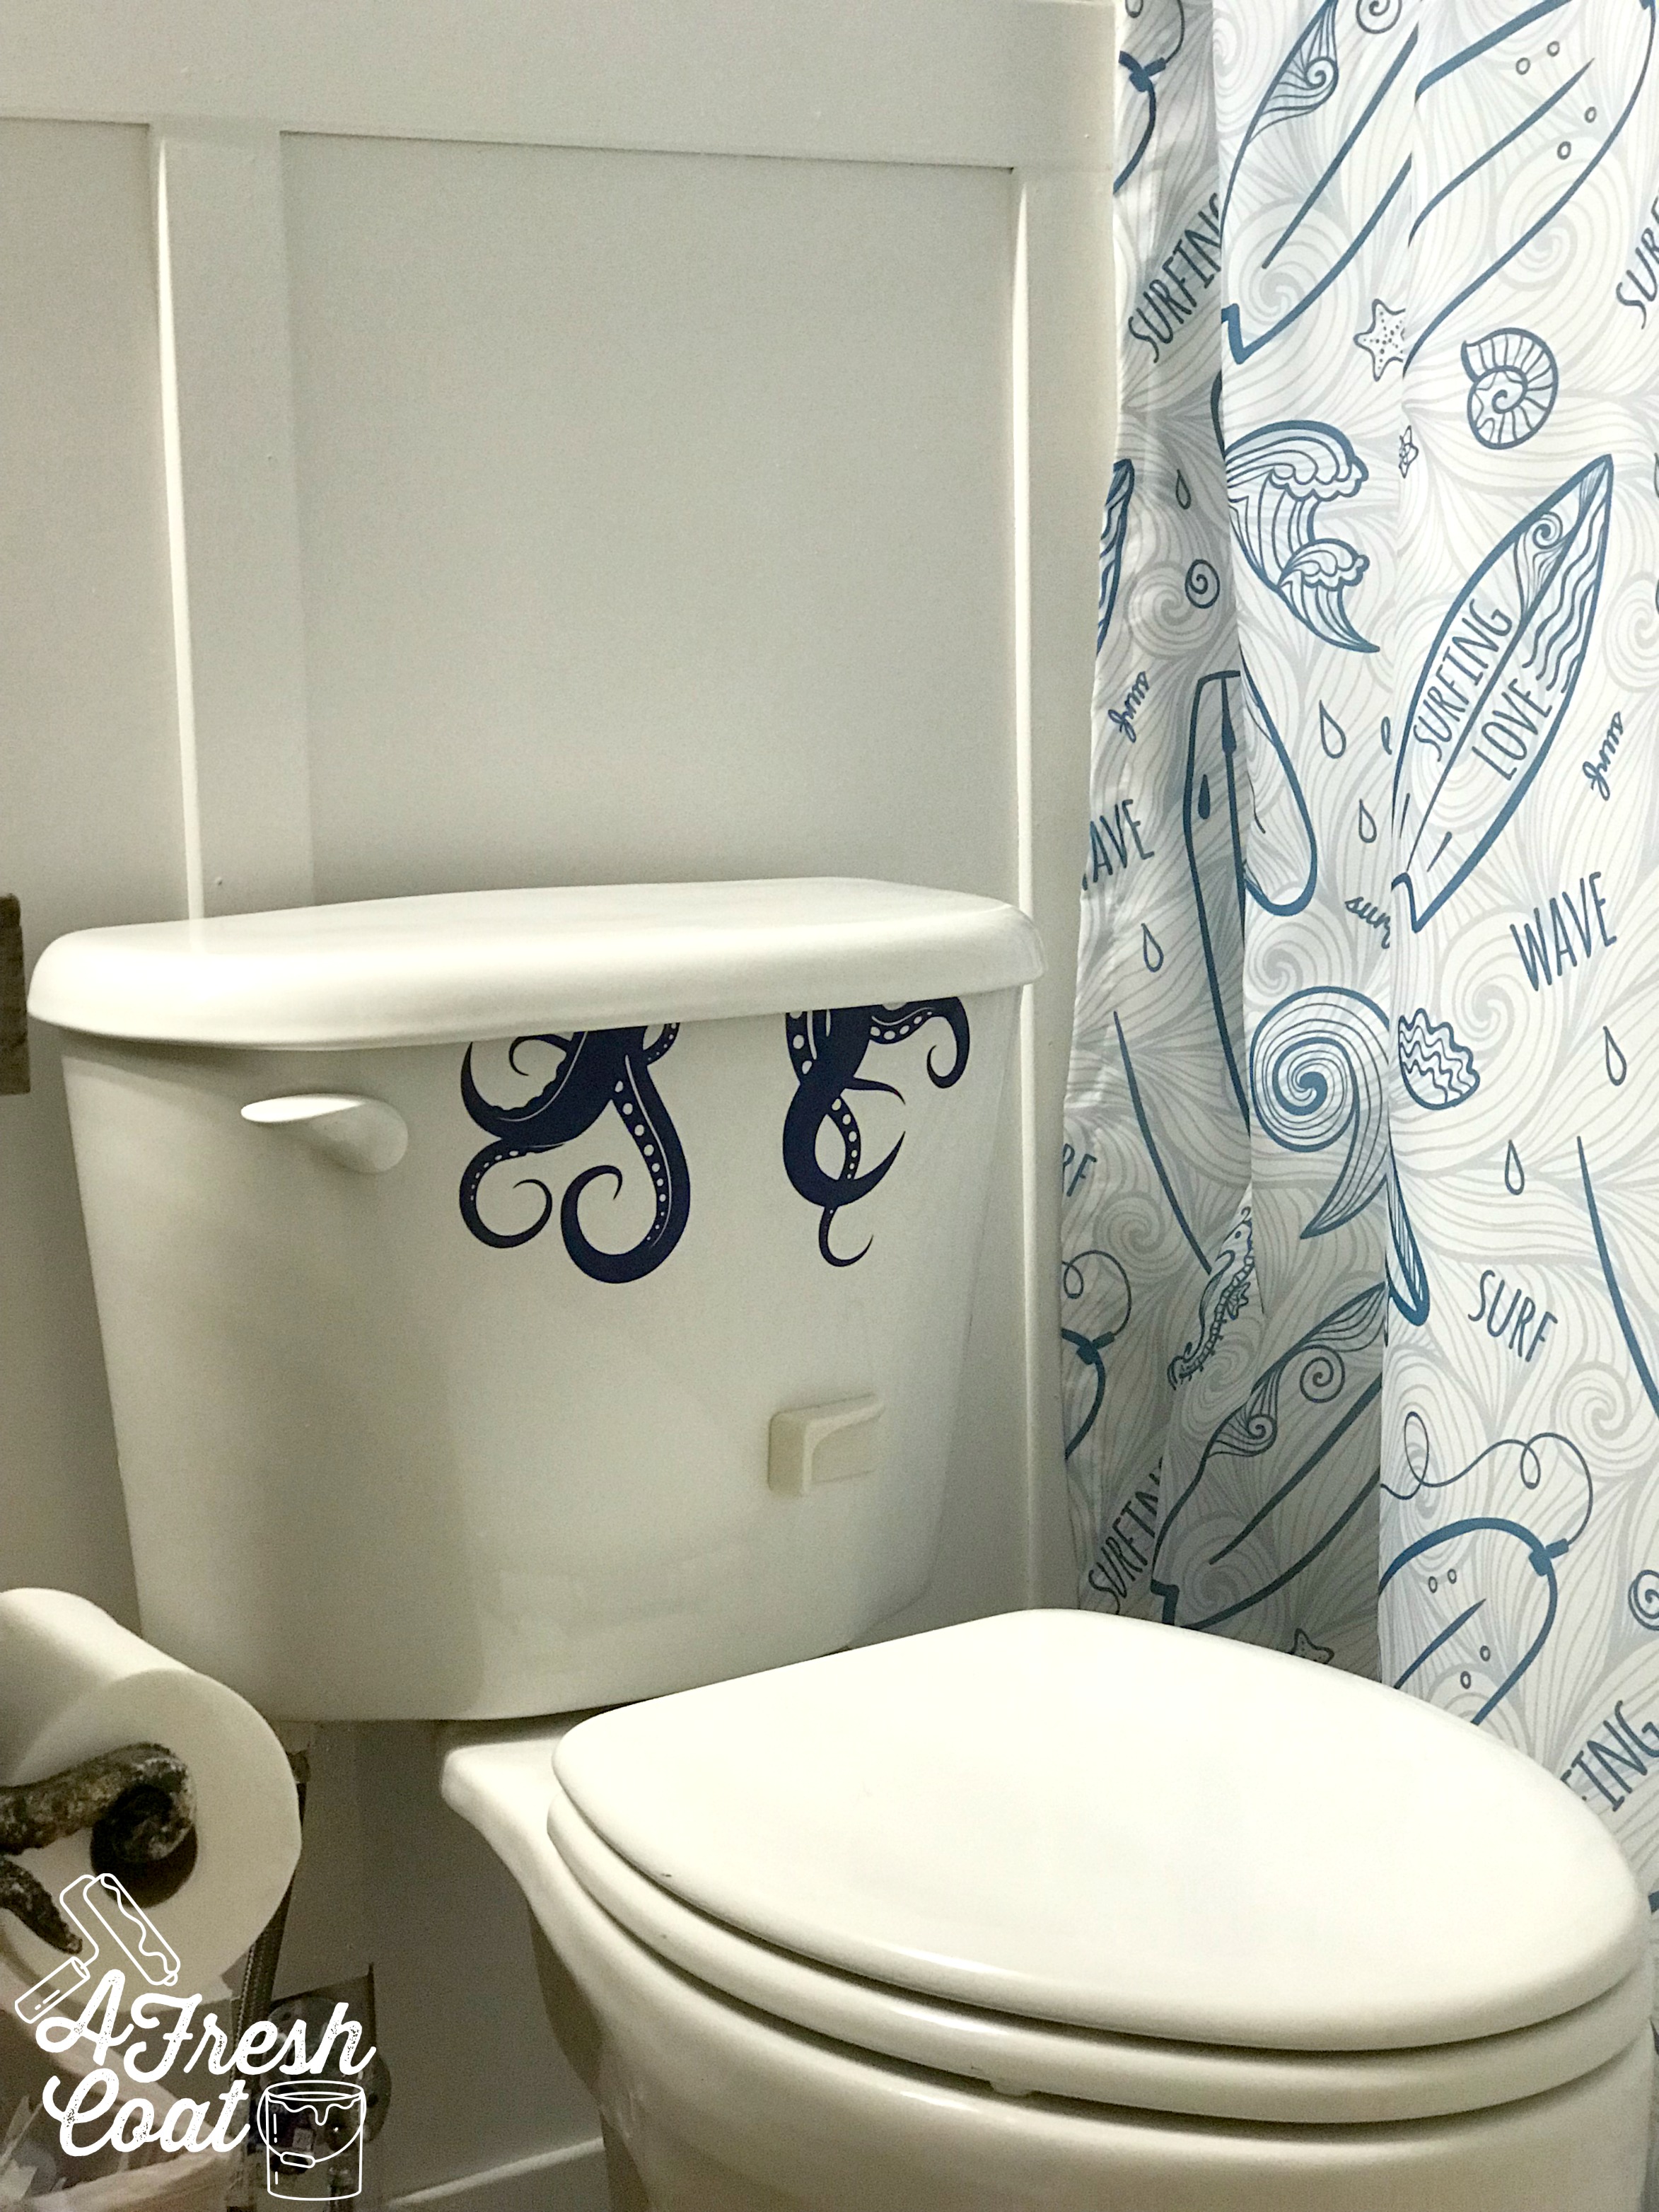
HomeGoods is also another favorite of mine when it comes to finding cute decor on the cheap. But not your run-of-the-mill decor.
Case in Point?

Not your standard decor, but who wants normal?! LOL. This is a college house after all!
In all seriousness though, this one piece just adds some flair and even thought the general population wouldn’t go for this, I would…and did!
One more before and after of this baby:

Photo courtesy of Zillow.com

Ahhhhhh, much better!!
THE DETAILS
General Contractor: John Hamilton
Paint: Creamy by Sherwin Williams
Paint Labor: A Fresh Coat-Yuma
Floor Tile: Wayfair
Shower Tile: Home Depot
Shower Hardware/Faucets: Home Depot
Formica Countertop: Home Depot
Sinks: Build.com
Knobs: Amazon
Shower Curtain: Target/Hobby Lobby
Shelving: Etsy