A Fresh Coat

Wall Murals

Ball Wall

Wall MuralsJenny SulpizioComment

I’ve always wanted to do one of these murals.

After seeing images on Pinterest for years, I’ve been anxiously waiting the opportunity to create one for a client…and I finally got the chance.

The “N” family wanted to create a baseball themed room for their ten year-old son who is quite the fan of this game. He lives and breathes it and I was so excited to give him something he would really dig.

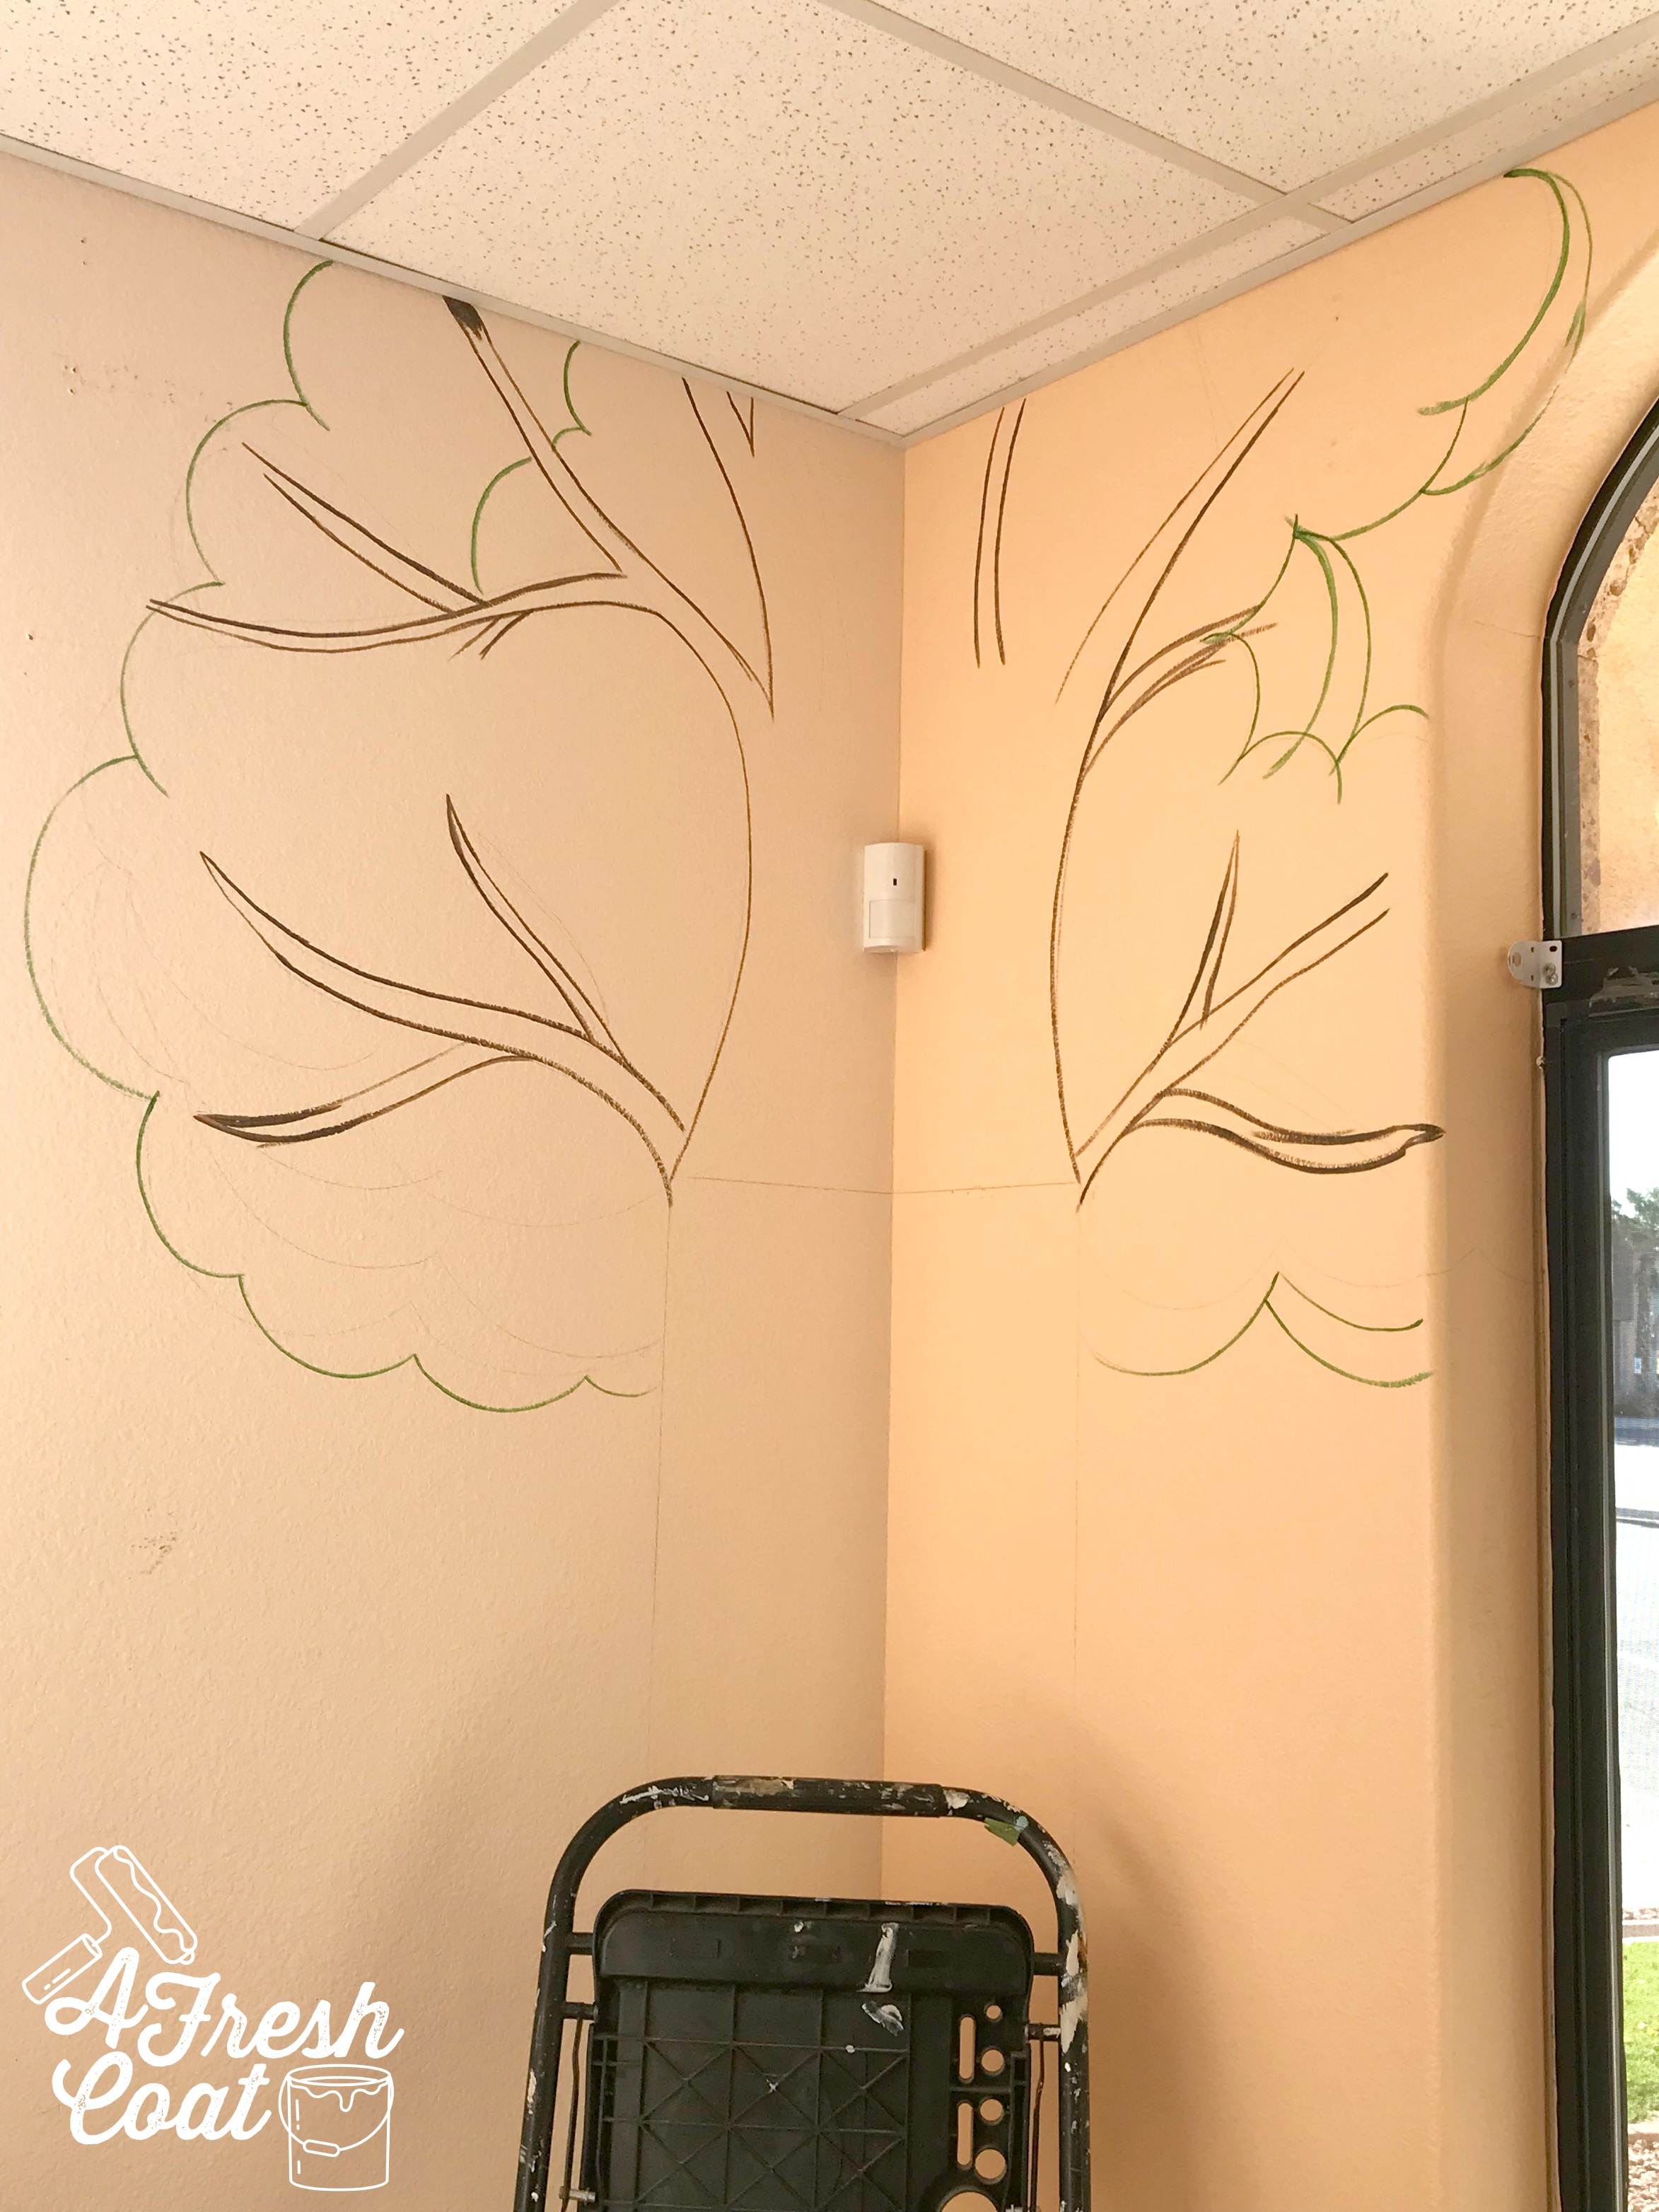
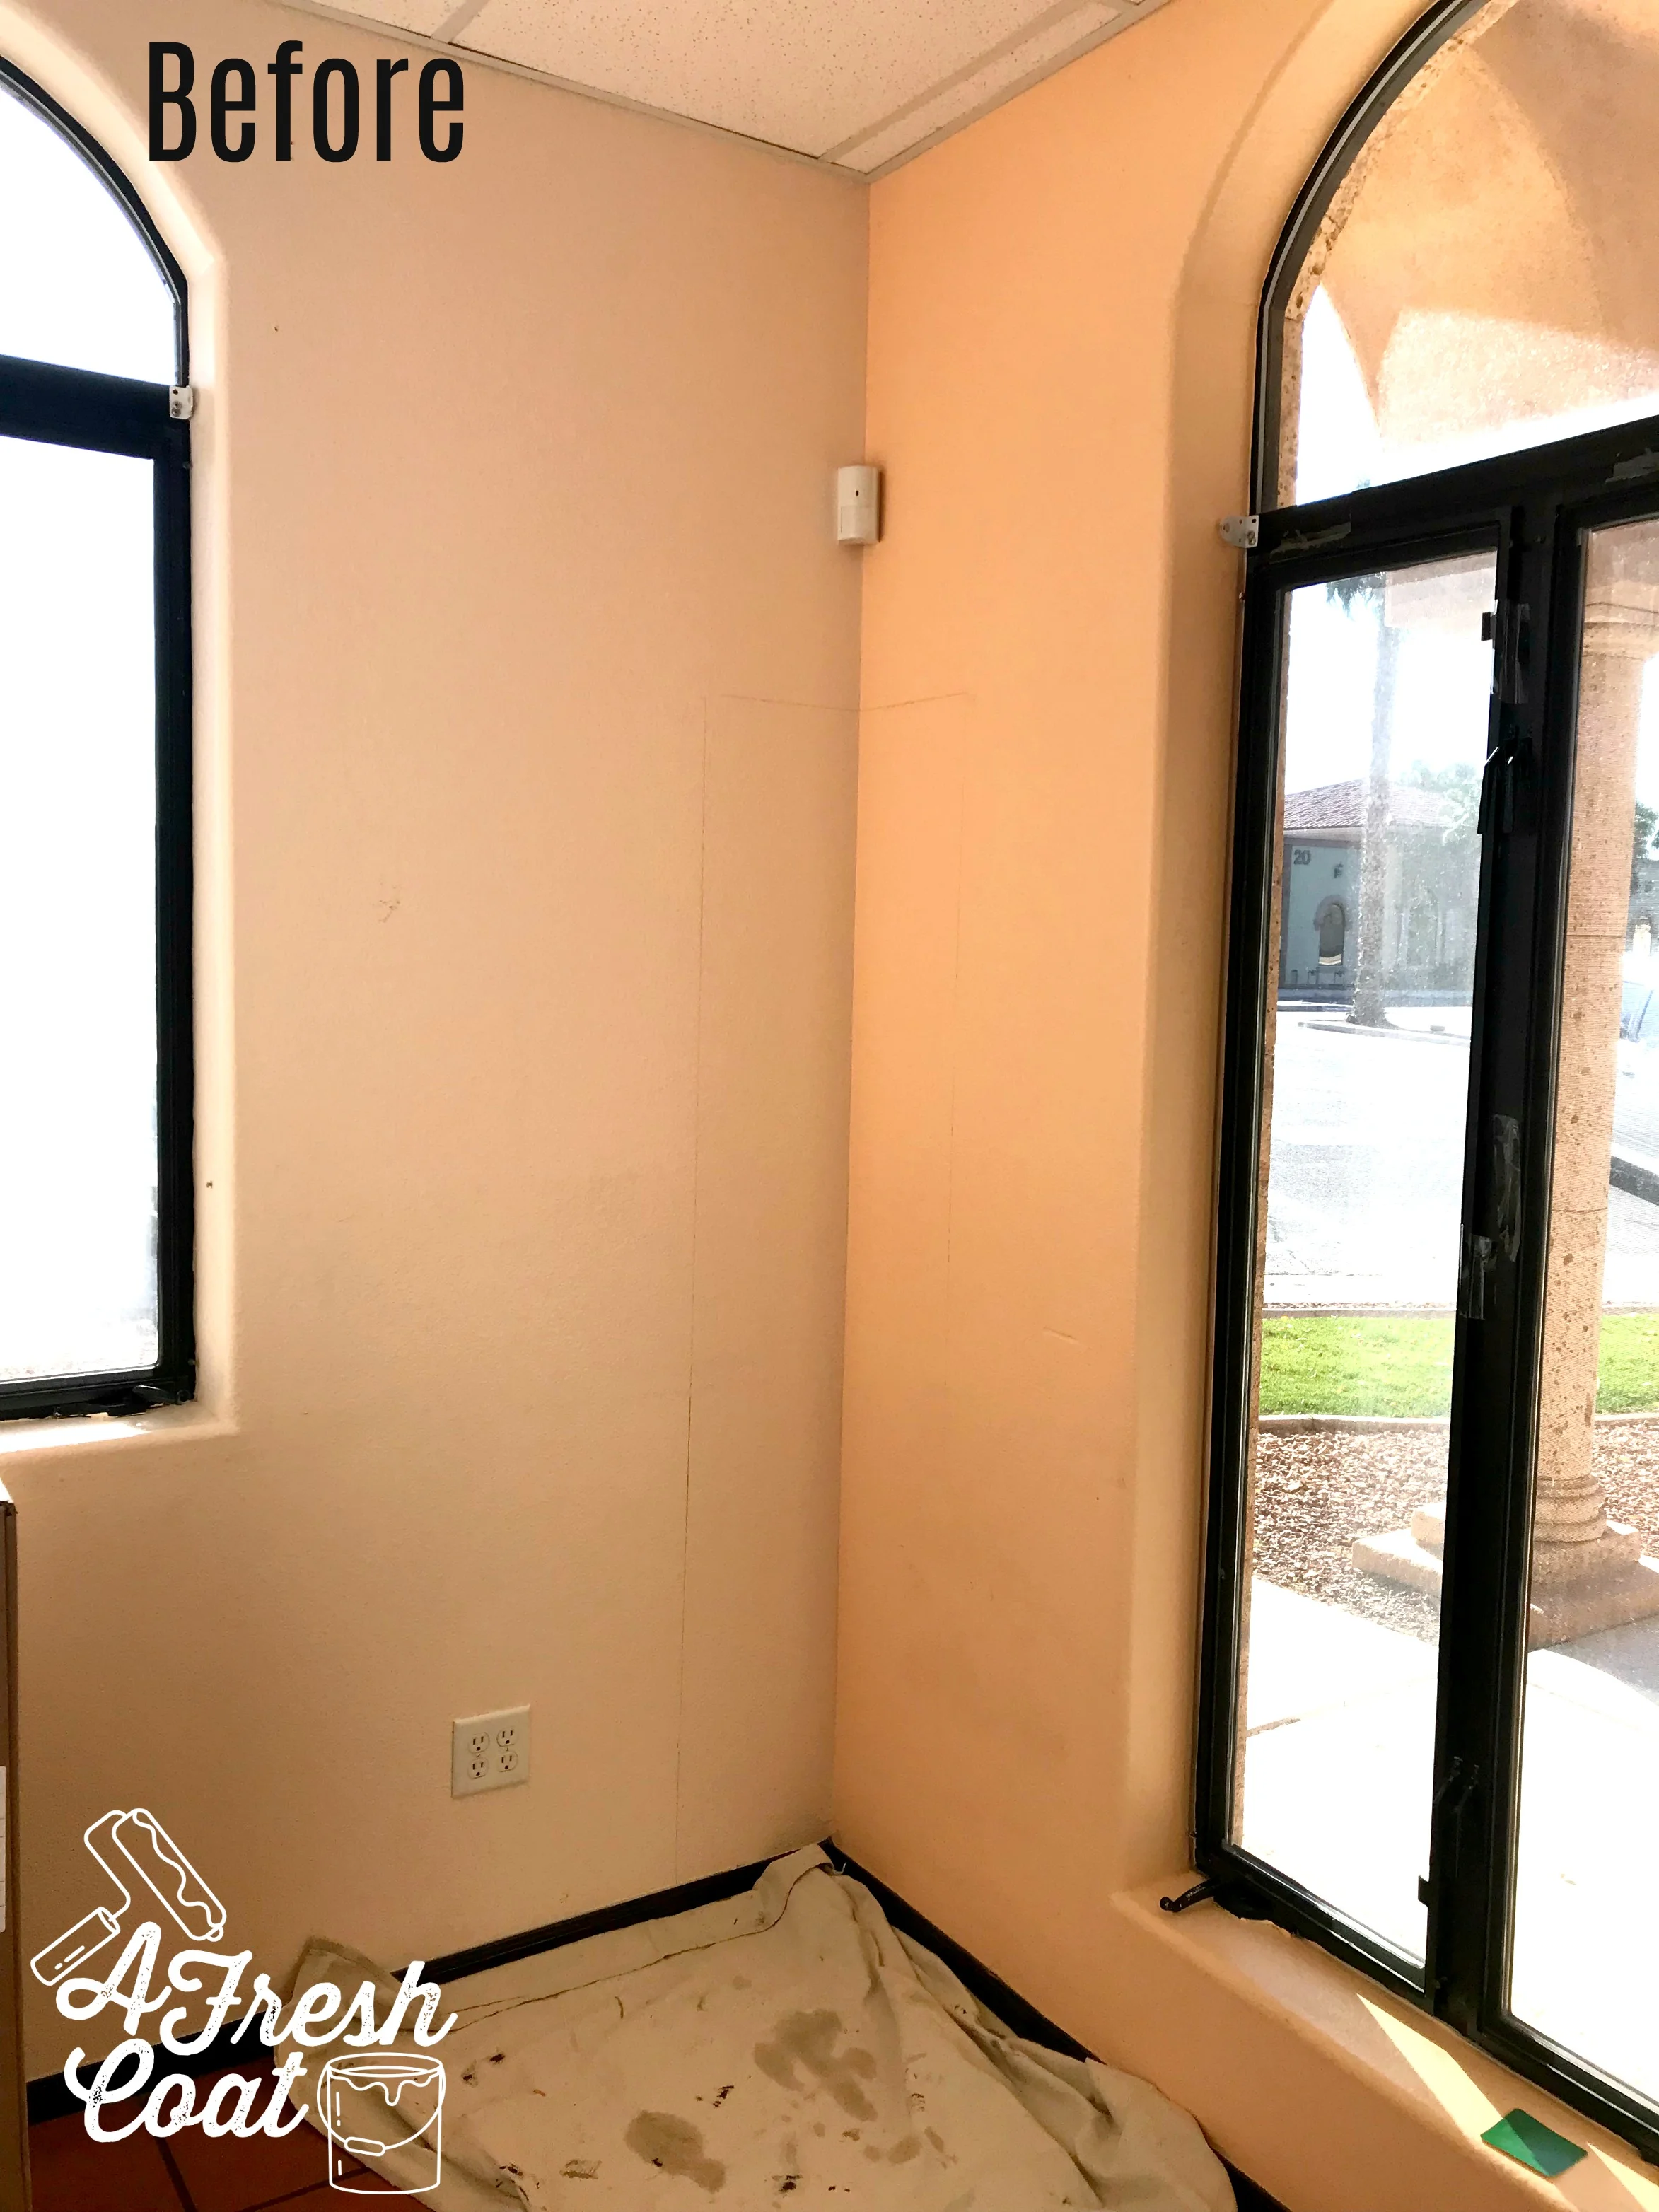
Here’s where we started:

Baseball Mural 1.jpg

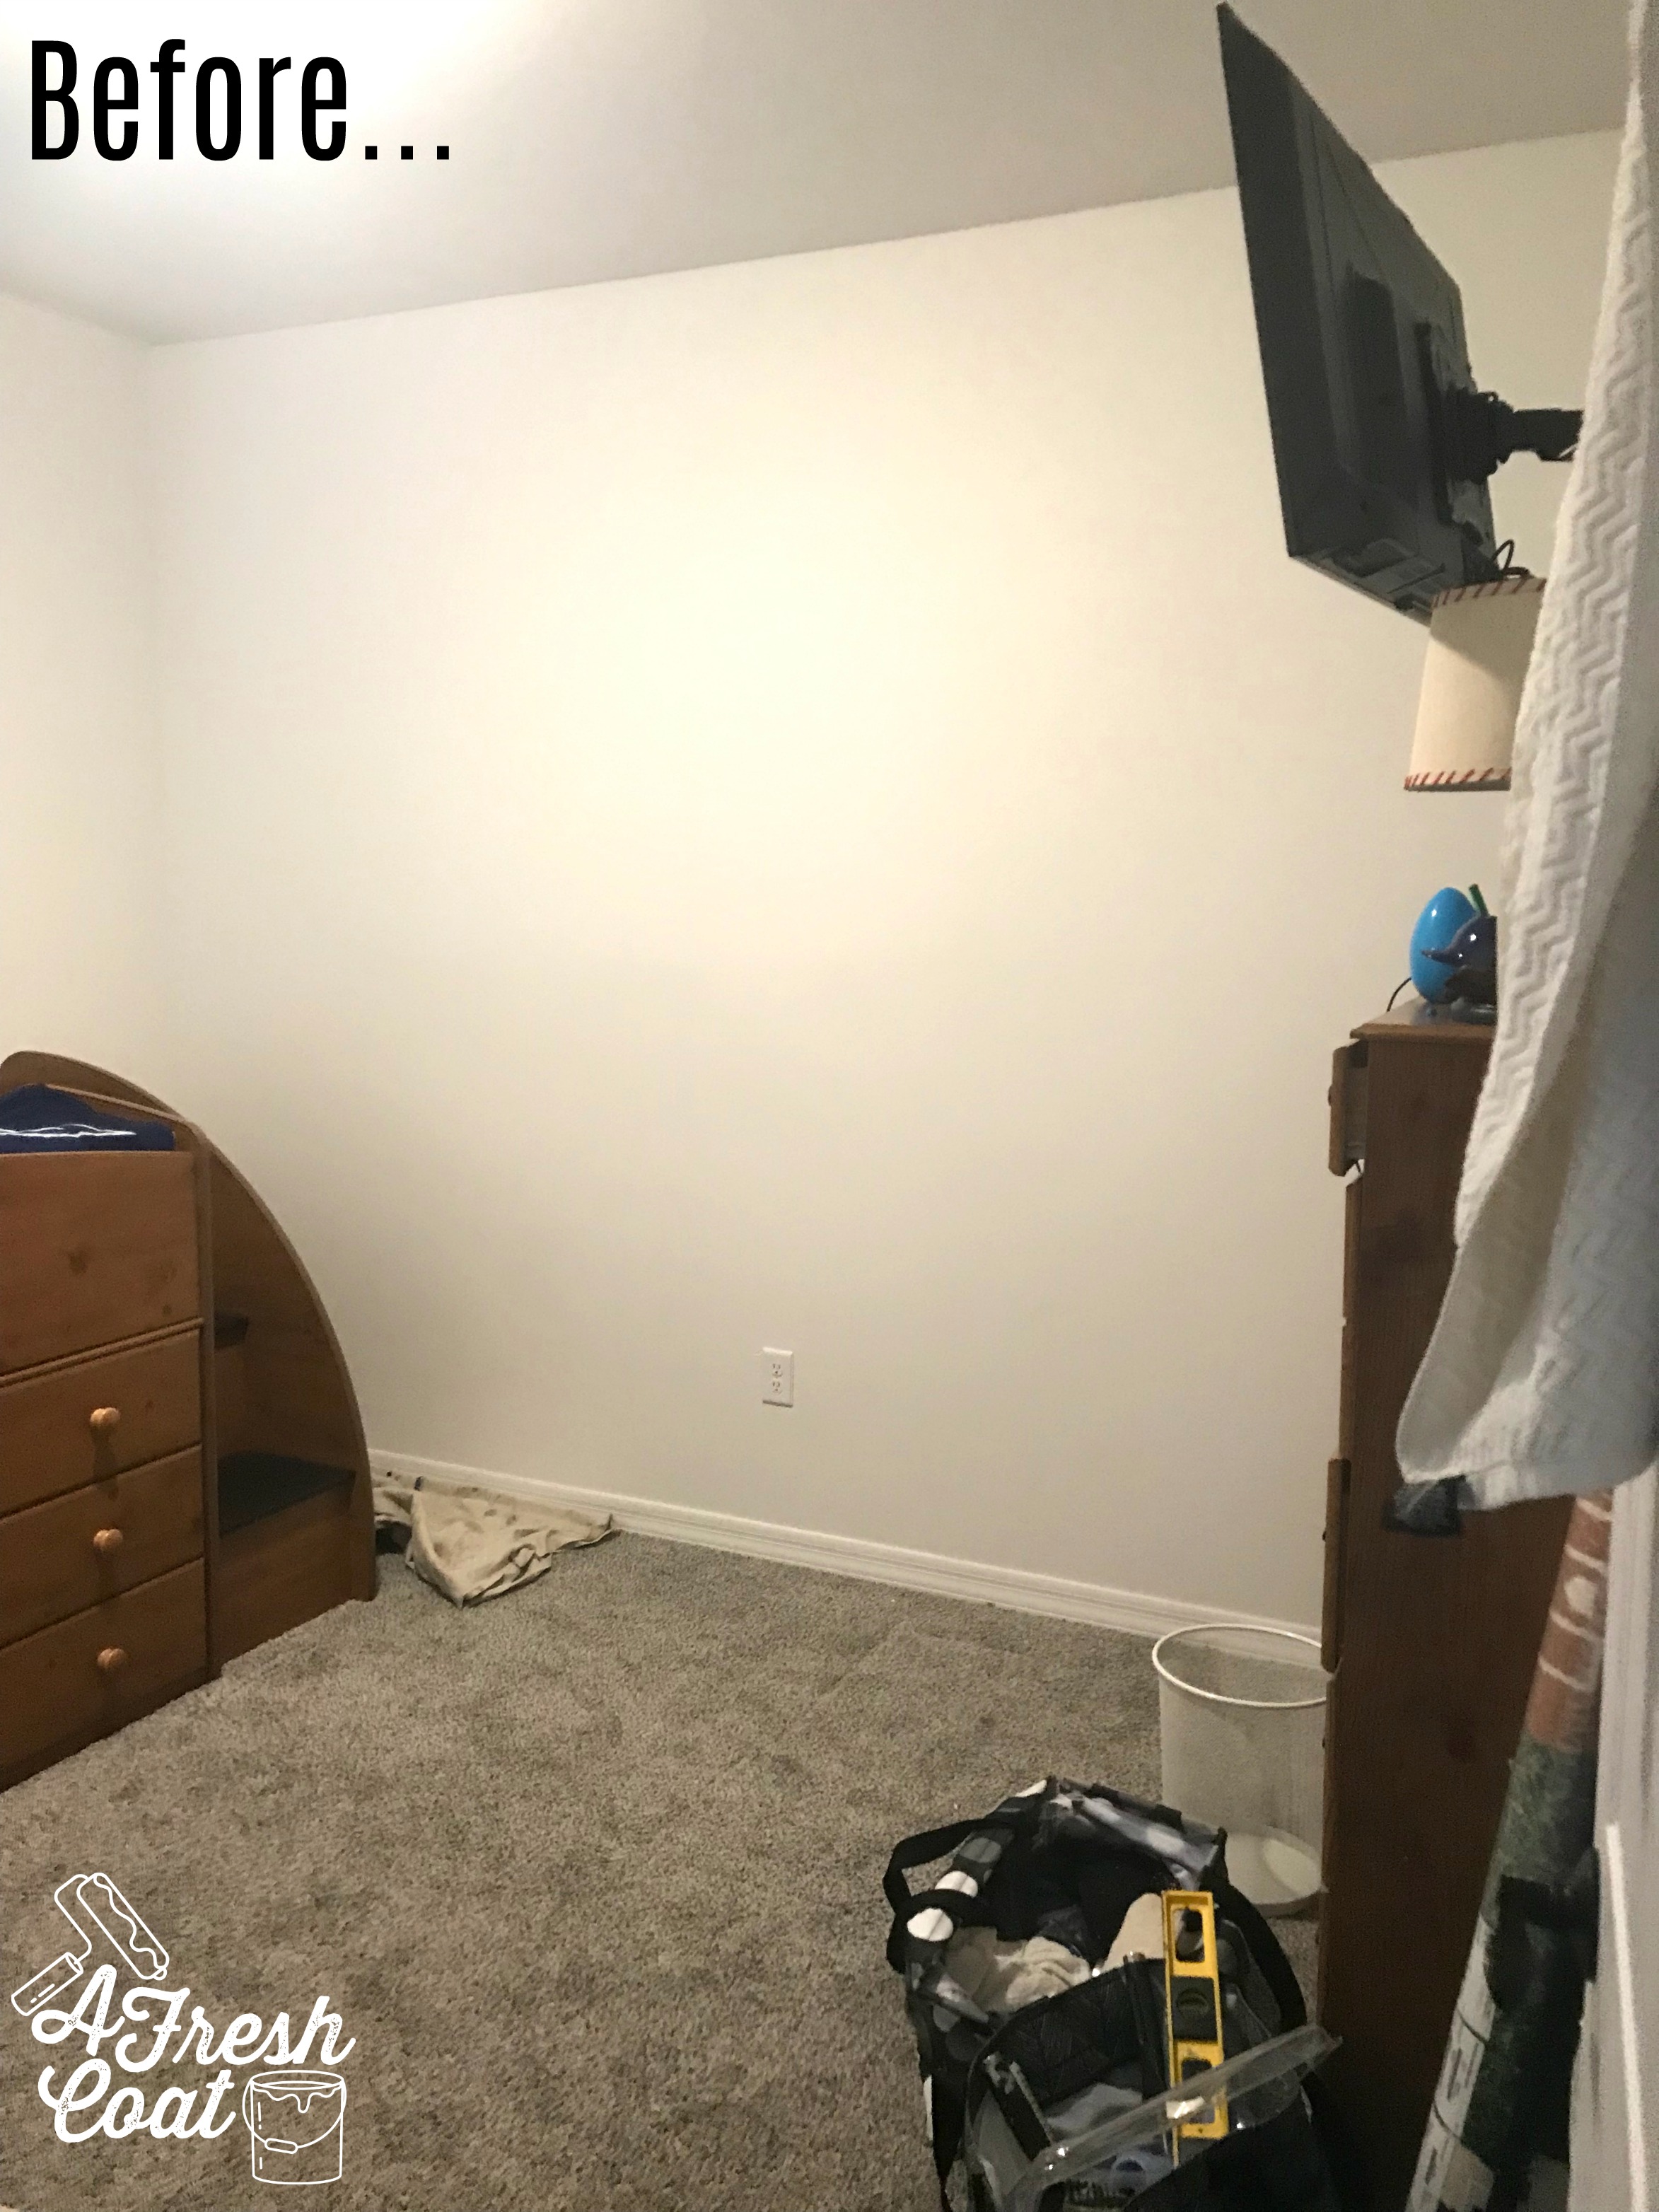
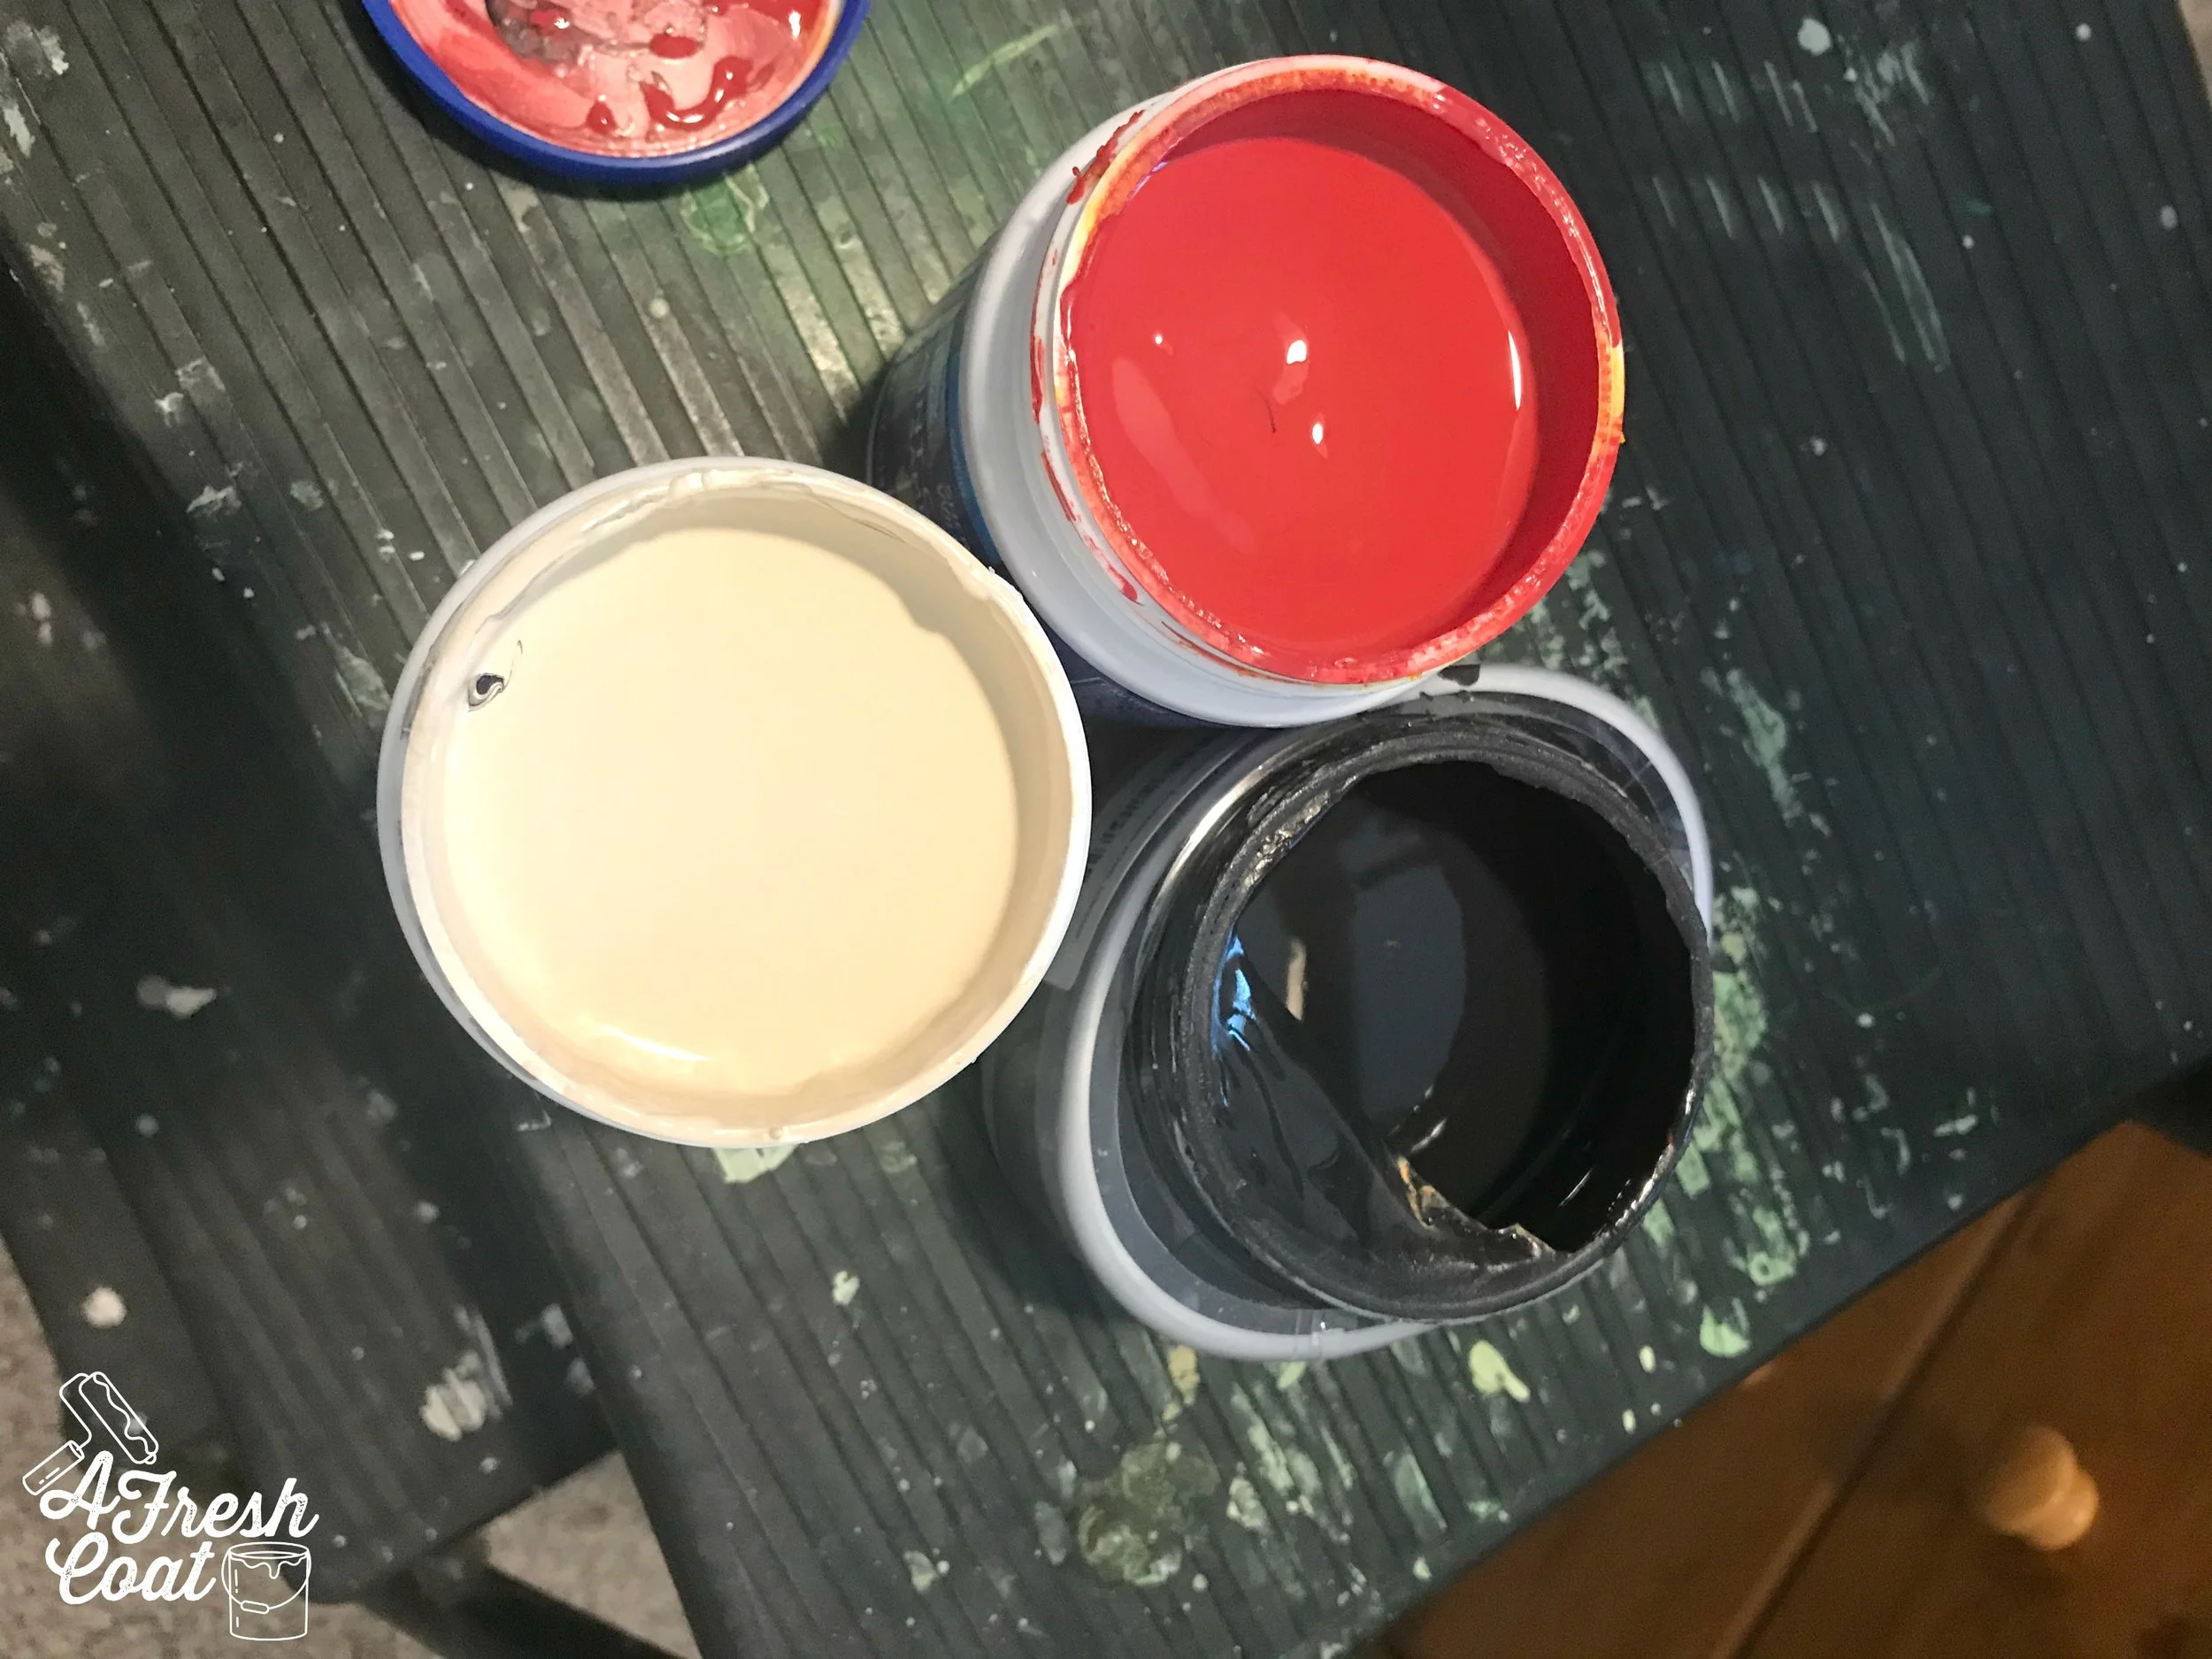
Totally a blank canvas. But(!) considering that we wanted to age “the ball” a bit, I decided to paint the accent wall more of an off-white cream color. I opted for Sherwin William’s Whitetail. I then followed it up with a light-medium tan tone of SW’s Tres Naturale, SW’s Tanager for my red (more of a brick red), and Valspar’s Dark Kettle Black for accents.

Baseball Mural 2.jpg

Next came the measuring to make sure each seam of the ball would be accurate on both sides. I measured the width of the wall, found the center, and then began constructing my half circles measuring 28’, 38”, 54”, back to 38”, and then again with 28”.

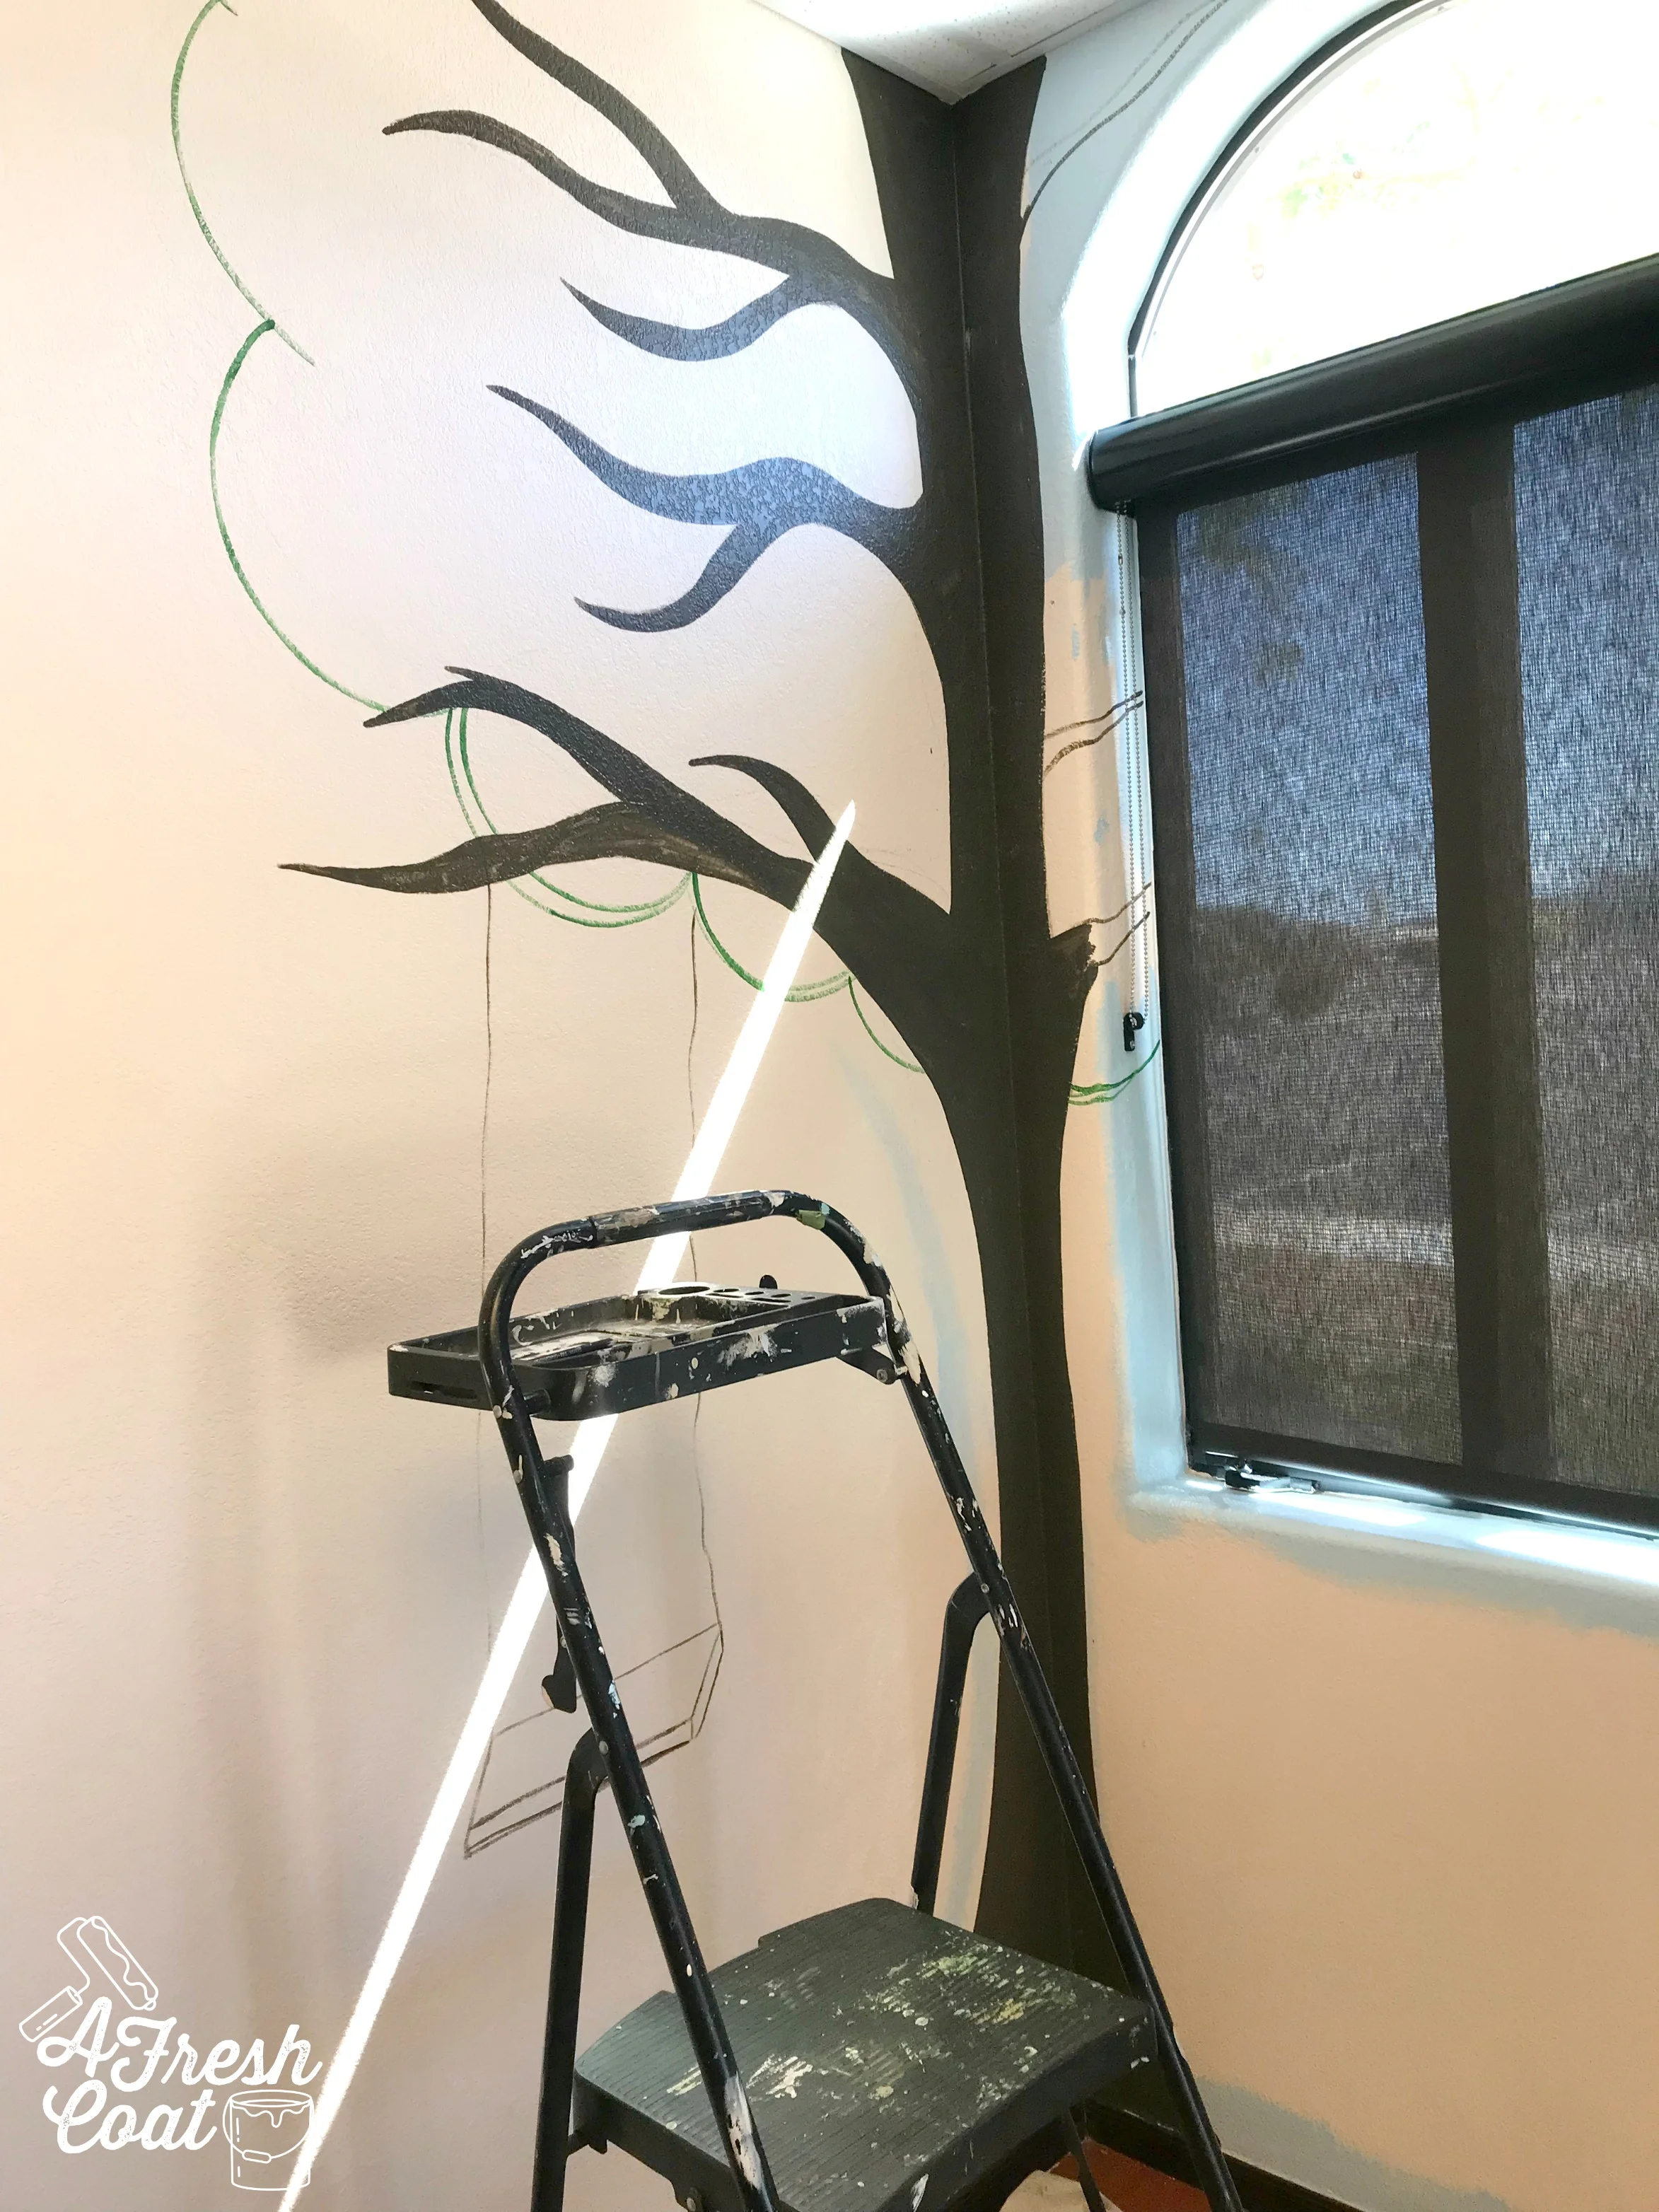
After measuring and tracing my initial line, I then created the imperfect stitches of the ball as seen below:

Baseball Mural 3.jpg

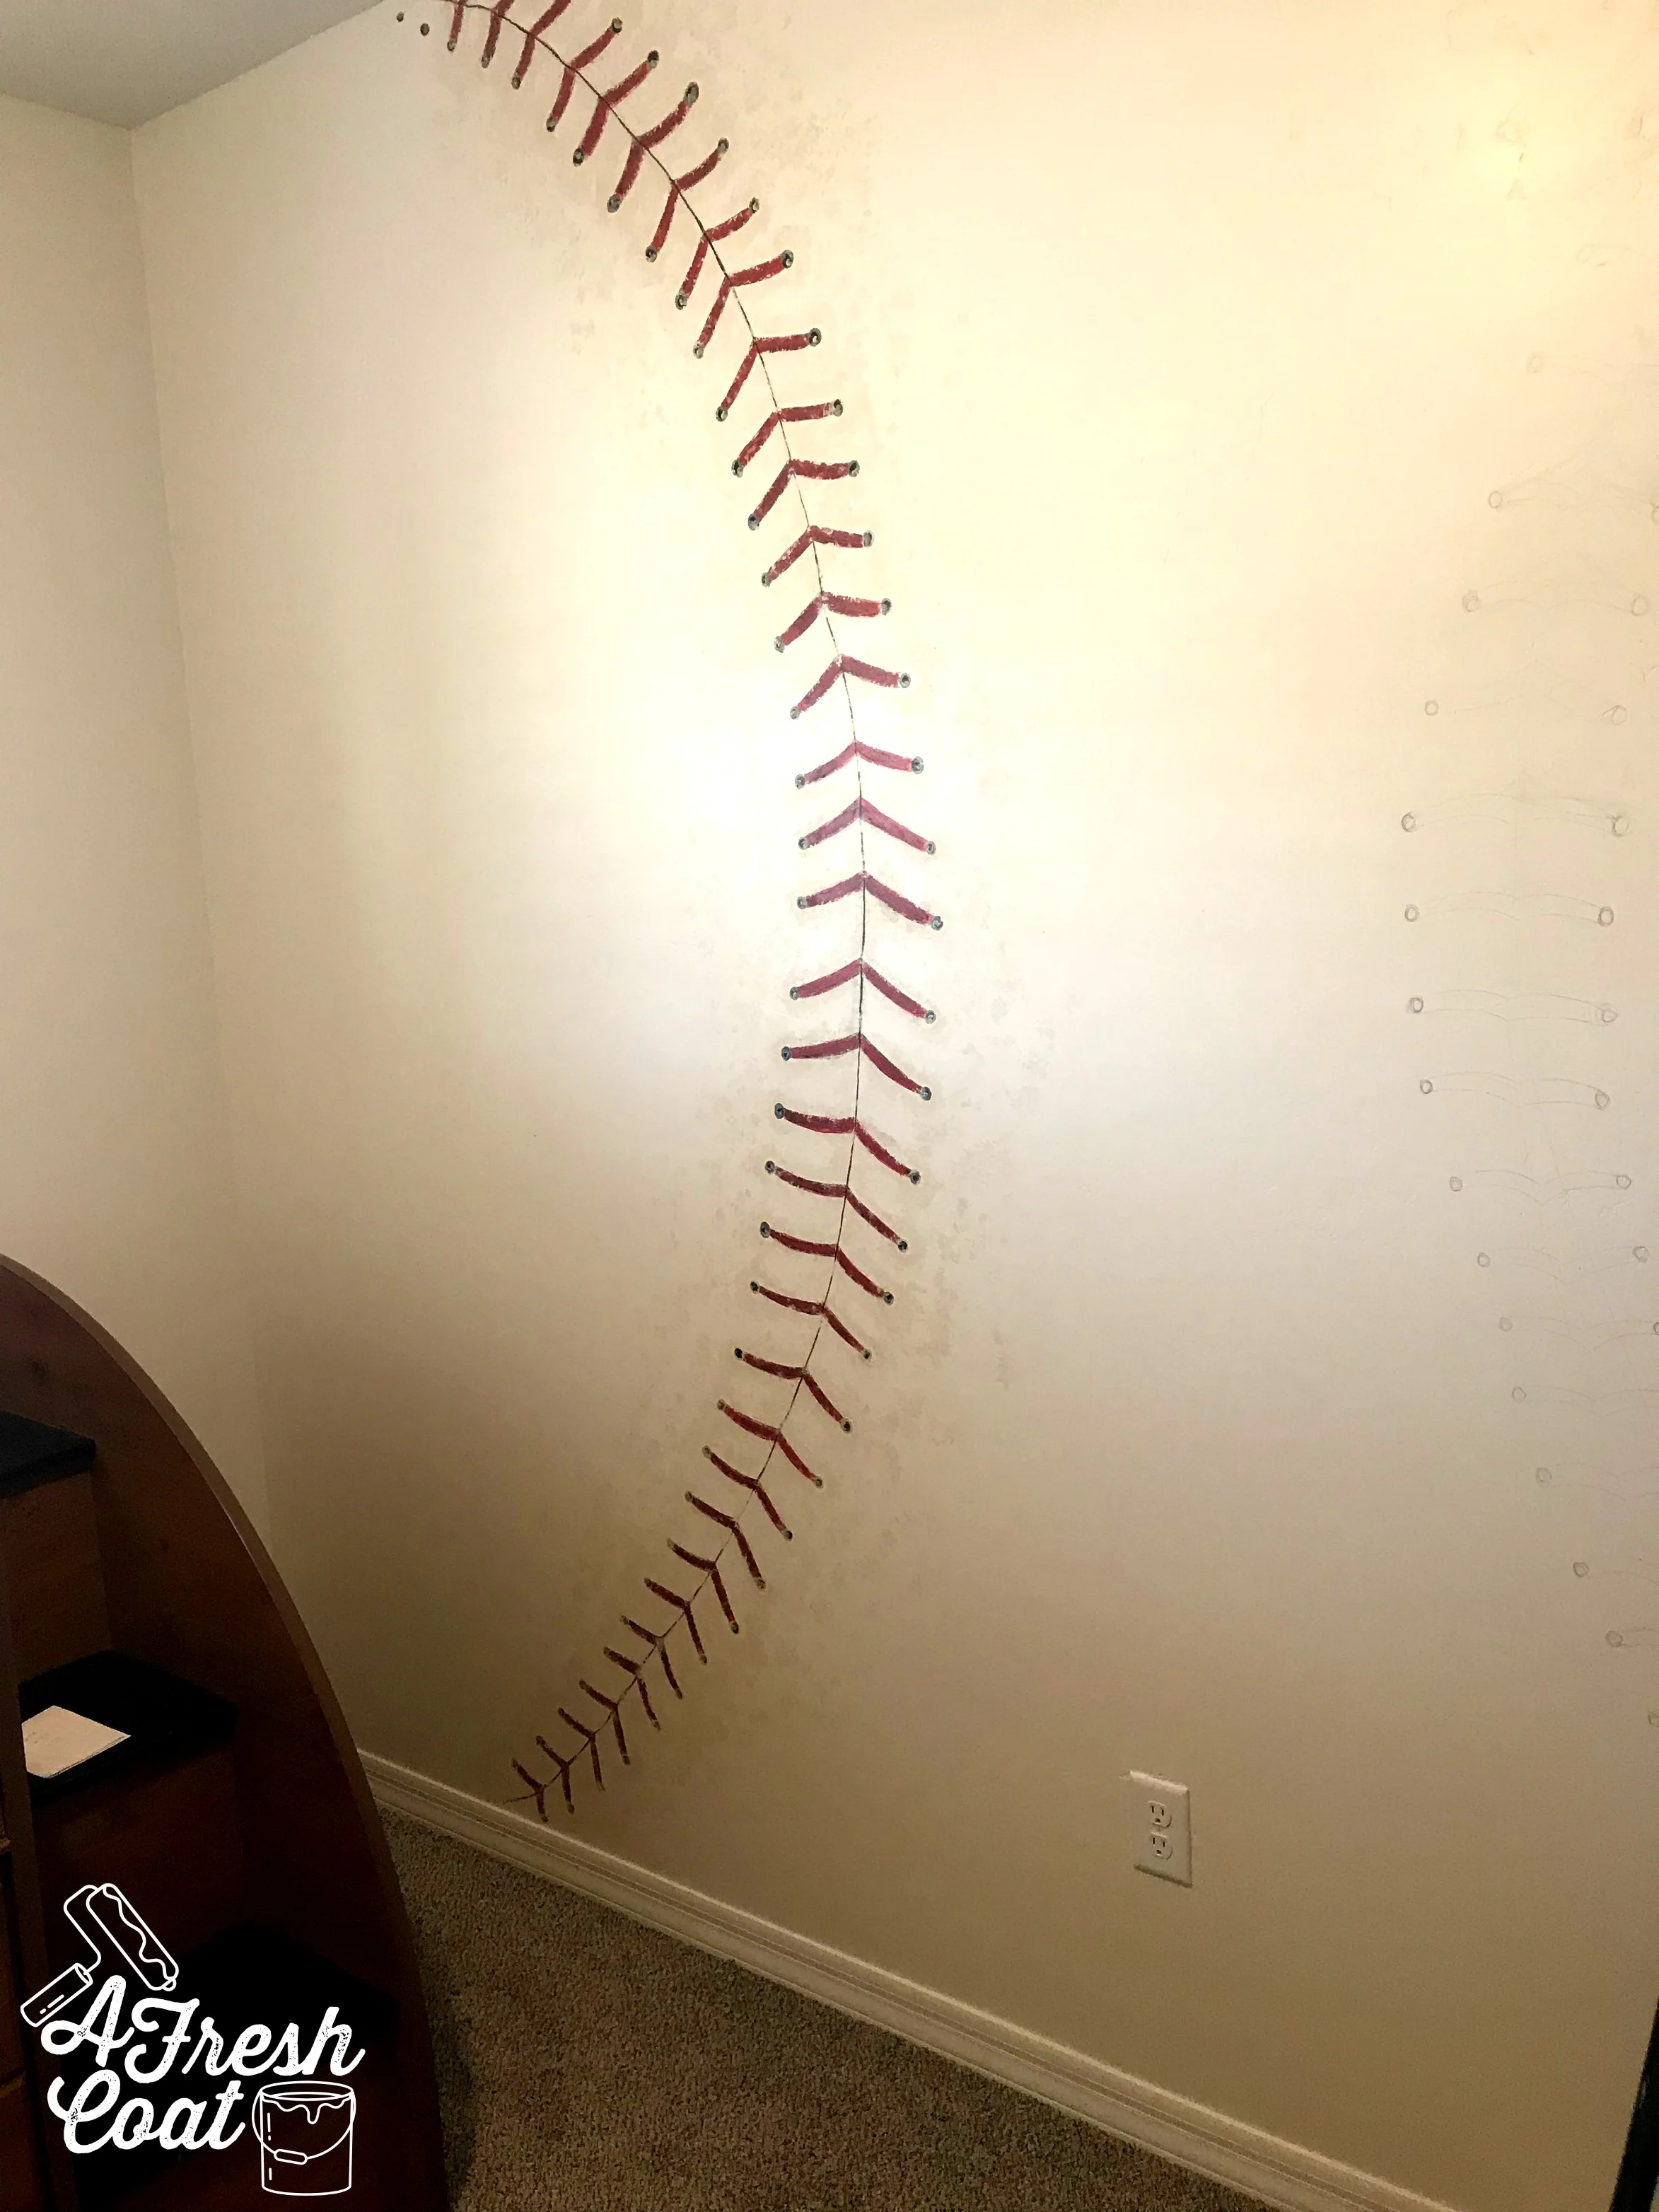
I aged the area of the seams by mixing the Whitetail and Tres Natural together. Seams got wider towards the middle and smaller towards the top and bottom. Black was mixed with Tanager to darken the red just a bit and to add accents.

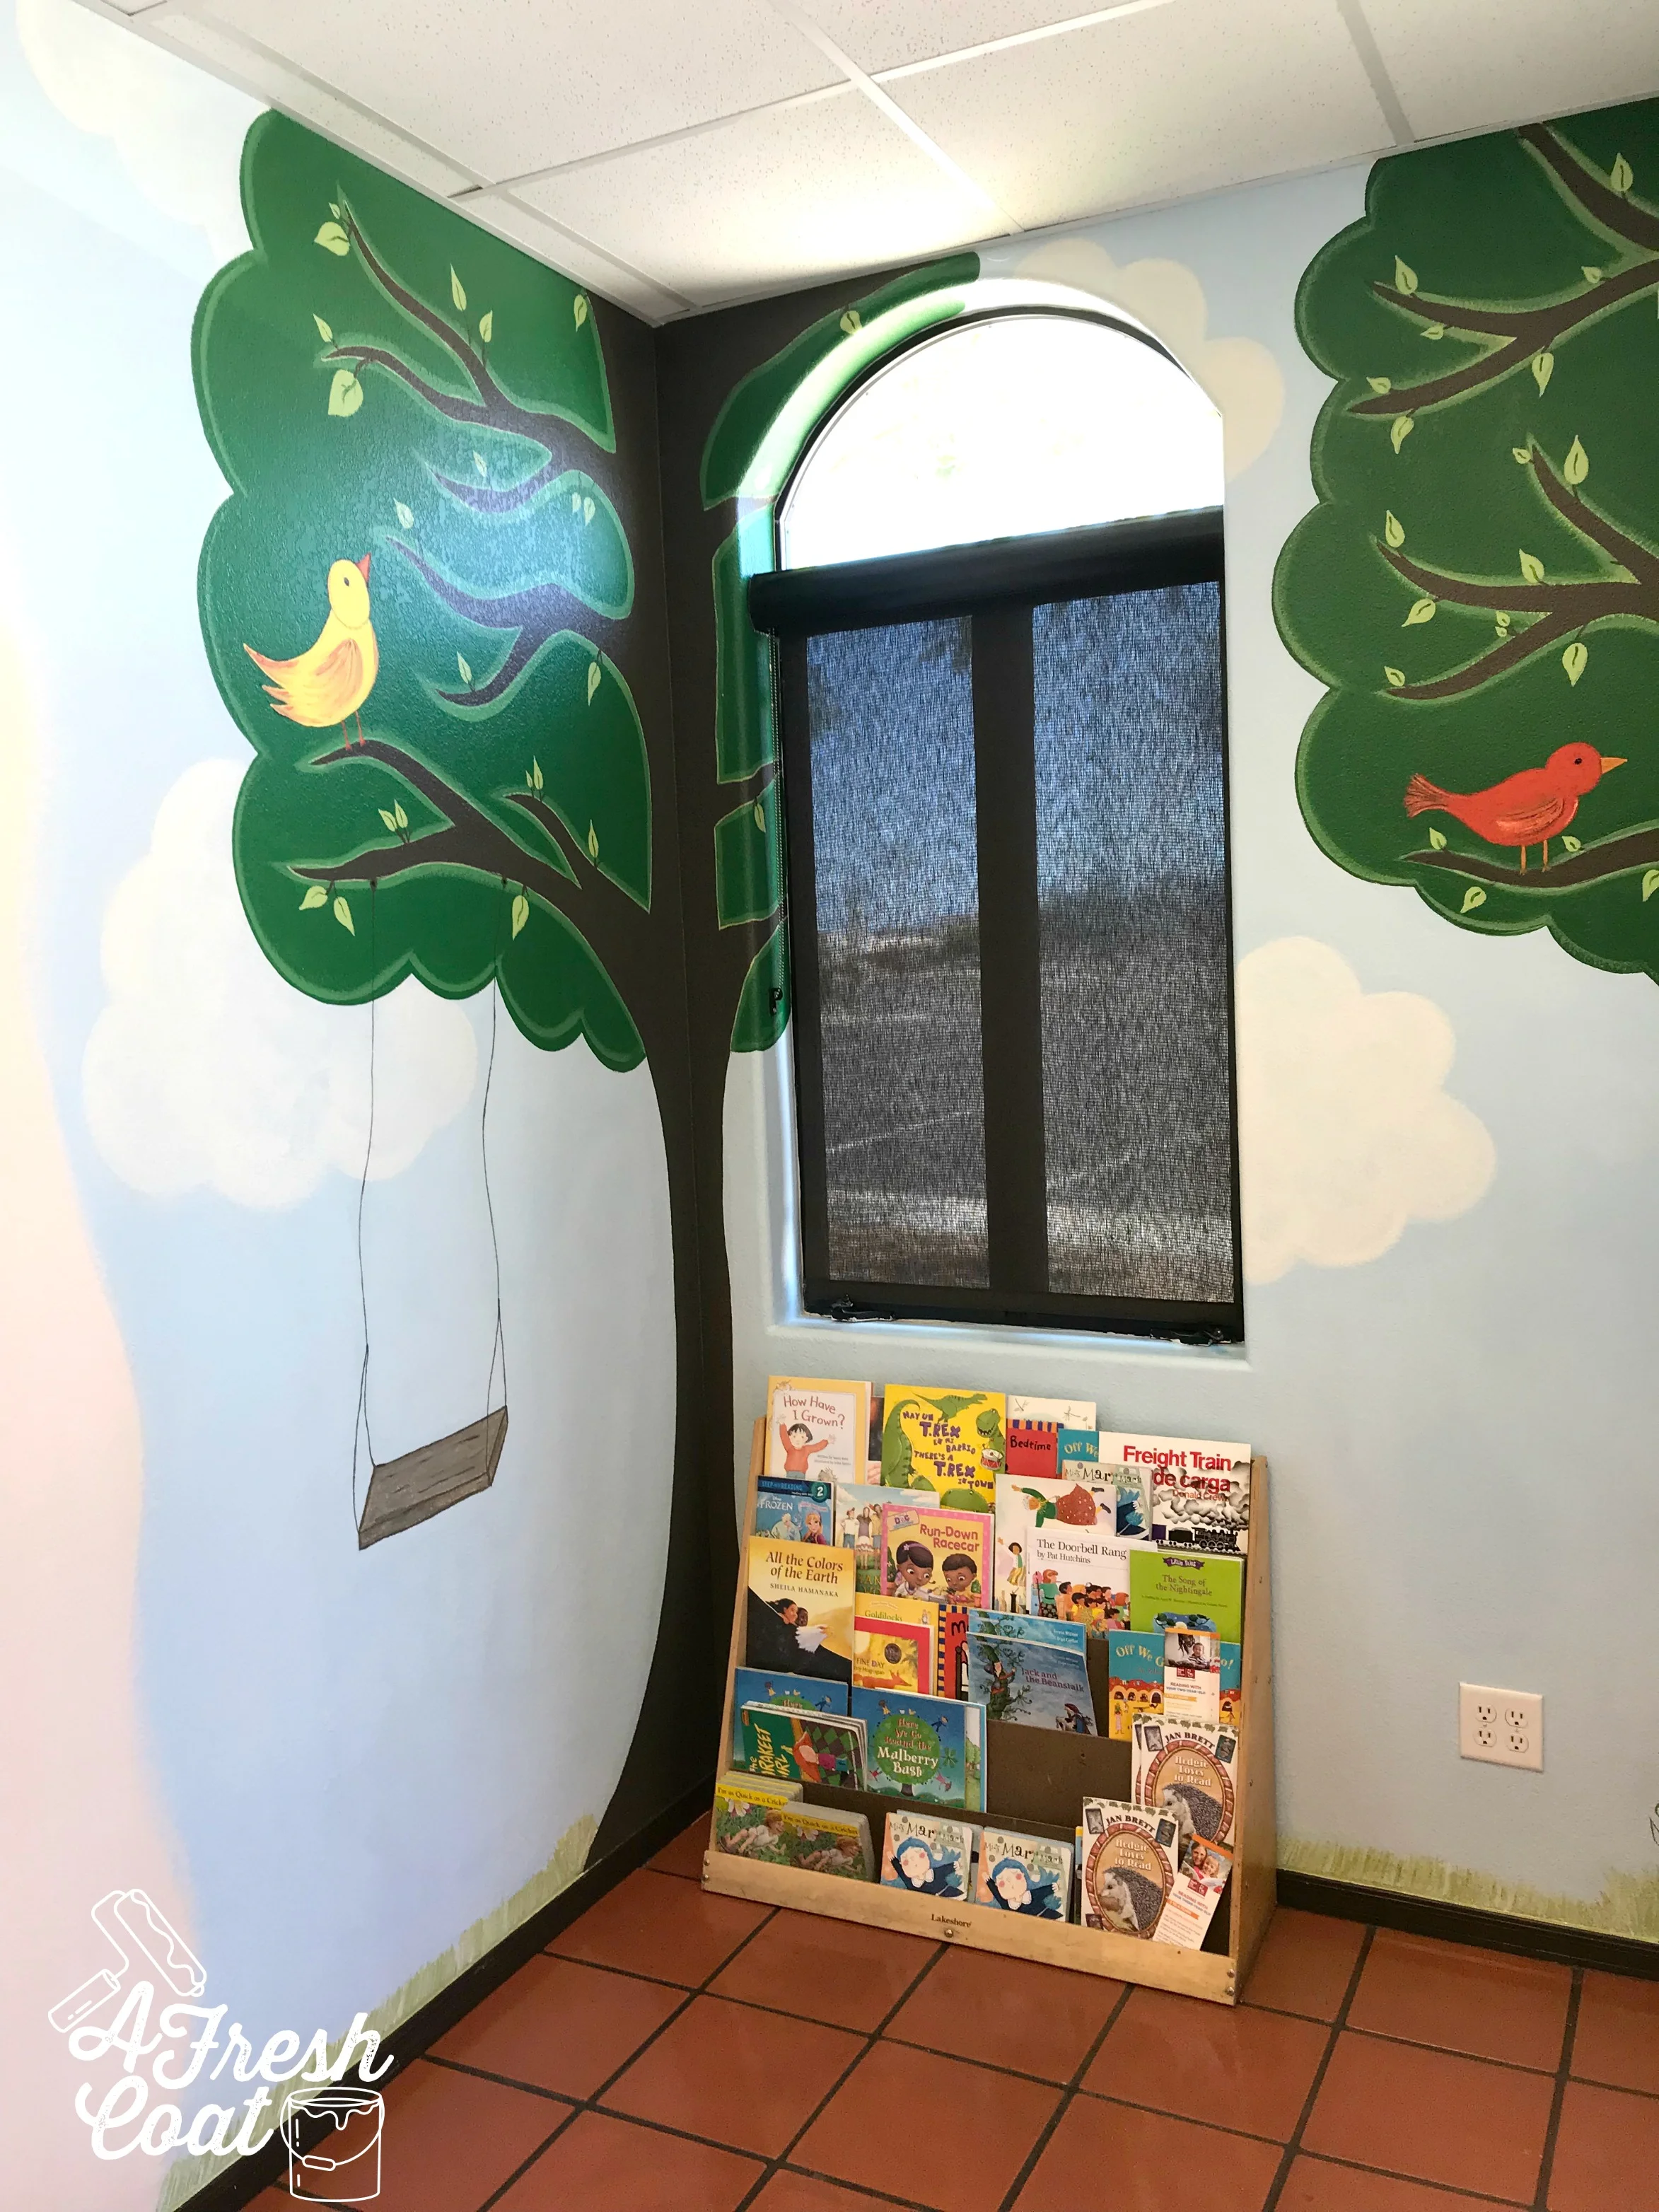
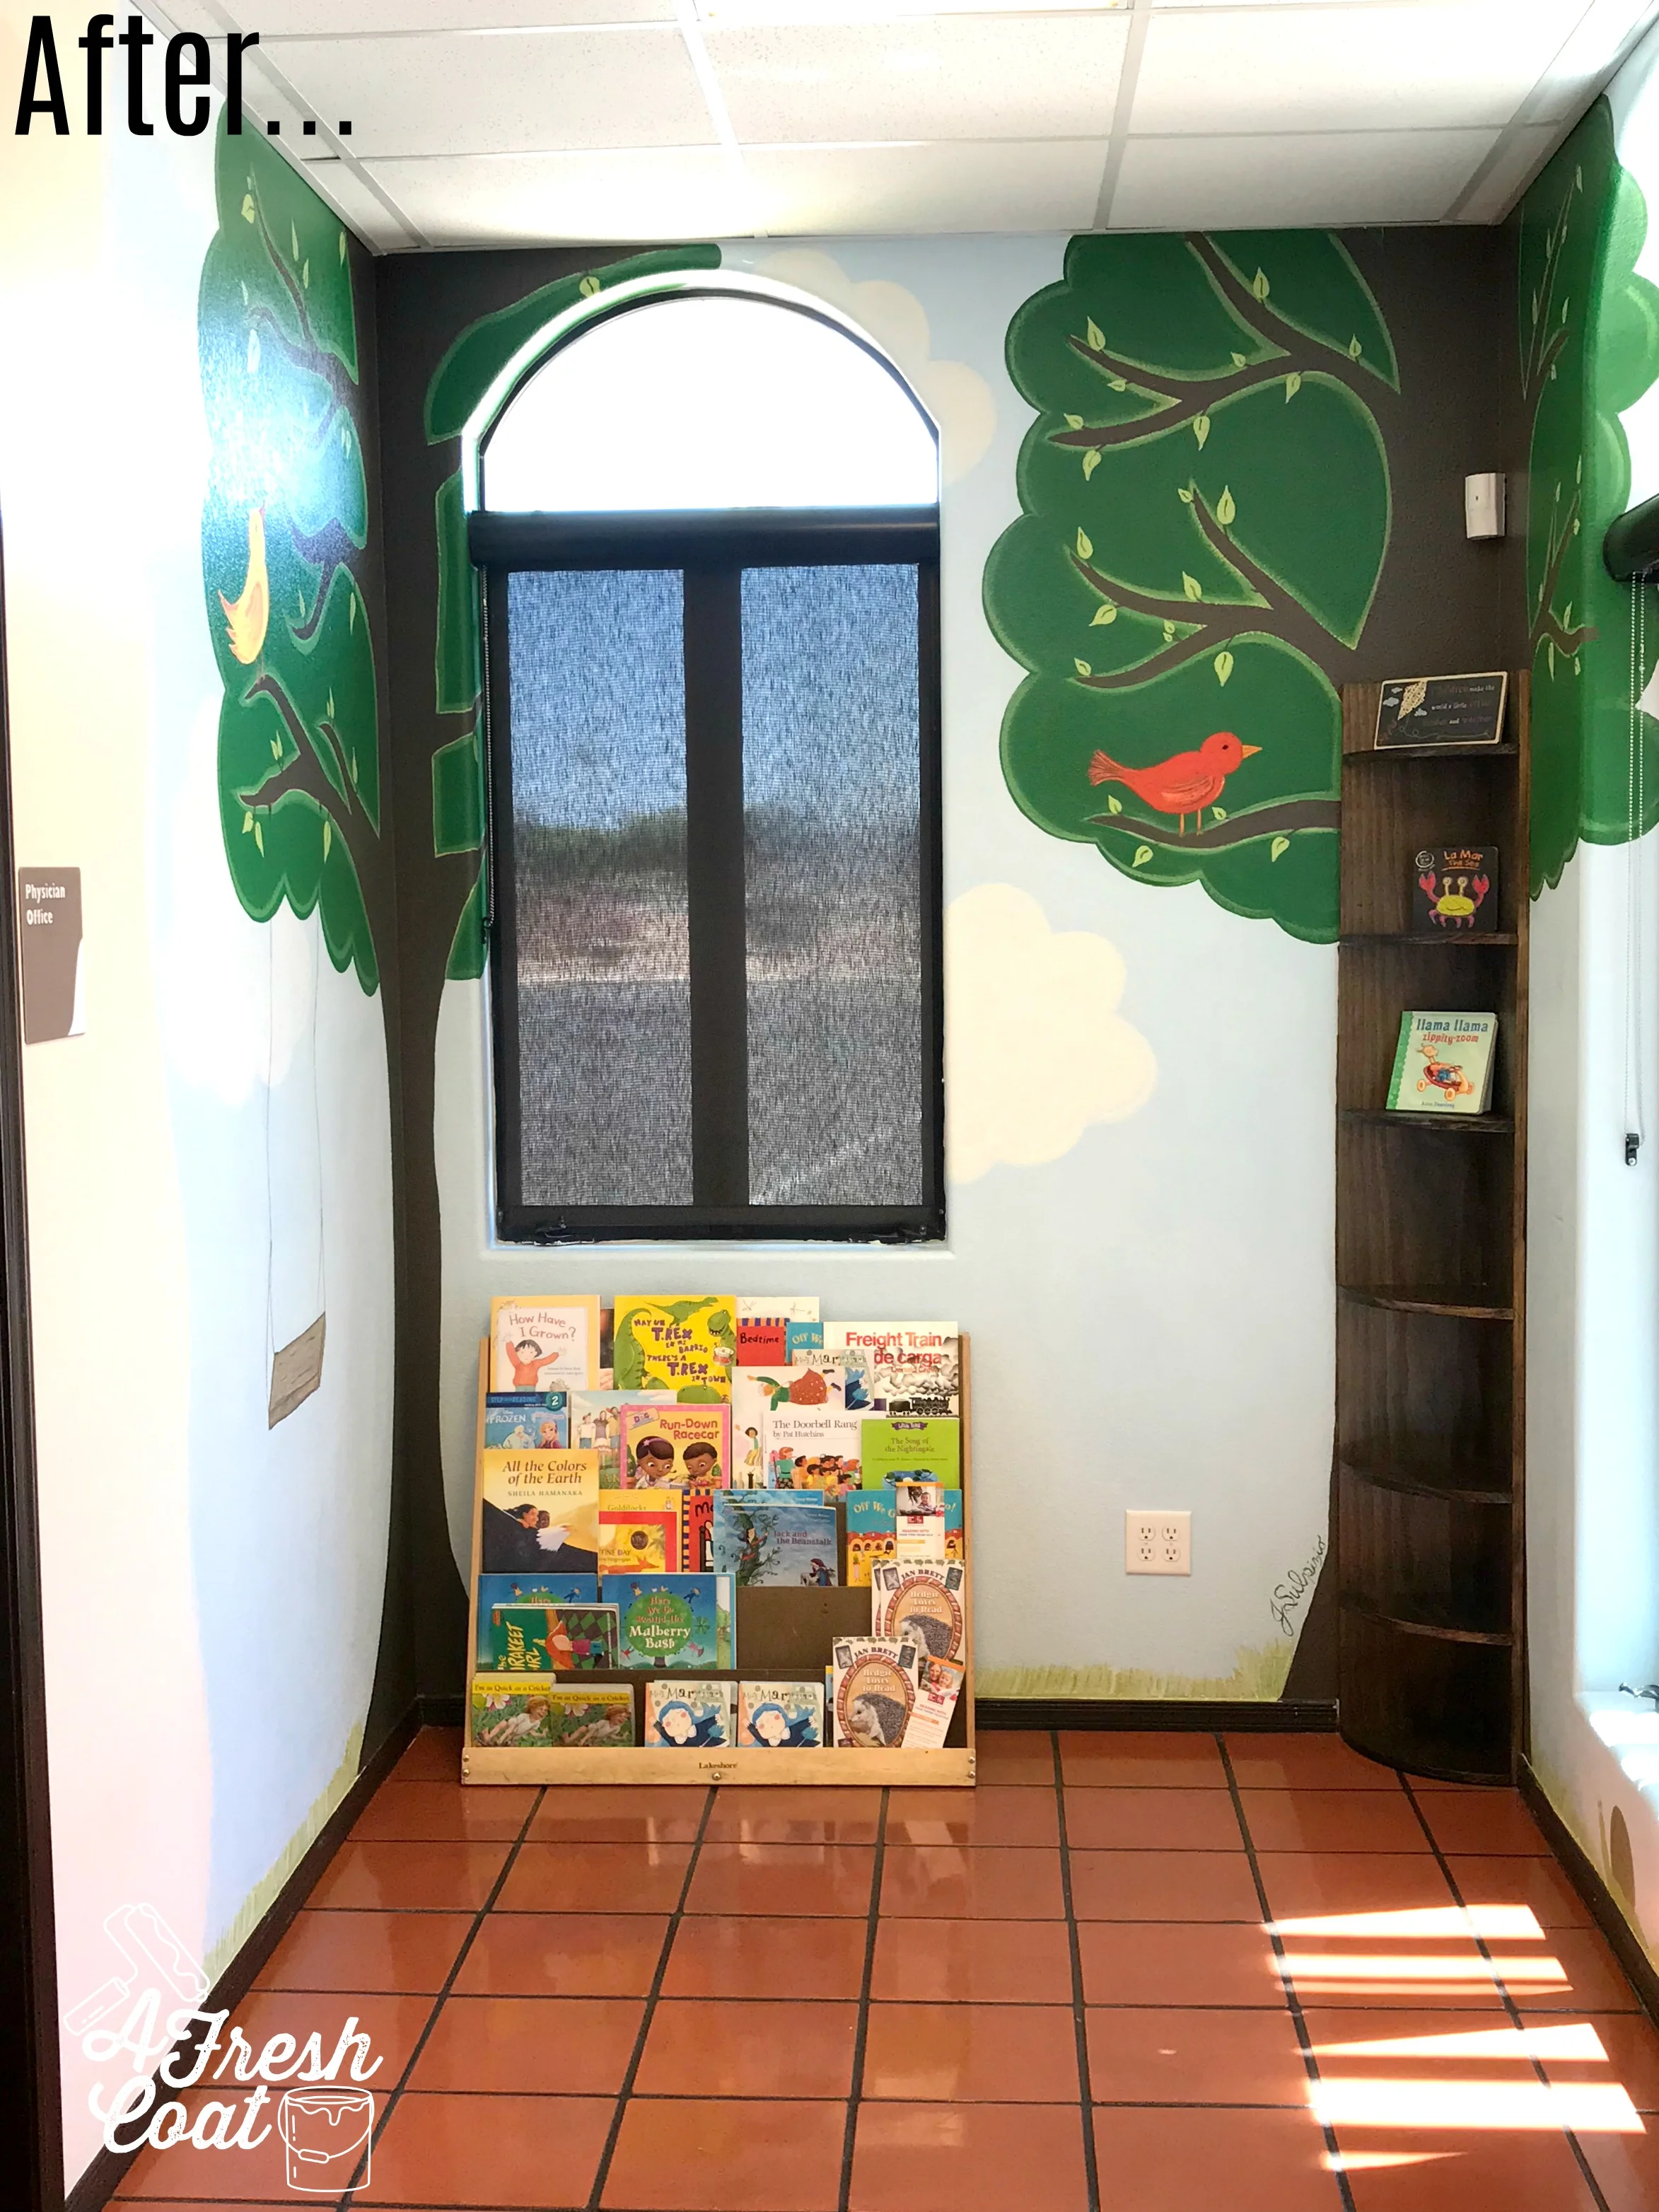
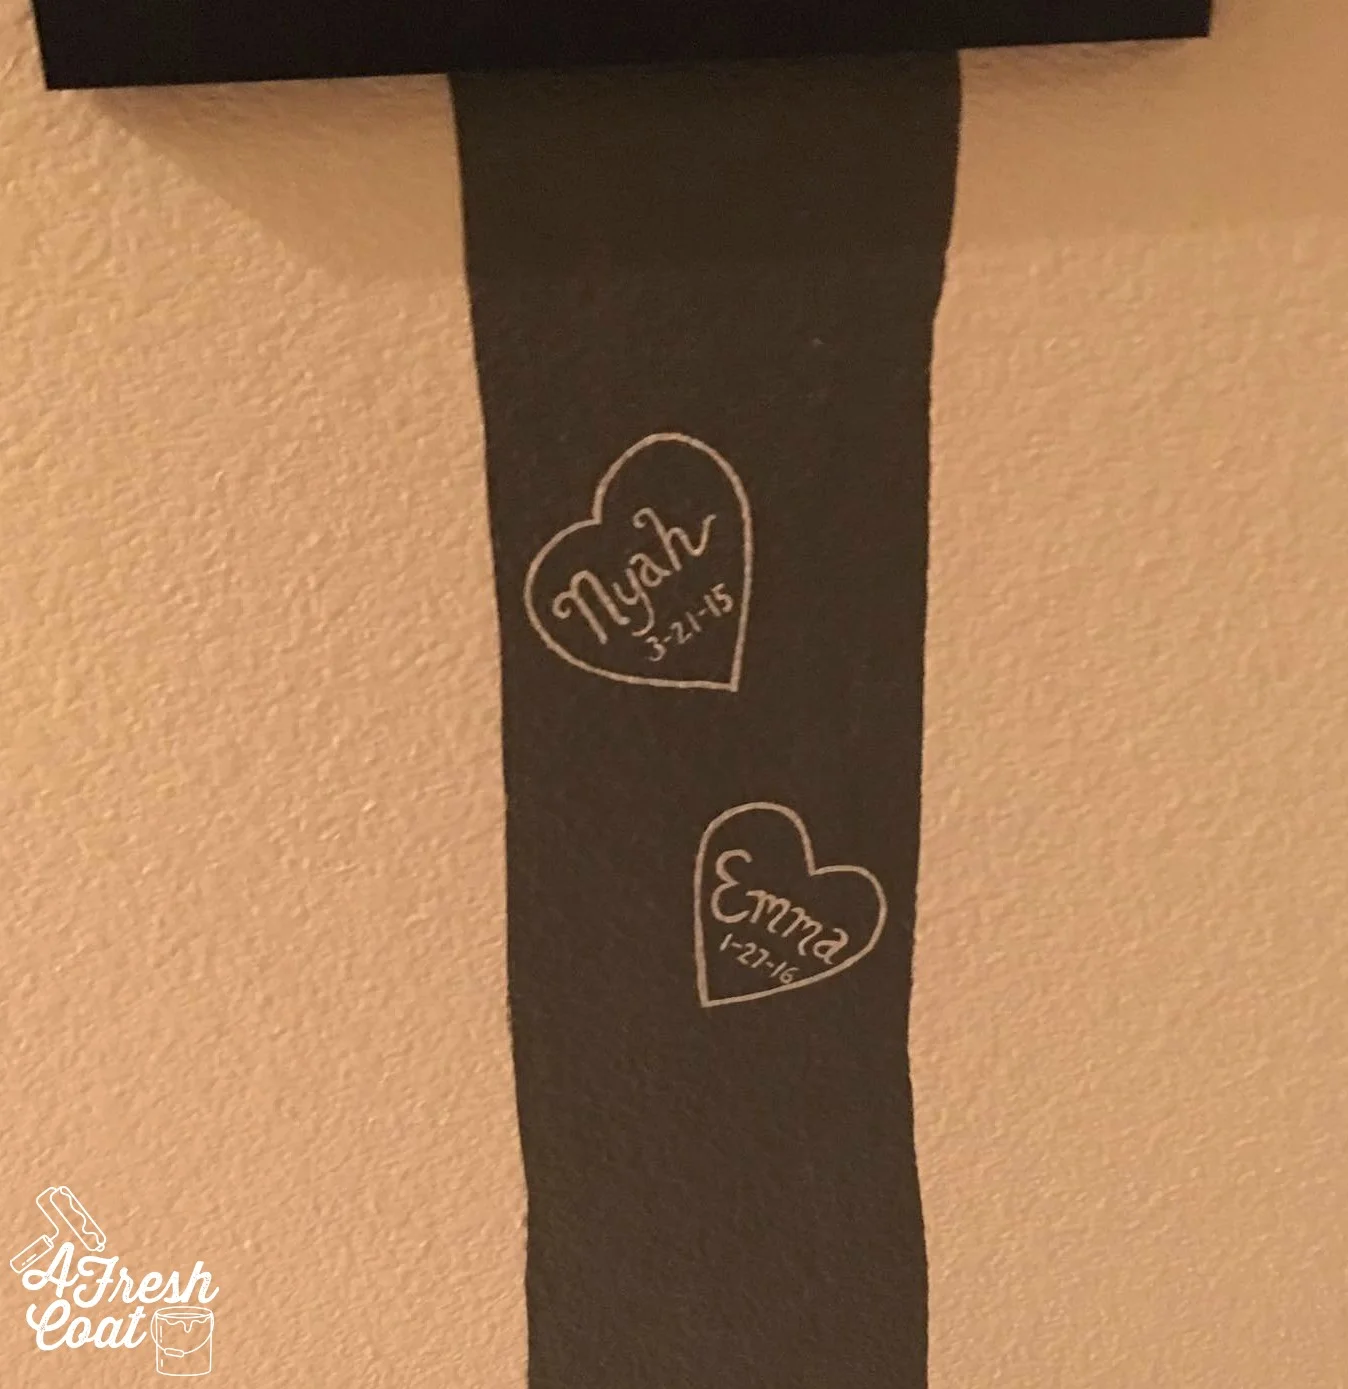
Once one side was finished, I completed the same steps, flipping the direction of the seams on the other half circle. Here is the end result:

Baseball Mural 4.jpg

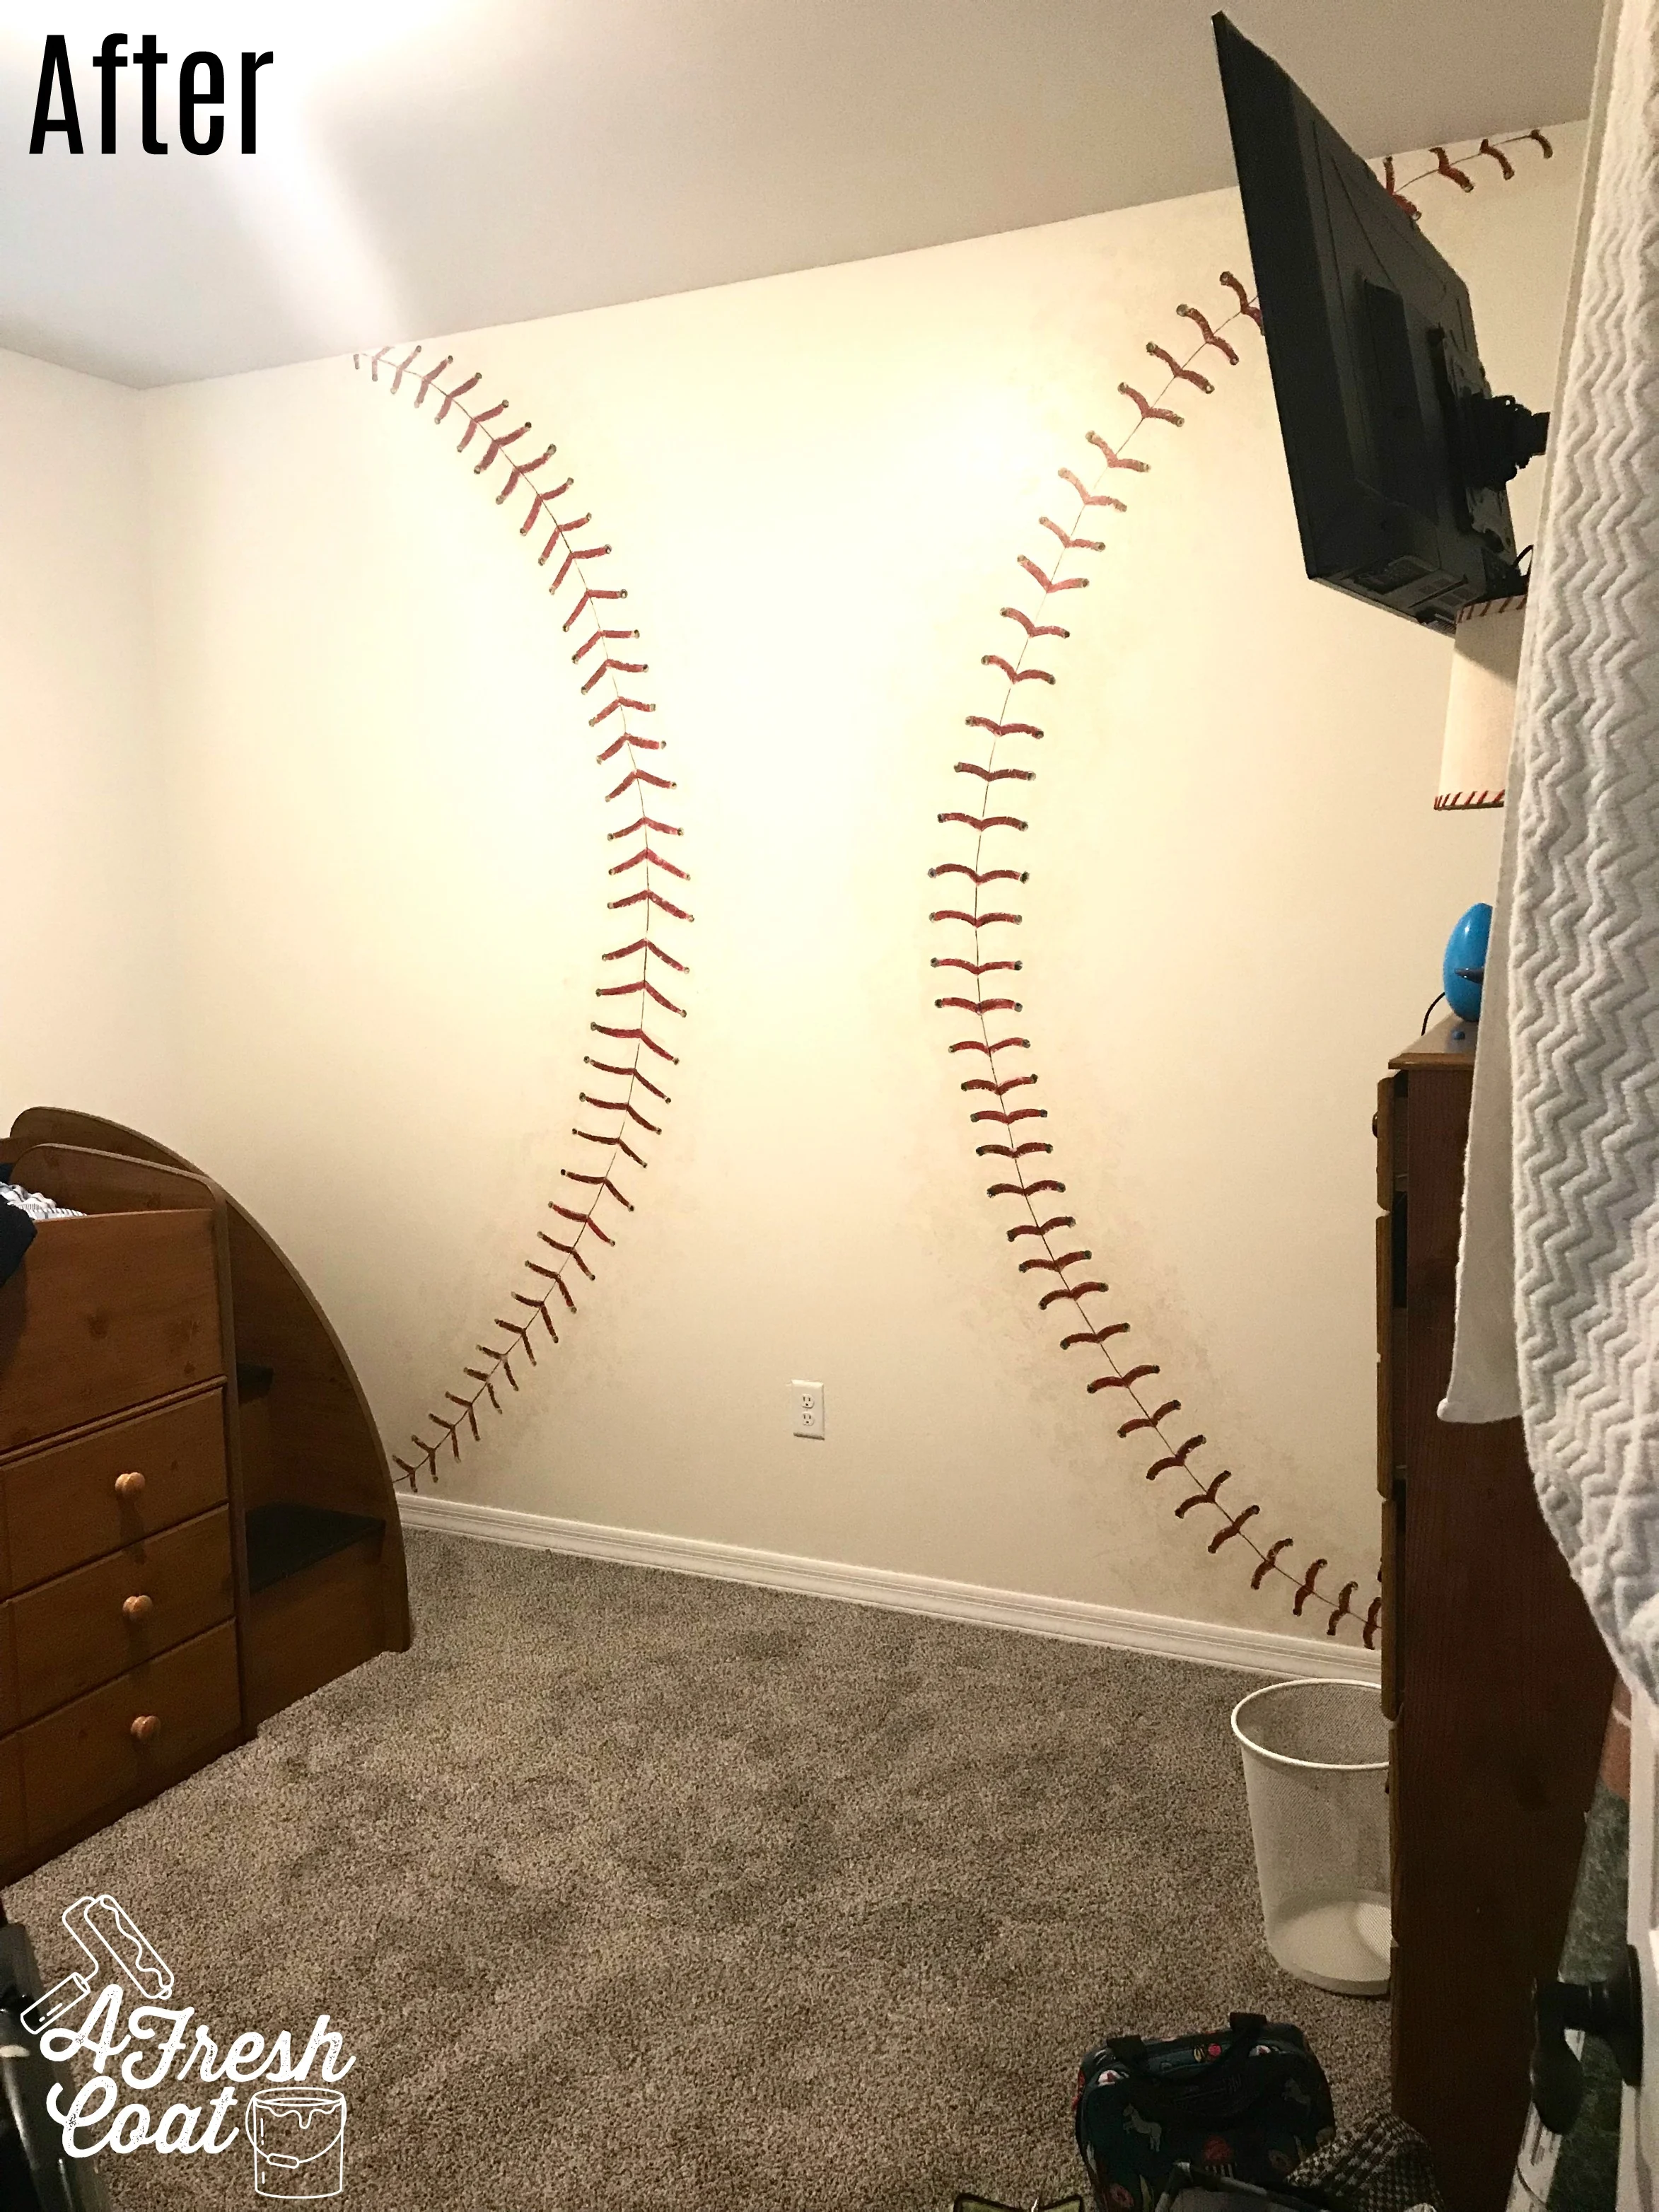
Special thanks to the “N” family for giving me the opportunity to complete this wall. Such a treat!

The Details:

Paint: SW 7103 Whitetail, SW 9101 Tres Naturale, SW 6601 Tanager, and Valspar’s Darke Kettle Black

Love, J

Fun at the Dr.'s Office....

Wall MuralsJenny Sulpizio2 Comments

I love when I get “the call.”

I love answering the phone and hearing a request for a wall mural. Whether it’s a tree, or a skyline, or some adorable pooches in their element, I absolutely adore being able to create a one-of-a-kind, custom space for a client.

And this time was no different.

YRMC recently acquired the pediatric offices of Dr. Subbu here in town (Yuma, AZ), and asked if I would paint a tree book nook for some of the cutest patients in the Southwest.

With the bookcase still under construction, I quickly got to work on the mural. This is where we started:

Doctor's Office Mural 02.jpg

The outline of the bookcase was already in place so the first step in creating this mural was to begin sketching the canopy of the tree—-the foliage and the branches. Once that was completed, I used an angled brush to go over my lines in color in order to visualize the final project a bit better and fix any imbalanced areas/funky spots.

Next up? painting. By filling in the canopy with a first (followed by a second) coat of paint, the tree was beginning to take shape.

Doctor's Office Mural 04.jpg

Next up were the branches.

Doctor's Office Mural 05.jpg

Once the branches were filled in, it was evident that the right side of the tree needed some tending to. Just as this baby needed another coat of paint, some depth added to the branches, a bit of highlighting here and there, and a bird. Yah, a bird was definitely needed.

Doctor's Office Mural 06.jpg

Here she is! All painted and ready for her bookcase trunk! Seriously, these murals bring me so much joy to create and I love that this piece will be enjoyed by the youngest in our Yuma community.

But wait! After viewing this tree, YRMC asked if I could add more. They wanted a sky in the background, an additional tree, some clouds, and grass in order to make this little nook really special and to help it become even more inviting.

Of course I was game!

Part 2 started here:

Tree 4.jpg

I completed the same steps as outlined before, but decided to add a tree swing for just a little more fun. After eight more hours of paint (yes, eight!), the mural was complete. It’s a special spot just waiting for some cute kiddos to make it even sweeter.

Tree 6.jpg
Tree 8.jpg
Tree 5.jpg

So very excited I could be a part of this project! Oh, and I couldn’t forget this fun guy. Say “hello” to my little friend…

Tree 7.jpg

One more glimpse of the before and after of this quaint little space:

Doctor's Office Mural 02.jpg
Tree 5.jpg

Colors:

Valspar’s Vegas Green—Canopy

SW Lime Rickey-Highlighting/Grass

SW Alabaster-Clouds/Grass

SW Soar-Sky

SW Avocado-Highlighting/Grass

Valspar Turkish Roots—Trunk

Love,

J


Superhero Skyline...

Wall MuralsJenny SulpizioComment

I love a good superhero room and it’s been a really long time since I’ve had the opportunity to do one. So, I was pumped when asked to implement a cityscape skyline for two little boys’ shared room.

Now, there are a number of options when it comes to doing these. However, I wanted to keep it simple so the boys could grow with their room—and after talking to the homeowner—she agreed. The only addition we might make? Possibly adding windows.

But here is where we started…

City Skyline-A Fresh Coat Yuma 01.jpg

And here is the end result:

City Skyline-A Fresh Coat Yuma 07.jpg

Baseboards will eventually be added just as the wall will be patched where the doorknob went through it. In the meantime though, here are the details on how to achieve the same thing in your kiddo’s room.

1. Surf Pinterest: Like I said before, there are a ton of options when it comes to creating this mural. Do your homework and decide which look you like best.

2. Color Selection: I opted for Sherwin William’s Dovetail and Valspar’s Dark Kettle Black. This is the color combo I used on my son’s room a few years back and I really like how well they work together. You could opt for blue tones though—totally up to you. The cool thing is these wall murals are completely customizable (is that even a word? I think it is but I’m not positive. I’m going with it though). Even better? I purchased three sample sizes of paint and that was all I needed for this whole project. Pretty cool when projects are so inexpensive. Like, less than $20!

3. Tool Time: Grab your trusty level (at least a two footer), detail brushes (angled ones work best), some trim brushes (2”, short handle), a pencil and then get to work. I started by creating these geometric shapes off of the picture I had saved to my phone. Using the level to draw different angles is really easy and super fun. Start at the top (if opting for a silhouette), and then work your way to the bottom.

City Skyline-A Fresh Coat Yuma 02.jpg

4. Sticky Stuff: Once you have all the sections taped and ready to go, it’s time to paint. Start with the silhouette skyscrapers first. Add two coats. Allow enough time to dry. Remove tape and then begin working on the bottom section of the mural. Follow the same steps as you did before.

Also? Expect to use 2-3 coats of the black.

City Skyline-A Fresh Coat Yuma 03.jpg

6. Detail Work: Once the walls are dry and the tape has been removed, touch-up’s will more than likely be necessary. Grab one of your small angled brushes and fix the areas in need of tending to. Make sure not to get too much paint on your small brushes to avoid globs and drips.

City Skyline-A Fresh Coat Yuma 05.jpg
City Skyline-A Fresh Coat Yuma 04.jpg

7. More Details? Once the fixes have all taken place, it’s up to you how custom you want to make this wall. Windows take a decent amount of work and are a bit tedious but also look amazing. If your son is like mine, the Batman call signal is a necessity. A bit harder to do but simply surf Pinterest and complete the same steps I’ve outlined here.

8. Enjoy. This really is such a fun mural and makes a big impact for hardly any money.

**Total time? Expect 1-1 1/2 days with taping and drying time, 5-6 hours without taping.

City Skyline-A Fresh Coat Yuma 06.jpg

Love,

J


A Room With a View

Wall MuralsJenny SulpizioComment

Make that a medical office with a “view.” Get it? Okay, maybe not.

Anyways, I was first contacted by “M” during this past summer. As the new director of Pinnacle Medical Center here in Yuma, AZ, she wanted to update their waiting room, add additional seating, and address a major issue that needed to be dealt with.

Ready for before and after pics? They’re my fave.

Pinnacle Medical Office 02.jpg
Pinnacle Medical Center 01.jpg

Before, the waiting room was nice but a little bare. With Venetian plaster covering each wall, the previous administration of this medical practice had invested a number of dollars into making this space beautiful. The problem? Venetian plaster in a commercial setting isn’t always the best idea. See the area on the wall that appears stained? Well, that’s exactly what happened. After years of patients resting their heads on those walls, this was the end result.

And it needed some fixing.

My first thought was to run board and batten moldings 3/4 of the way up the wall. This would cover the area that needed to be covered and look really nice as well. Throw in some pictures of our local Yuma landscape, along with a tad bit of faux foliage, and bam! Maybe something like this:

Pinnacle Medical.jpg

However, after receiving the quote to do so, moldings were not in the budget, but (!) after scrolling through my Instagram feed a few weeks back, I found an idea that would work perfectly—a mountain landscape. This would not only deal with the main issue of those stains but also liven the walls up, introduce some serious pops of color, and make the overall space fun.

After seven hours of priming and painting, here is the end result:

Pinnacle Medical Office 03.jpg
Pinnacle Medical Office 04.jpg
Pinnacle Medical Office 05.jpg
Pinnacle Medical Office 07.jpg

Thanks to Sherwin Willaims for the inspiration and Pinnacle Medical Office for allowing AFC to create this mural. Did I mention they give tetanus shots, too? So if you happen to step on a rusty nail while cleaning your chicken coop, this place will definitely help you out…wink, wink. True story.

The Details:

Paint: Sherwin Williams (Distance, Baked Cookie, Cavern Clay, Caramelized, and Moth Wing)

Mural: A Fresh Coat-Yuma

Trees, Trees--and you guessed it--More Trees...

Wall MuralsJenny SulpizioComment

Over the past year and a half, I've had the wonderful opportunity to create a number of trees in people's homes, places of business, and even a shelter or two. Trees are are so much fun, and thanks to the popularity of Pinterest, also in high demand. There really are so many different ways to customize these feature murals. Know what else? They totally transform the space they're in, making their rooms all the rage.  

Ginormous Tree| A Fresh Coat Yuma.jpg
Family Tree | A Fresh Coat Yuma.jpg

Family trees are awesome, aren't they? But how about a mango tree? Solano's Ice Cream in Yuma, AZ was gearing up for something new (and big) in their business and they needed a mango tree to kick off said campaign. Pretty and fun!

P.S. Doesn't mango ice cream sound so good right now? Yum.

Mango Tree | A Fresh Coat Yuma.jpg

The Humane Society of Yuma (HSOY), wanted a Legacy Tree in the main corridor of the facility--right when you walk in. They selected this tree from a slew of options because they wanted the ability to honor as many donors as they could both now and well into the future (which meant they needed looooong tree limbs and less foliage). Plaques will soon adorn these branches and this tree will serve as a wonderful tribute to many. HSOY also chose a beautiful orange background to compliment their silhouette tree.

Humane Society Tree | A Fresh Coat Yuma.jpg

These twin girls had a major room makeover and in doing so requested a tree...but the tree had to have flowers...and their names on it somewhere. Ask and you shall receive. ;)

Flowering Tree| A Fresh Coat Yuma.jpg

This was fun! My client asked for a fairy-friendly, whimsical tree that her mushroom stool could sit under. And she definitely needed a snail while I was at it. She selected the leaf colors and the style of tree she was interested in and AFC (that's me!) did the rest. **Notice the fairy door located in the trunk of this ecclectic arbor. Fun, right? 

Whimsical Tree | A Fresh Coat Yuma.jpg

Located right in the living room--as soon as you enter--this family tree is the focal point of the whole room.

Family Tree| A Fresh Coat Yuma.jpg

And how about this one? You can find this family tree in the resident's hallway, located right outside the kitchen and leading into her grandaughters' play room. She even had their names and birthdates added to the trunk. Cute and totally custom!

Family Tree | A Fresh Coat Yuma copy.jpg
Tree Hearts | A Fresh Coat Yuma

What do you think? Are you feeling the trees? Could you see this in your home too?