Does your church have a “Cry Room”? You know—a place where moms can take their babies and toddlers when things go (seriously) South during church services?
Cry Rooms are always pretty fun to design and decorate, but also vary in overall vibe and style.
Some are minimalistic—to the point—only providing basic “cry room necessities.” Still, other churches go a bit more in detail, requesting a space that feels welcoming, relaxing, and helps to promote a stress-reducing environment. Afterall, the sole purpose of these rooms is to let those sweet babes “cry it out”…or give precious mamas a calming spot to nurse (in private)…or quiet the most rambunctious of toddlers.
Cry Rooms are a multi-purpose room, must be super functional, and in my opinion—crazy cute.
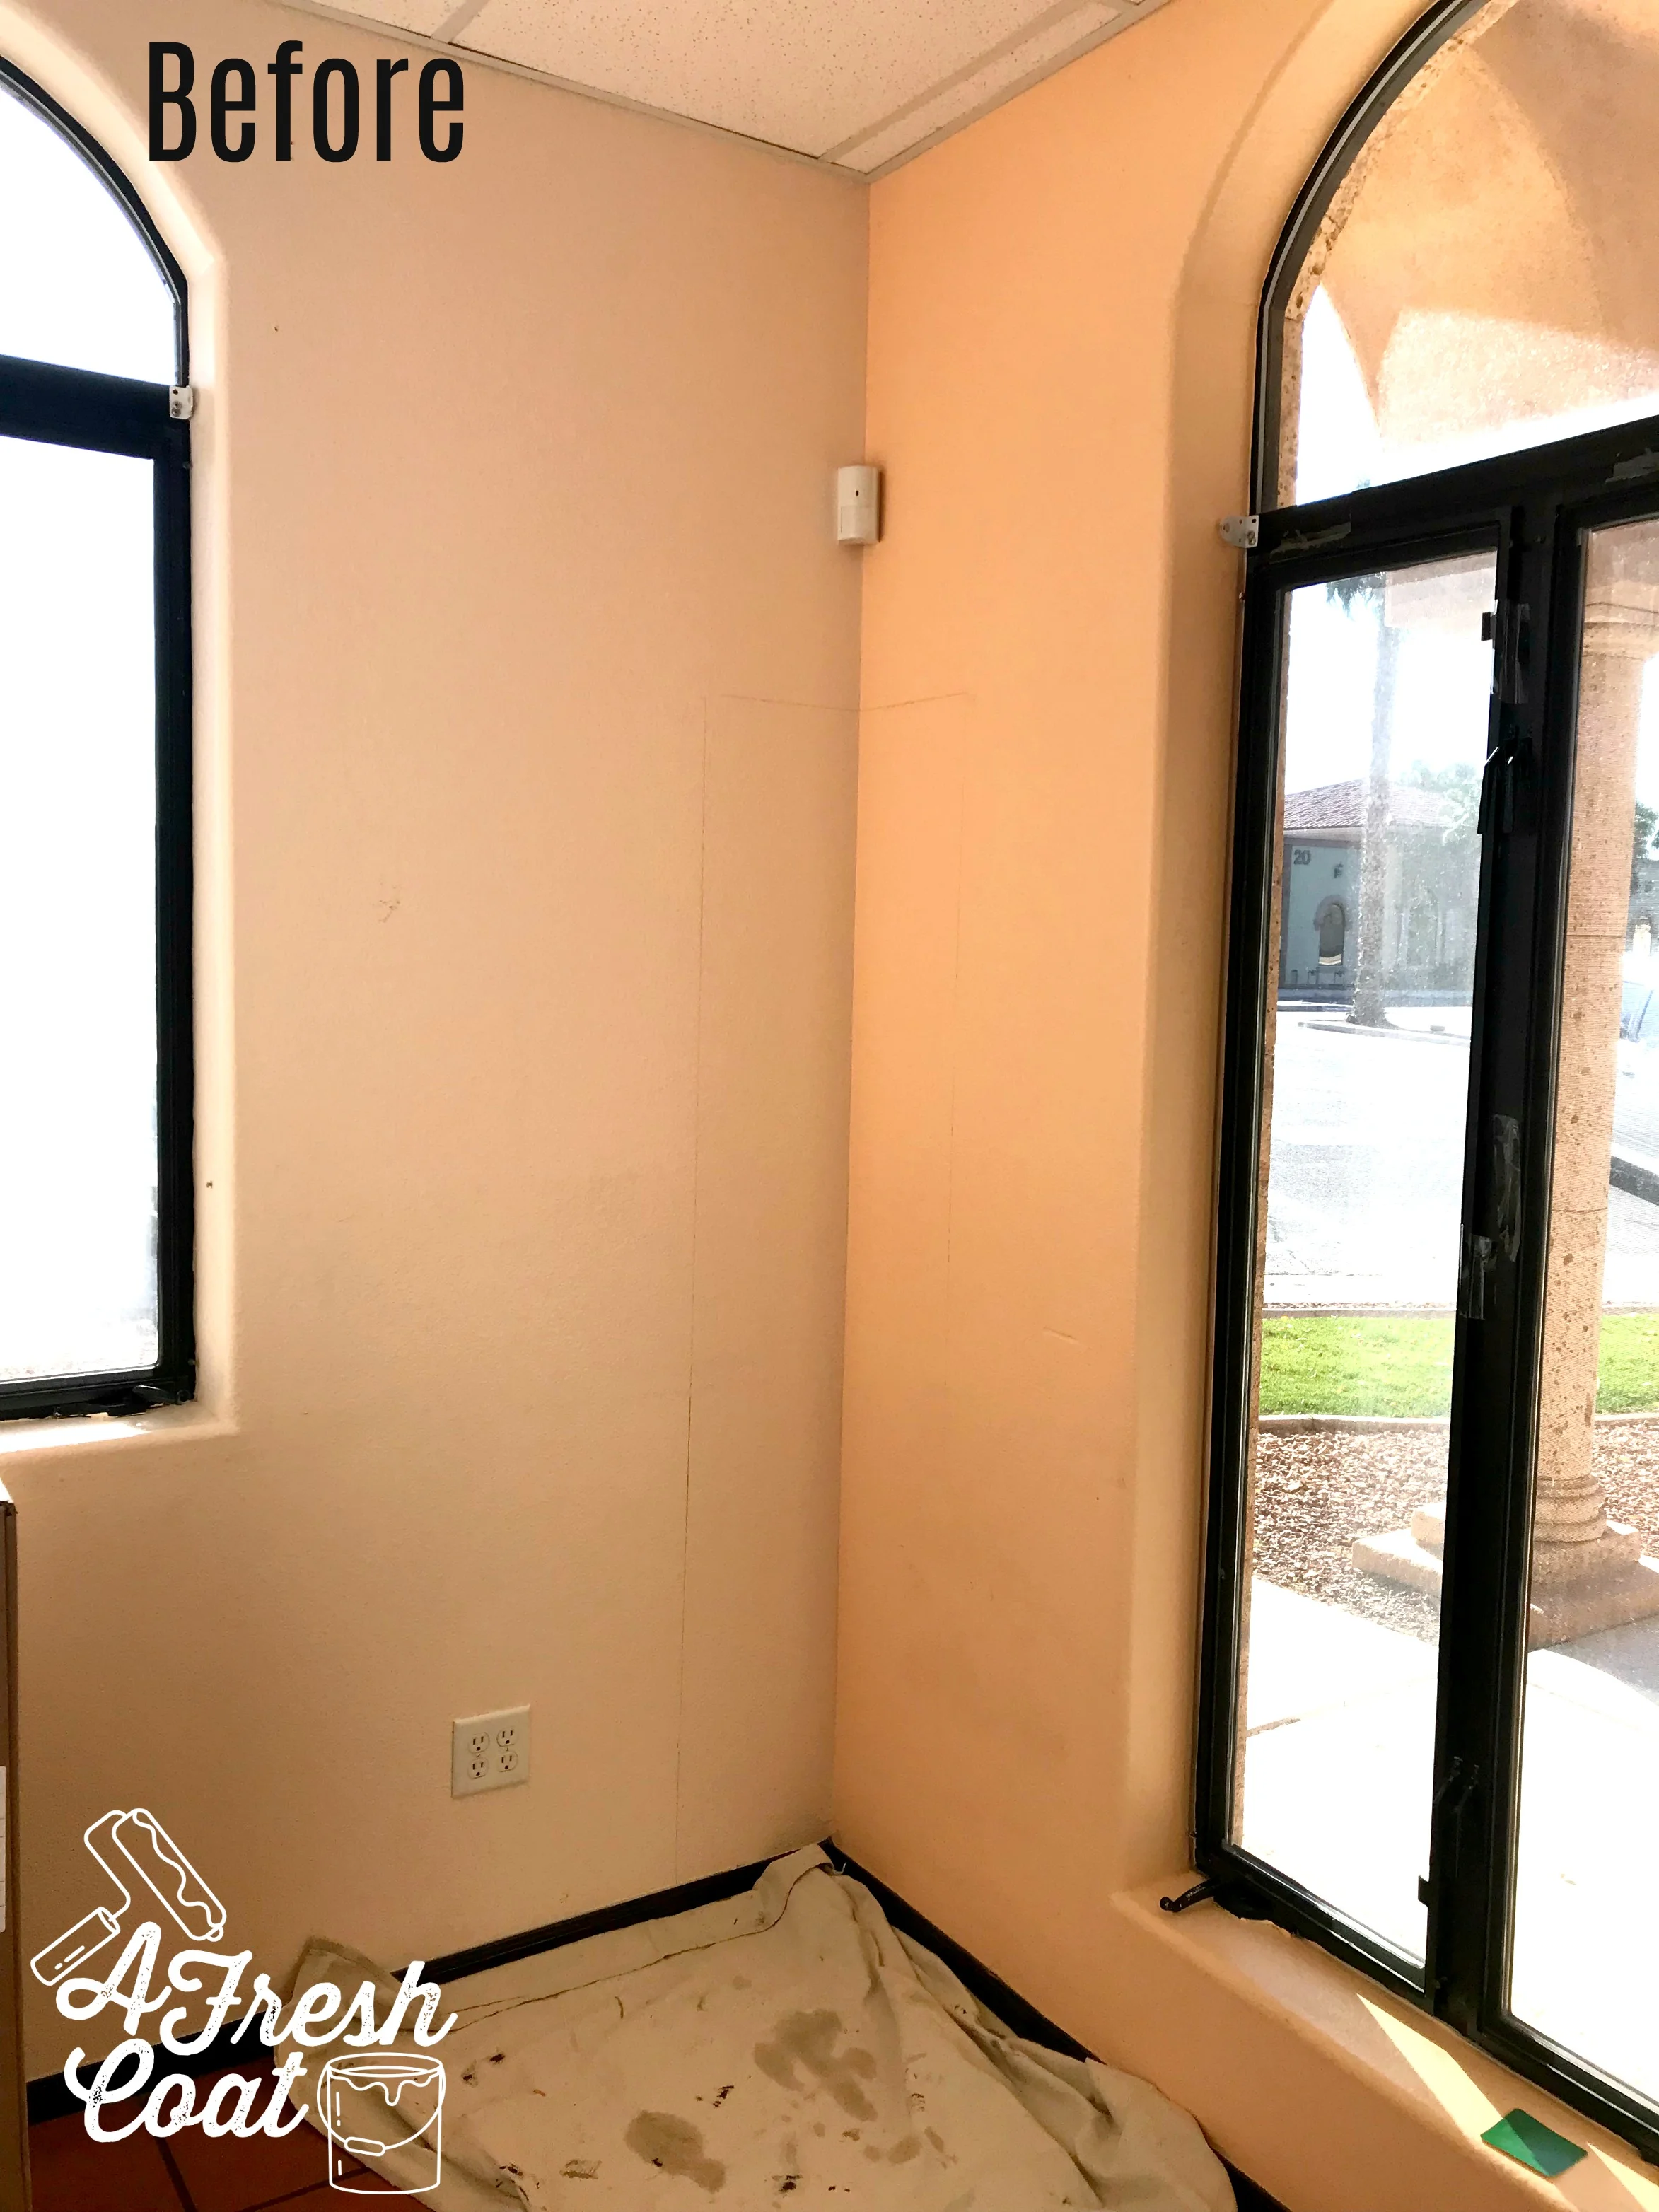
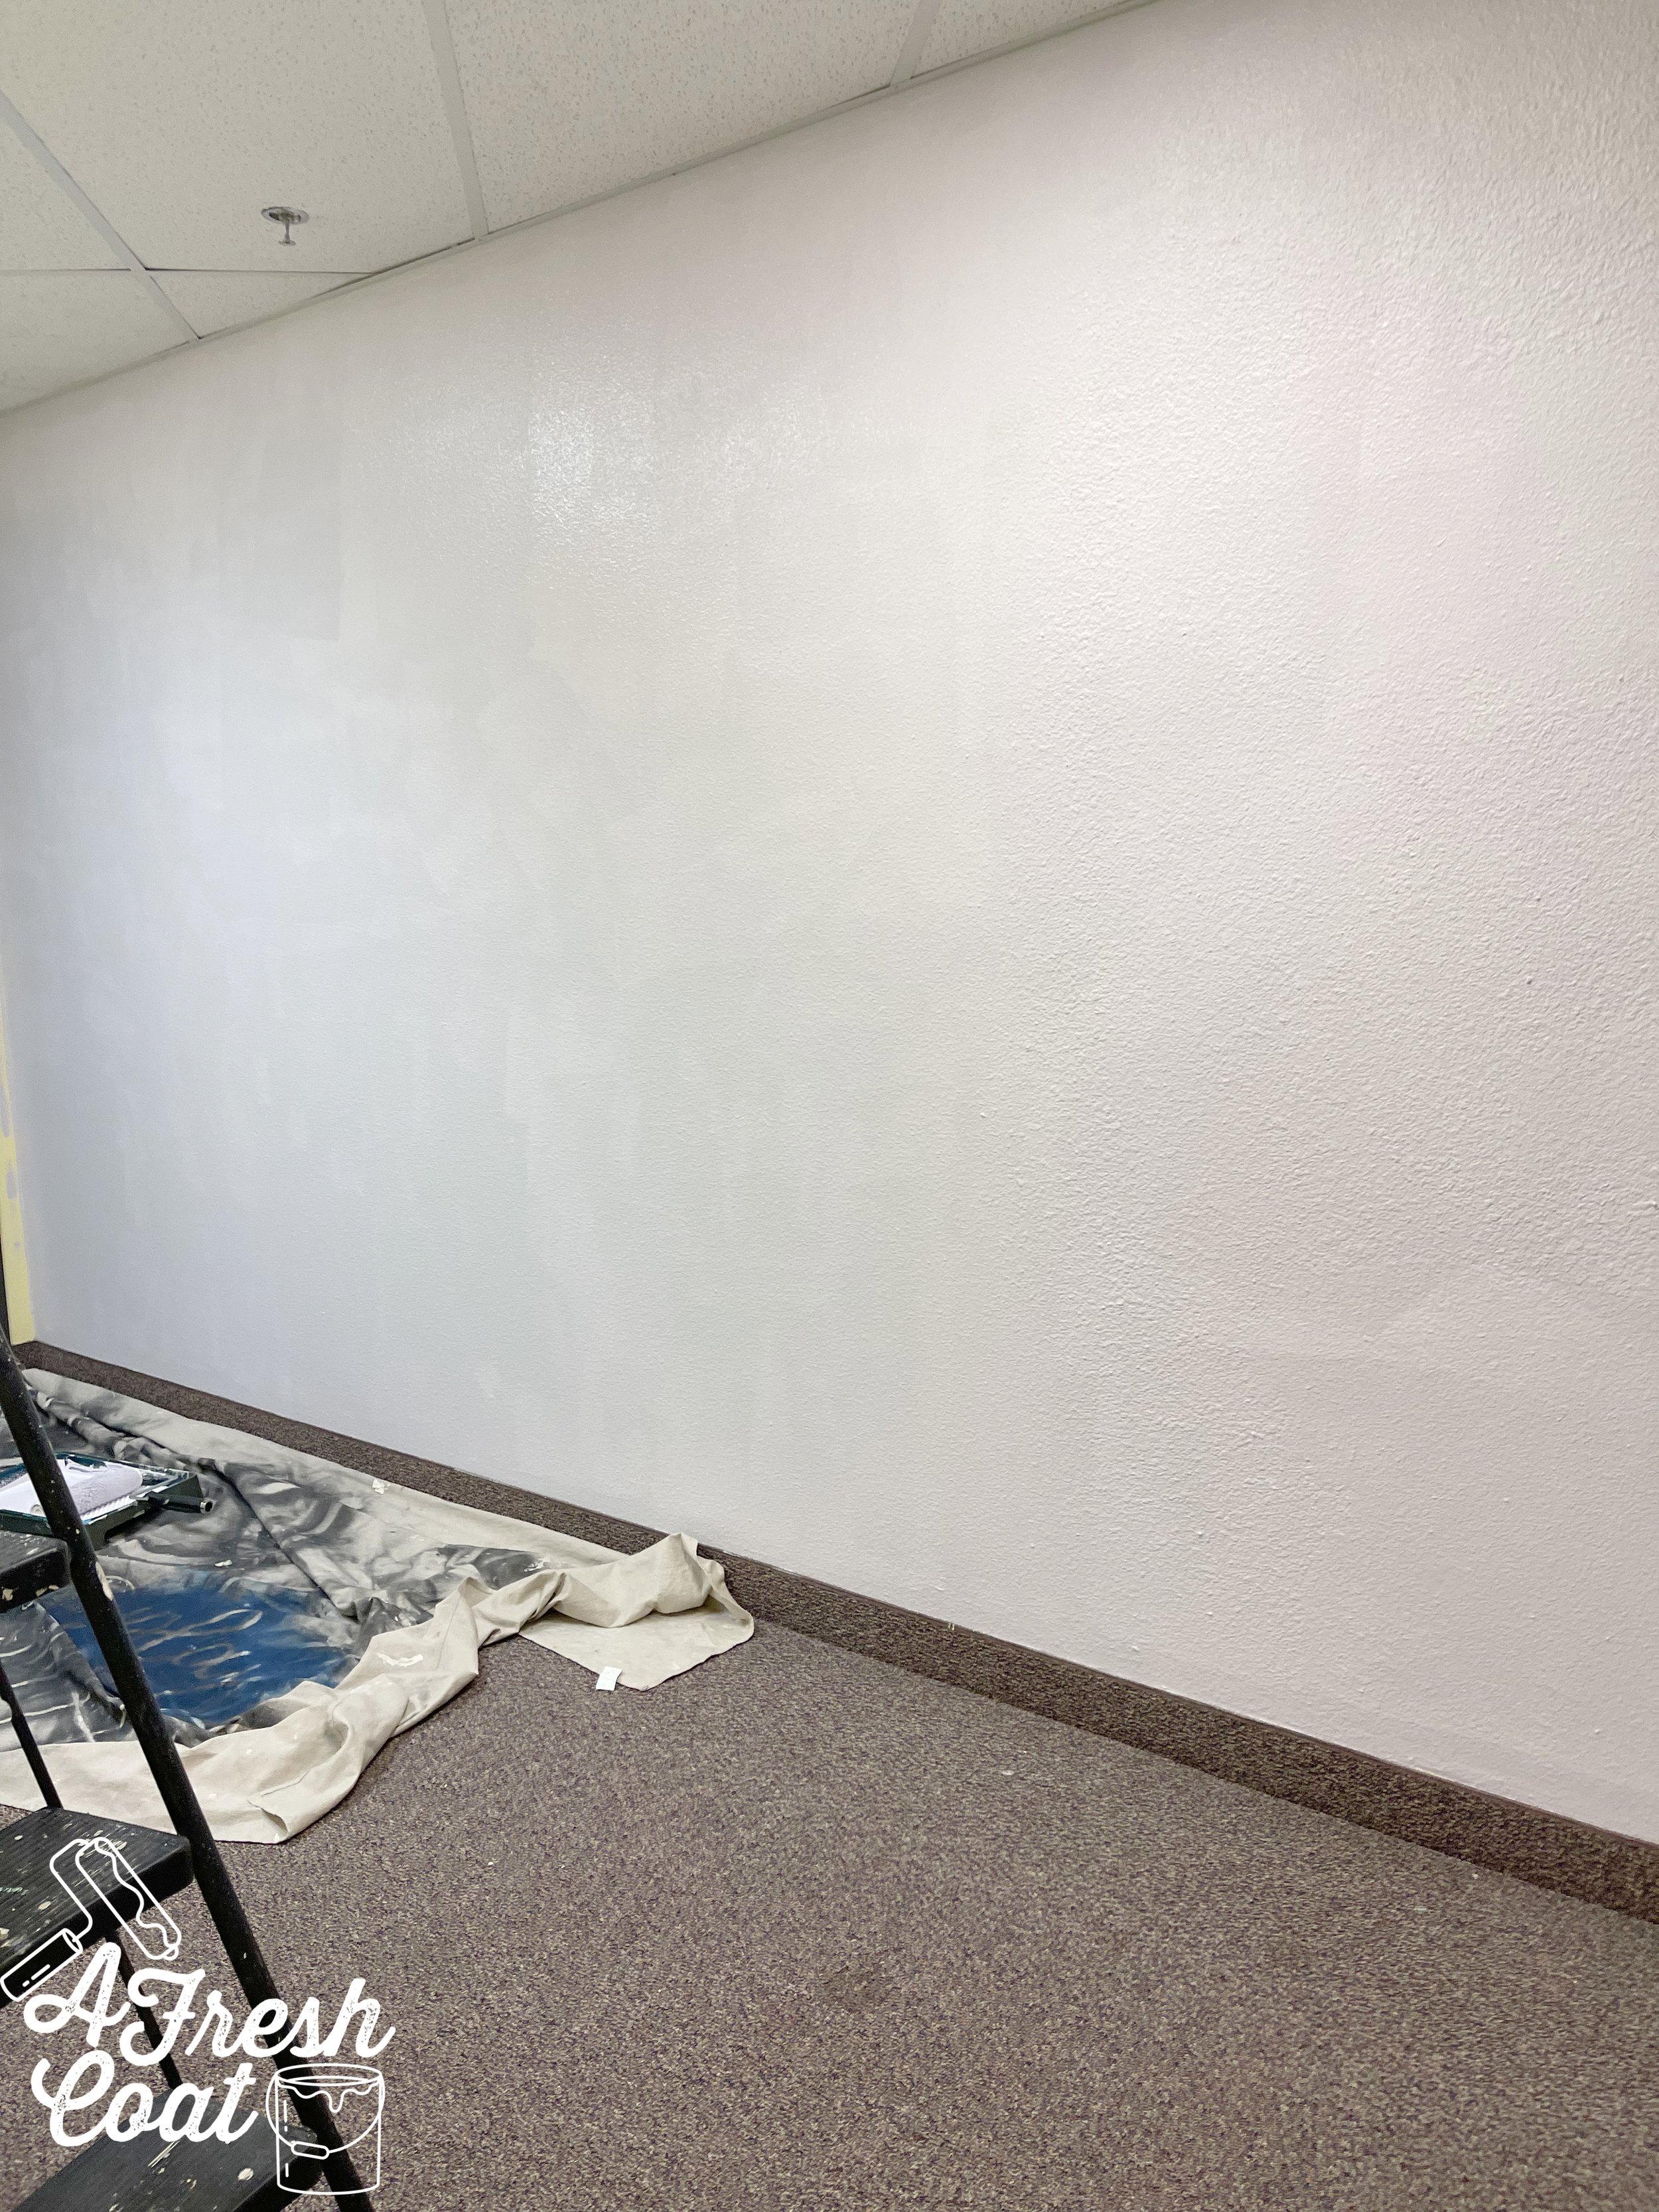
But enough of that, here is where we started:
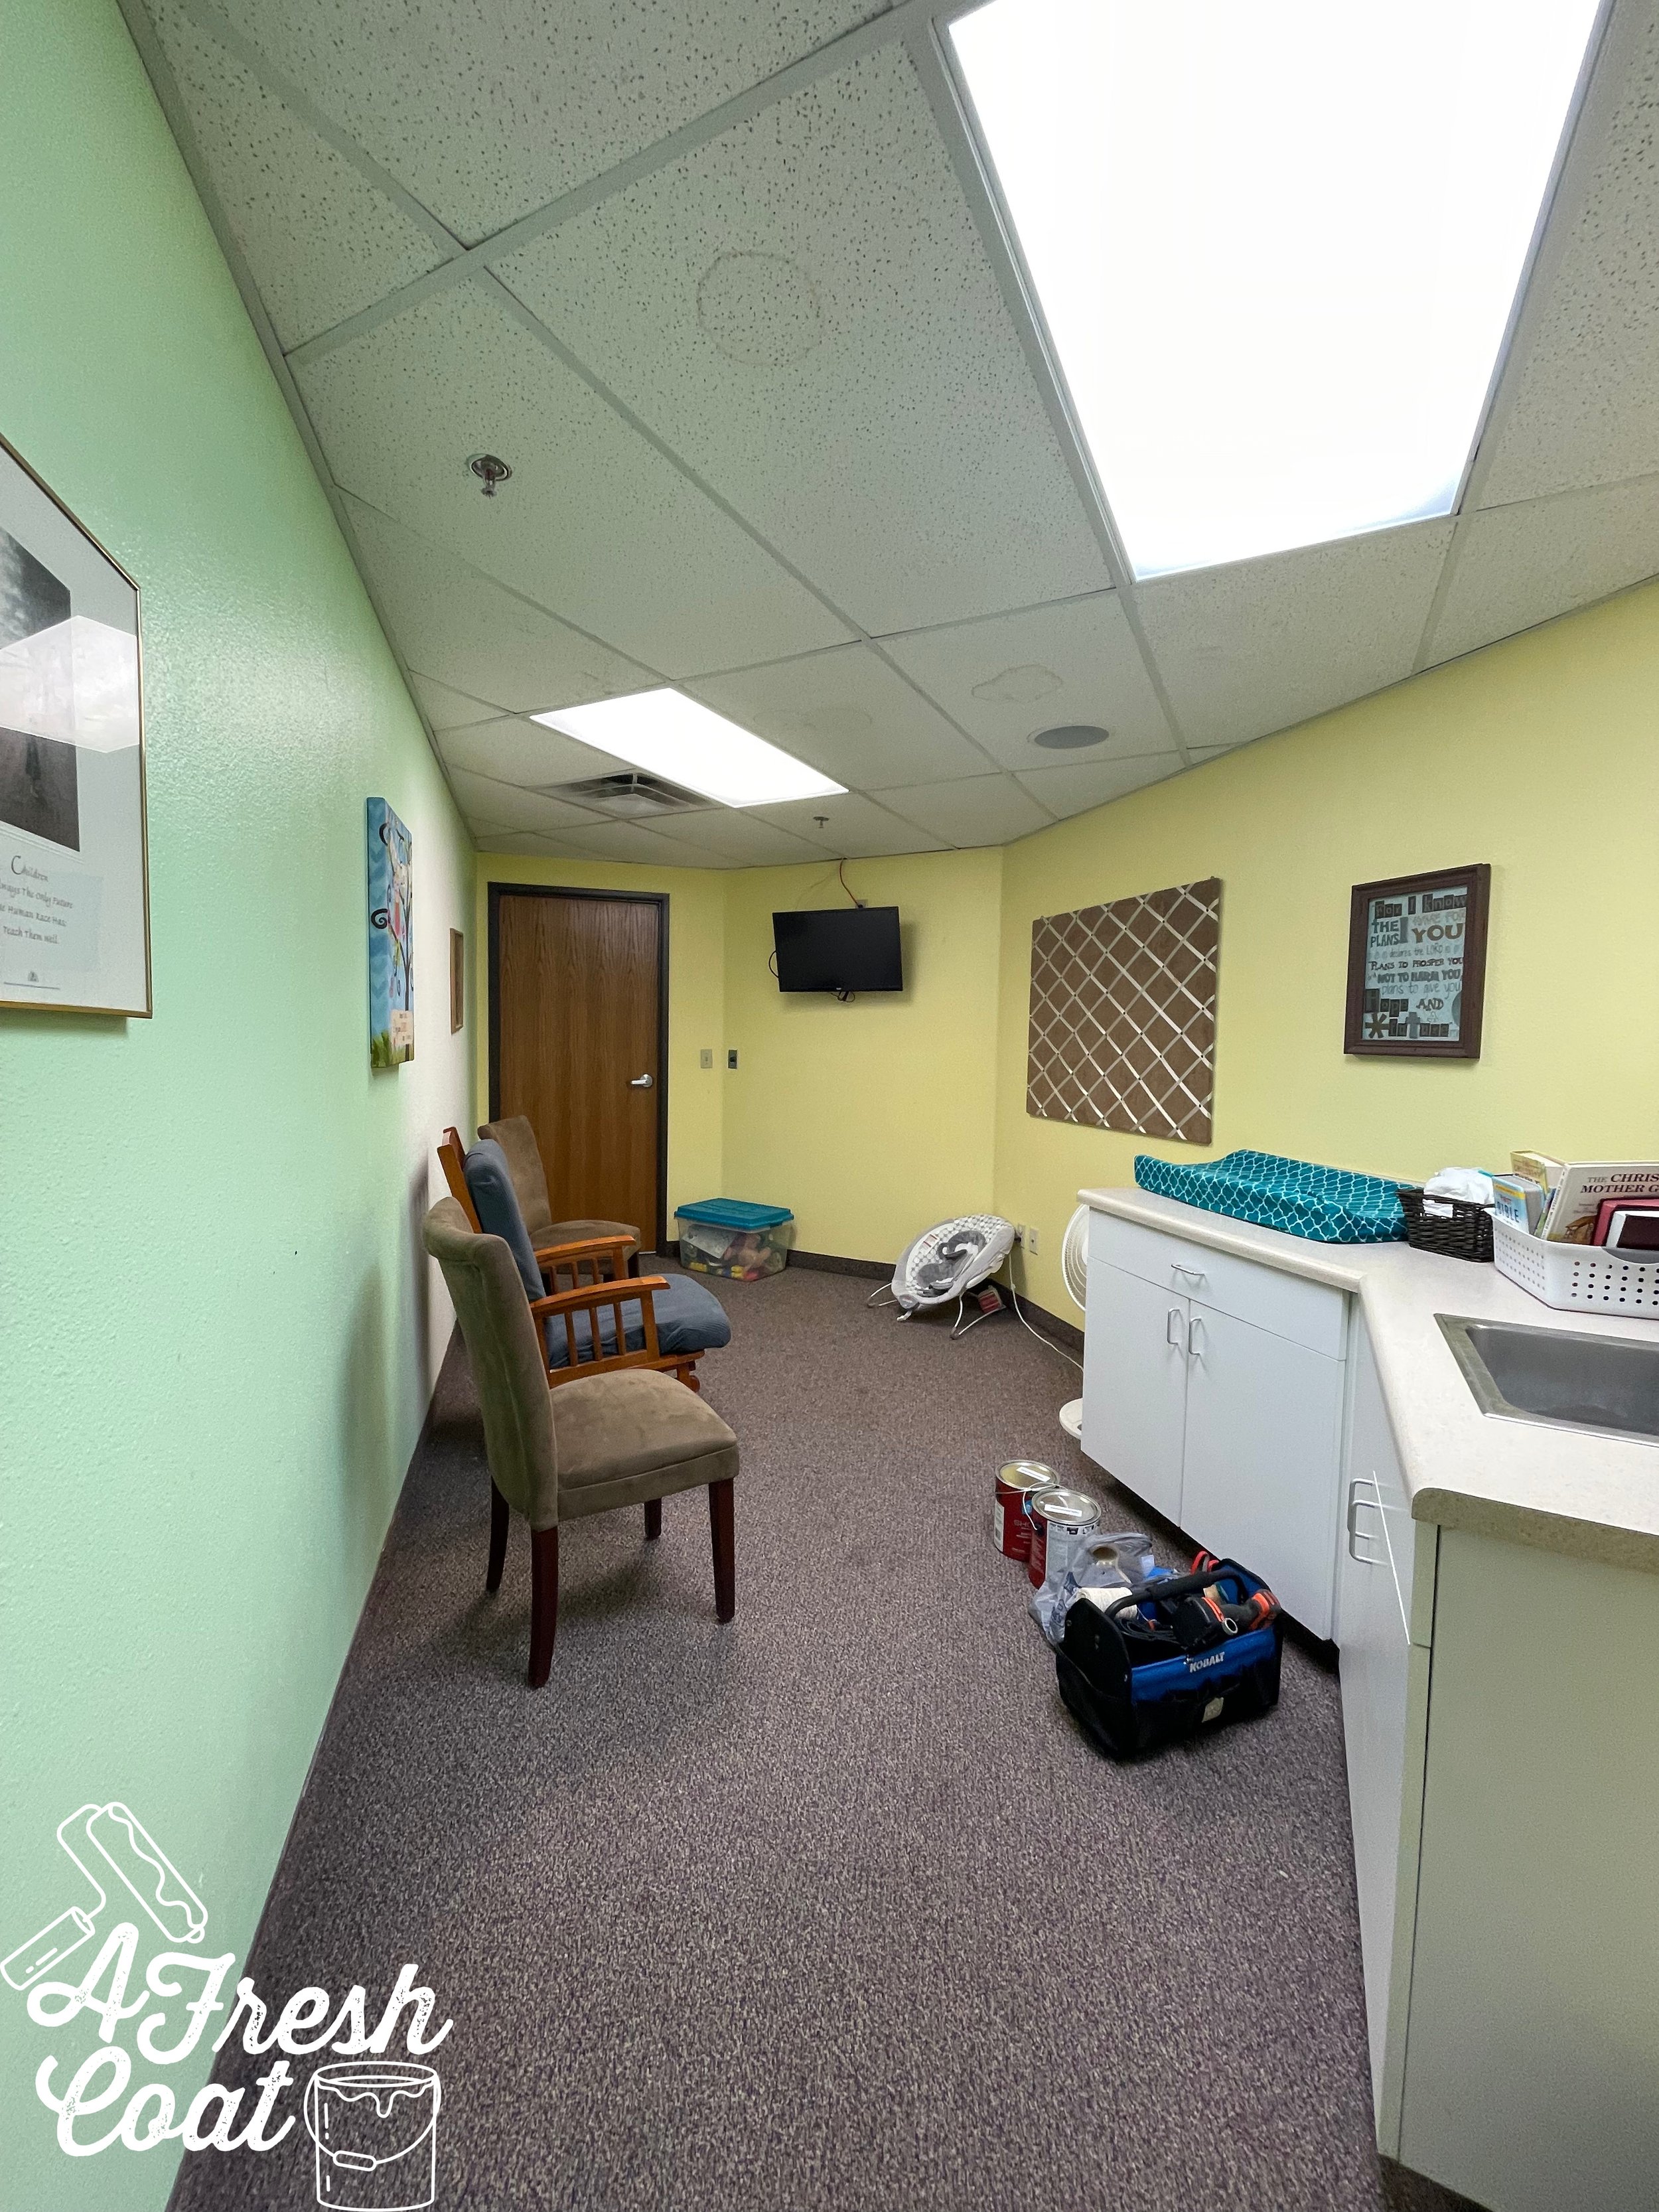
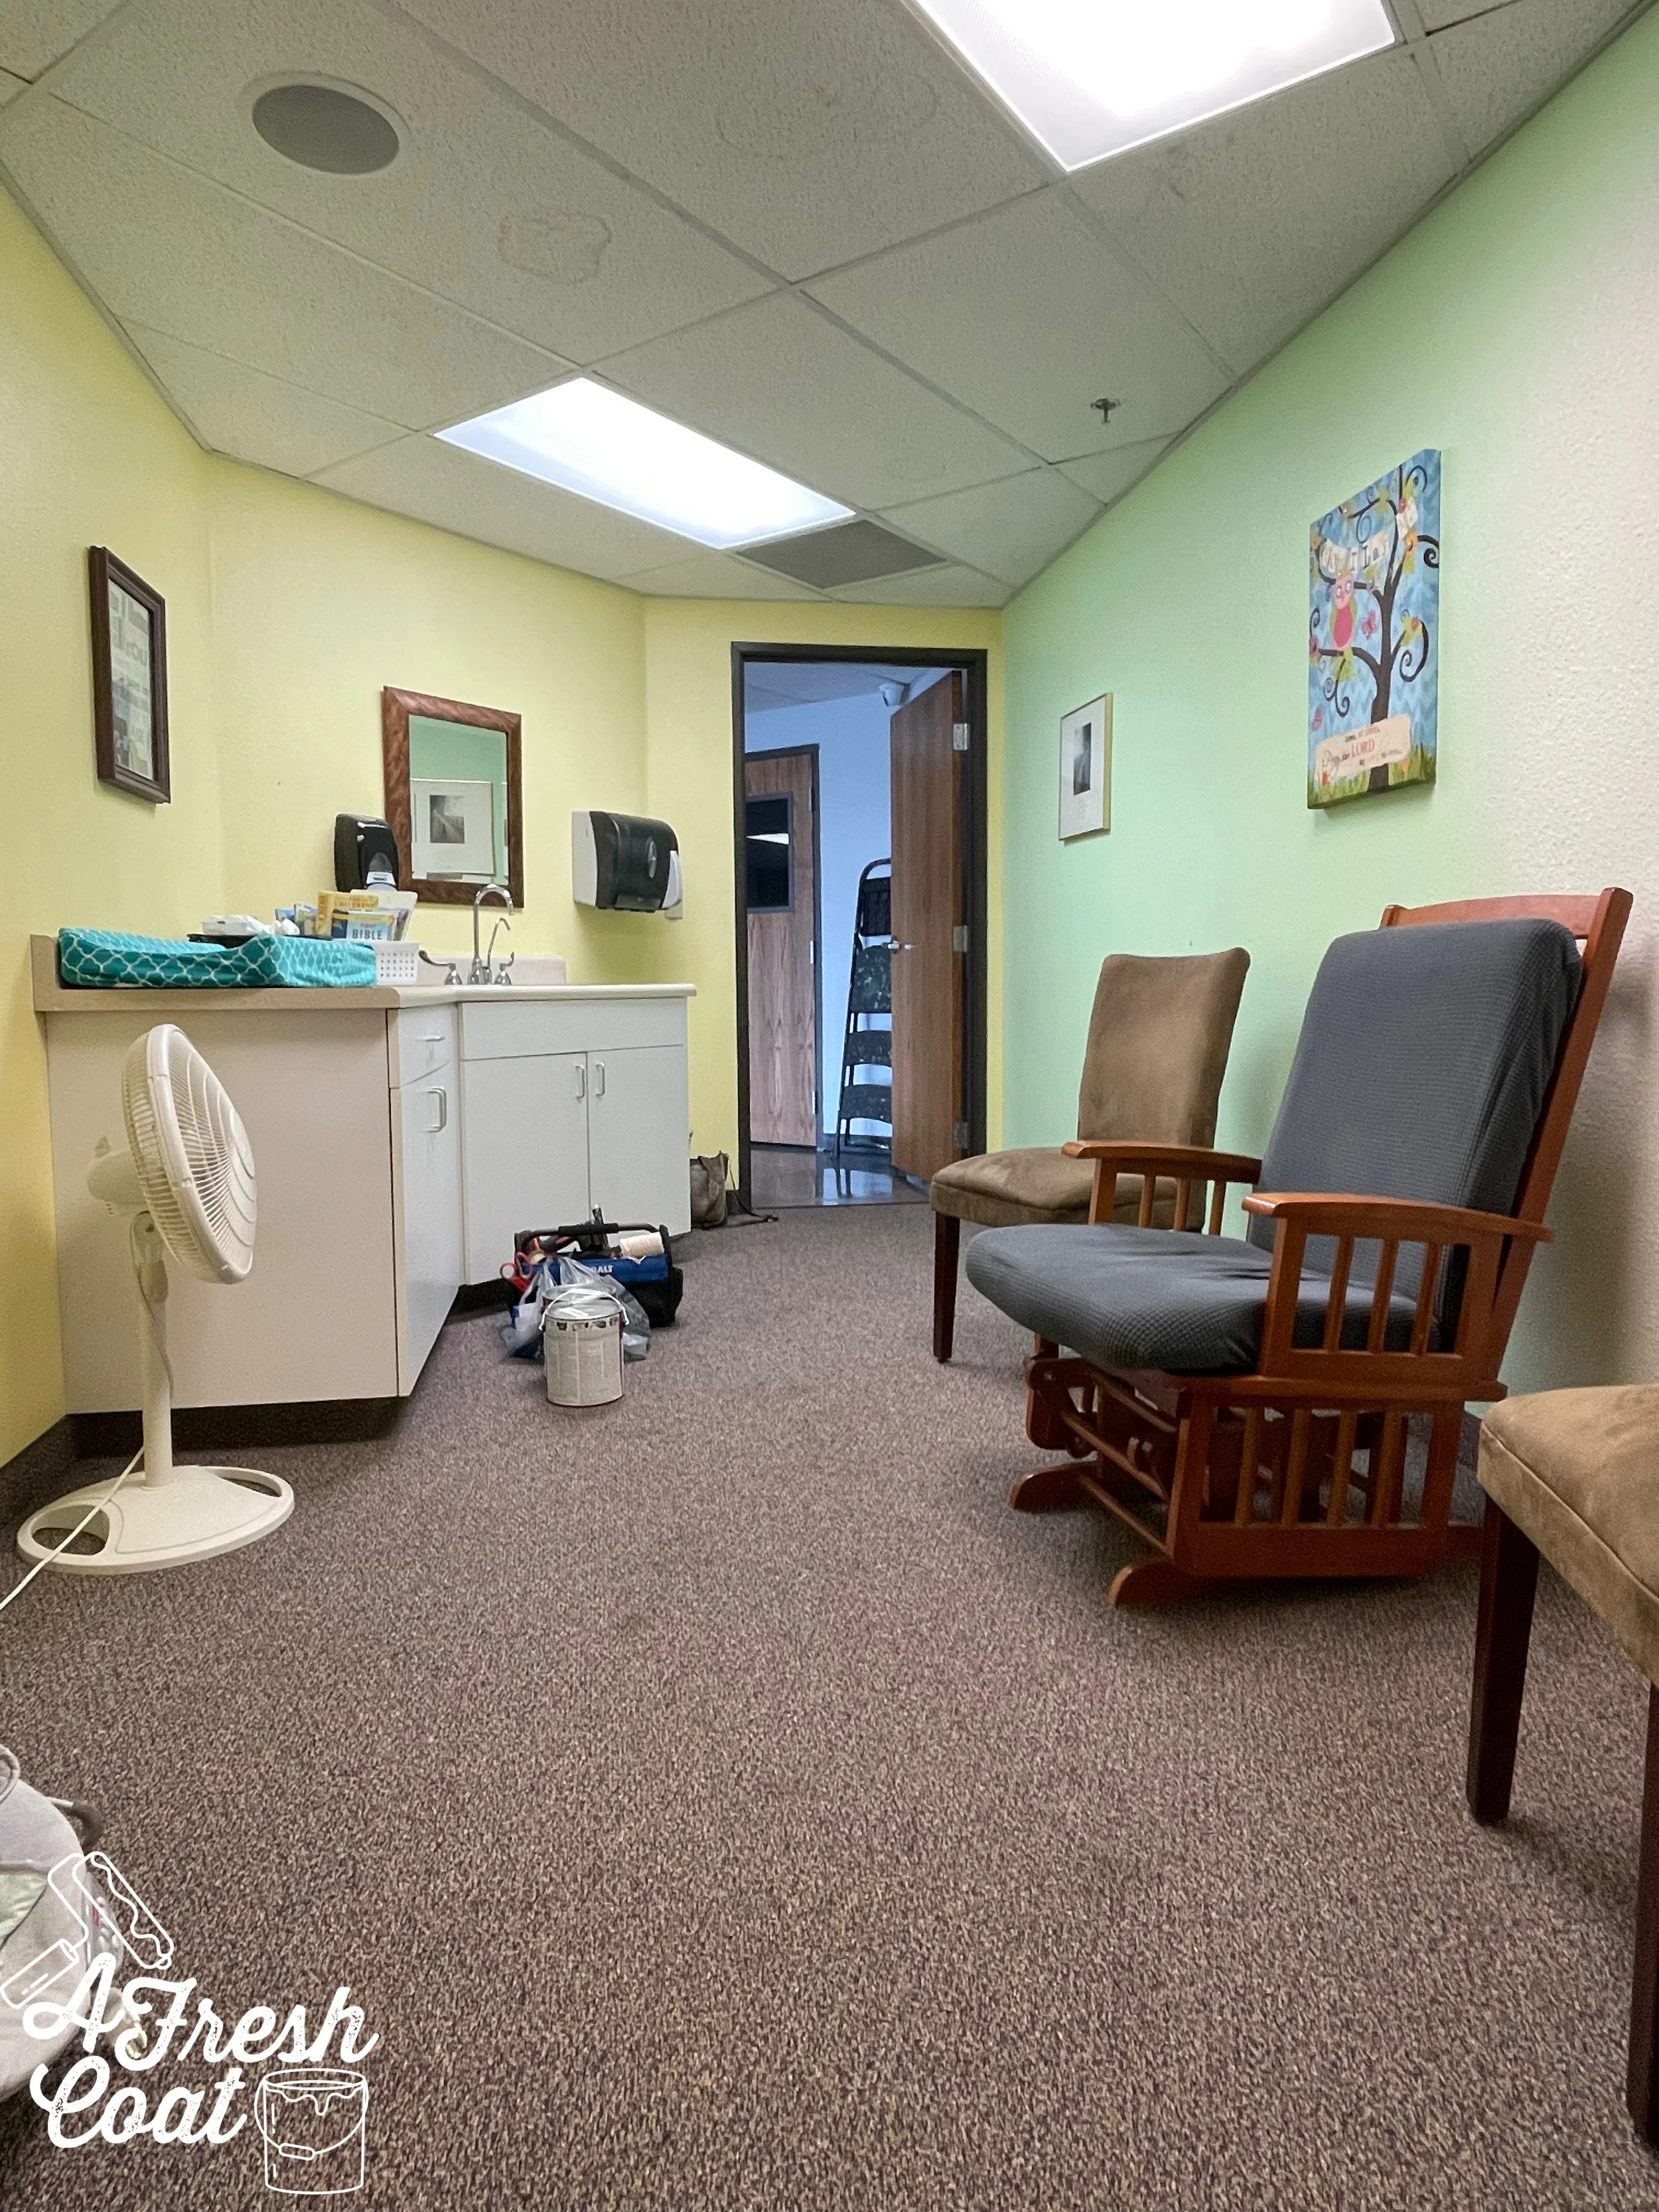
Okay, so by Cry Room standards, this room was totally functional. However, aesthetically speaking, it needed a little help. The green and yellow paint—while gender neutral—wasn’t calming. And even though the furniture served a purpose, it lacked in style.
But all that was about to change.
Cue the vision boards.

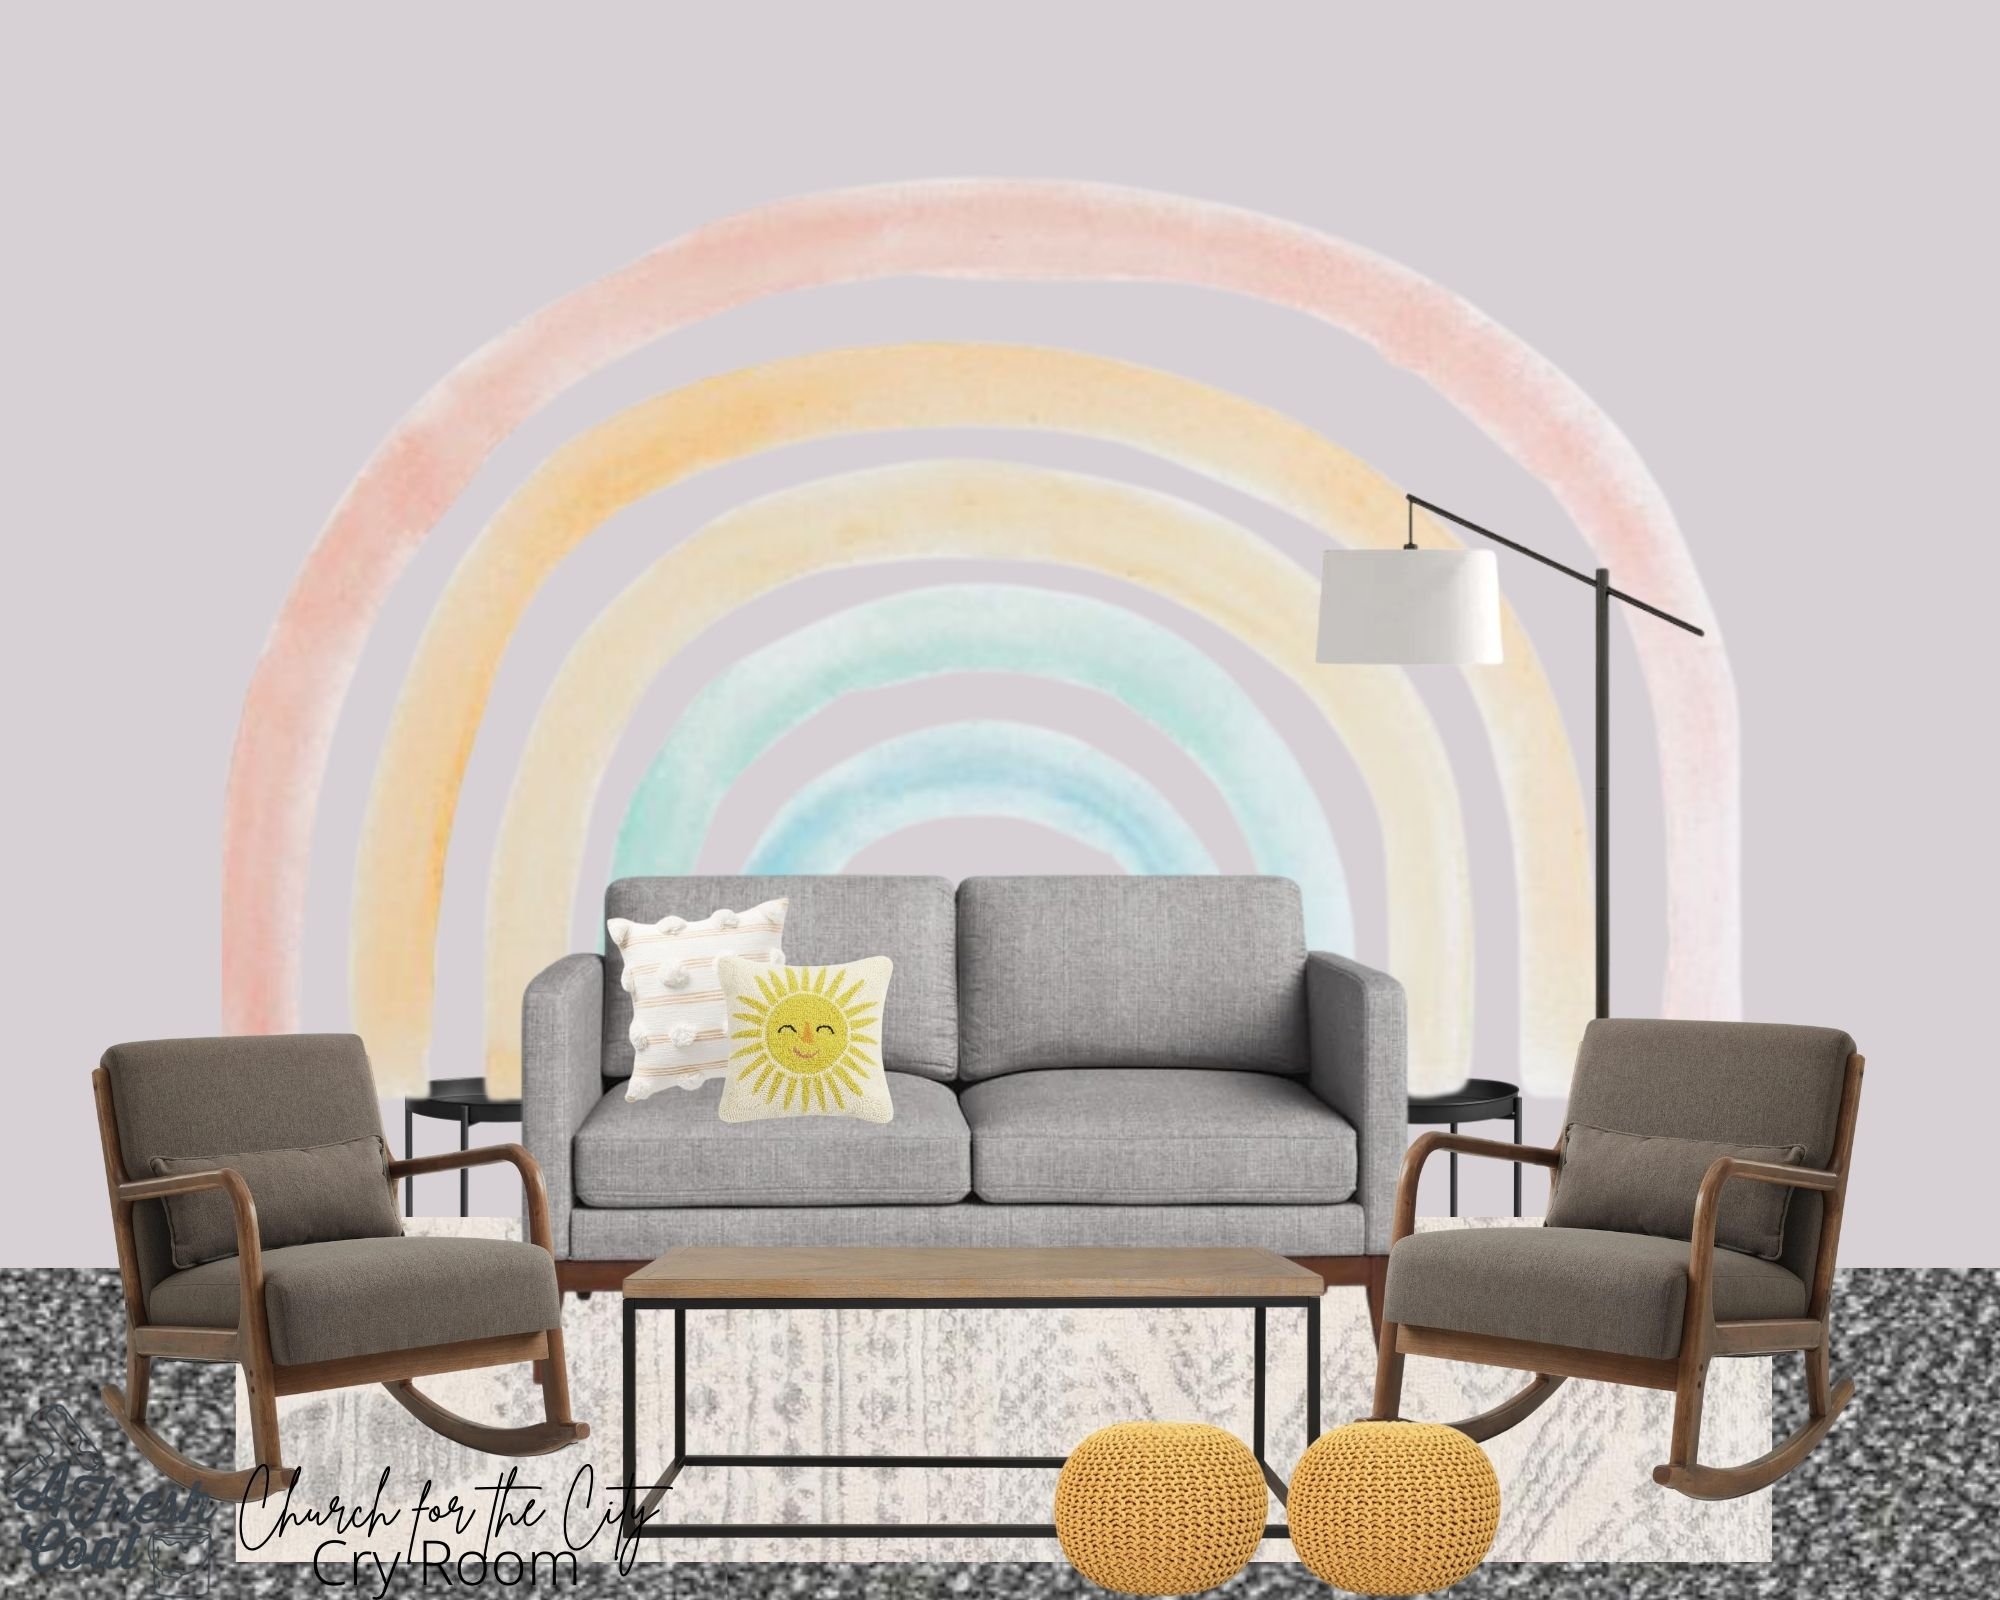
For this specific space, I created two vision boards simply because there were two different directions we could go: Rainbows or Sunshine.
When I posted these options on the ‘Gram, the overwhelming majority were in favor of some sunshine, but knowing that the stairwell directly diagonal from this space sported rainbows and kites, I along with the church Kids Director agreed—rainbows it would be.
So I got to work.
The base coat of the mural wall became Sherwin Williams Silver Peony while the remainder of the walls got decked out two shades darker in Sherwin Williams Grape Mist. The goal was to provide a greyish-lavendar base prior to all that color coming in…
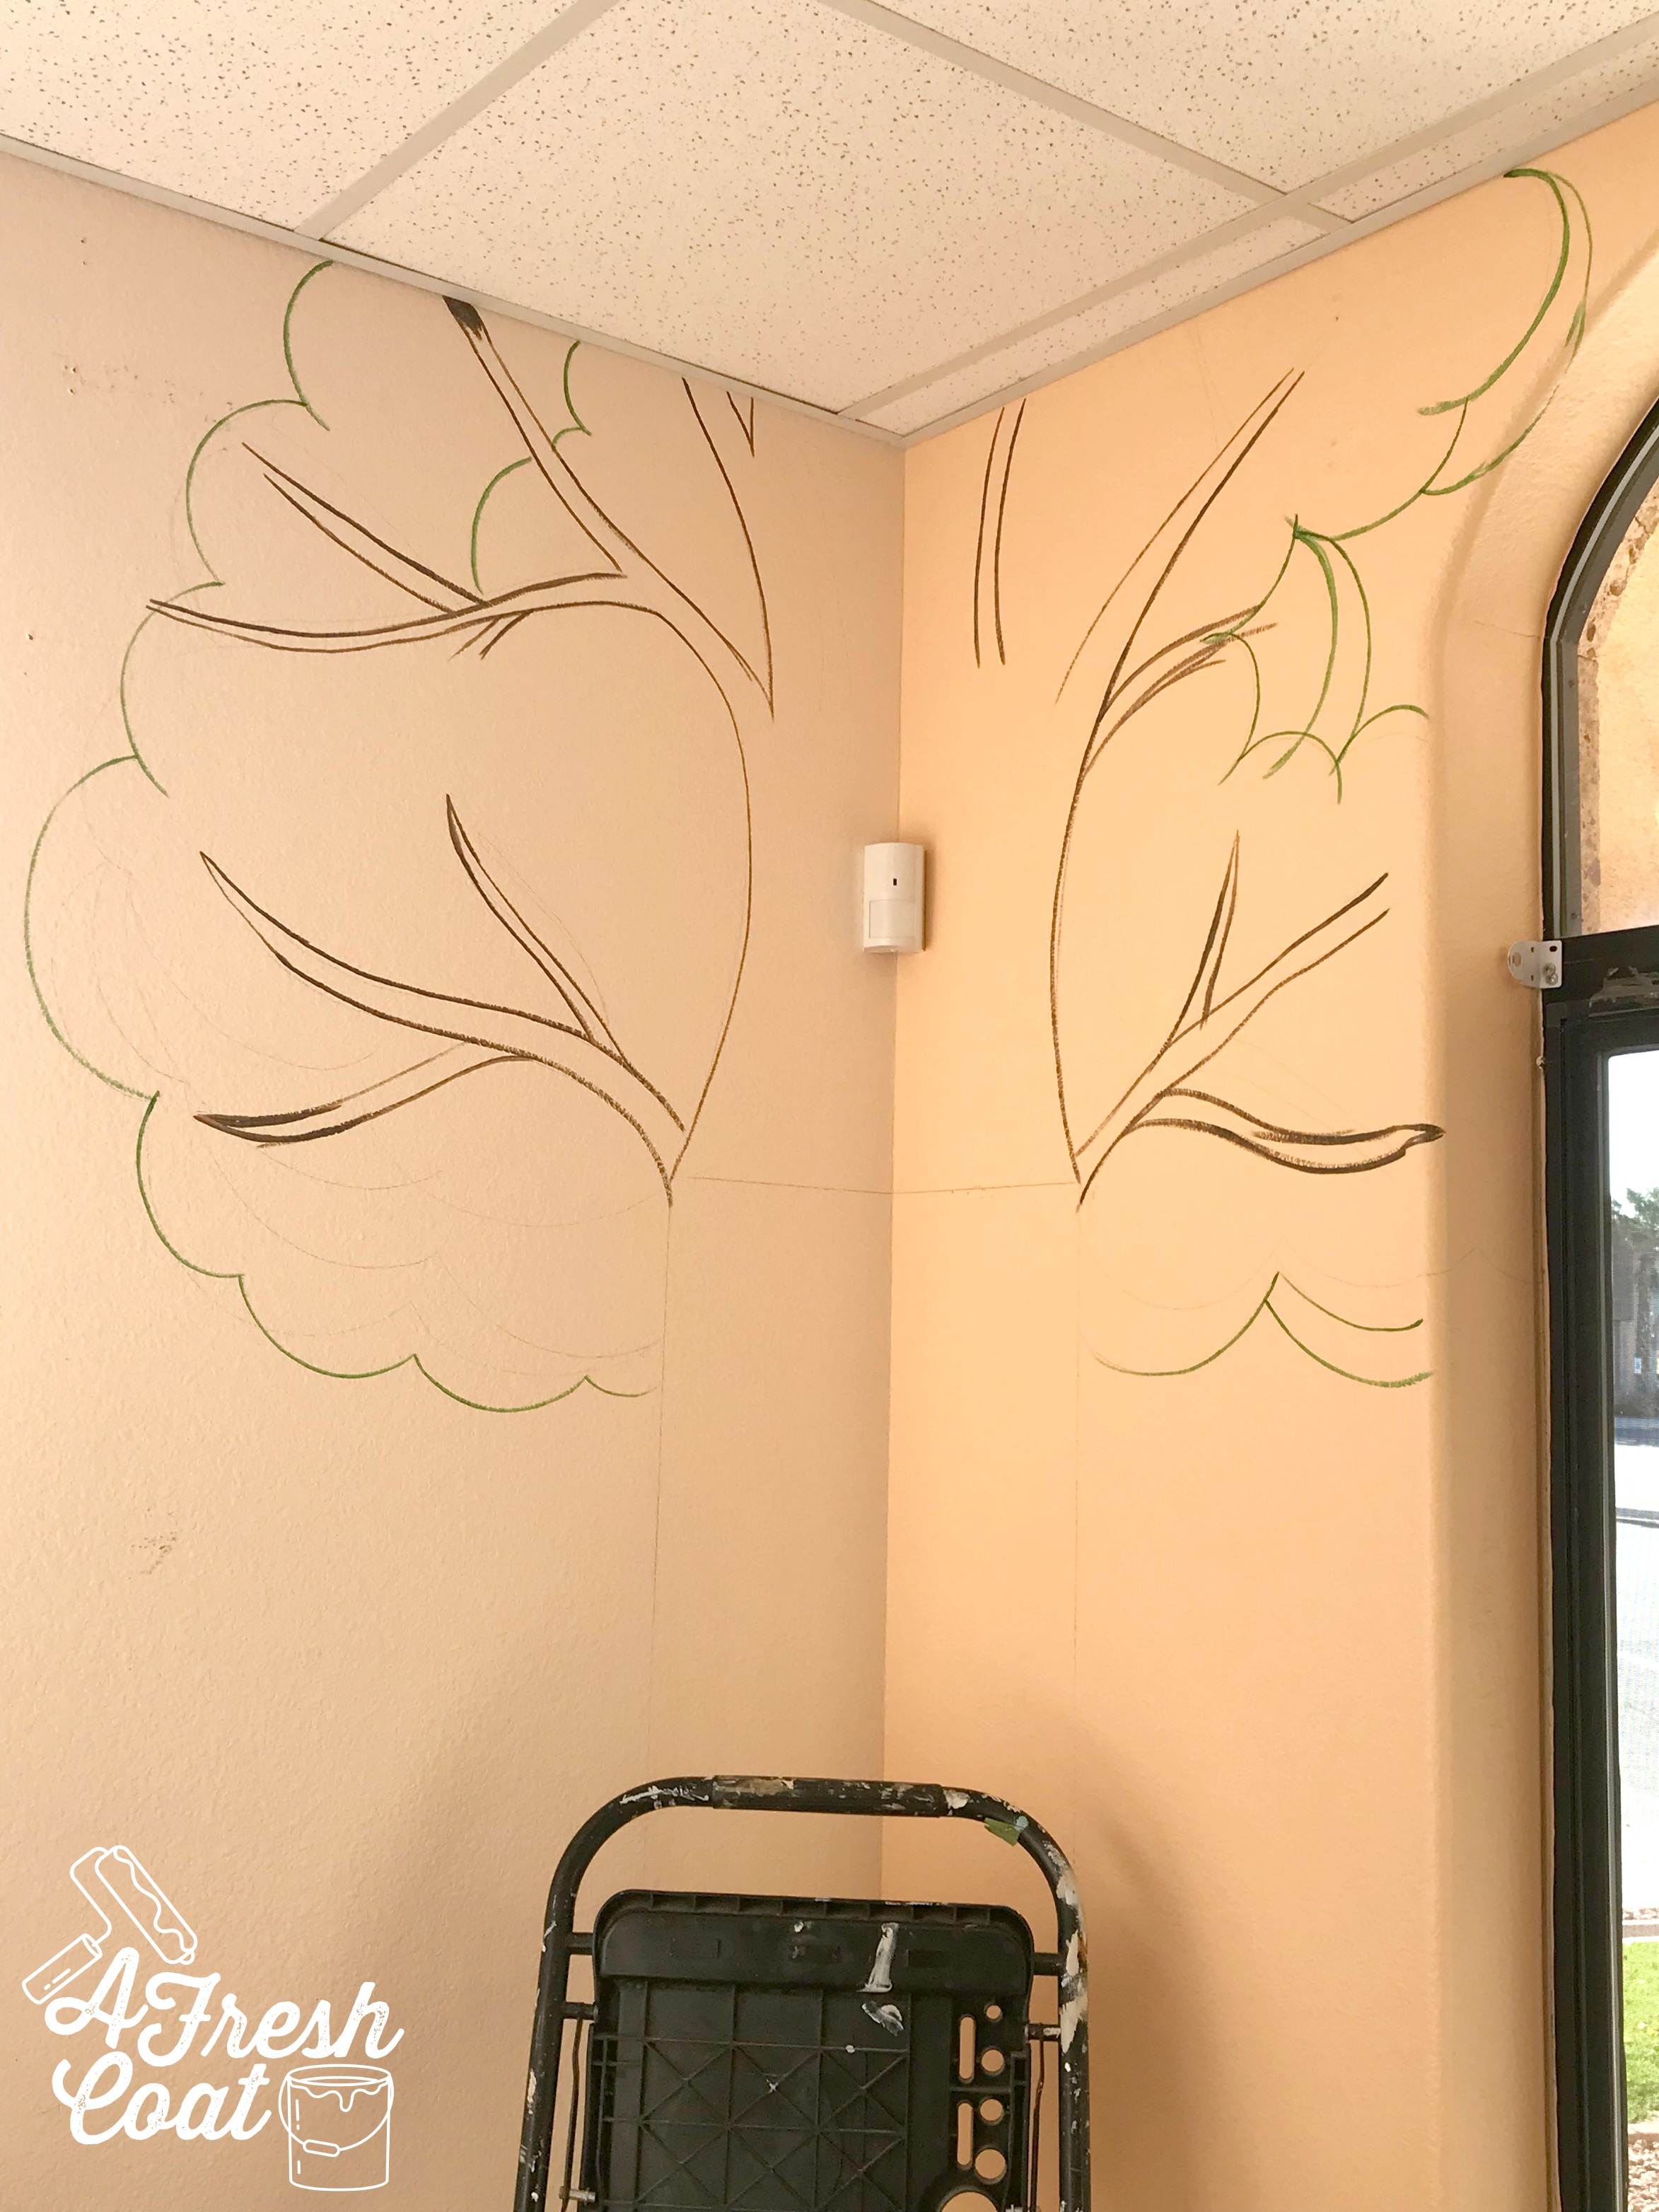
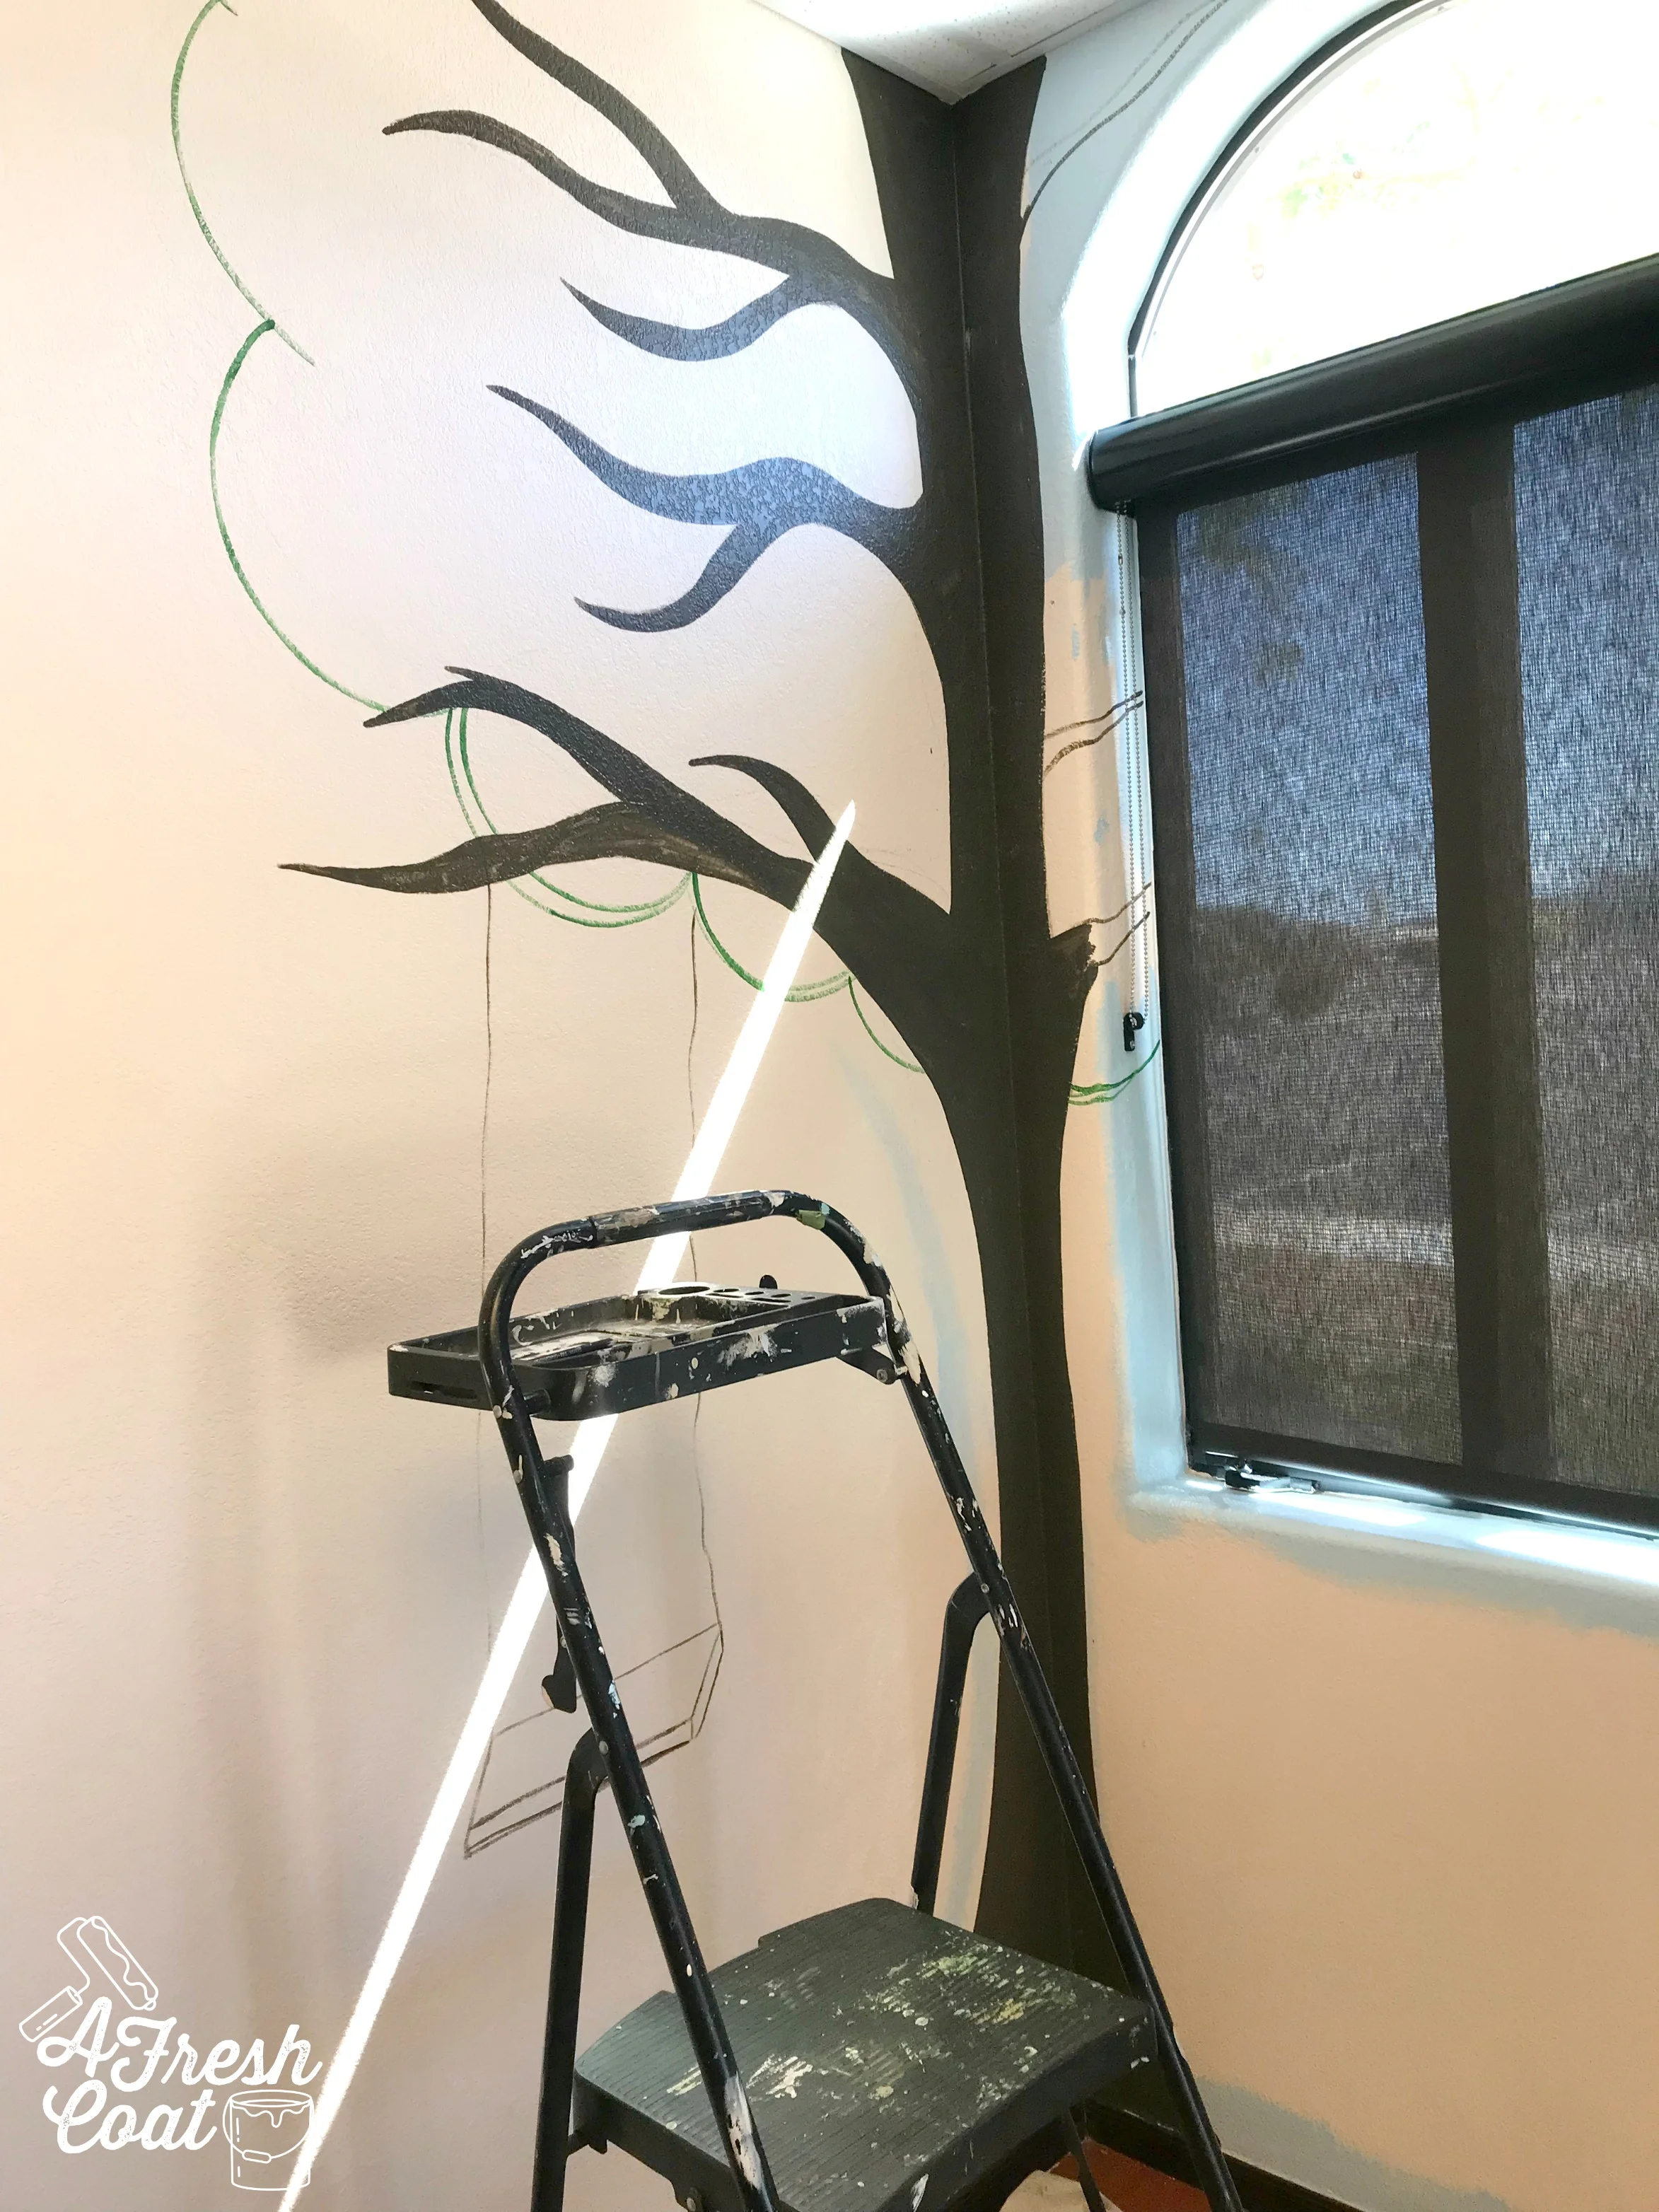
Once the base coat was painted and dried, it was time to start the mural.
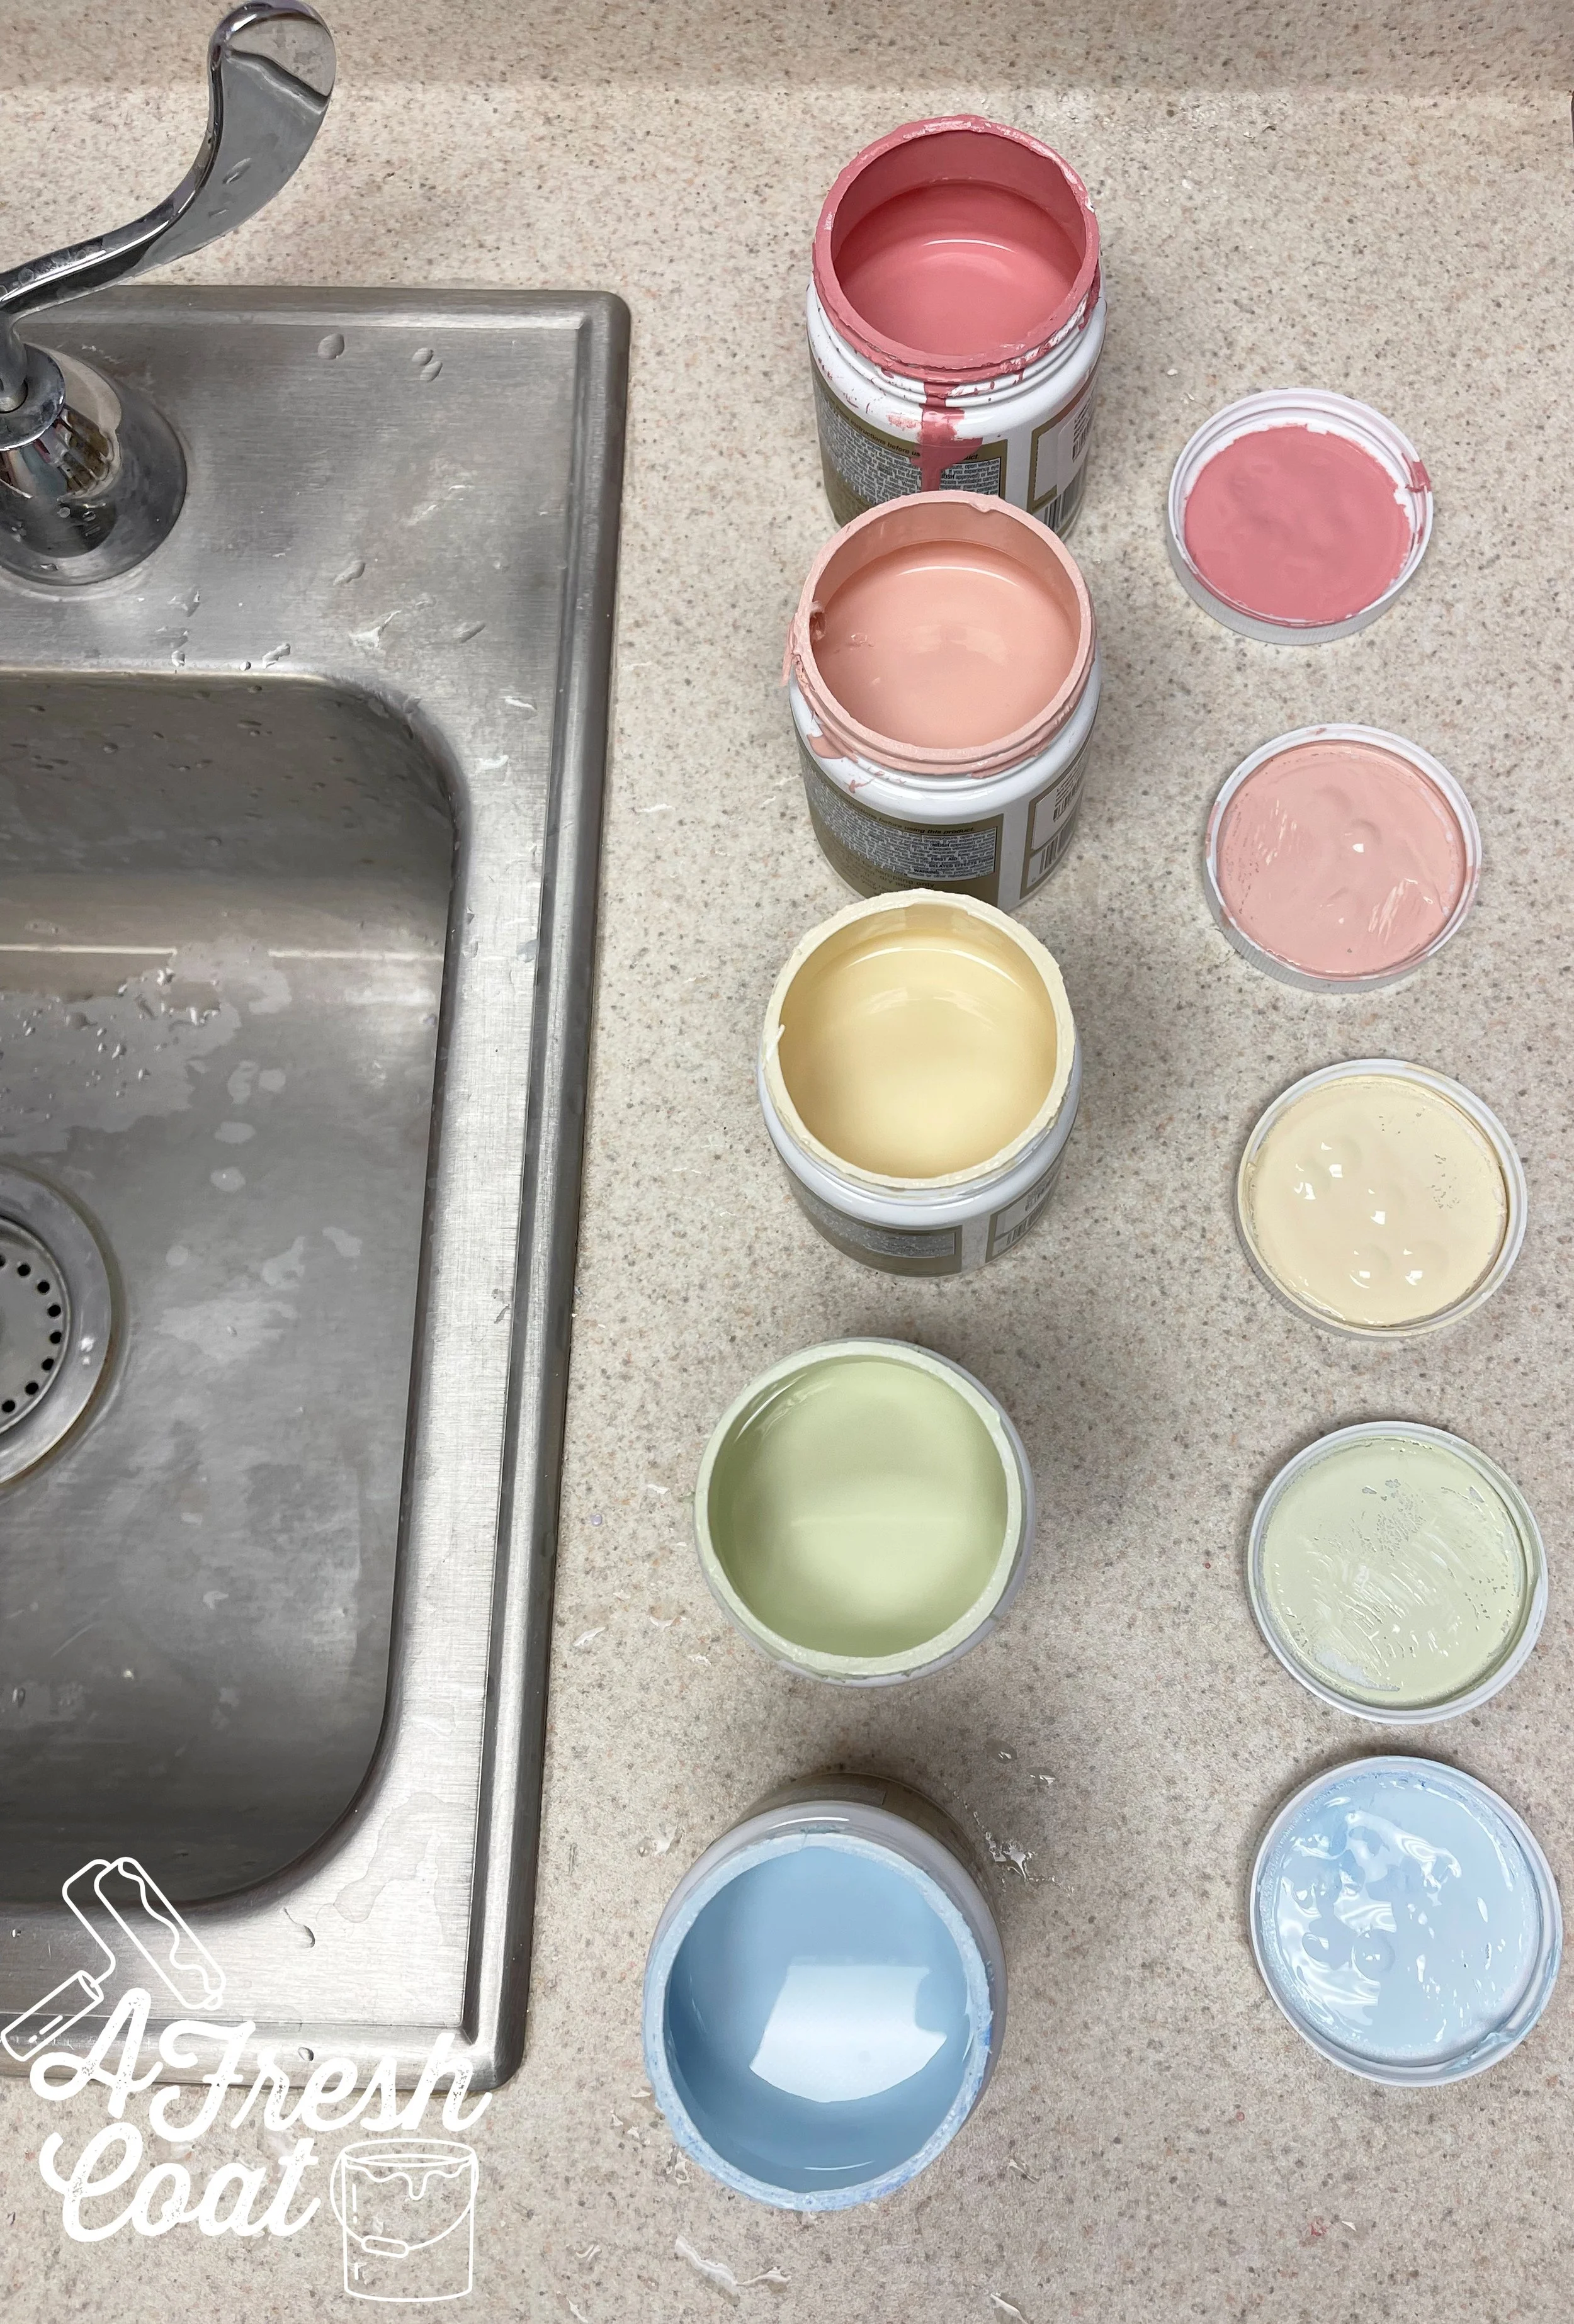
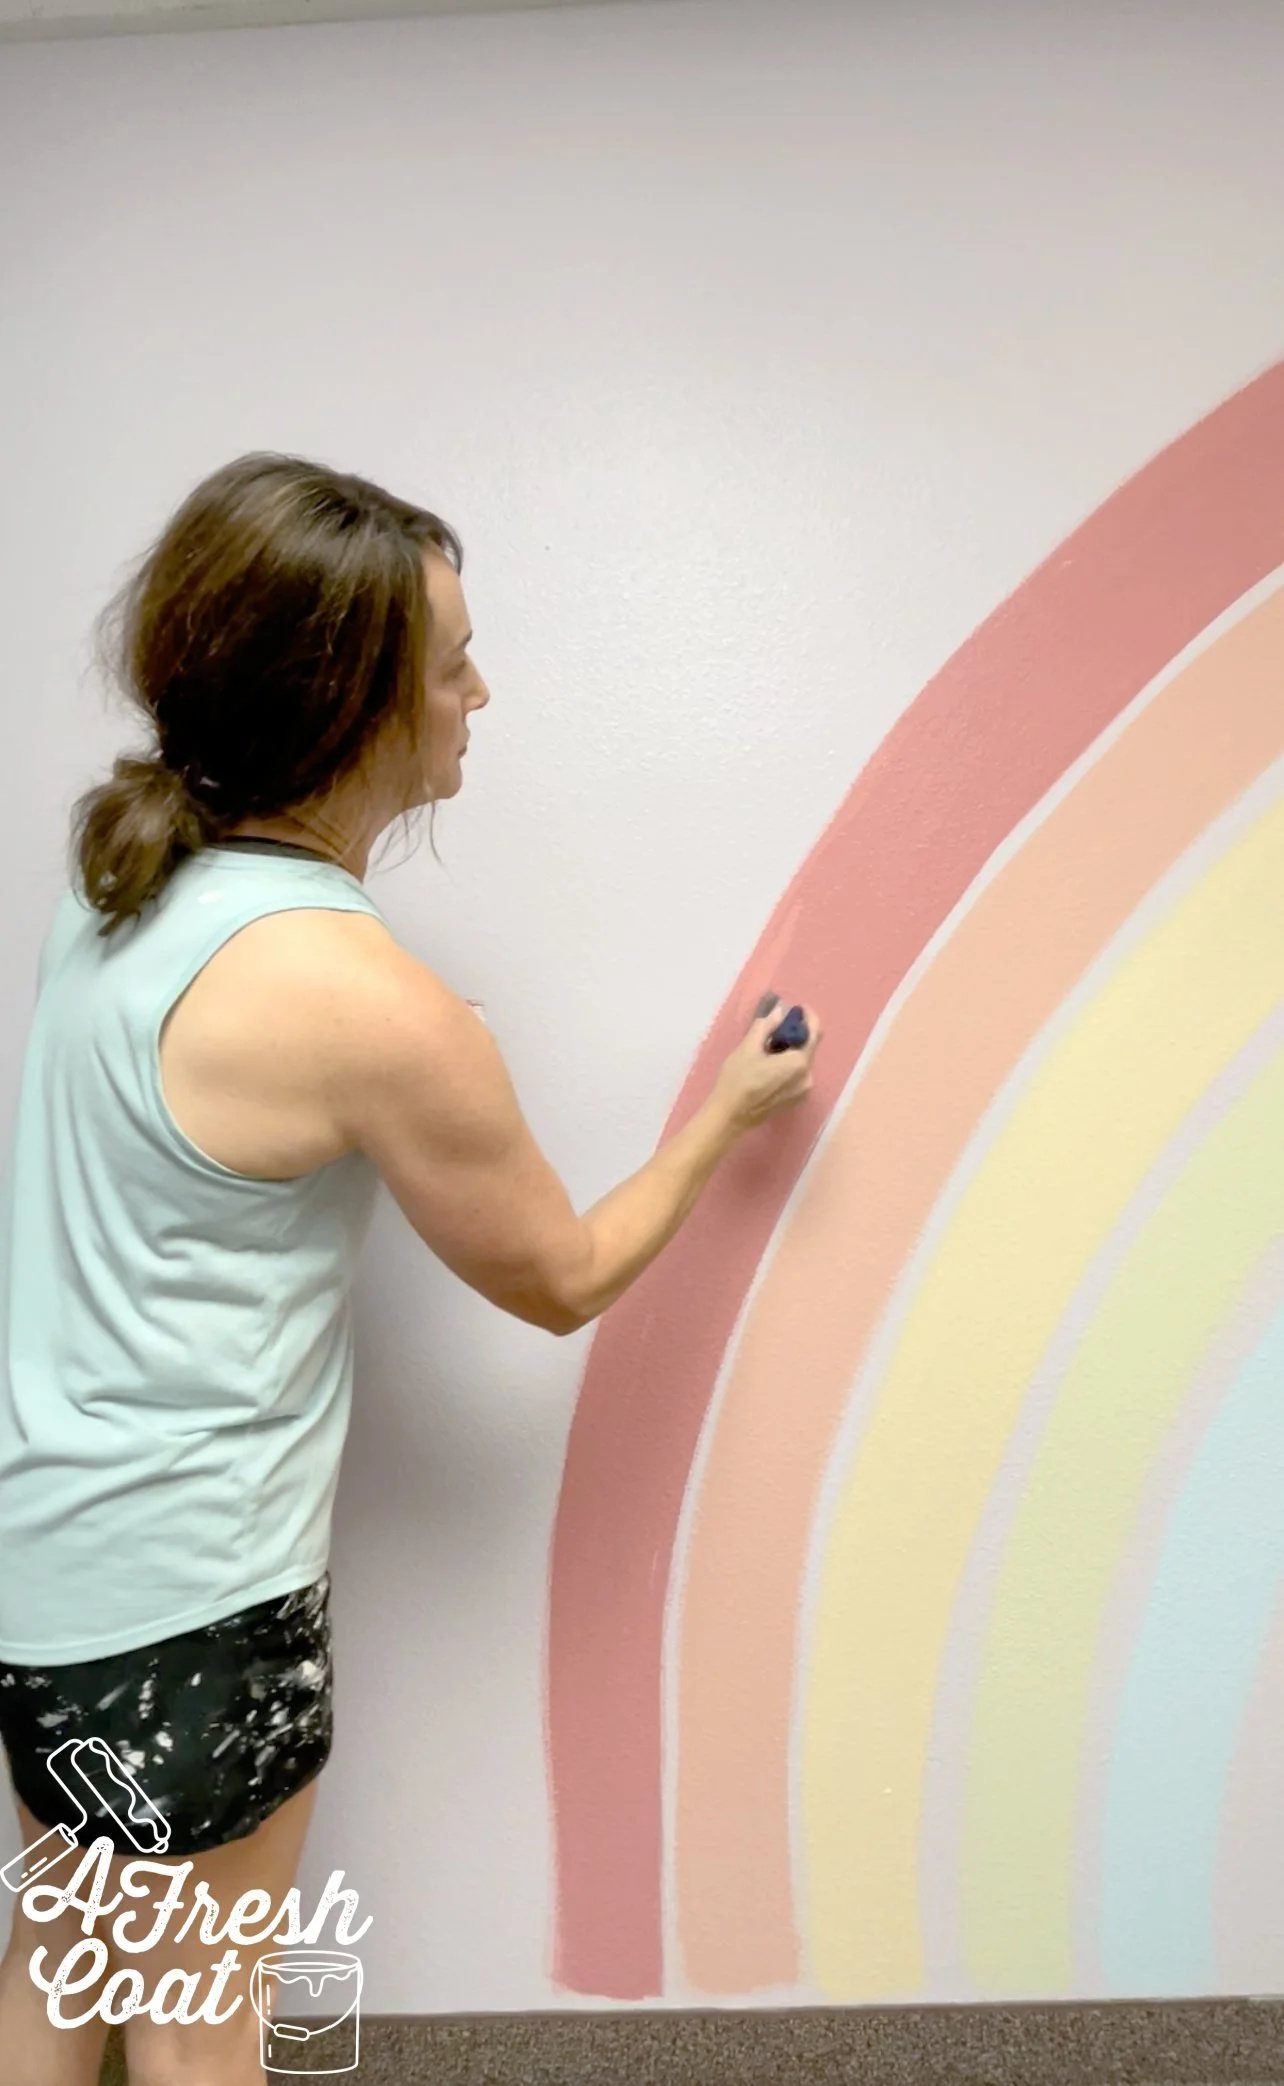
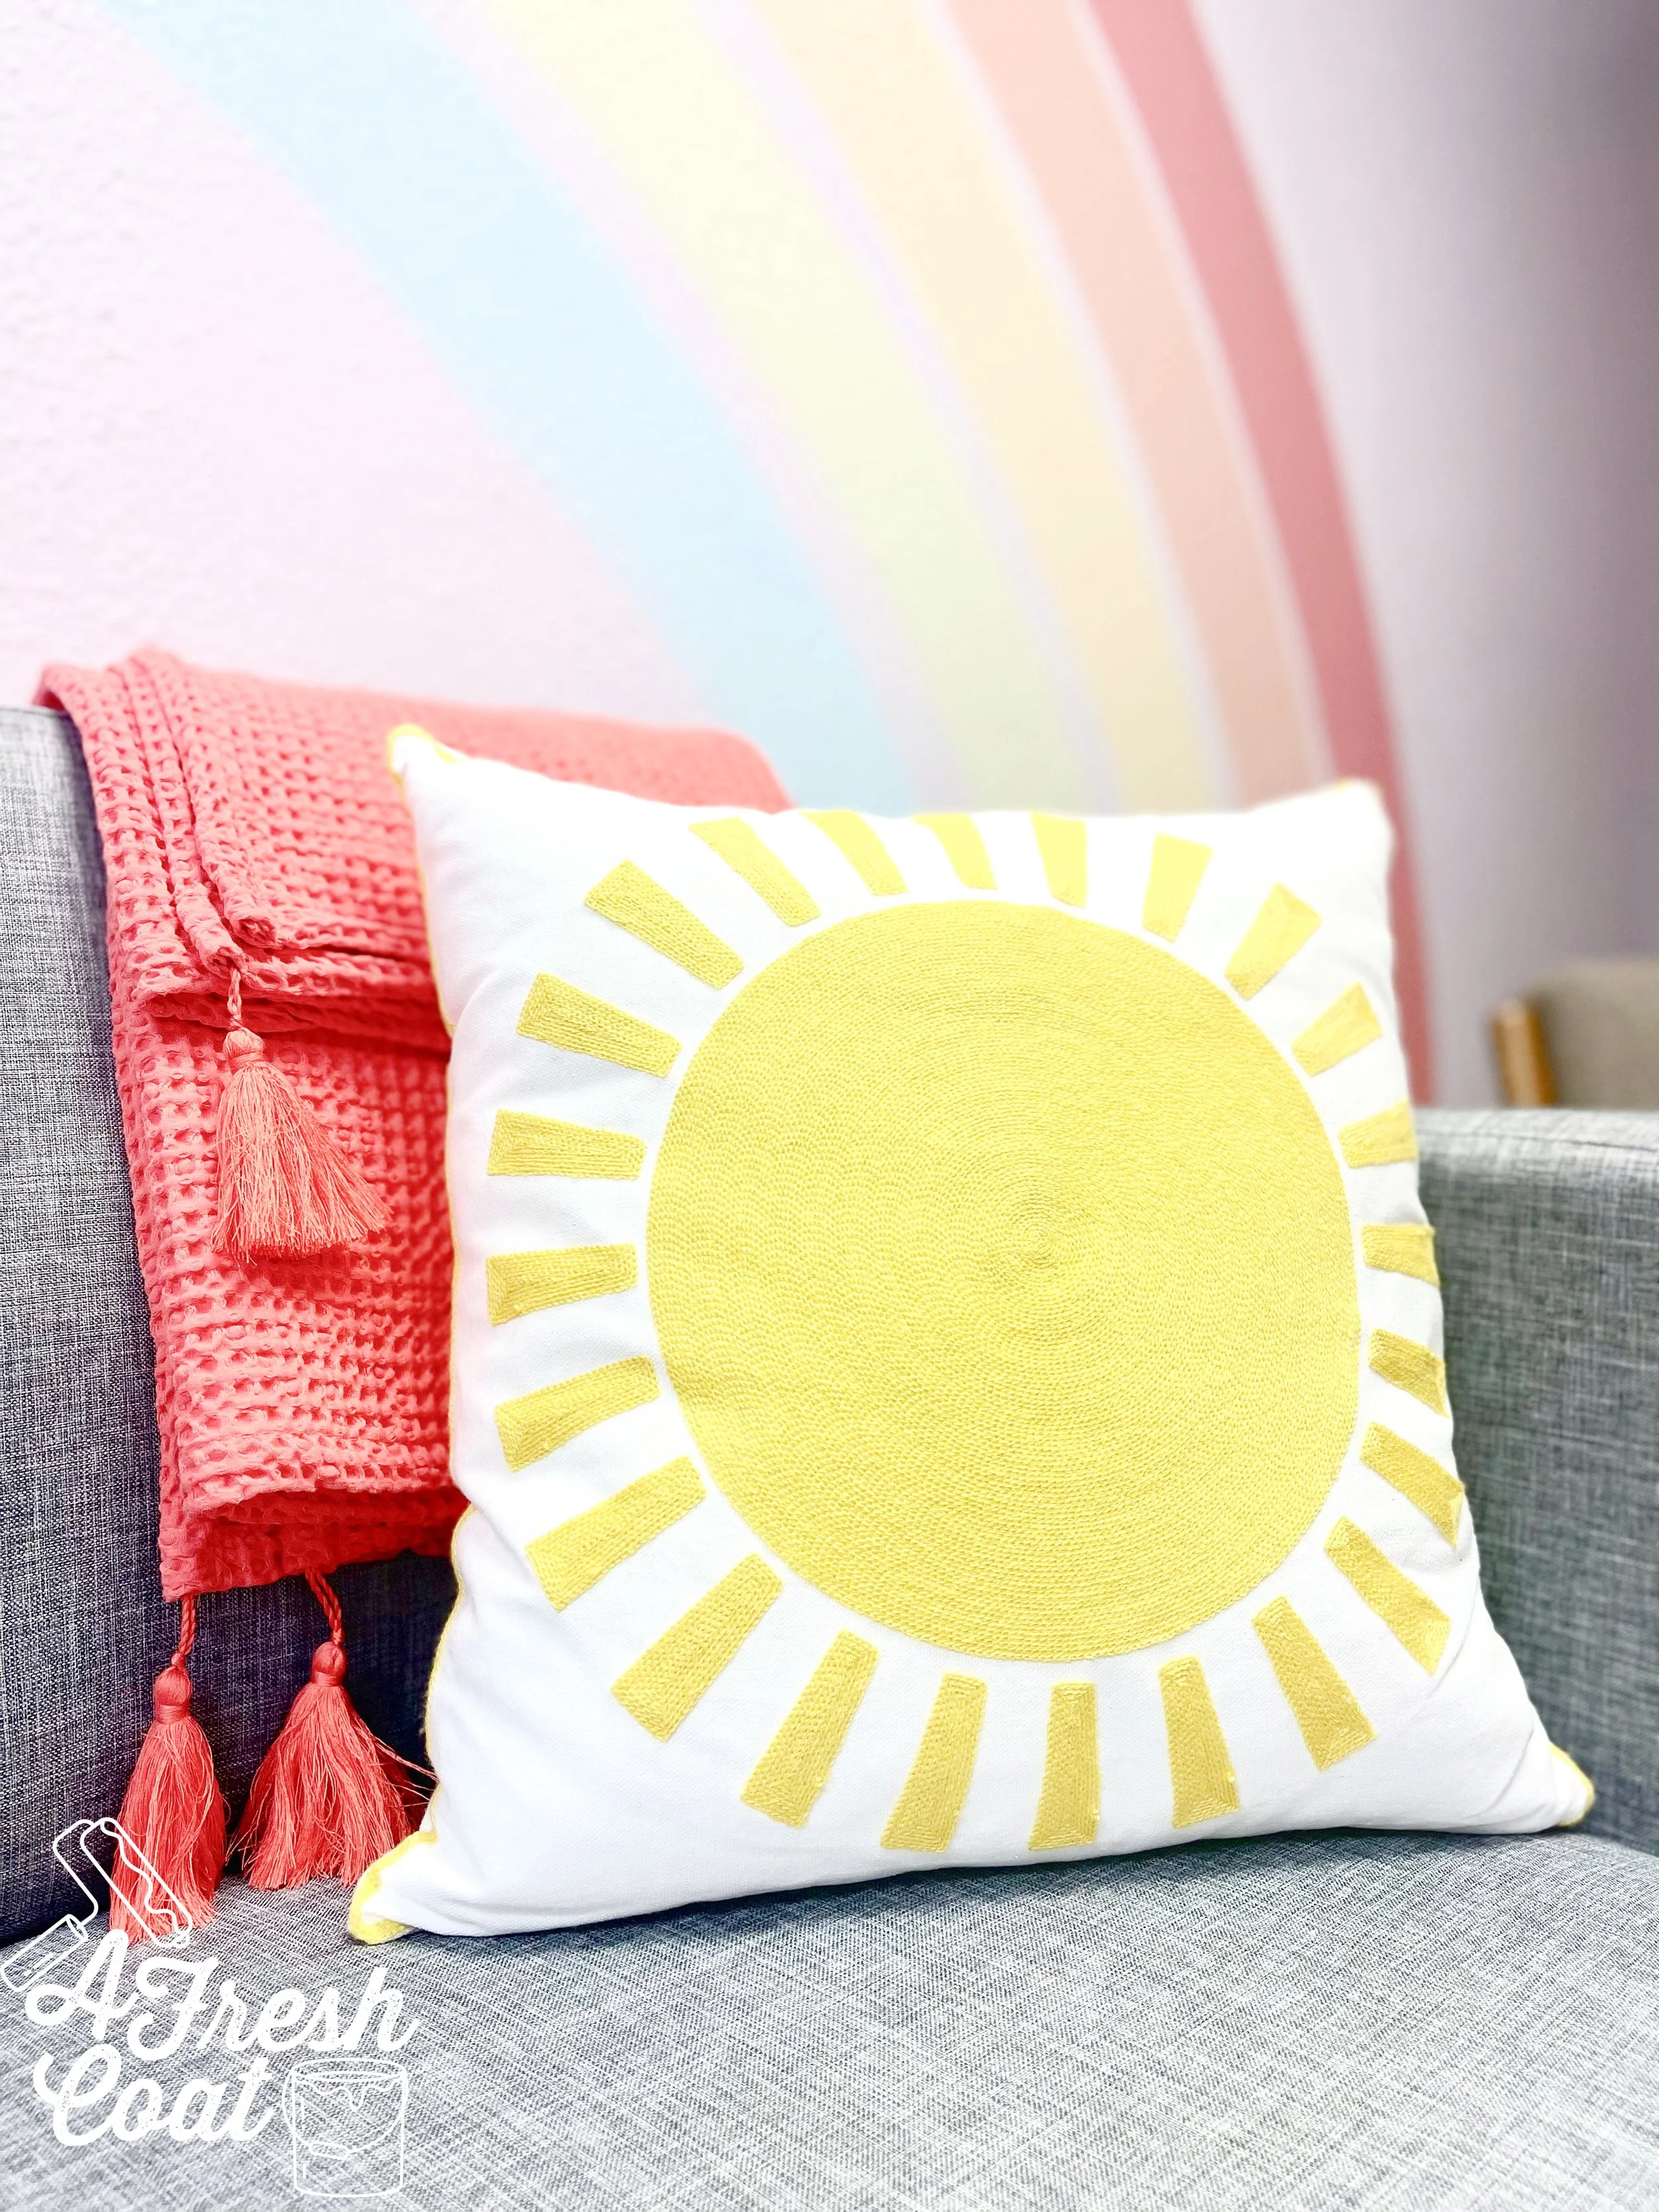
Using my Sherwin Williams paint chips, I opted for more muted colors as opposed to the bright, traditional colors the rainbow usually boasts. This was to keep the space more calming…warmer, even.
Look at those colors! Swoon-worthy for sure.
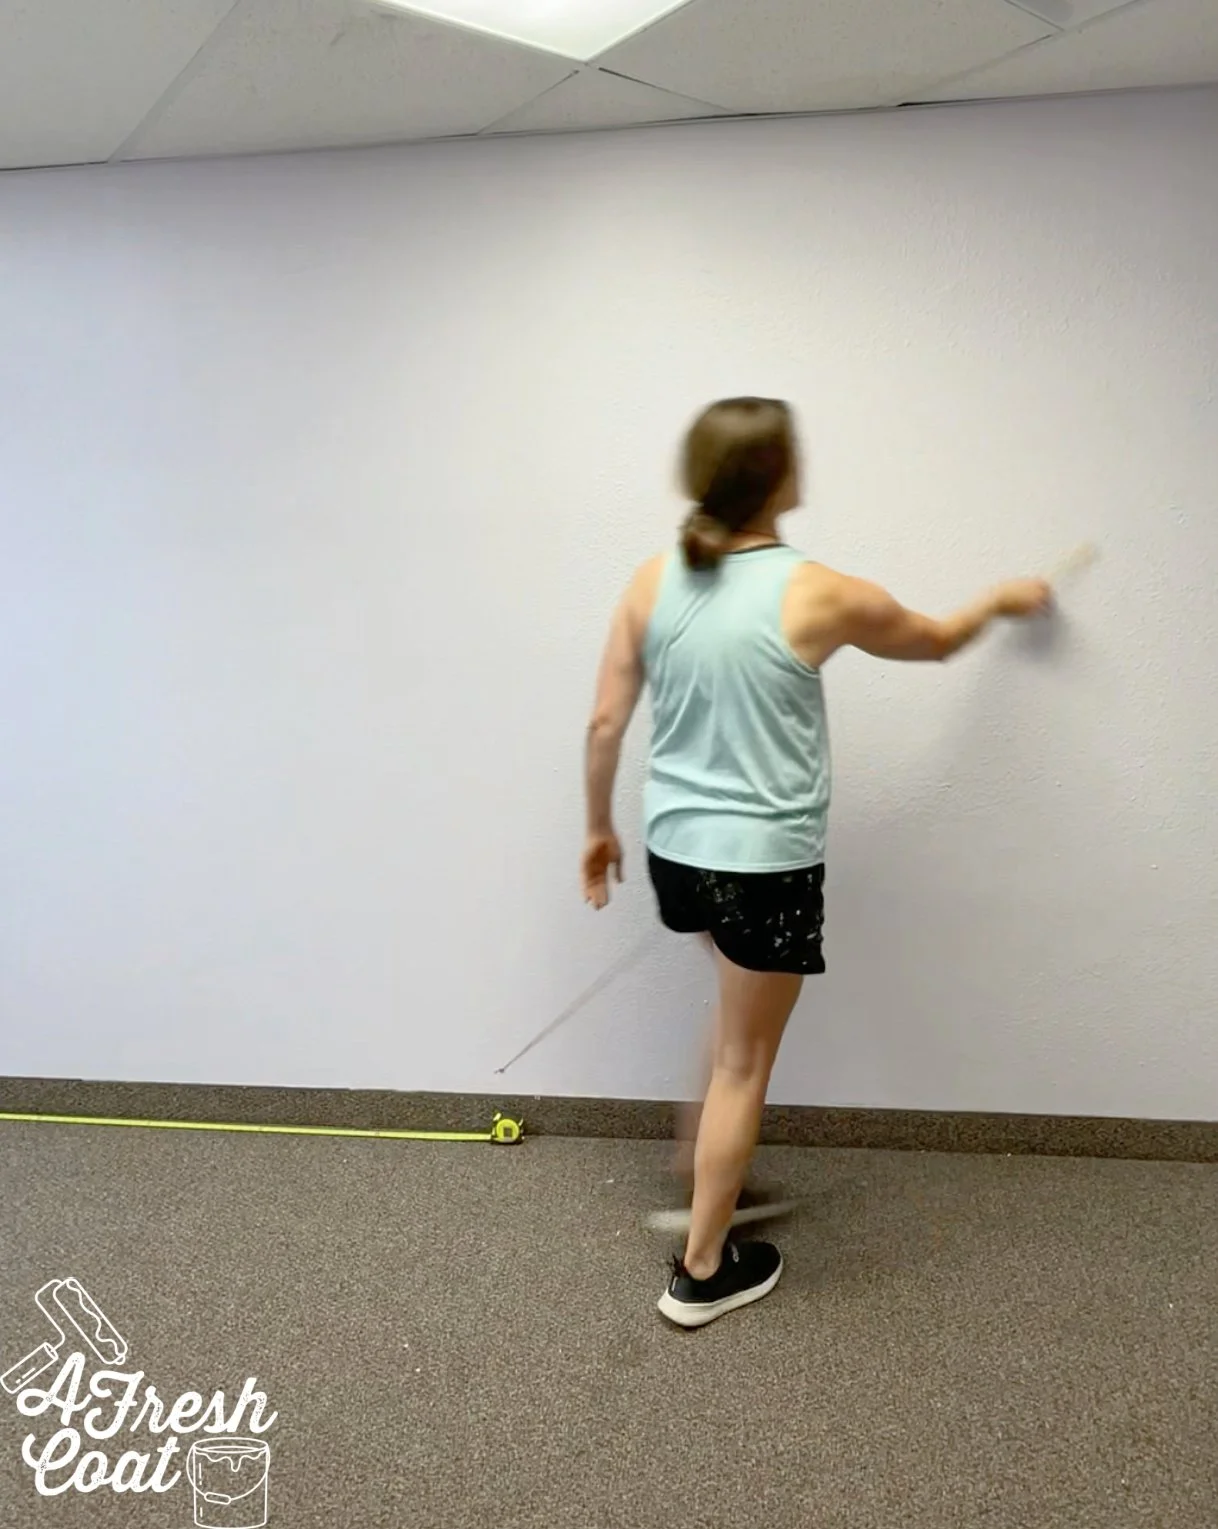
You know, creating somewhat symmetrical arches is no easy feat but it does become slightly less daunting by using the pencil technique. Have you heard about it? It went a little something like this:
First, I found the center of the wall.
Next, I used a piece of string and eyeballed how high and thick I wanted each arch to be.
I then tied the string to a pencil on one end and fastened it to the wall (via thumb tack) on the other. By pulling the string taut, and applying pressure to the pencil, the arch was formed.
By cinching the string and movie the tack, each arch was created.
Then it was time to fill each arch in with color.
The goal with this rainbow was to create an imperfect, watercolor look. I started filling these areas in thin and then expanded using a dry brush technique and the ole eyeballs for good measure.
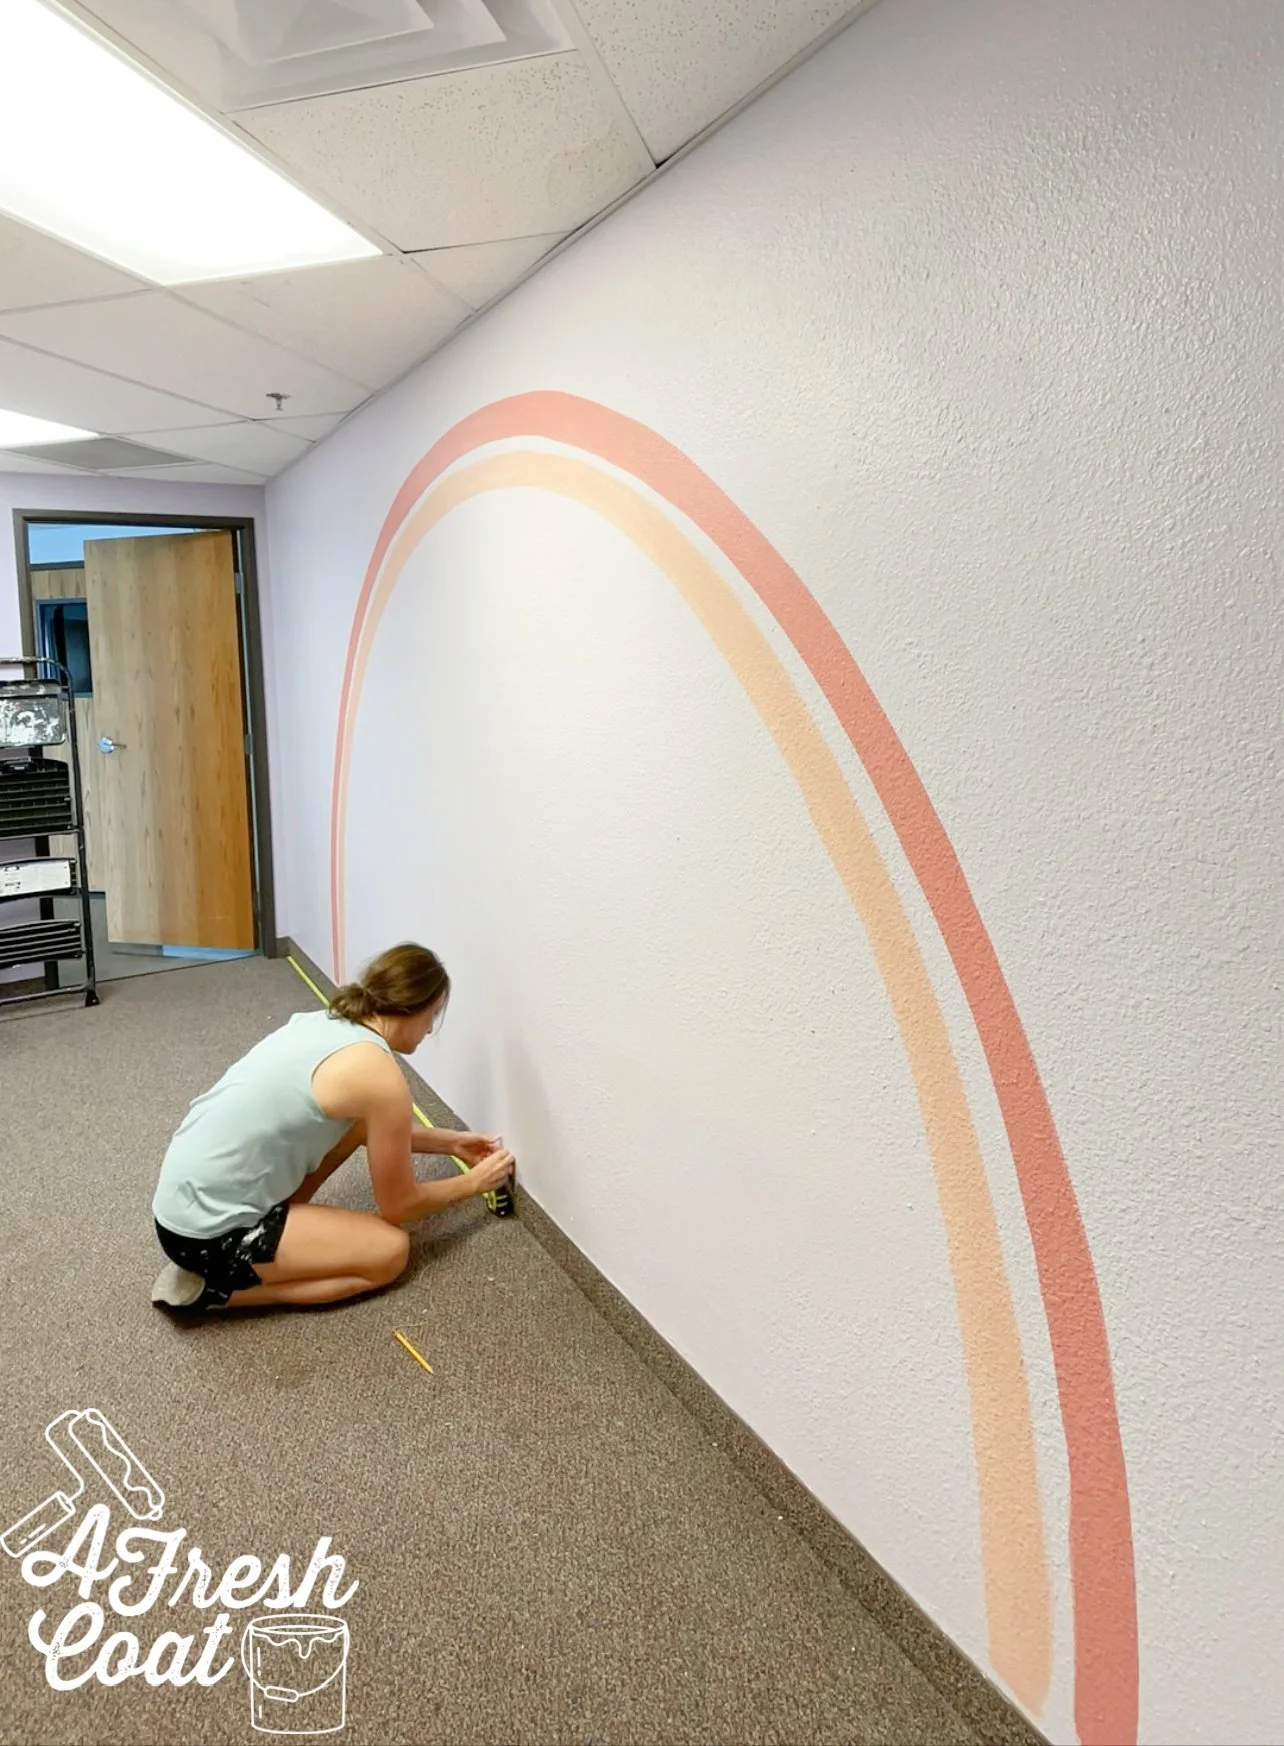
I worked and reworked each section over and over again until I was happy with the end result.
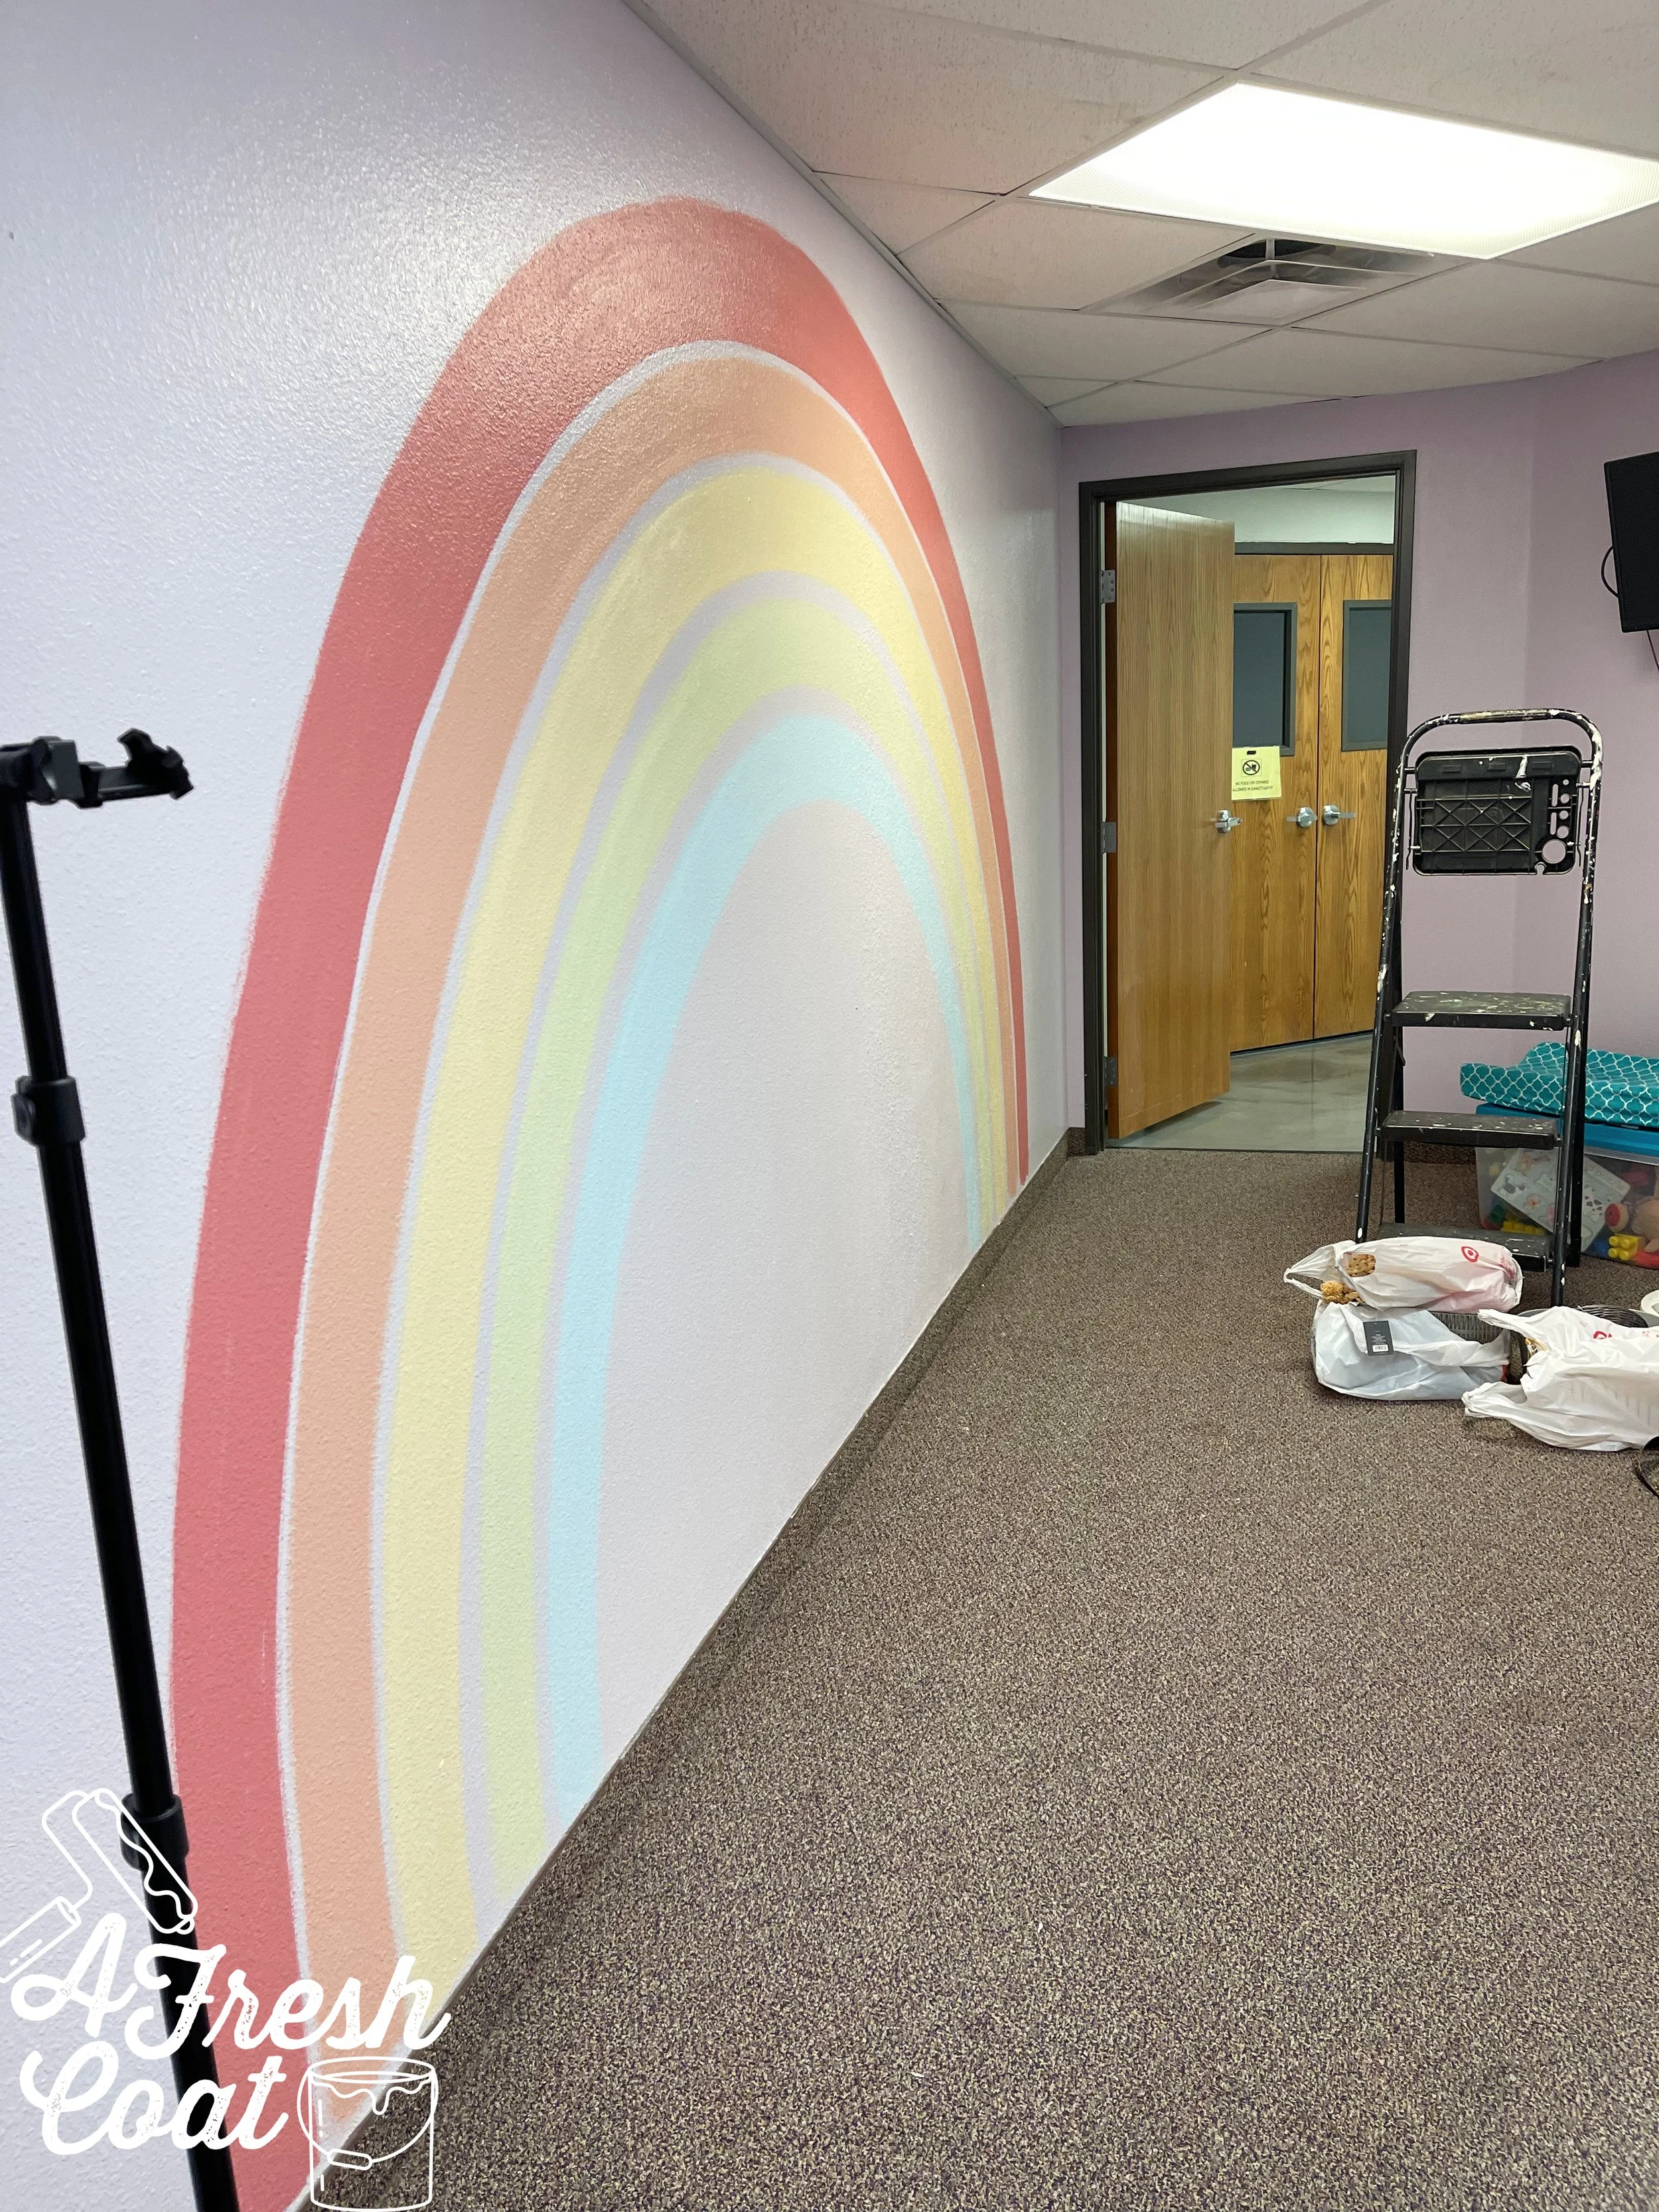
Done!
And it’s perfectly imperfect!
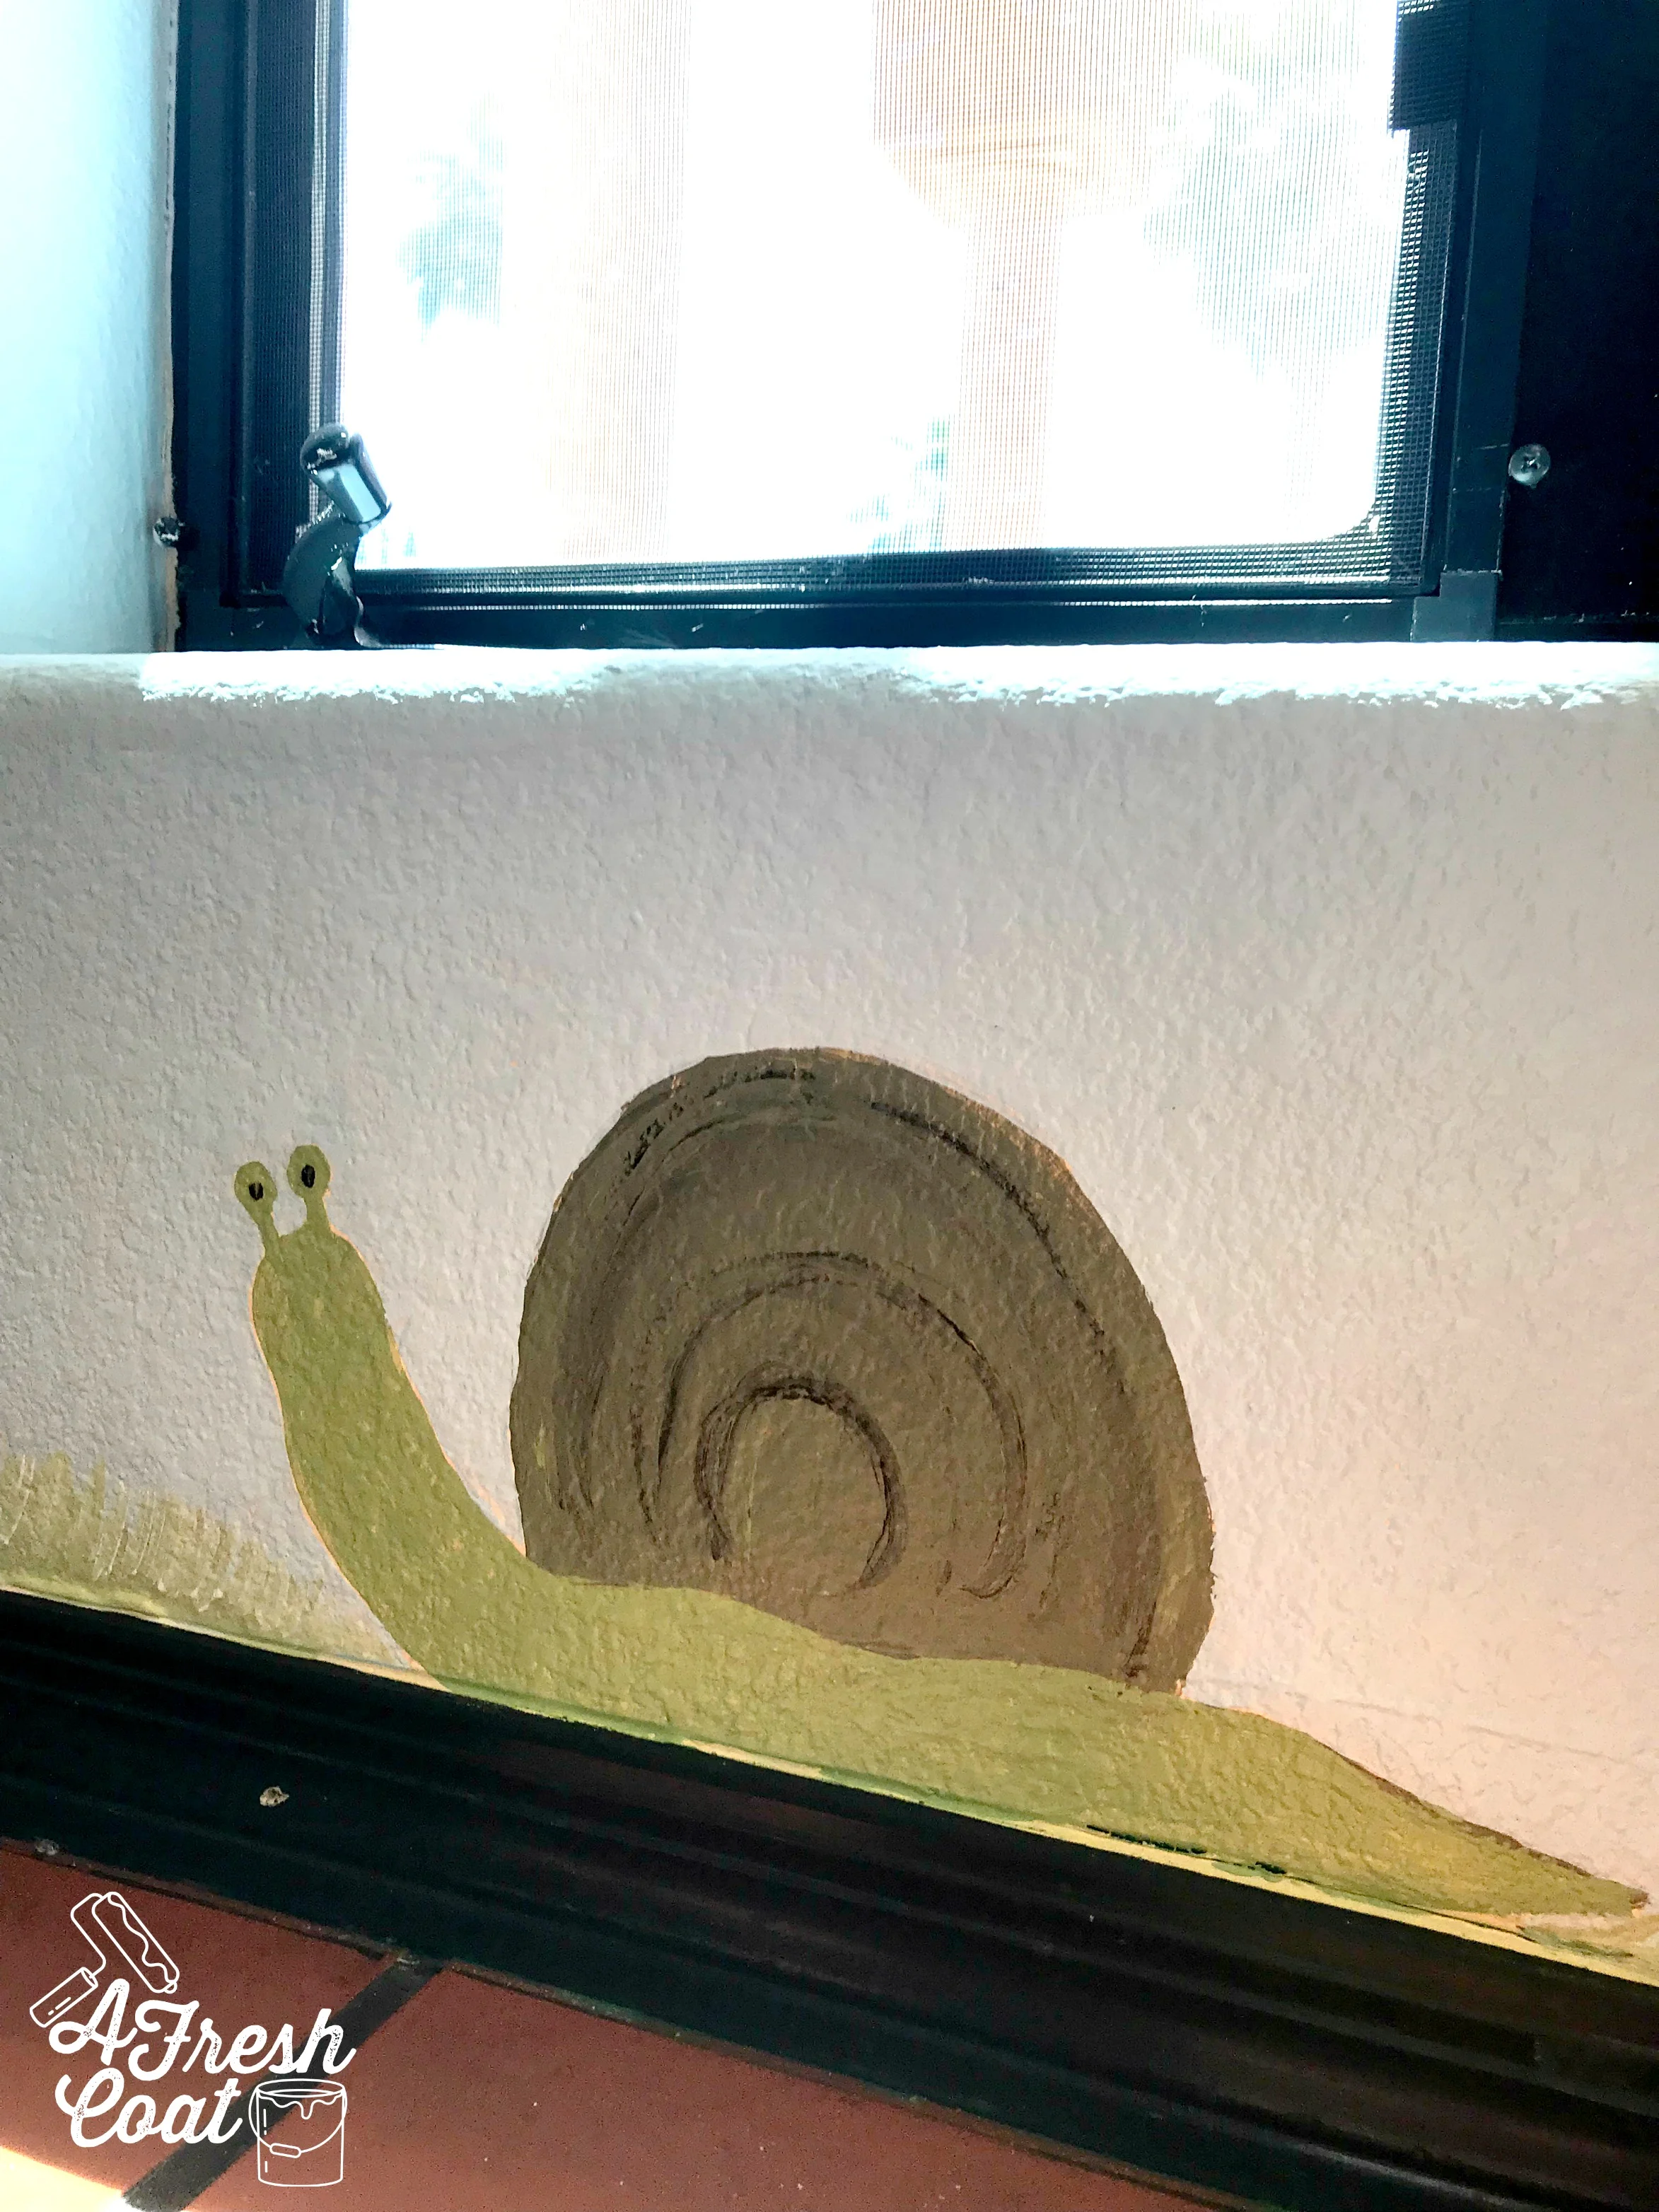
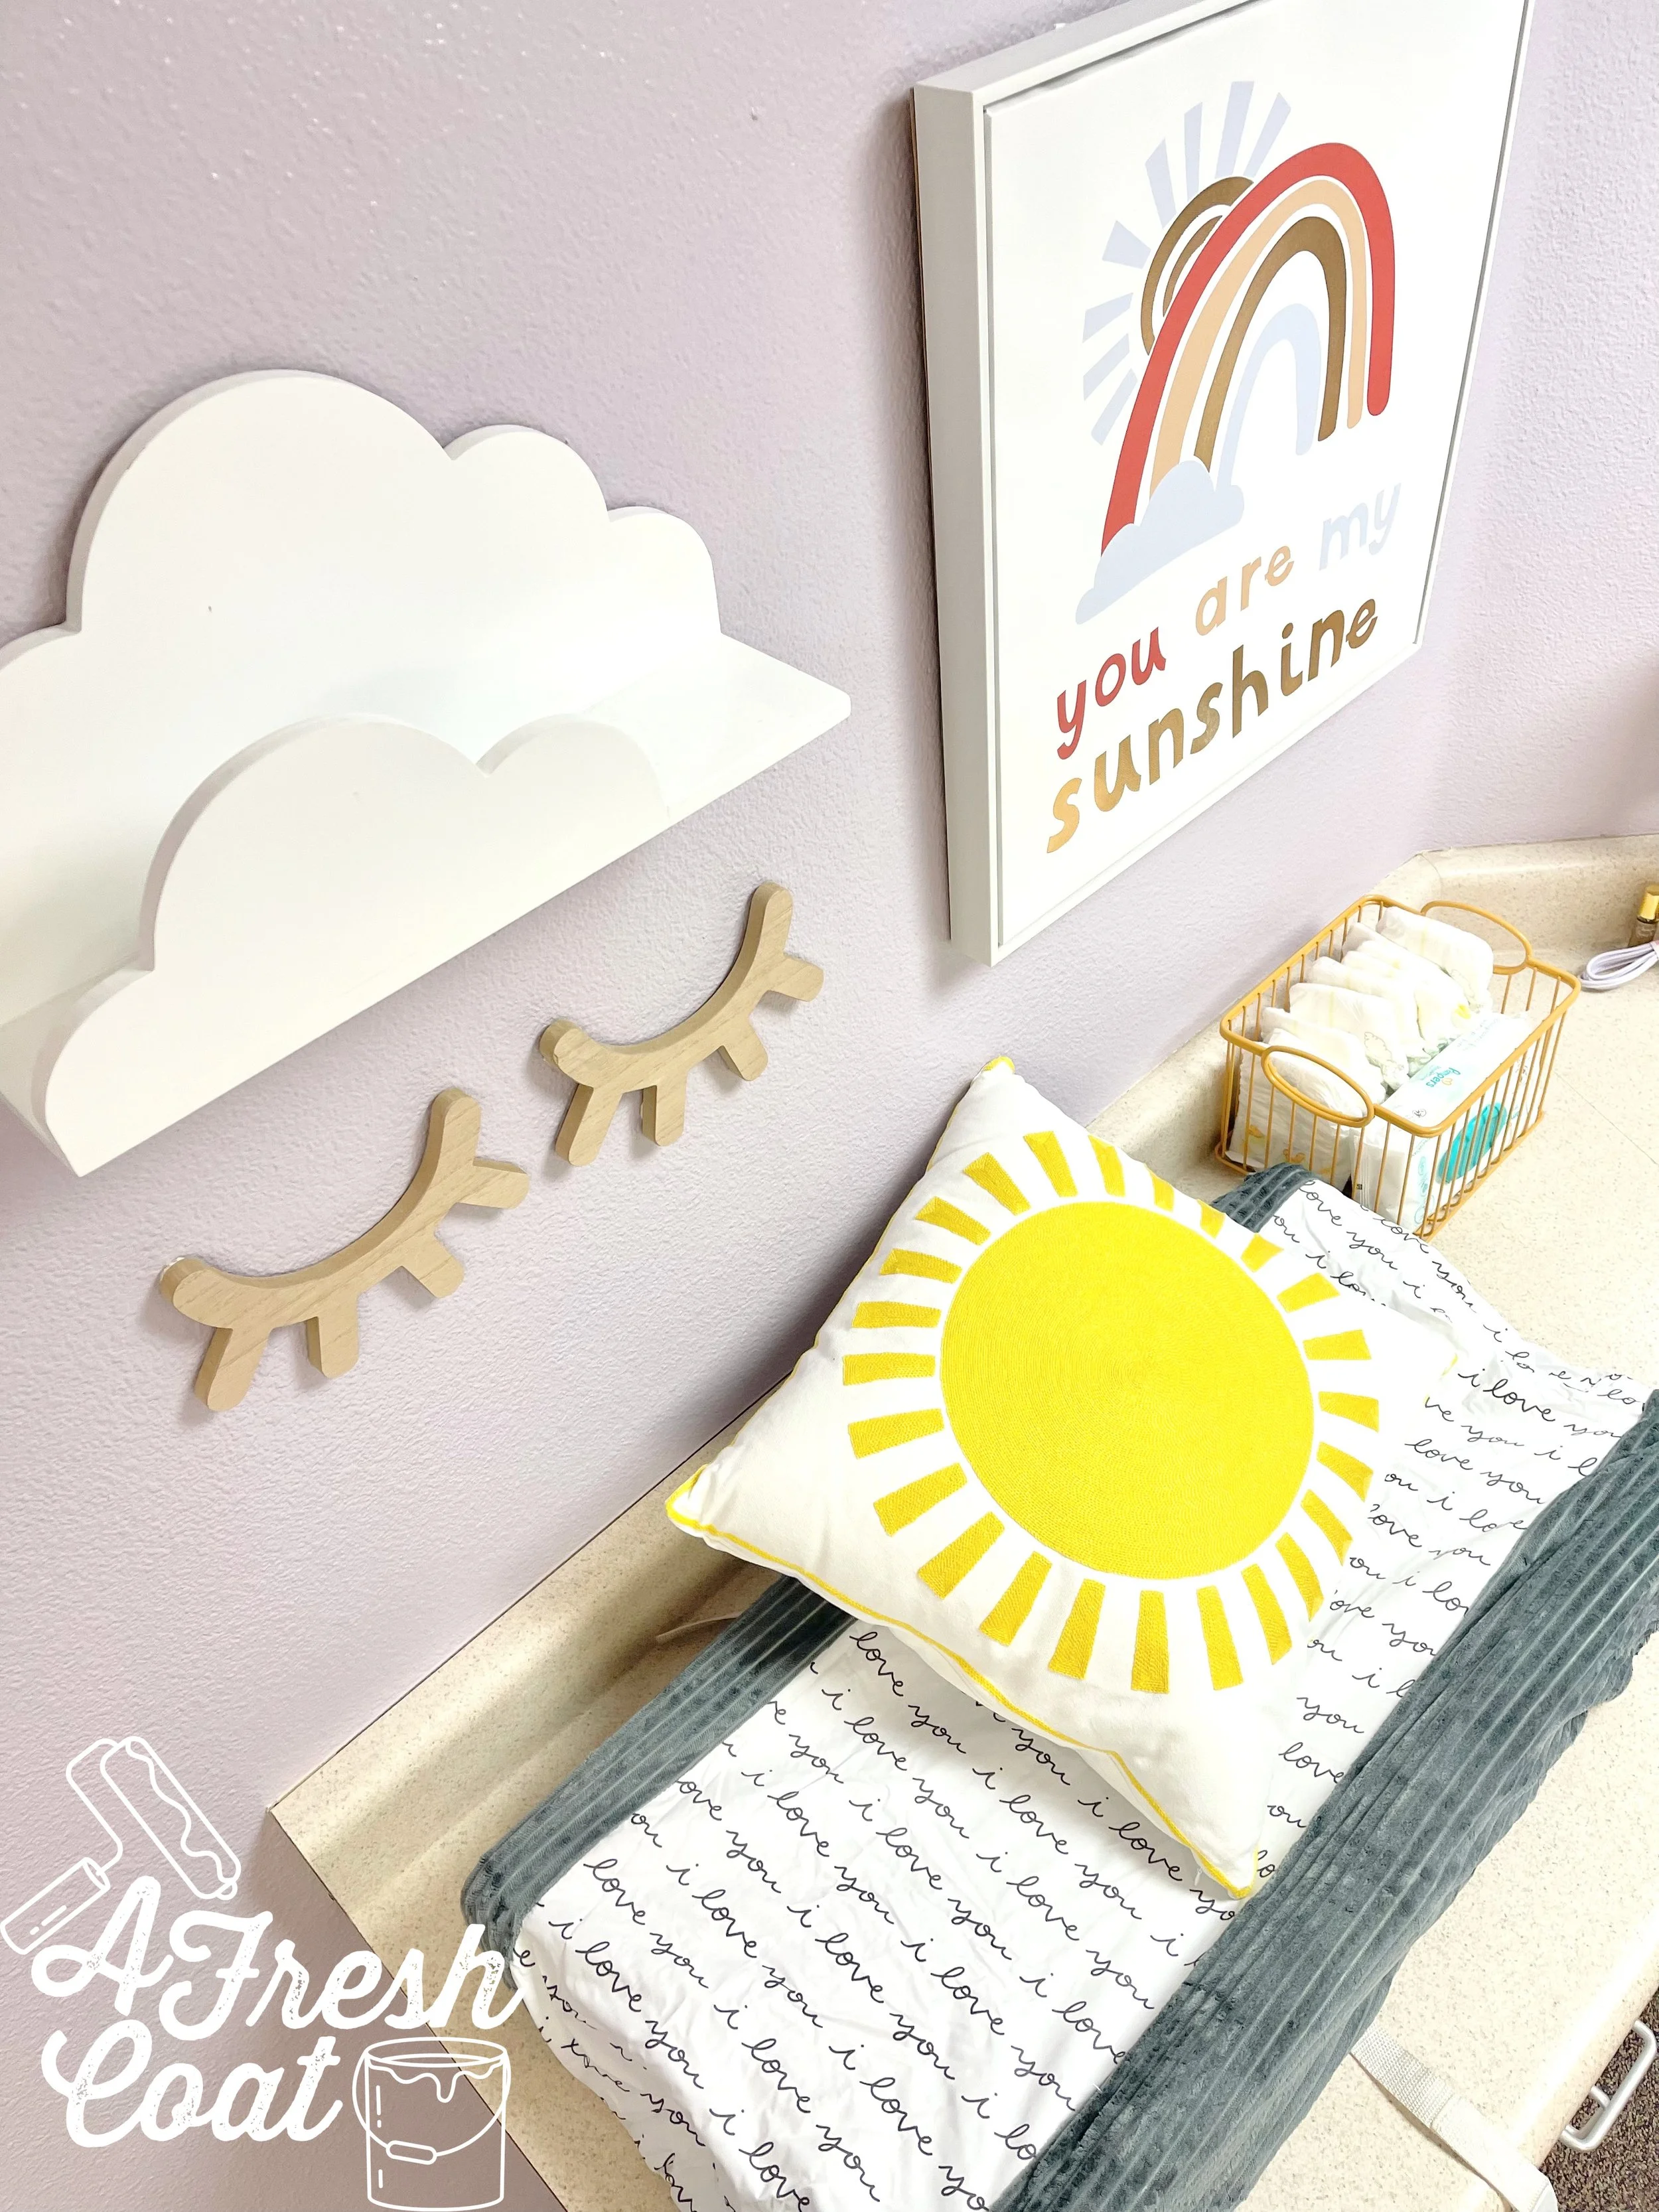
Now it was time to pull the whole room together by bringing in the furniture, and adding all the little details that truly make a space special.
Seriously—my job is so much fun! But it gets even better…
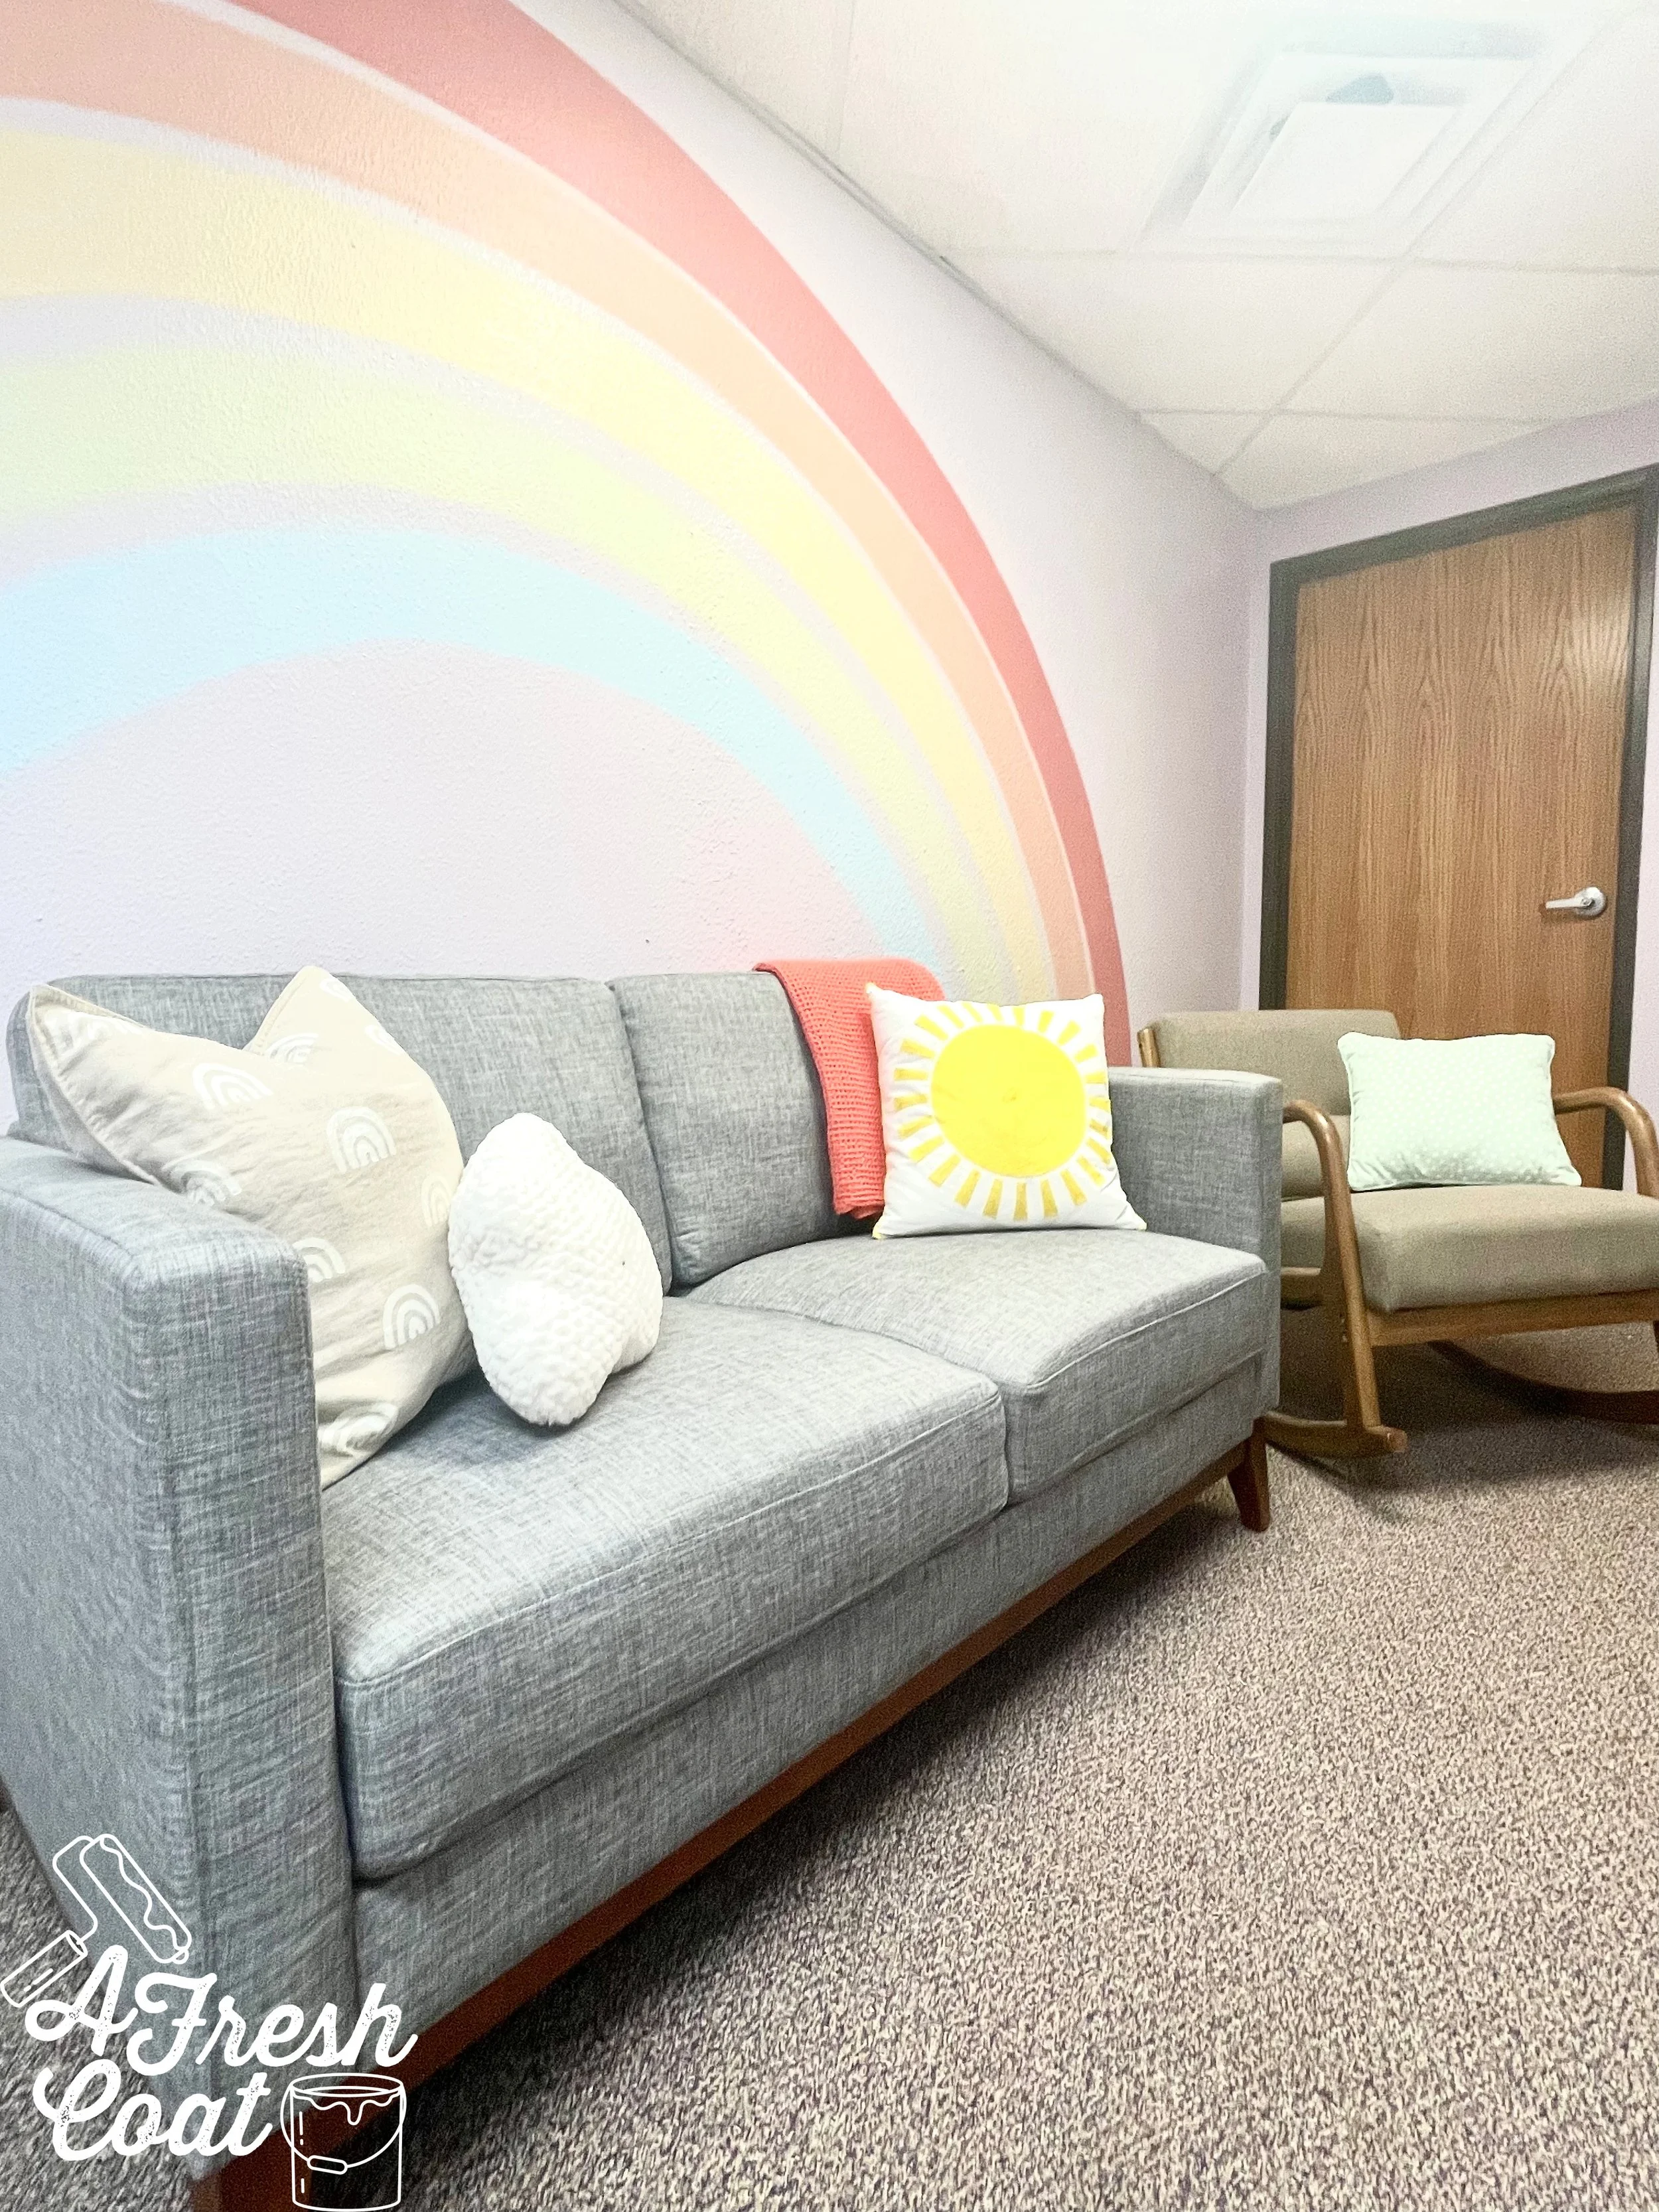
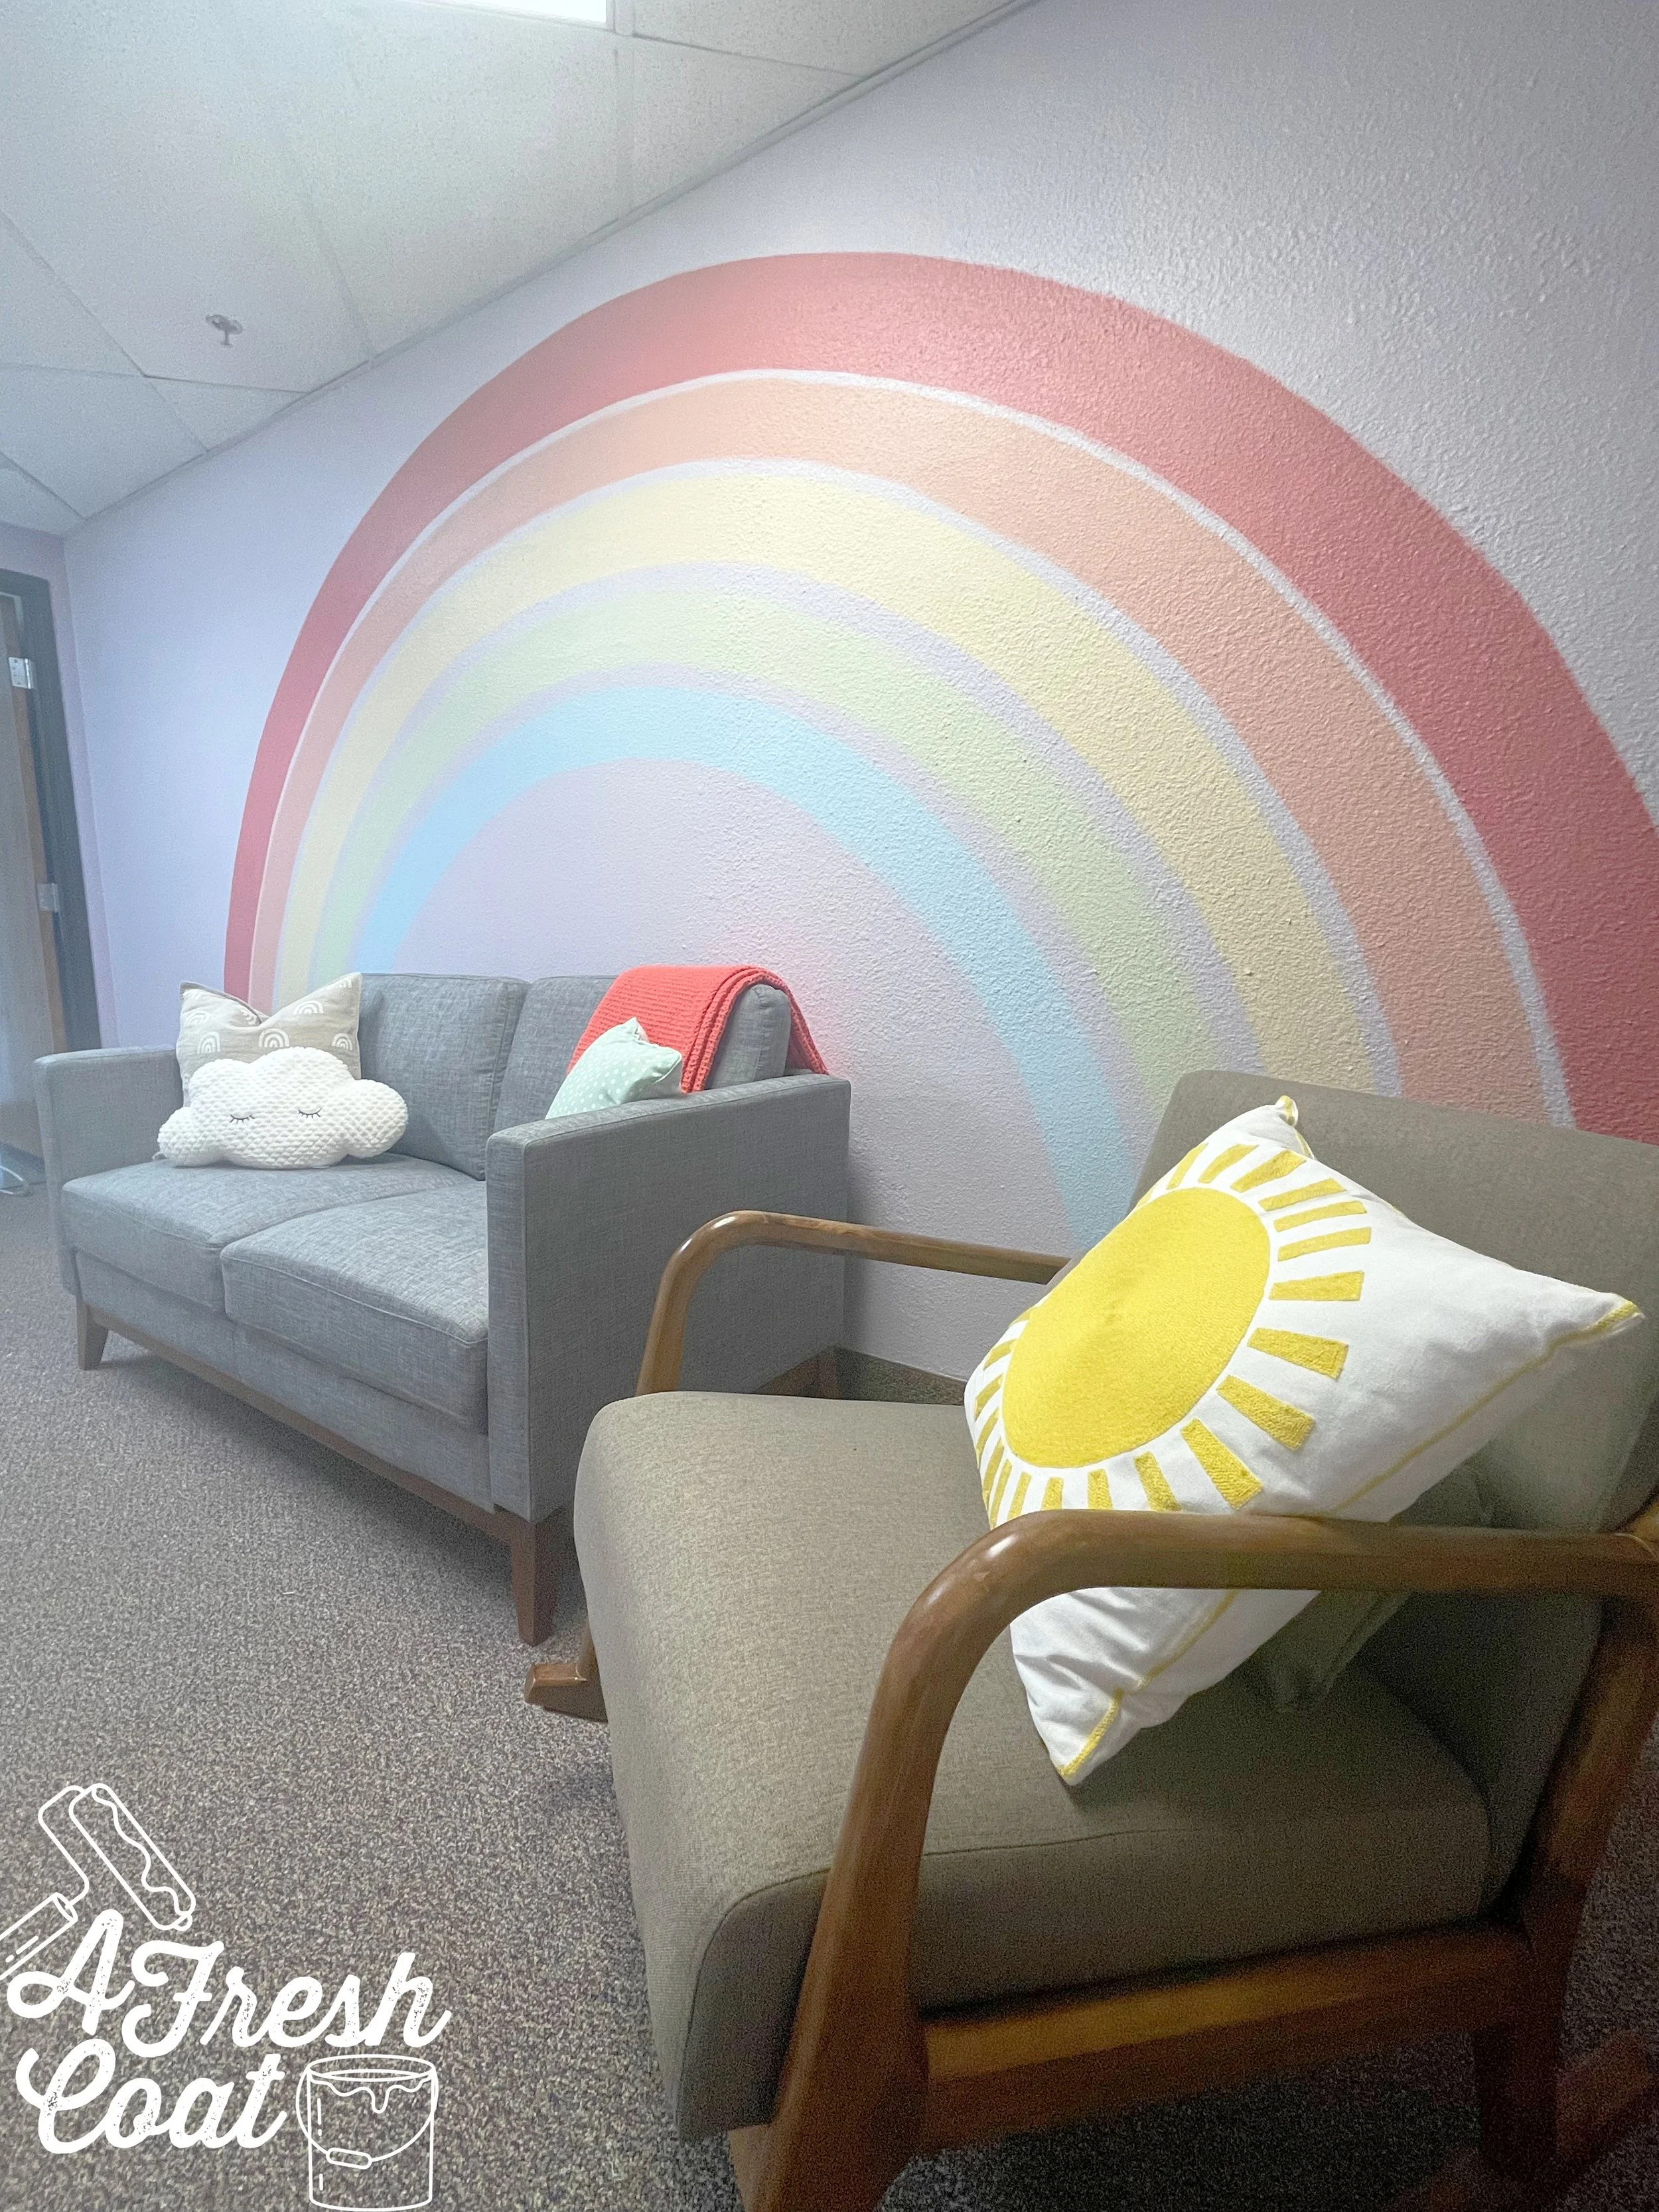

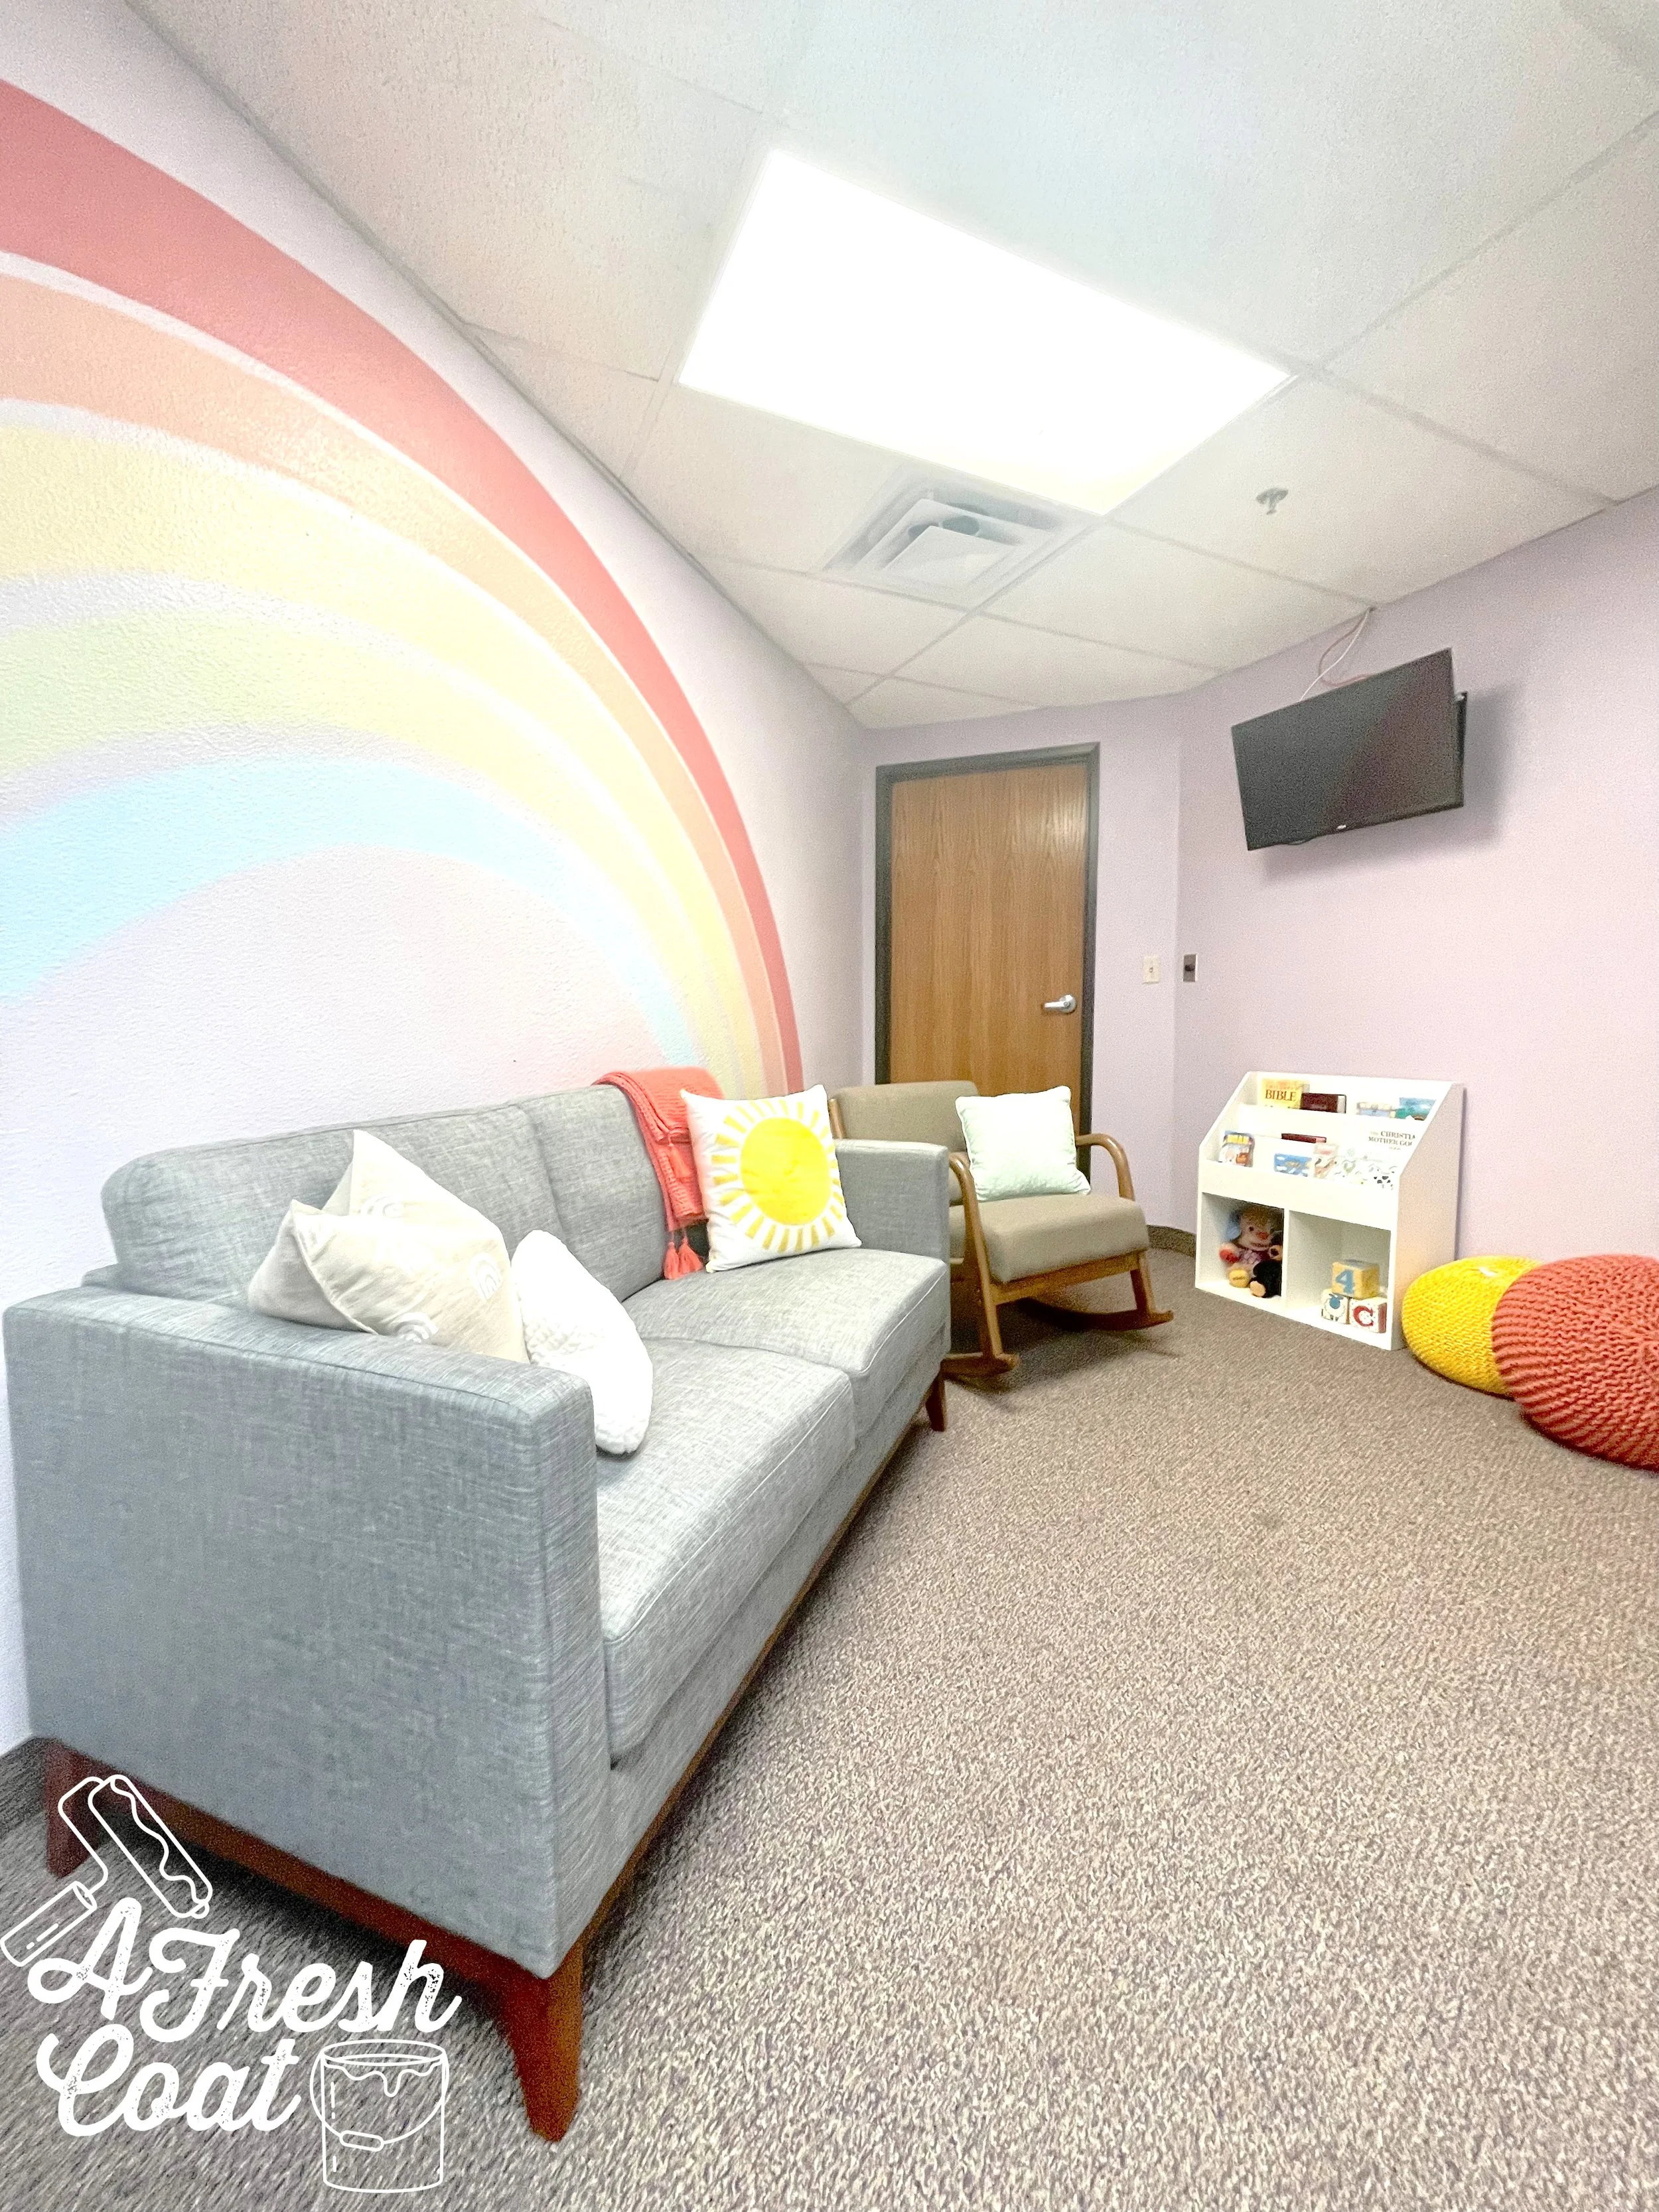

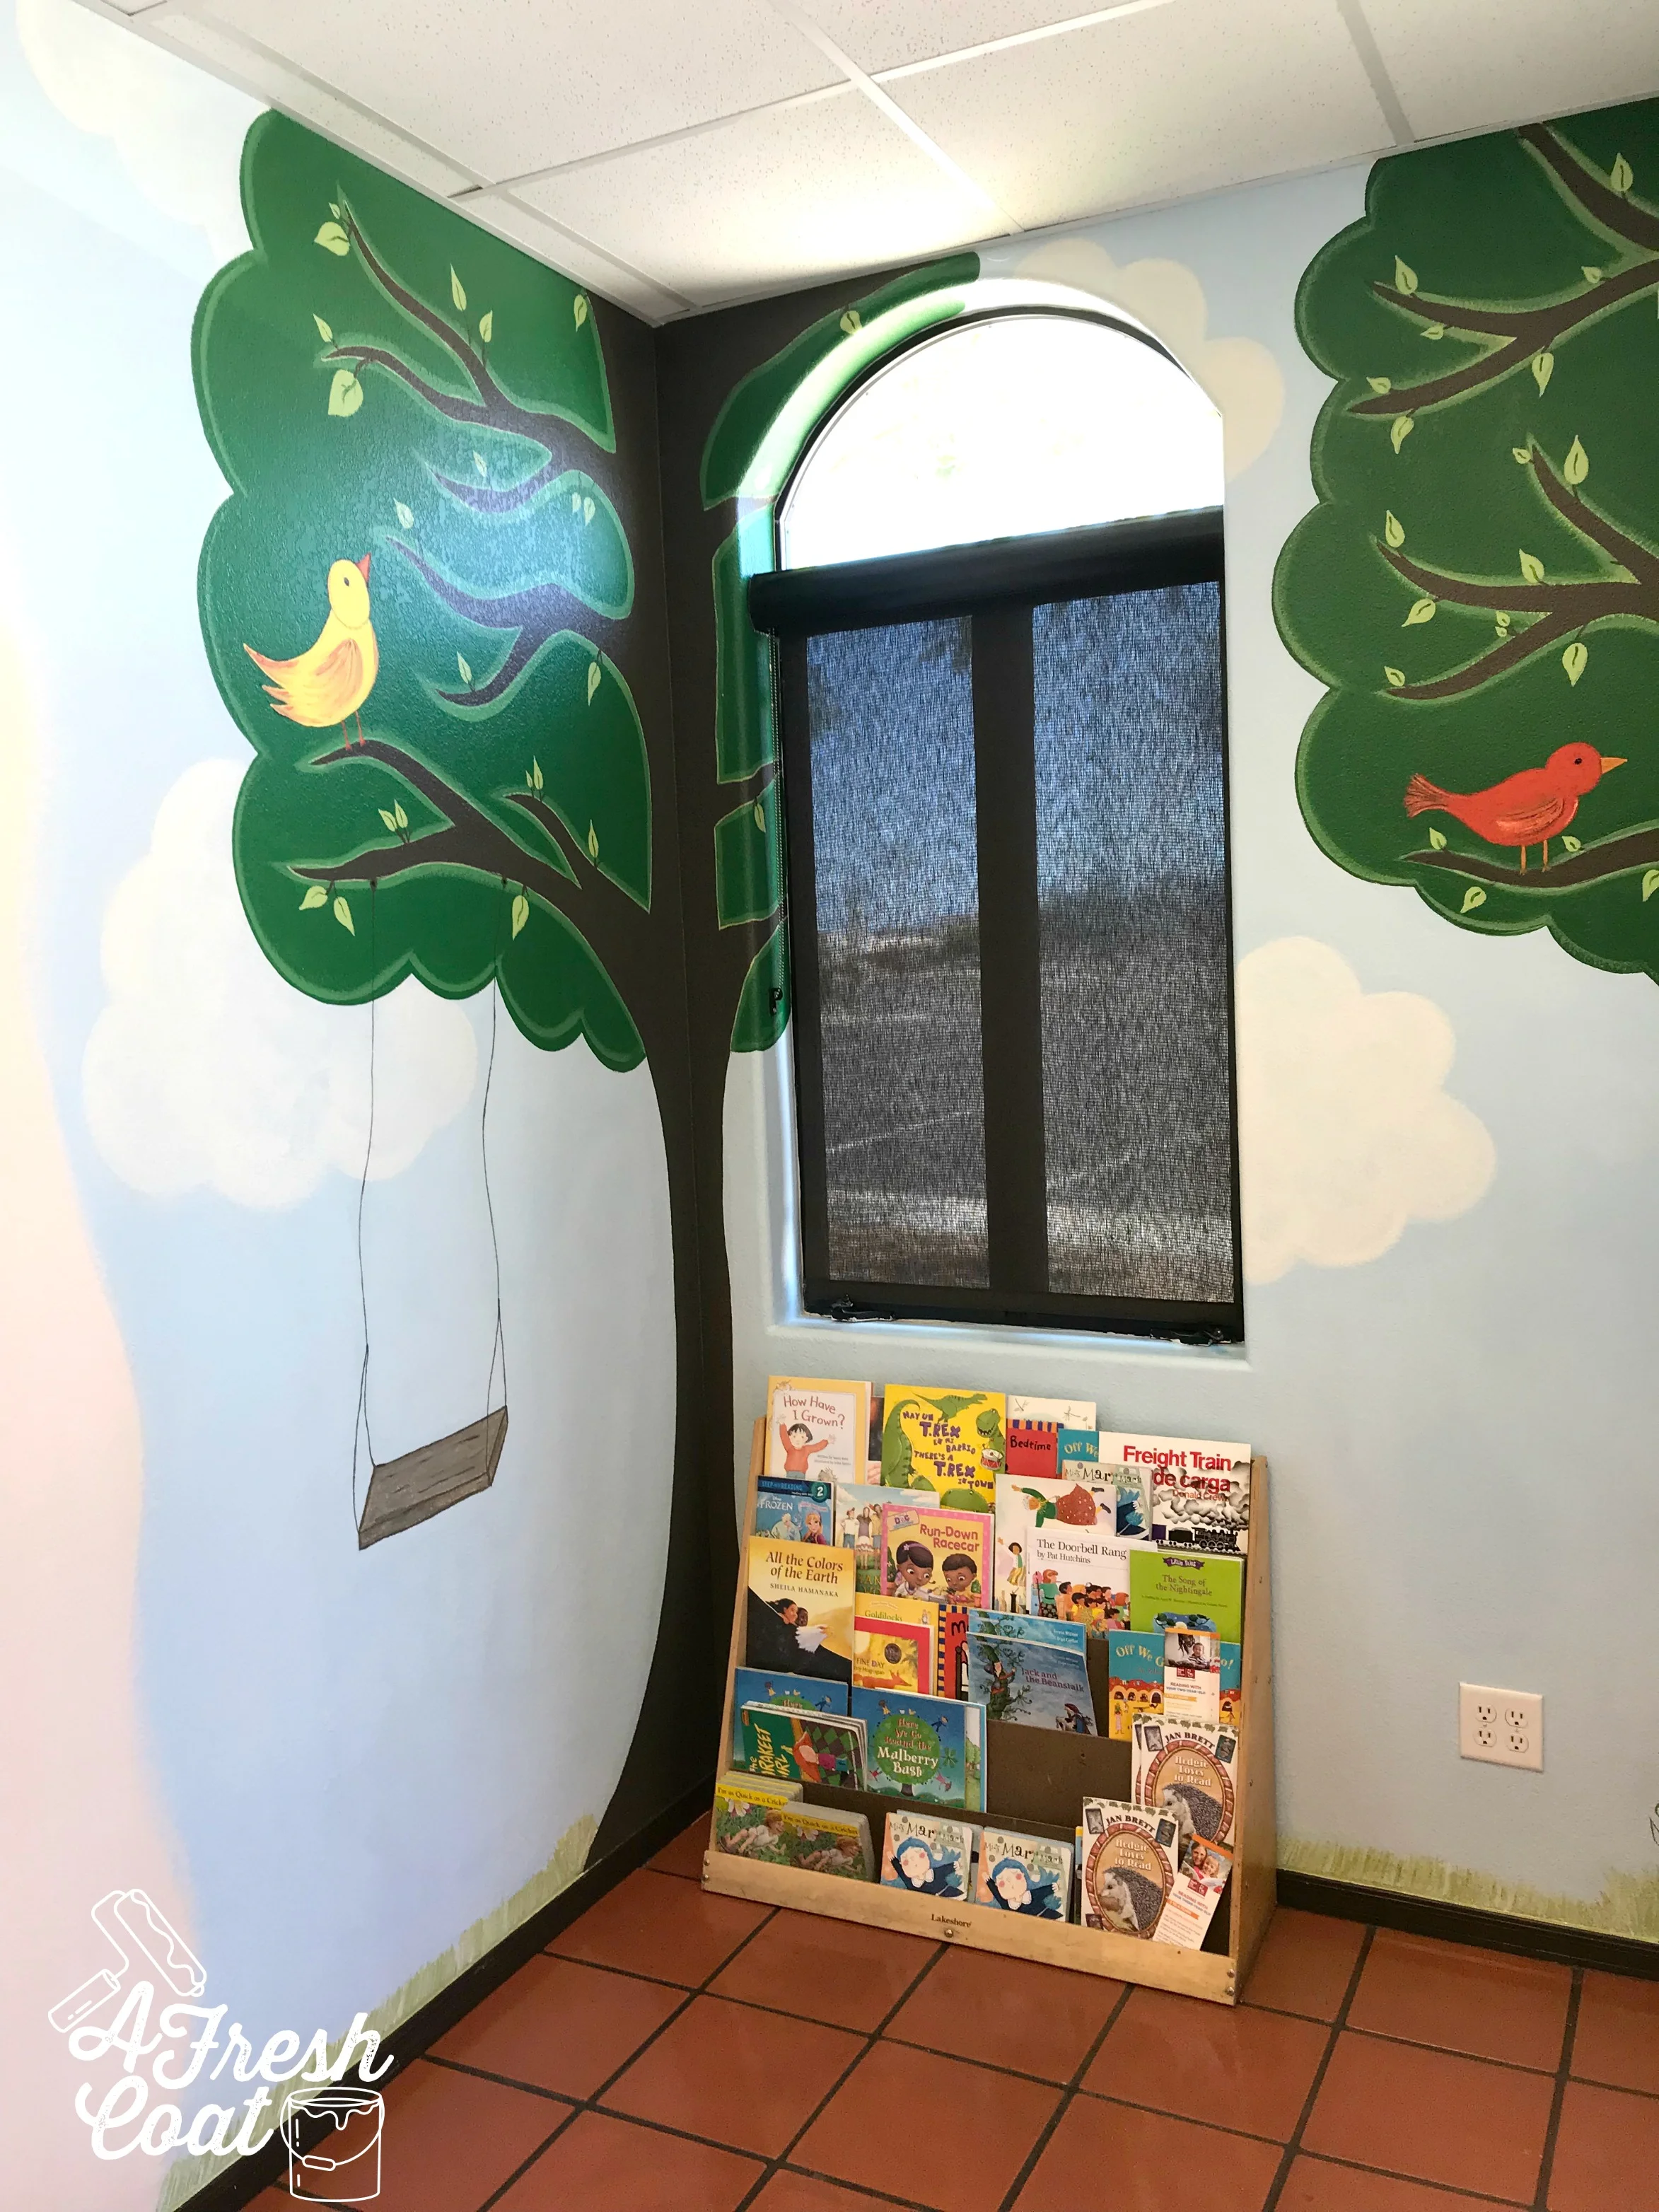
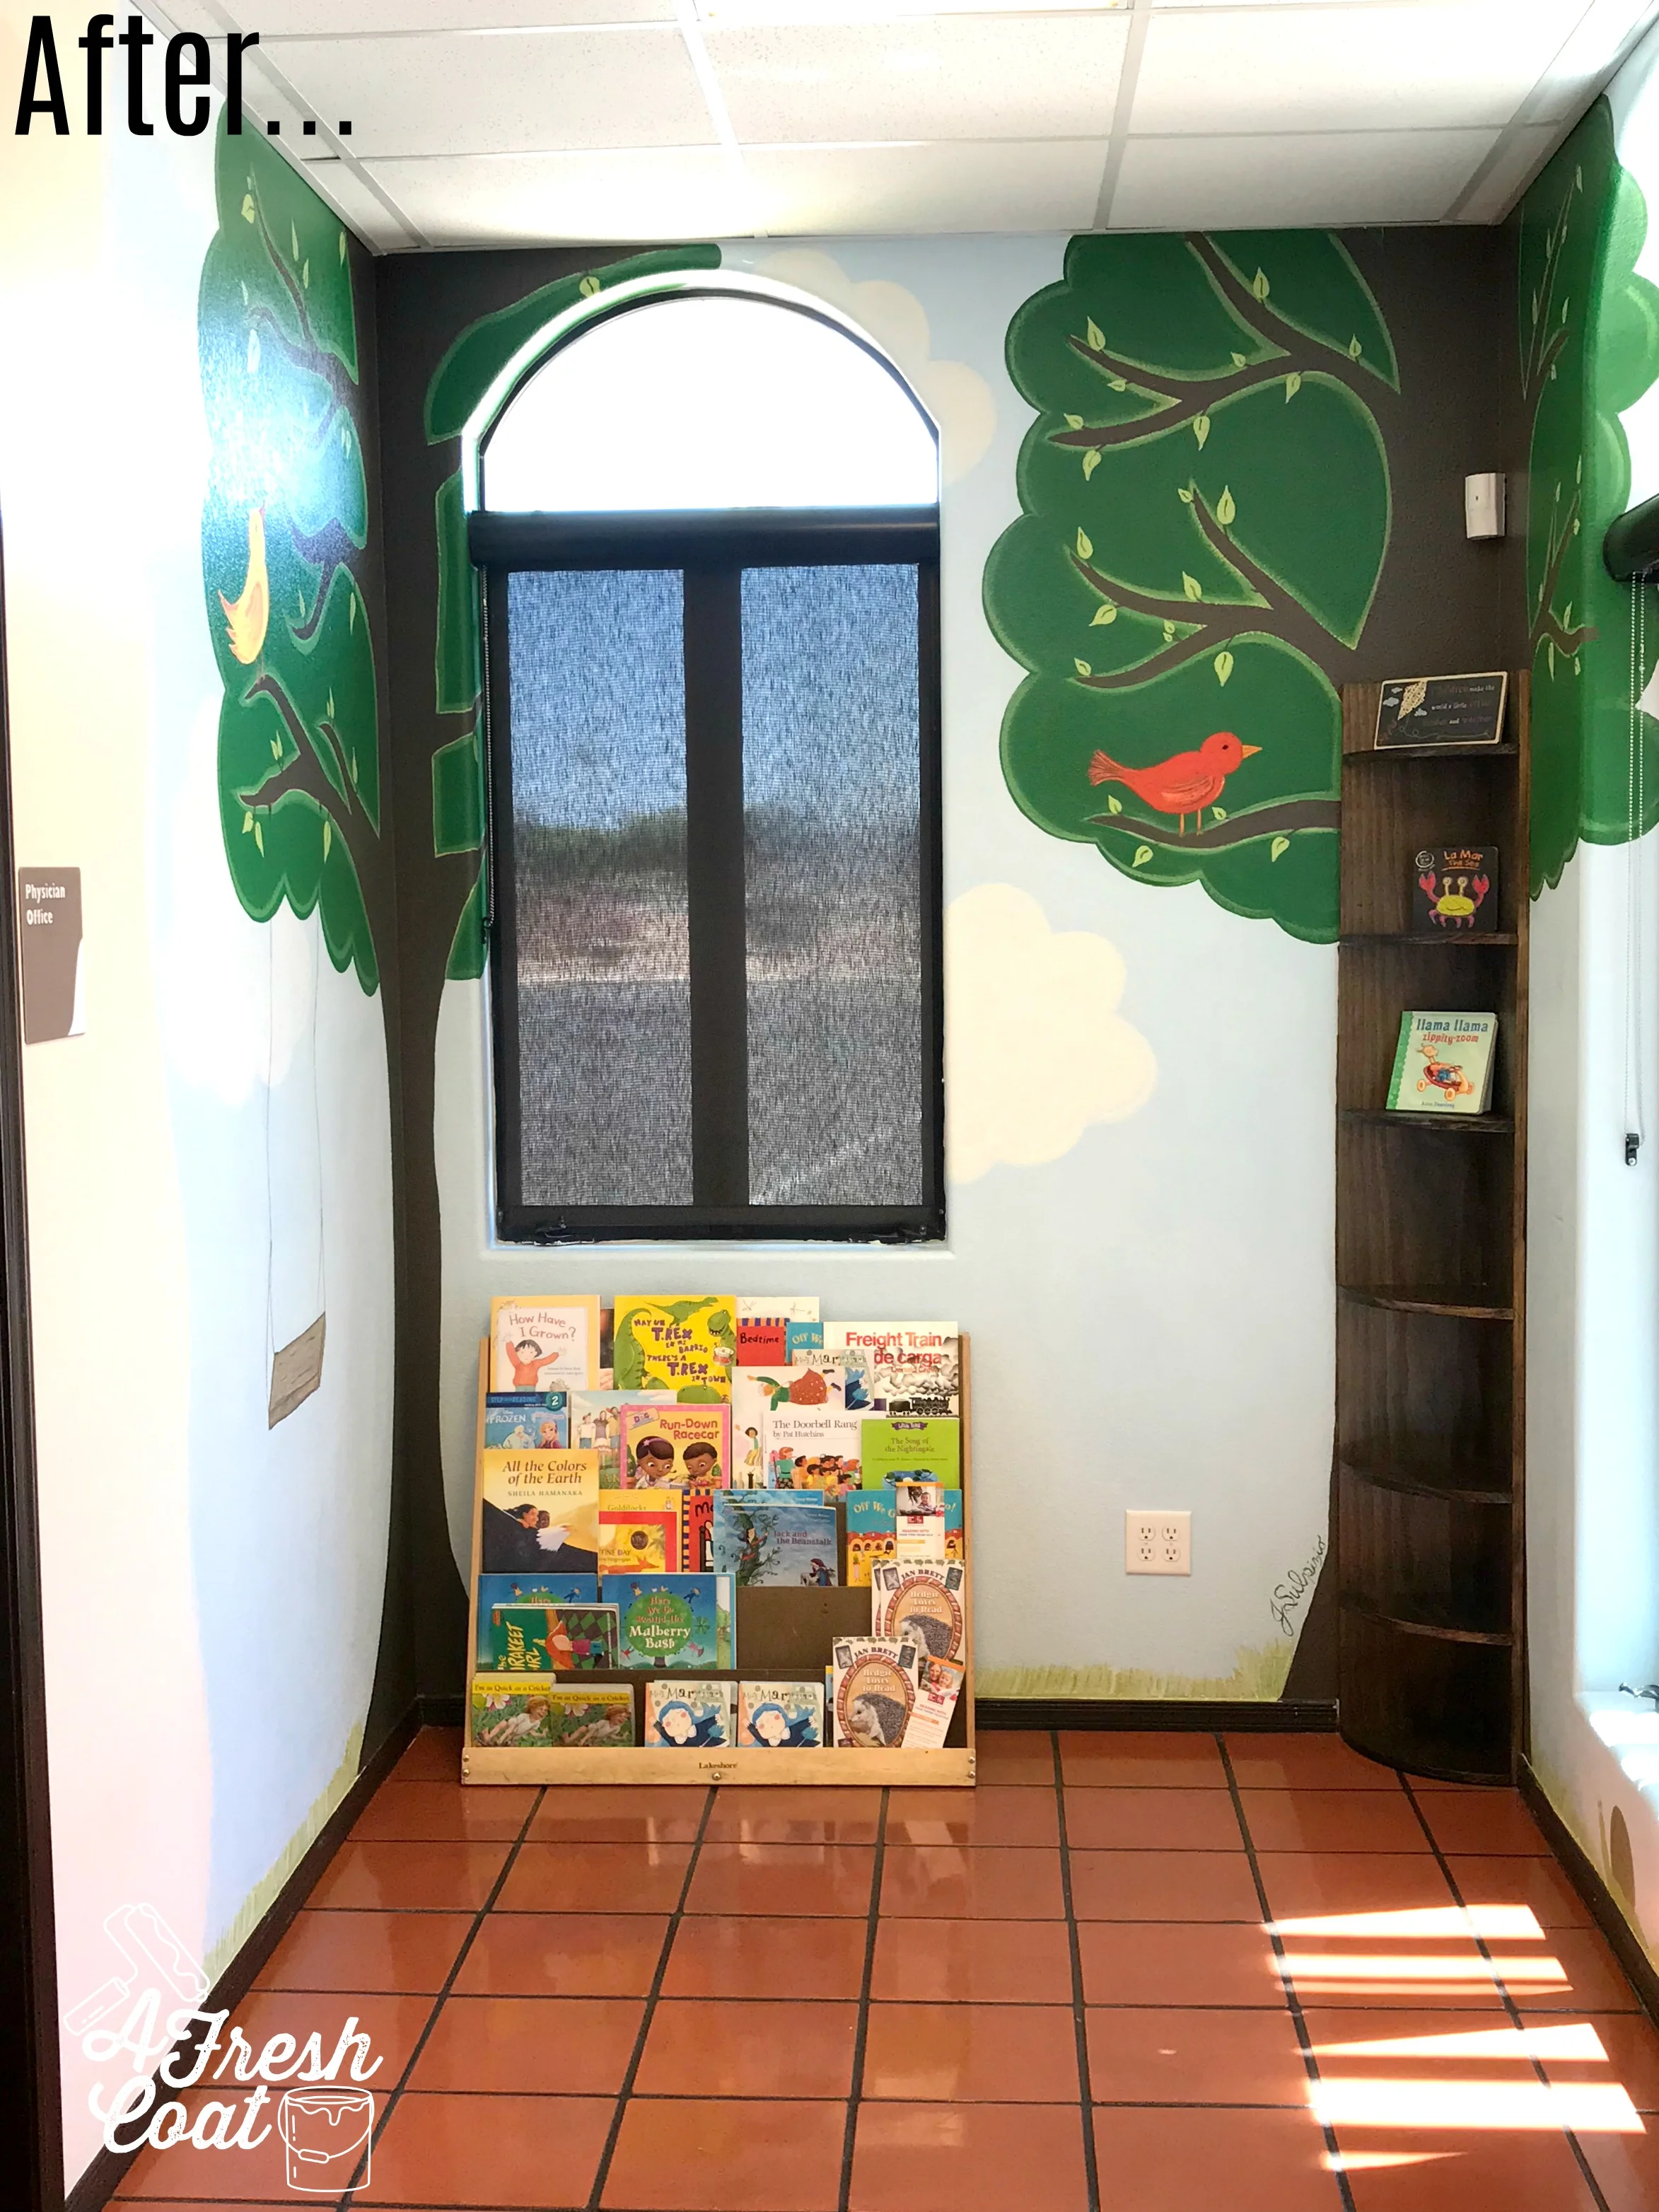
We outfitted the North-facing wall with a new loveseat and rocker, along with some sweet throw pillows and reading material. The South-facing area went a little something like this…


The Cry Room underwent a major transformation and all it took was some paint and a few furniture pieces for it to happen. simple and easy but yet so fun and colorful.
I dig it…do you?
THE DETAILS
Paint: Sherwin Williams Silver Peony & Grape Mist
Paint Labor: A Fresh Coat
Rainbow Wall Mural: A Fresh Coat
Pillows: Target, Etsy, Hobby Lobby, Amazon
Love seat: Wayfair
Rocker: Wayfair
Changing Pad Cover: Target
Lamp: Target
Shelving: Hobby Lobby
Wall Art: Target
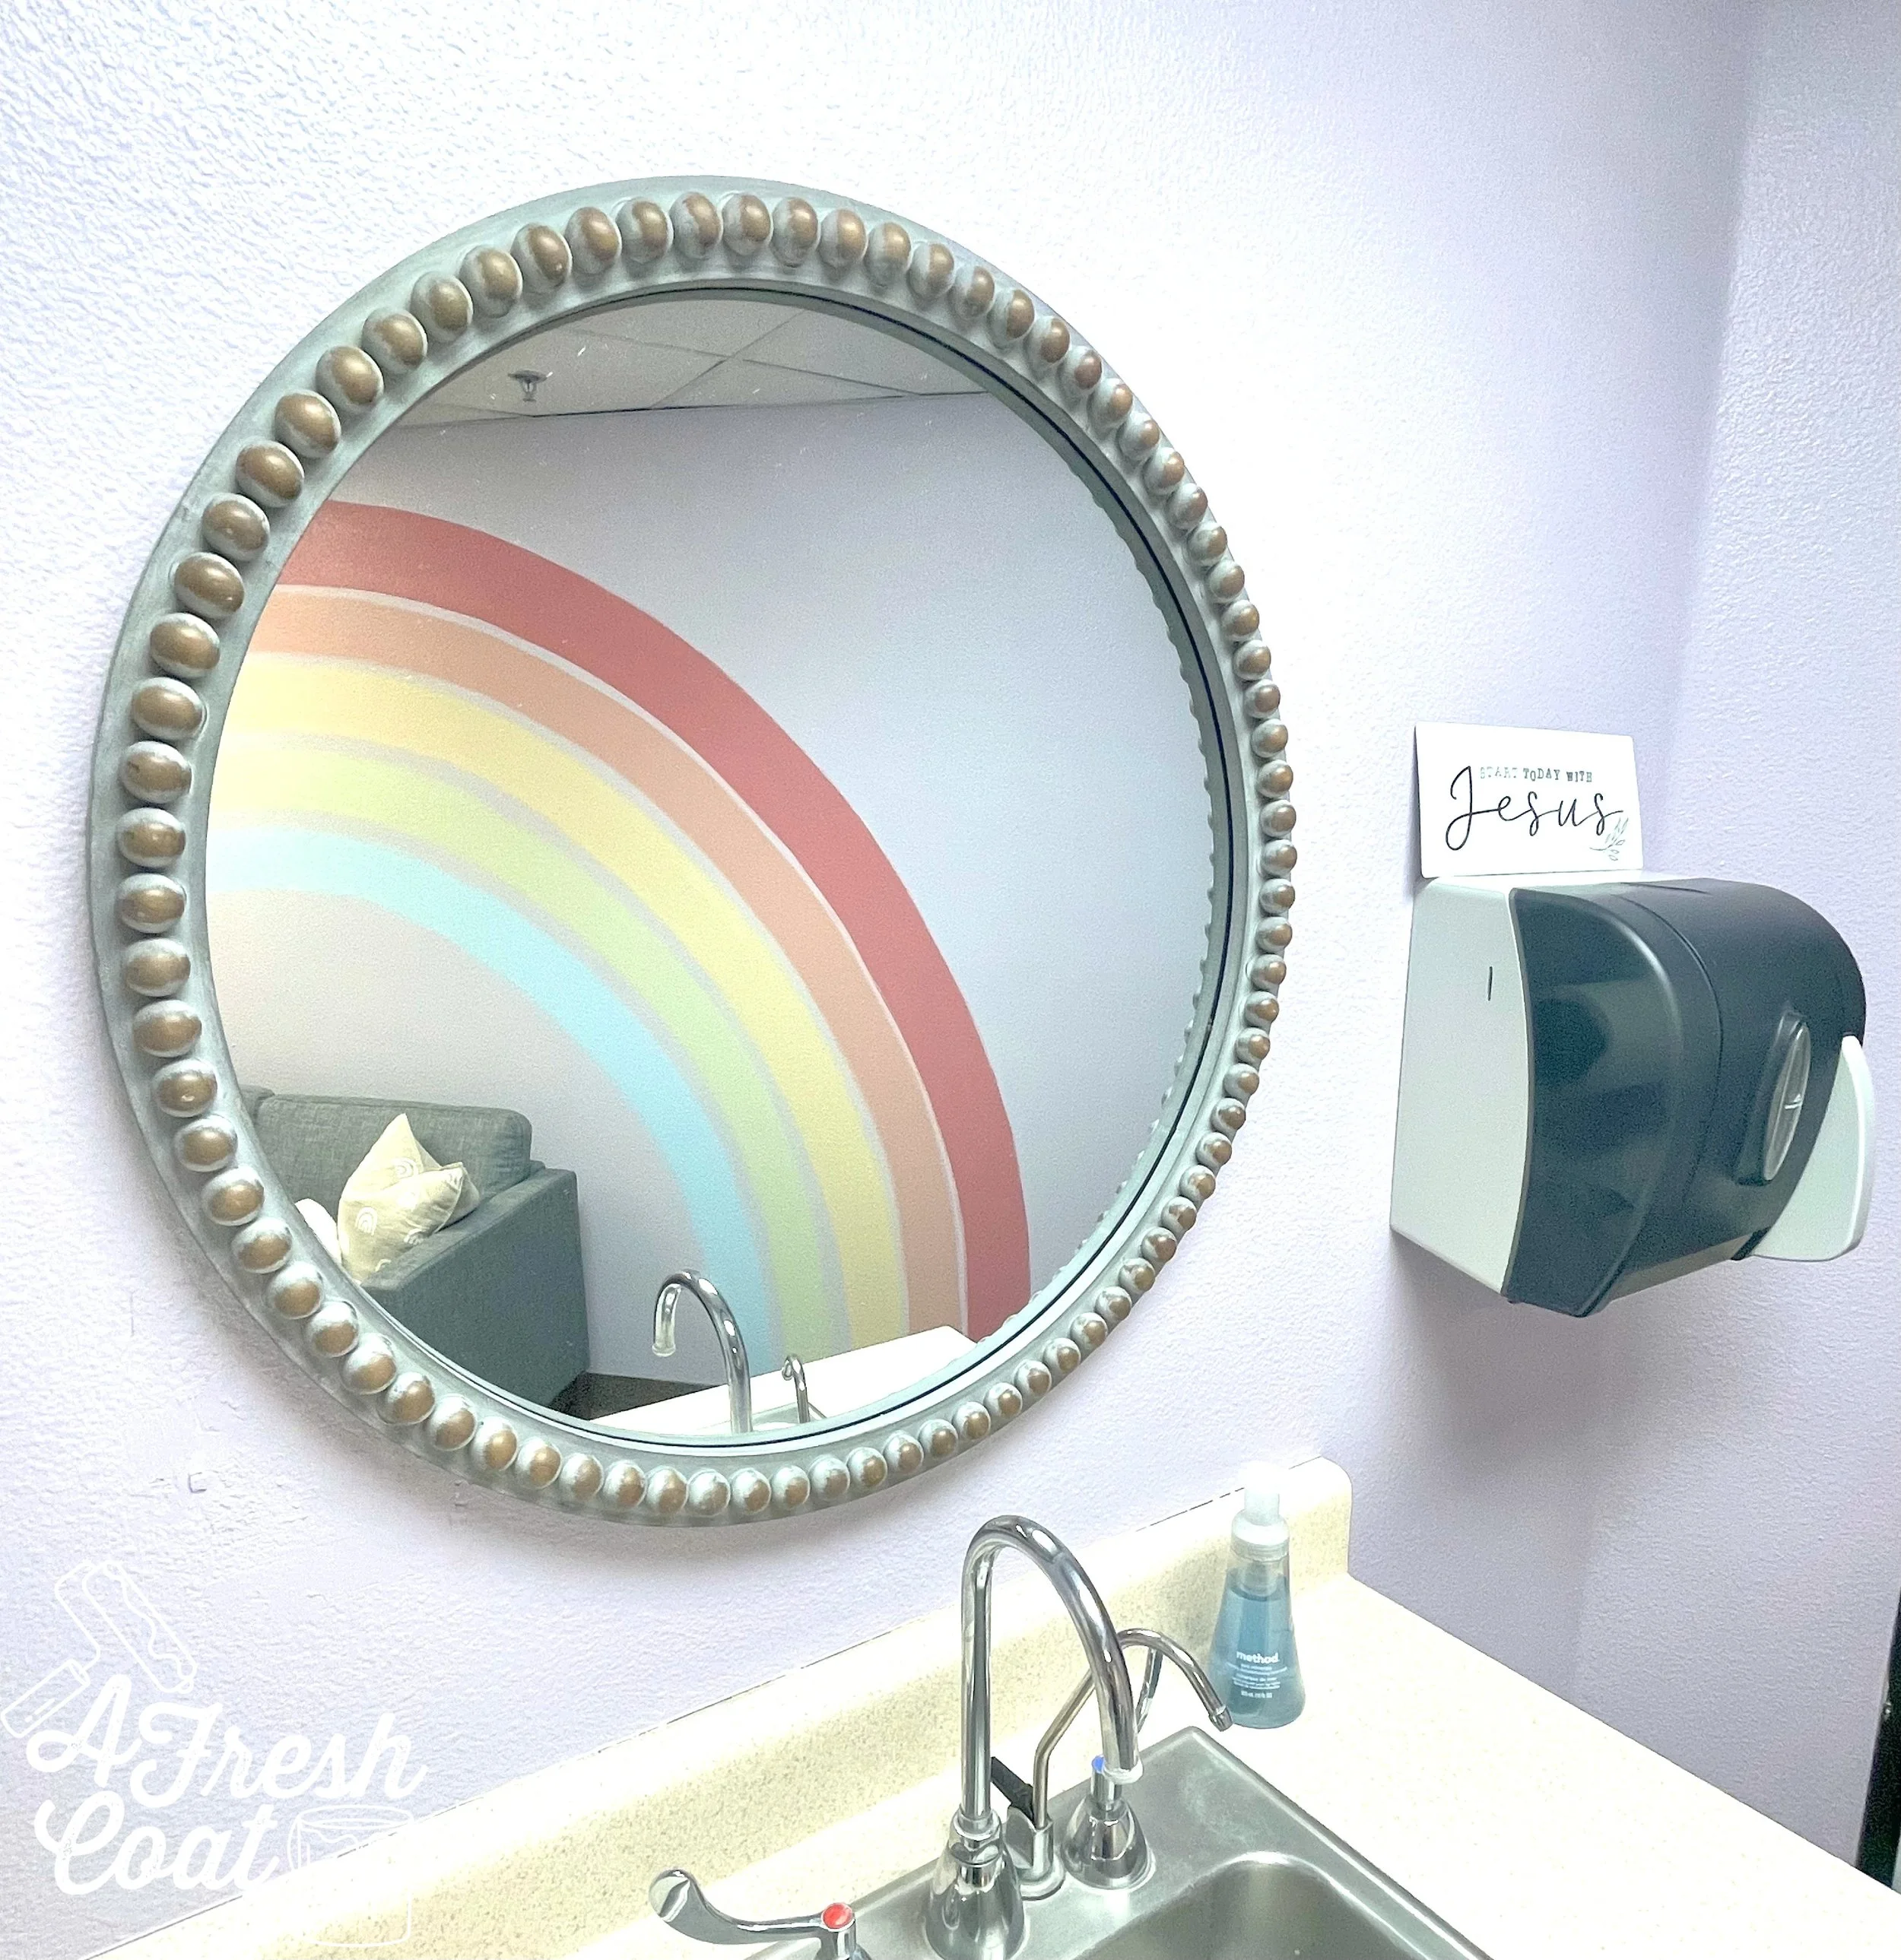
Mirror: Amazon
Decor: Hobby Lobby
Toy Crates: Target, HomeGoods
Book Case: Amazon
Poufs: Amazon