
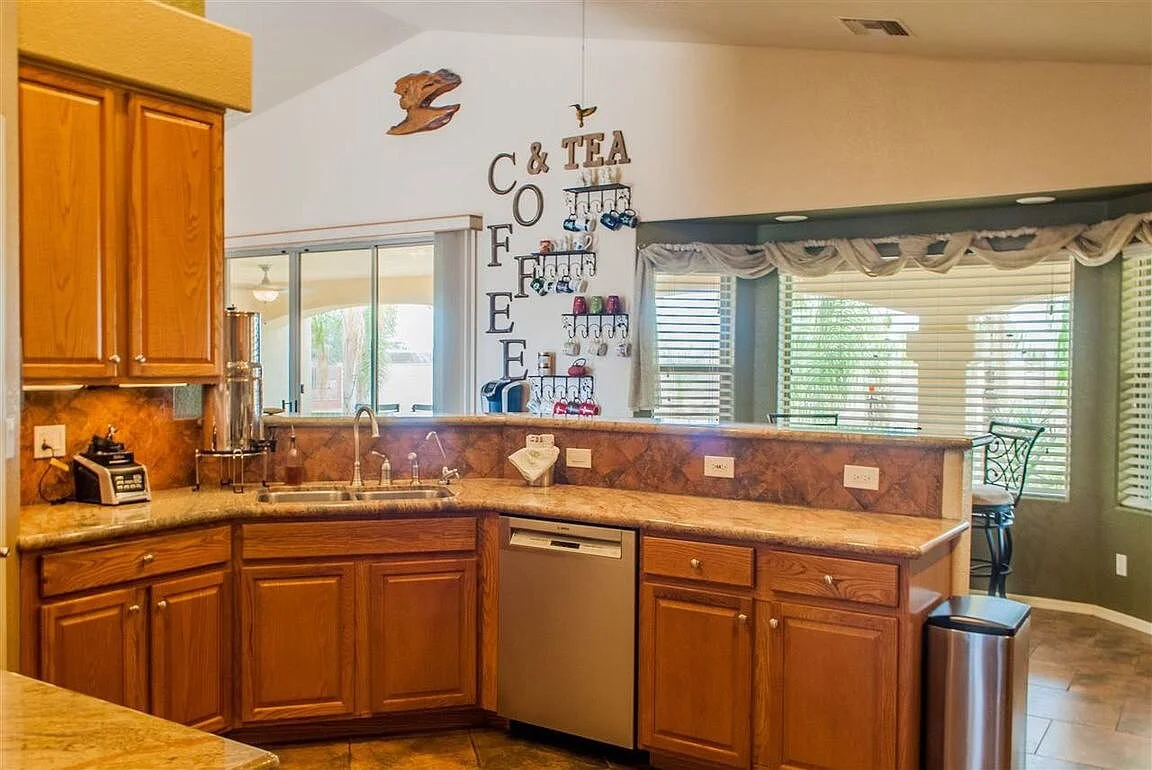
If you follow my IG stories then you know how long I’ve been itching to rip out my kitchen. Okay, so maybe it’s only been two years since we moved into our home, but the outdated orange tile and builder’s grade oak cabinetry had seen better days. Plus, it just wasn’t my style and this early 2000’s home definitely needed some 2020 updating.
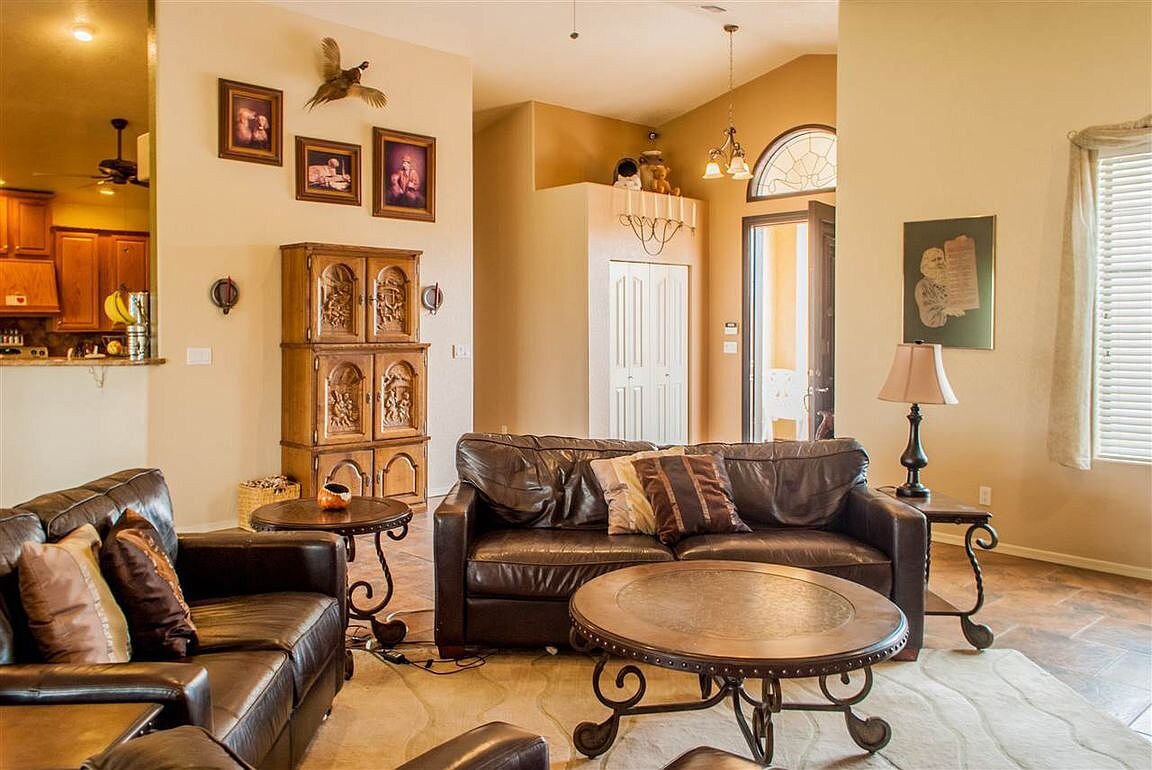
Here is where we started.

PC: Andrew Knizley
PC: Andrew Knizley
See that wall? Or half wall with wrap-around bar? Just from viewing these pictures online (prior to touring the home), I knew I wanted to rip it out. It was screaming for it (like, loudly).

PC: Andrew Knizley
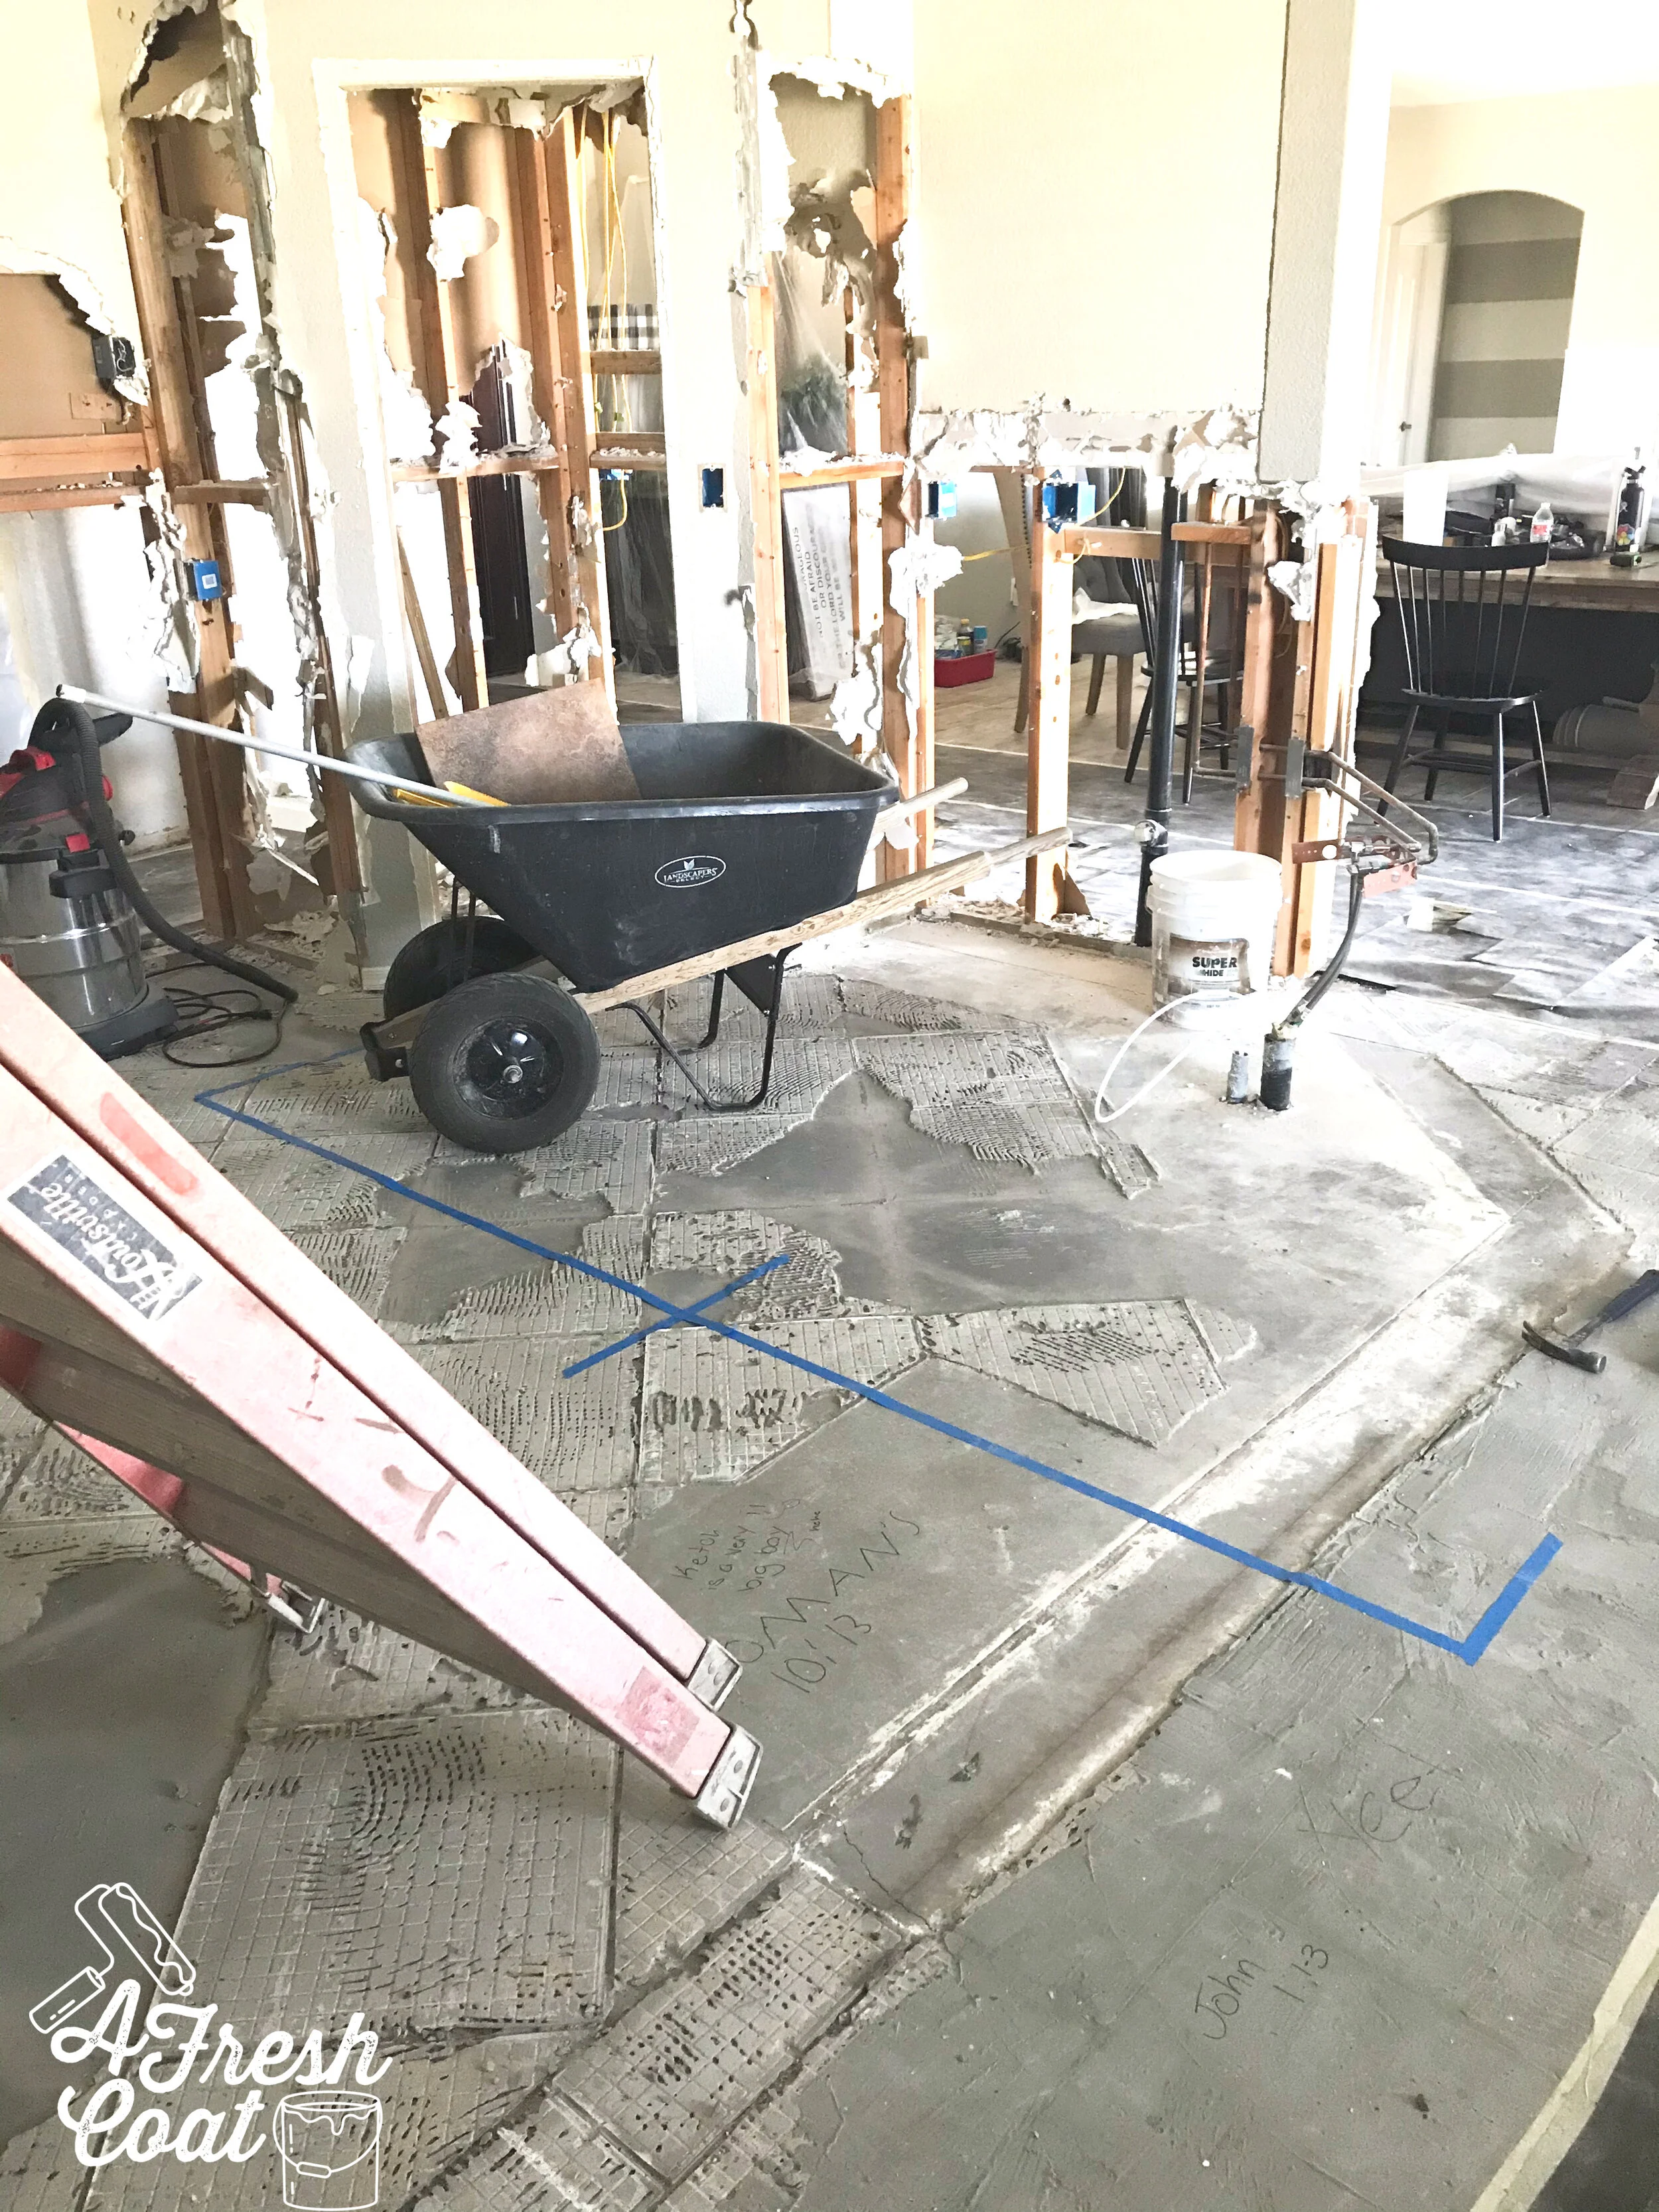
Can you hear the screams? From the wall, to the soffits, to the pantry and everything inbetween, this baby needed some TLC…
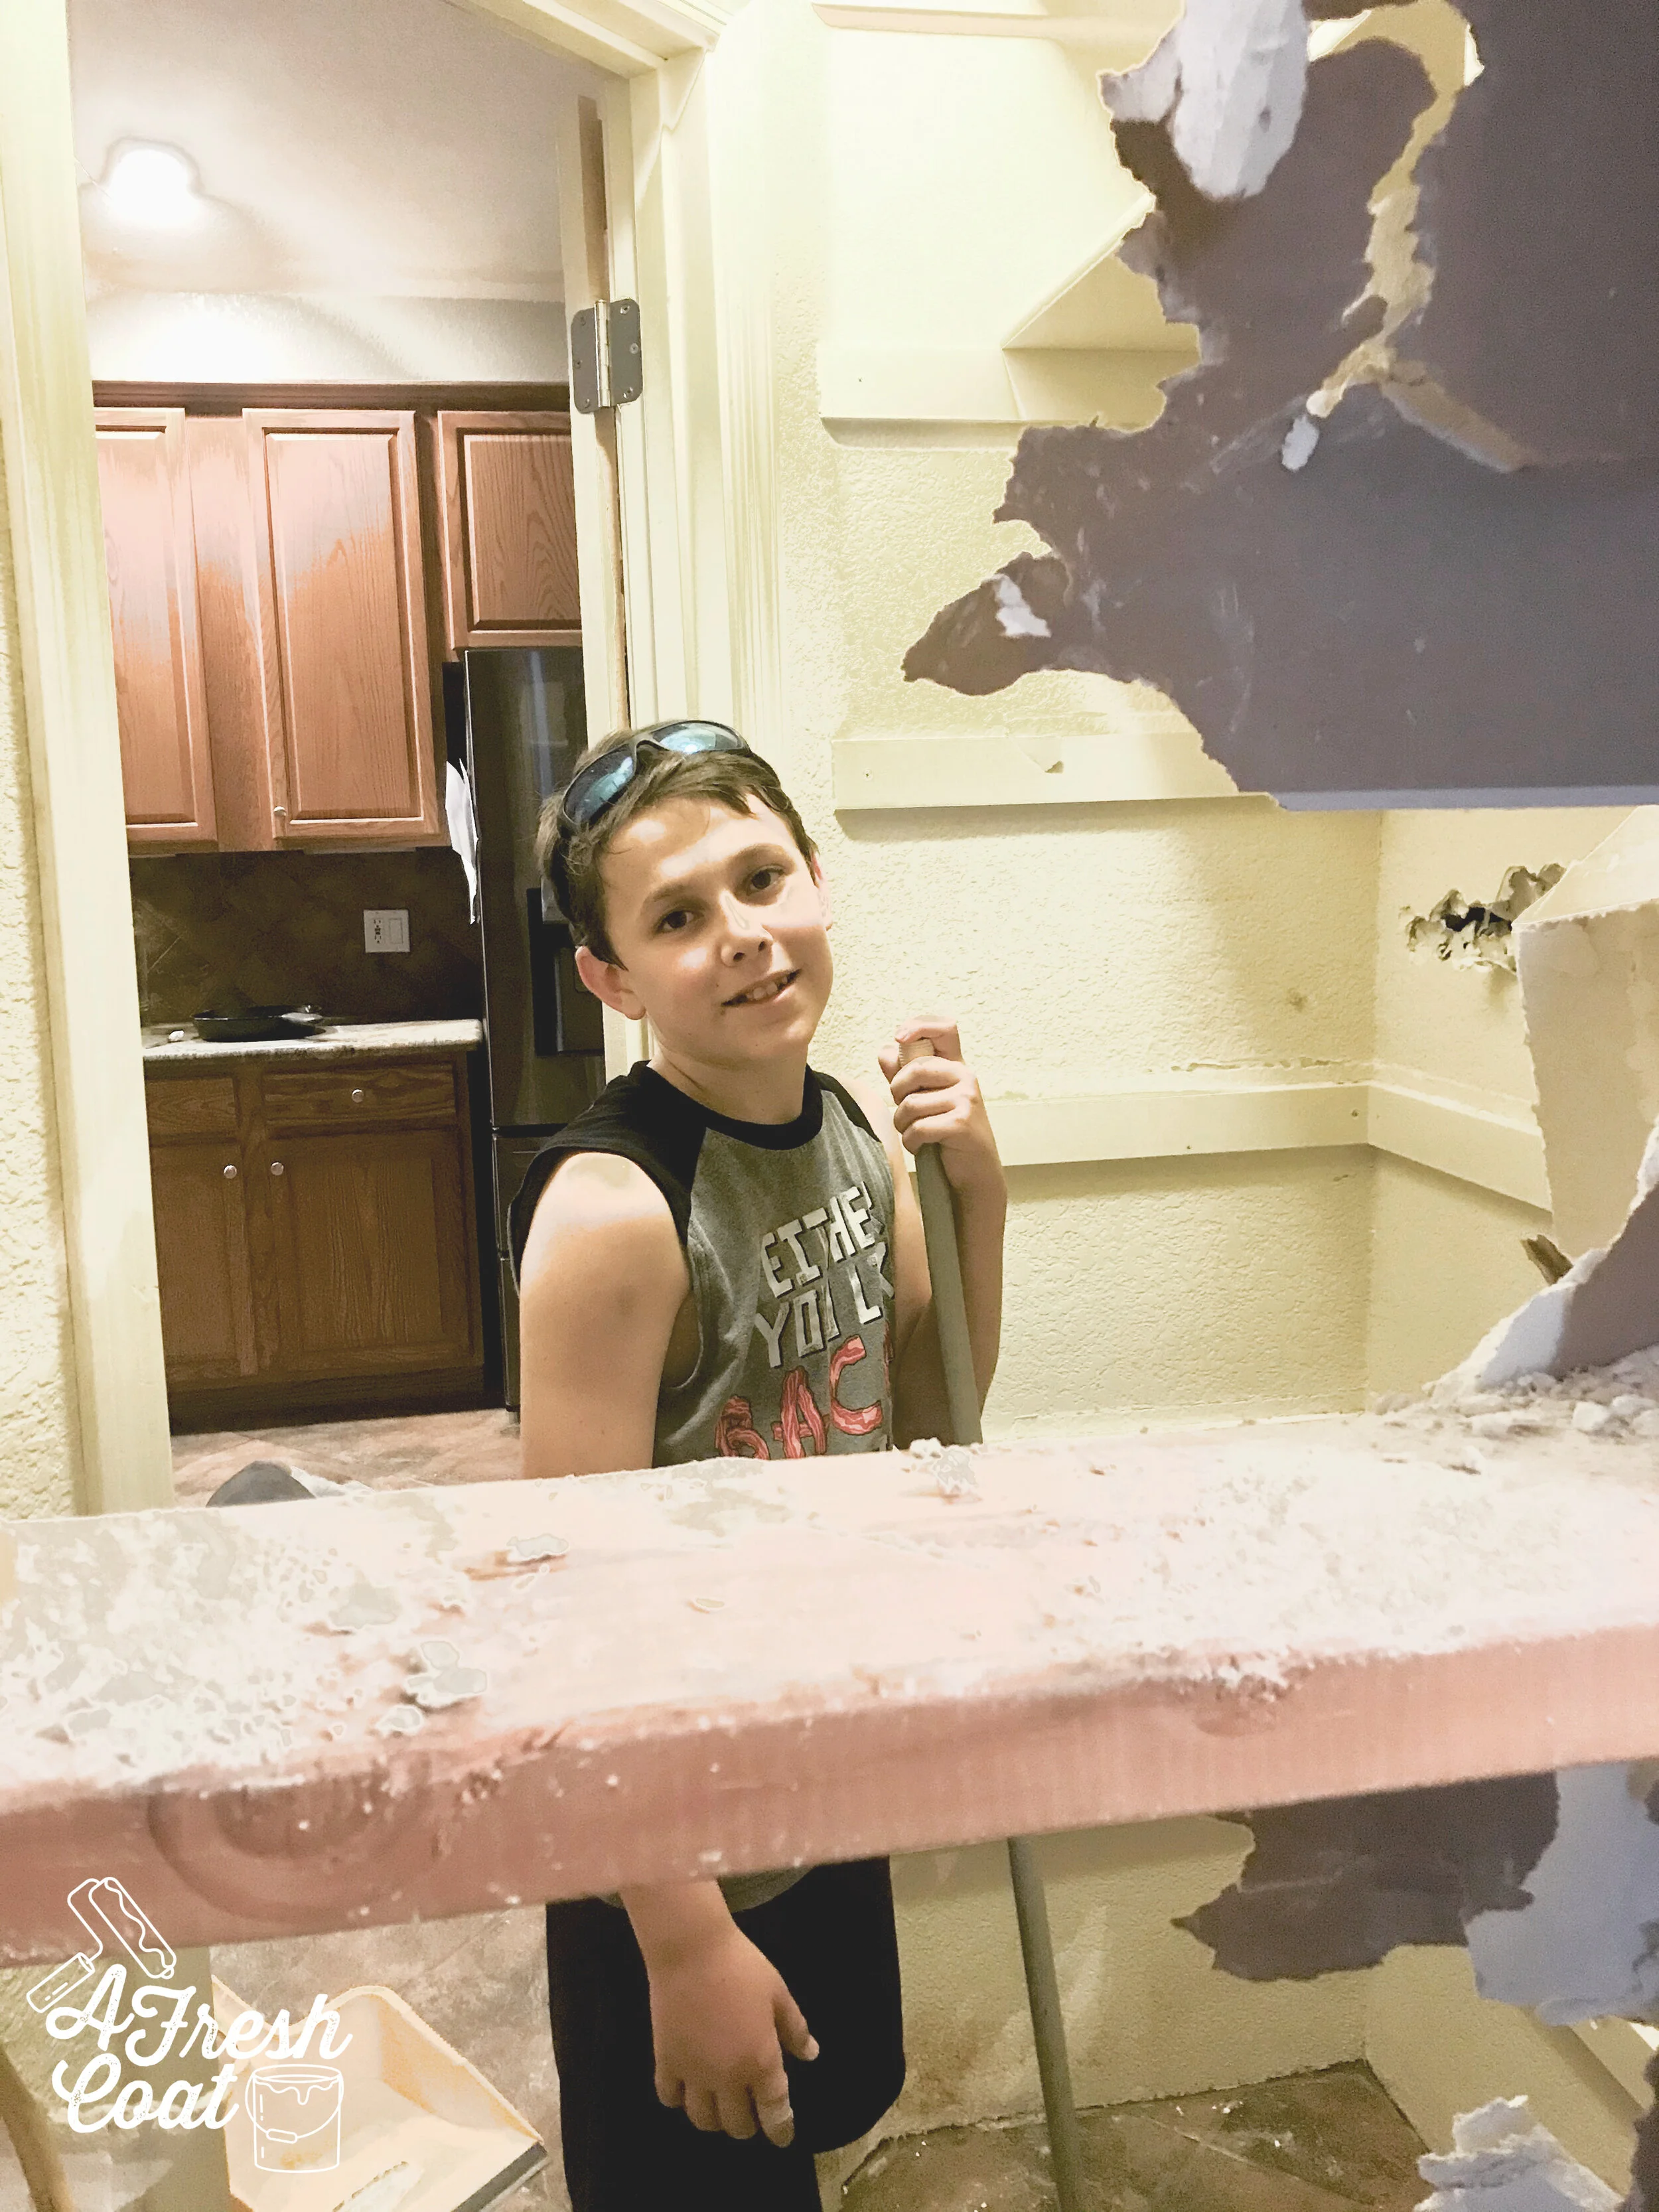
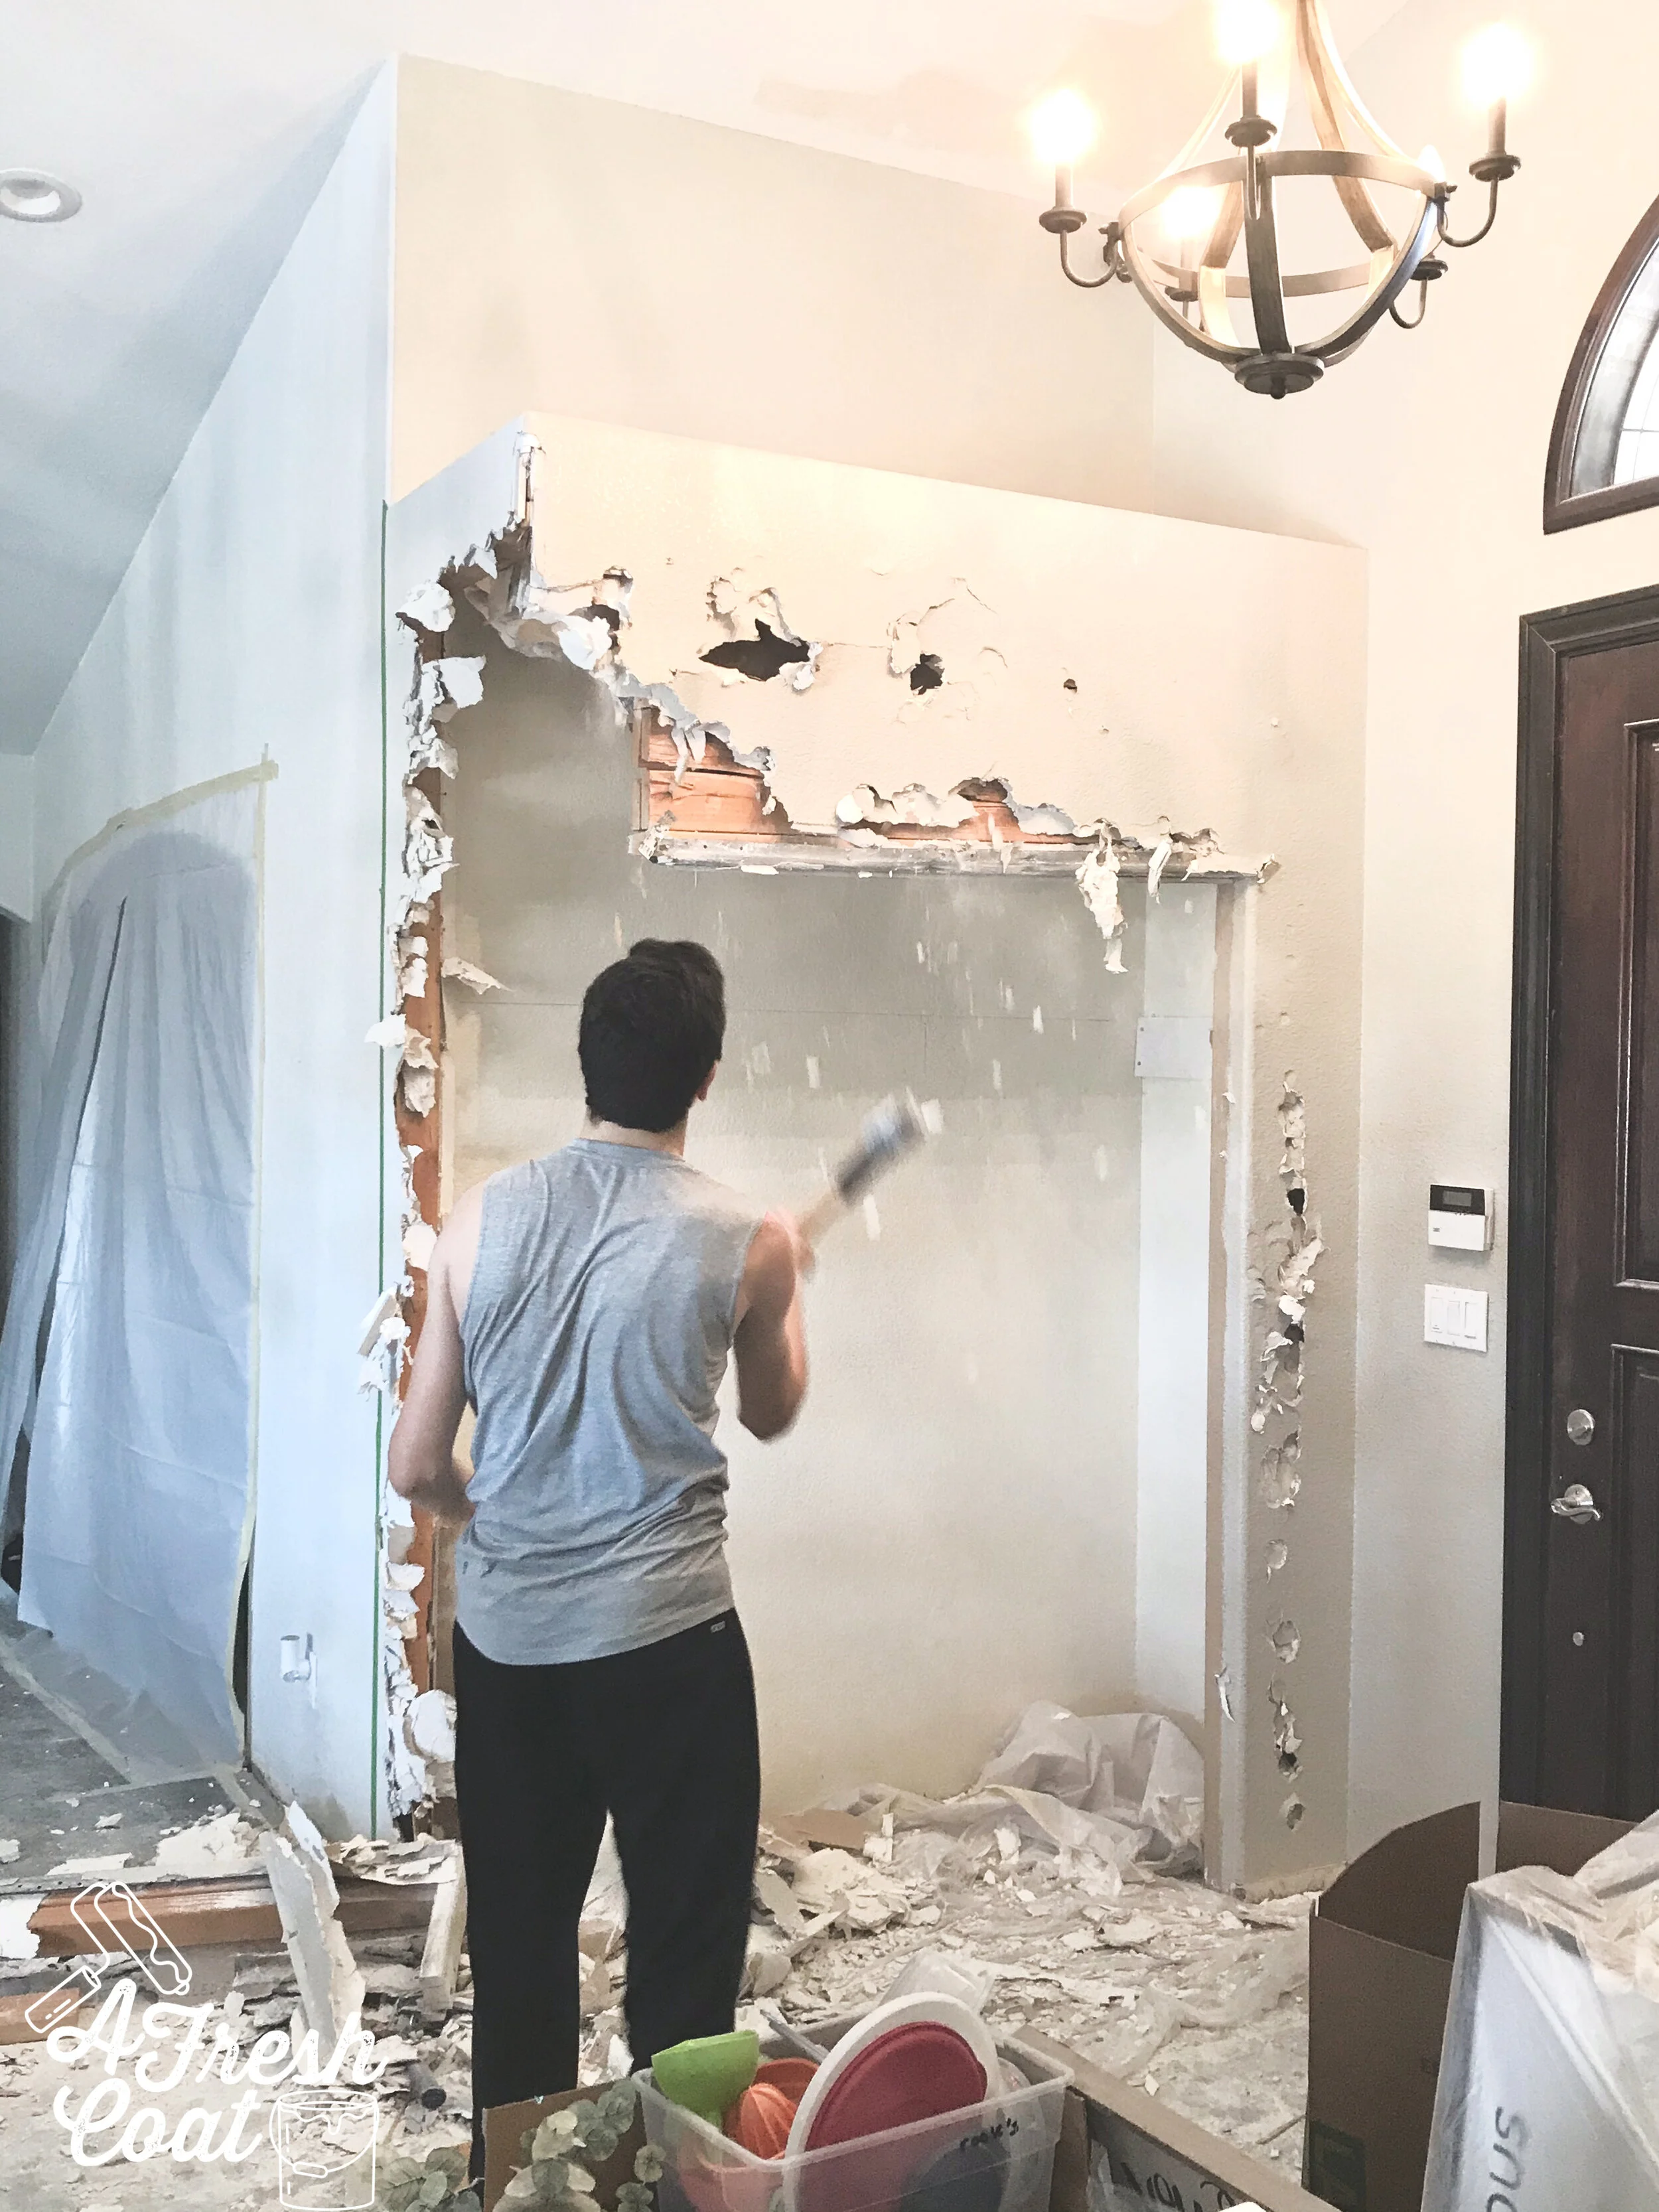
…and an appointment with a sledge hammer. My kids and I were happy to oblige. They love demo work and they had their fill of it this time around. Once we got the green light, these walls were goin’ down.
They quickly got started on “the wall,” whacking that thing as much as they could until they had a ton of holes.

Then they moved on to the pantry, followed by the entryway closet.

And then we let the pros take over. They ripped out the cabinets, the tile, and everything in between. George supervised.

Whoa!

Double Whoa.

It was seriously all sorts of messy…and dirty-dusty. But I totally didn’t care because that wall was G-O-N-E.

And I was happy.
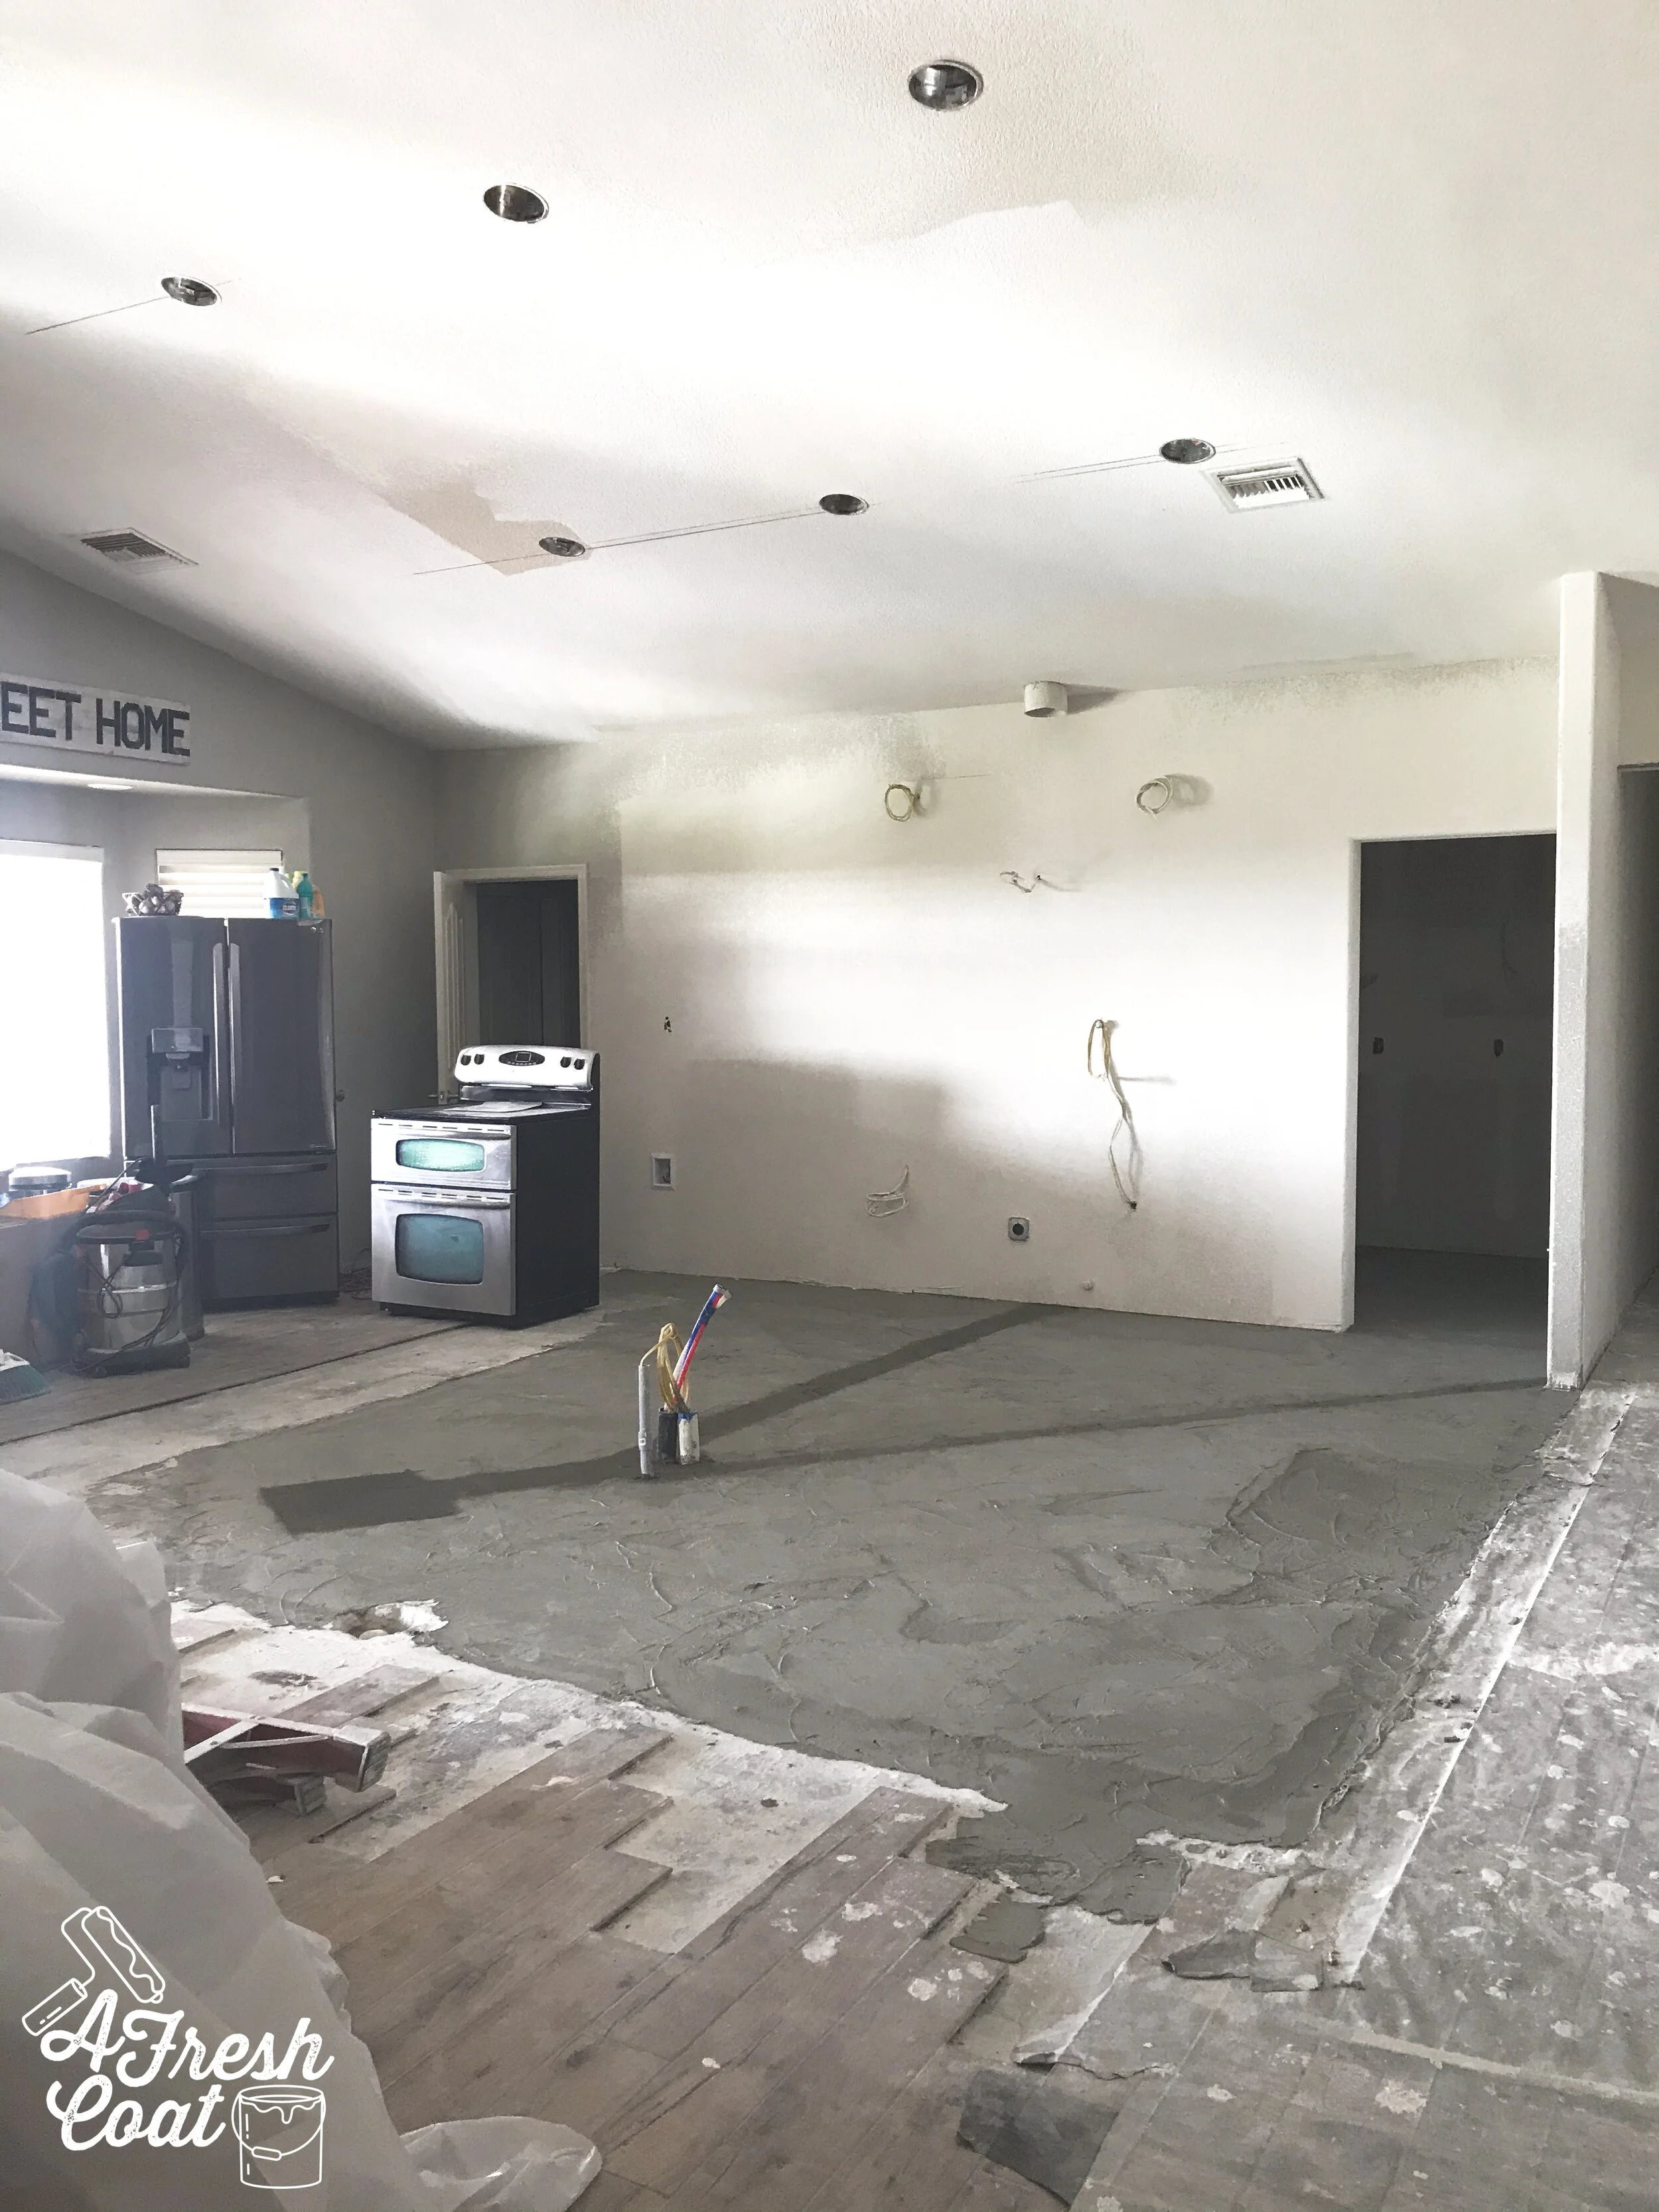
But you see that big black pole and all those wires behind me? Those babies needed to go somewhere since that wall was no longer a thang. So underneath the ground they went.
Let the trenching begin!

Once the floor was trenched, and the electricity and plumbing were all redone, it was time to level the floor and connect the flooring (we had been tiling in stages up until this point). It was like finally adding the last few pieces to a 2,000 piece puzzle you’d been attempting to finish for like, ever.


And George was happy.
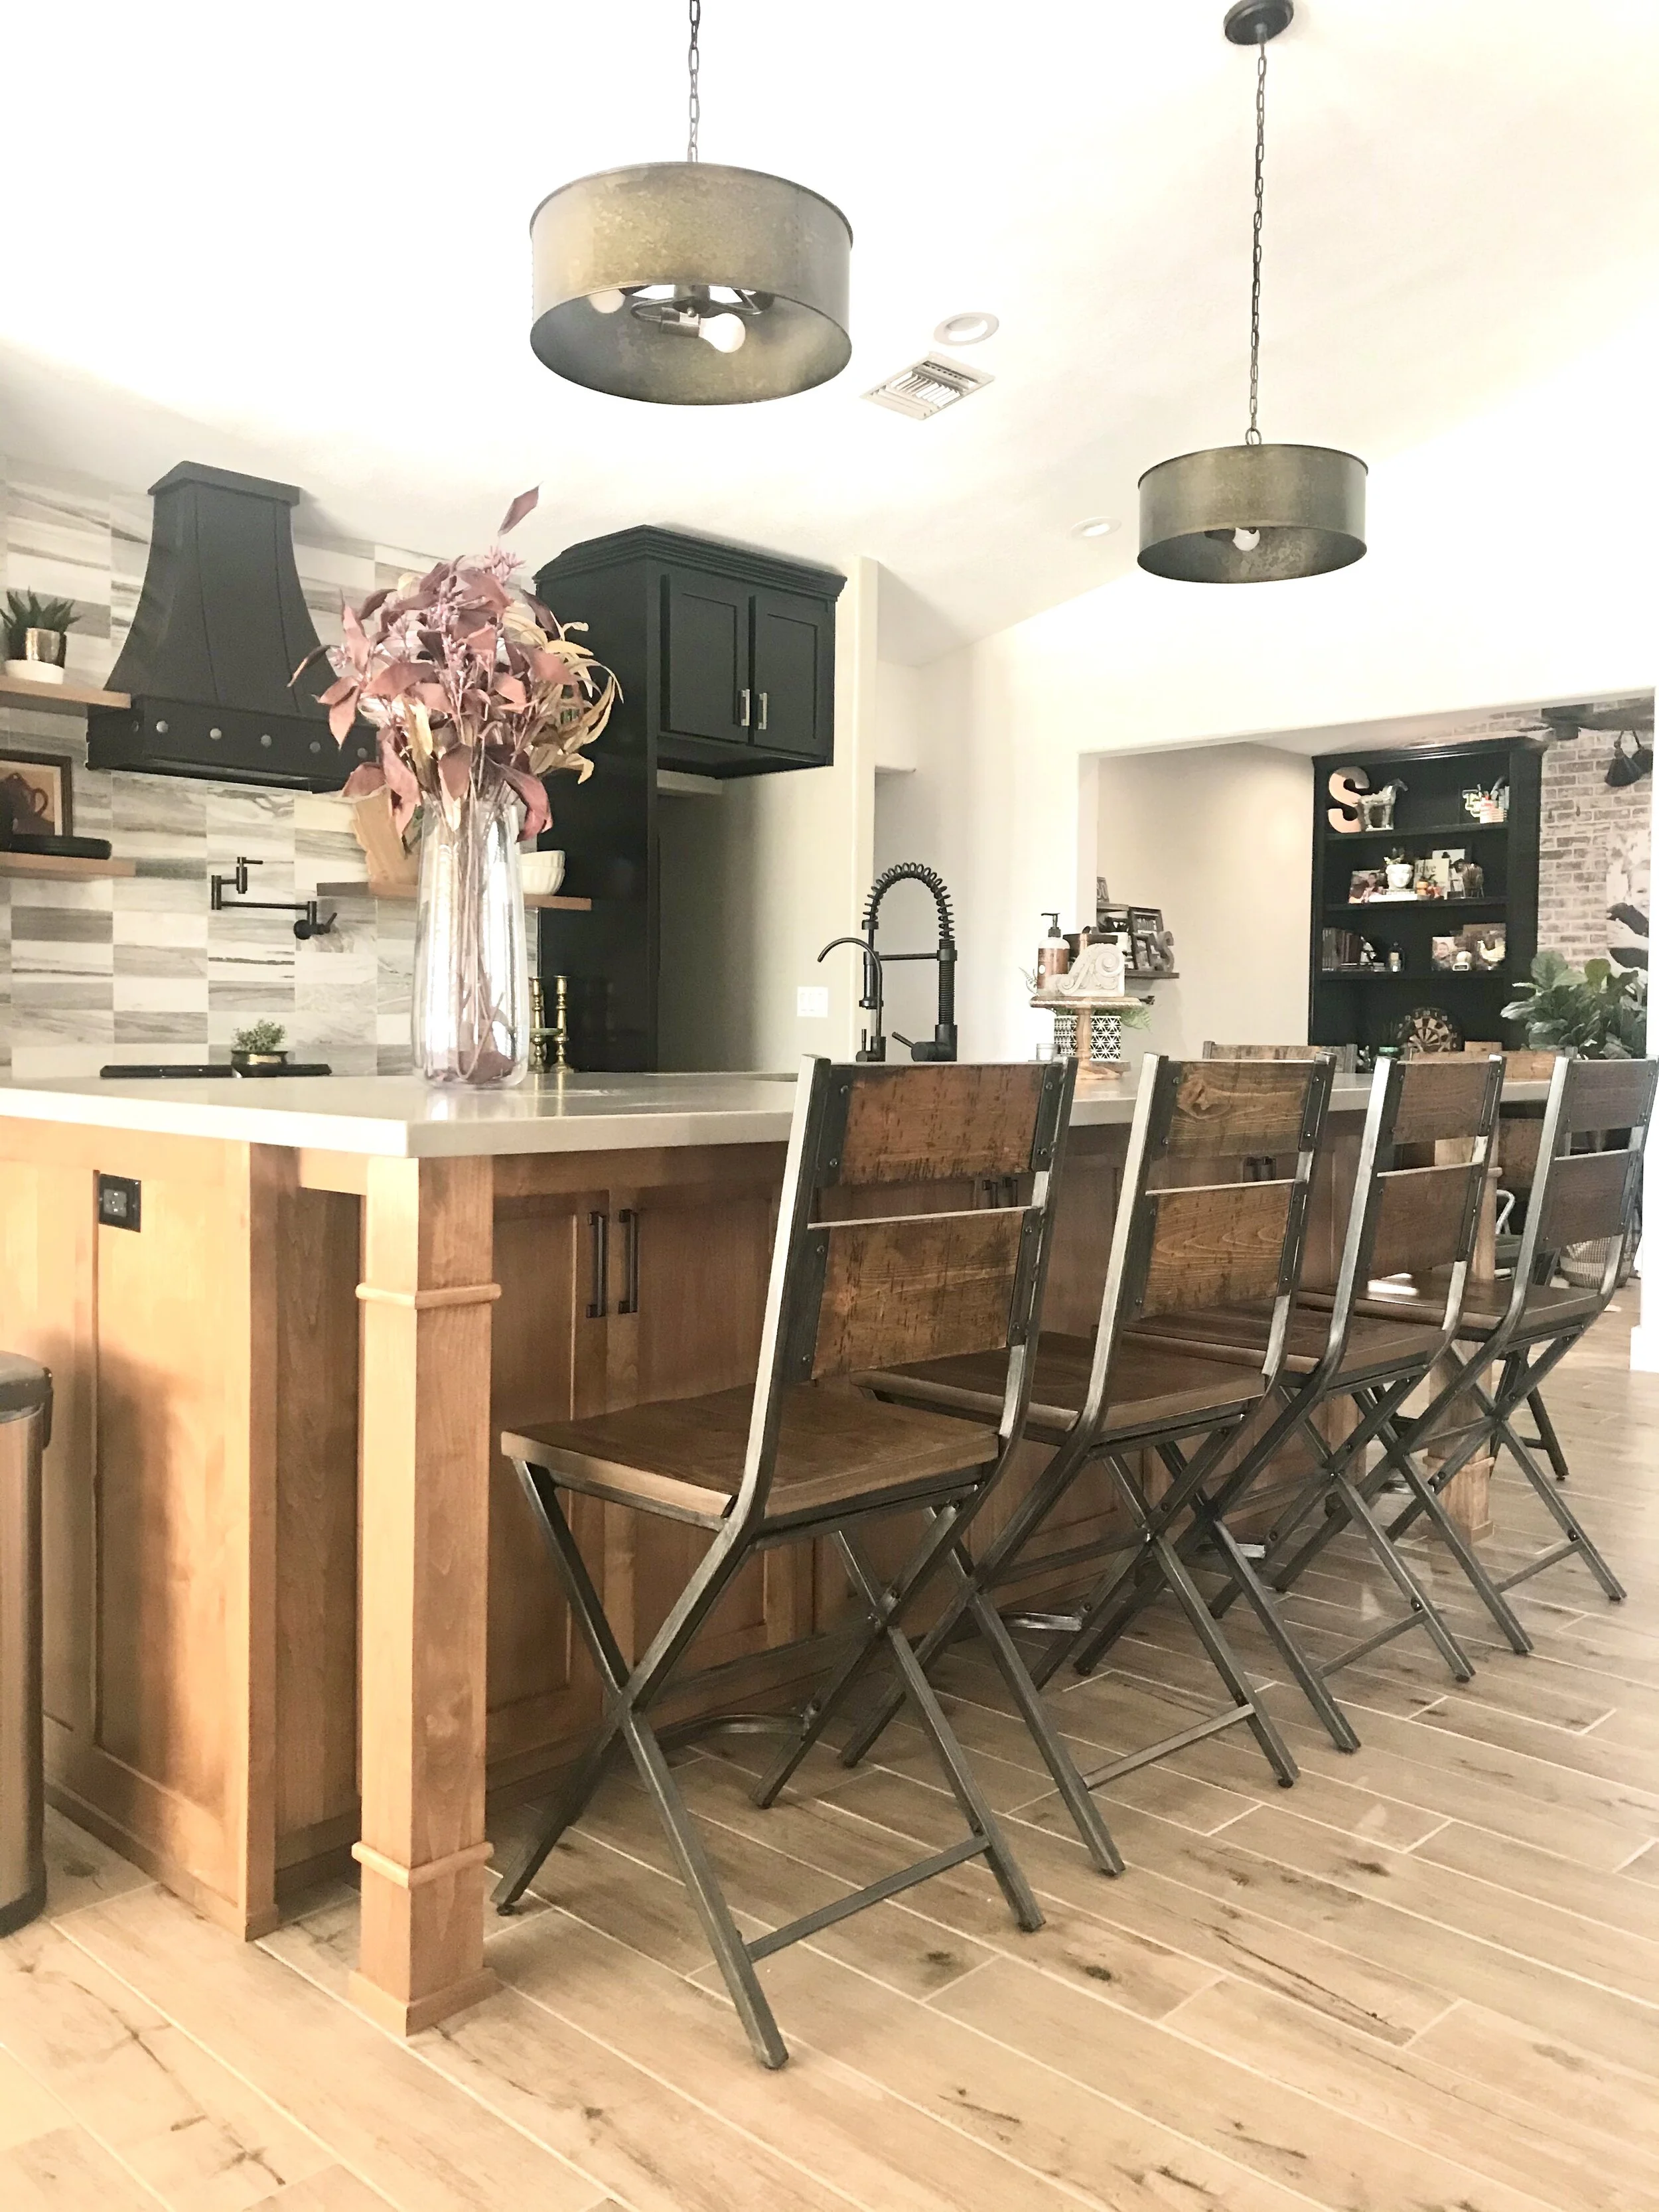
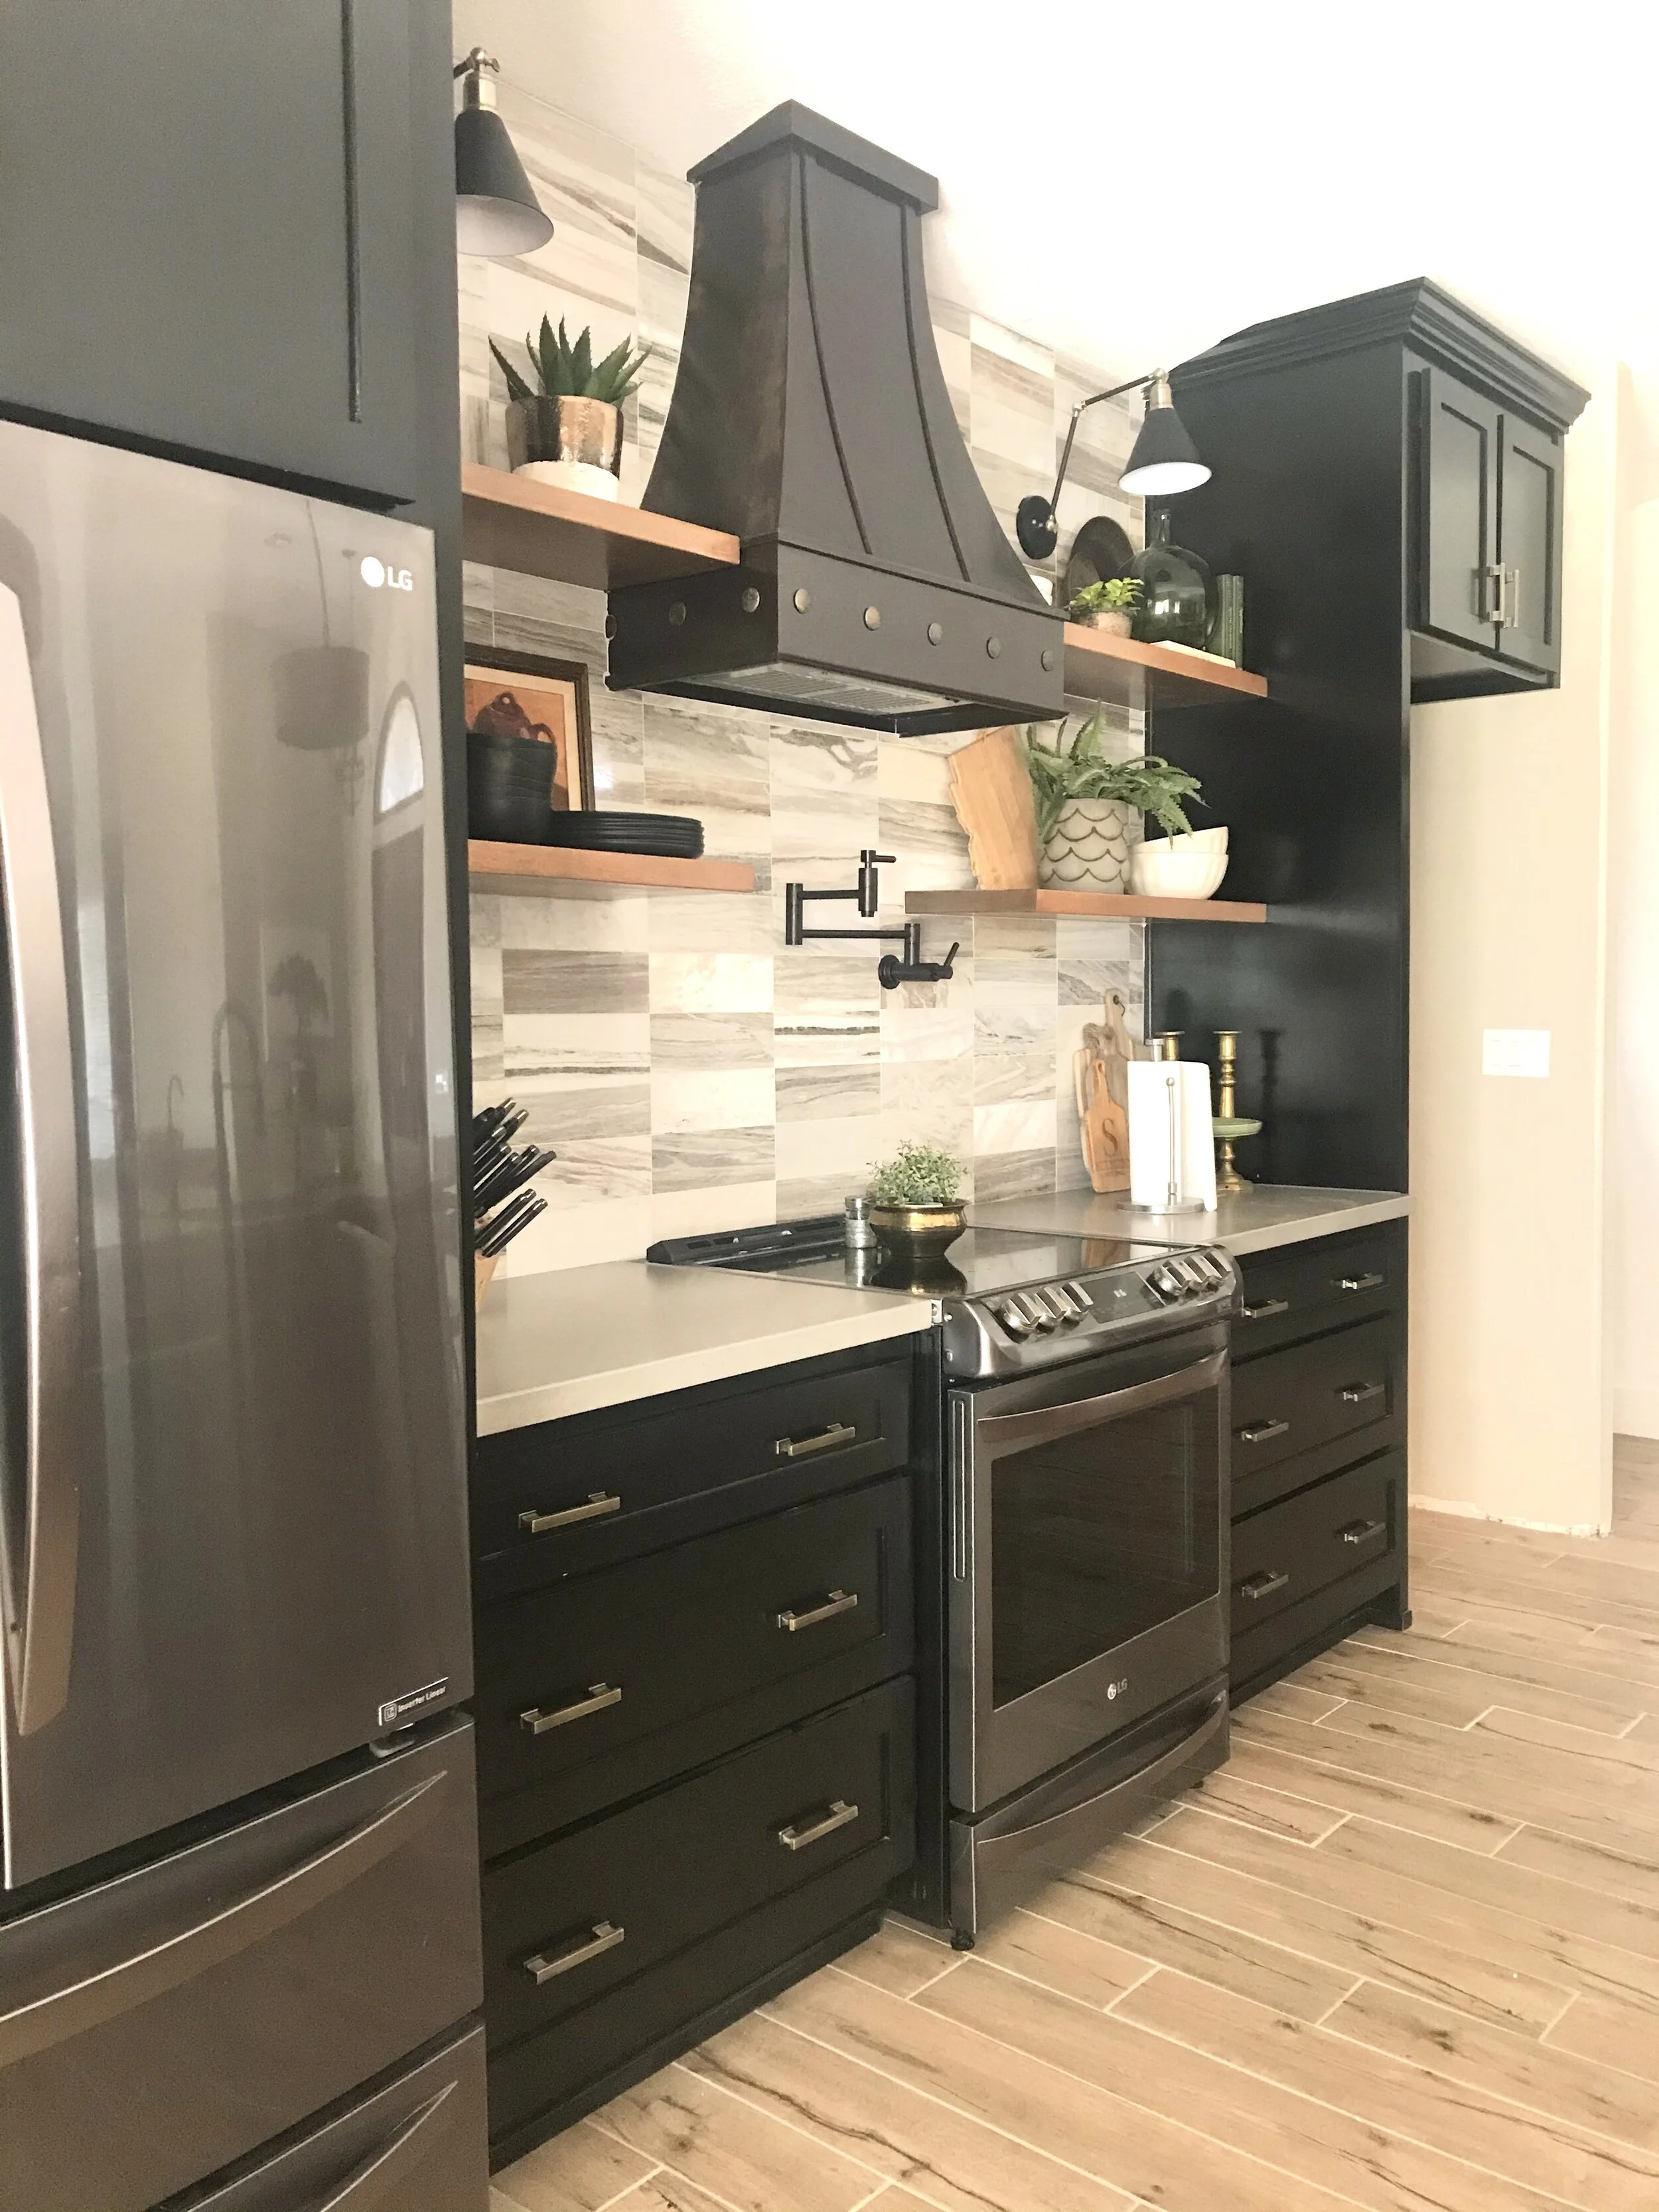
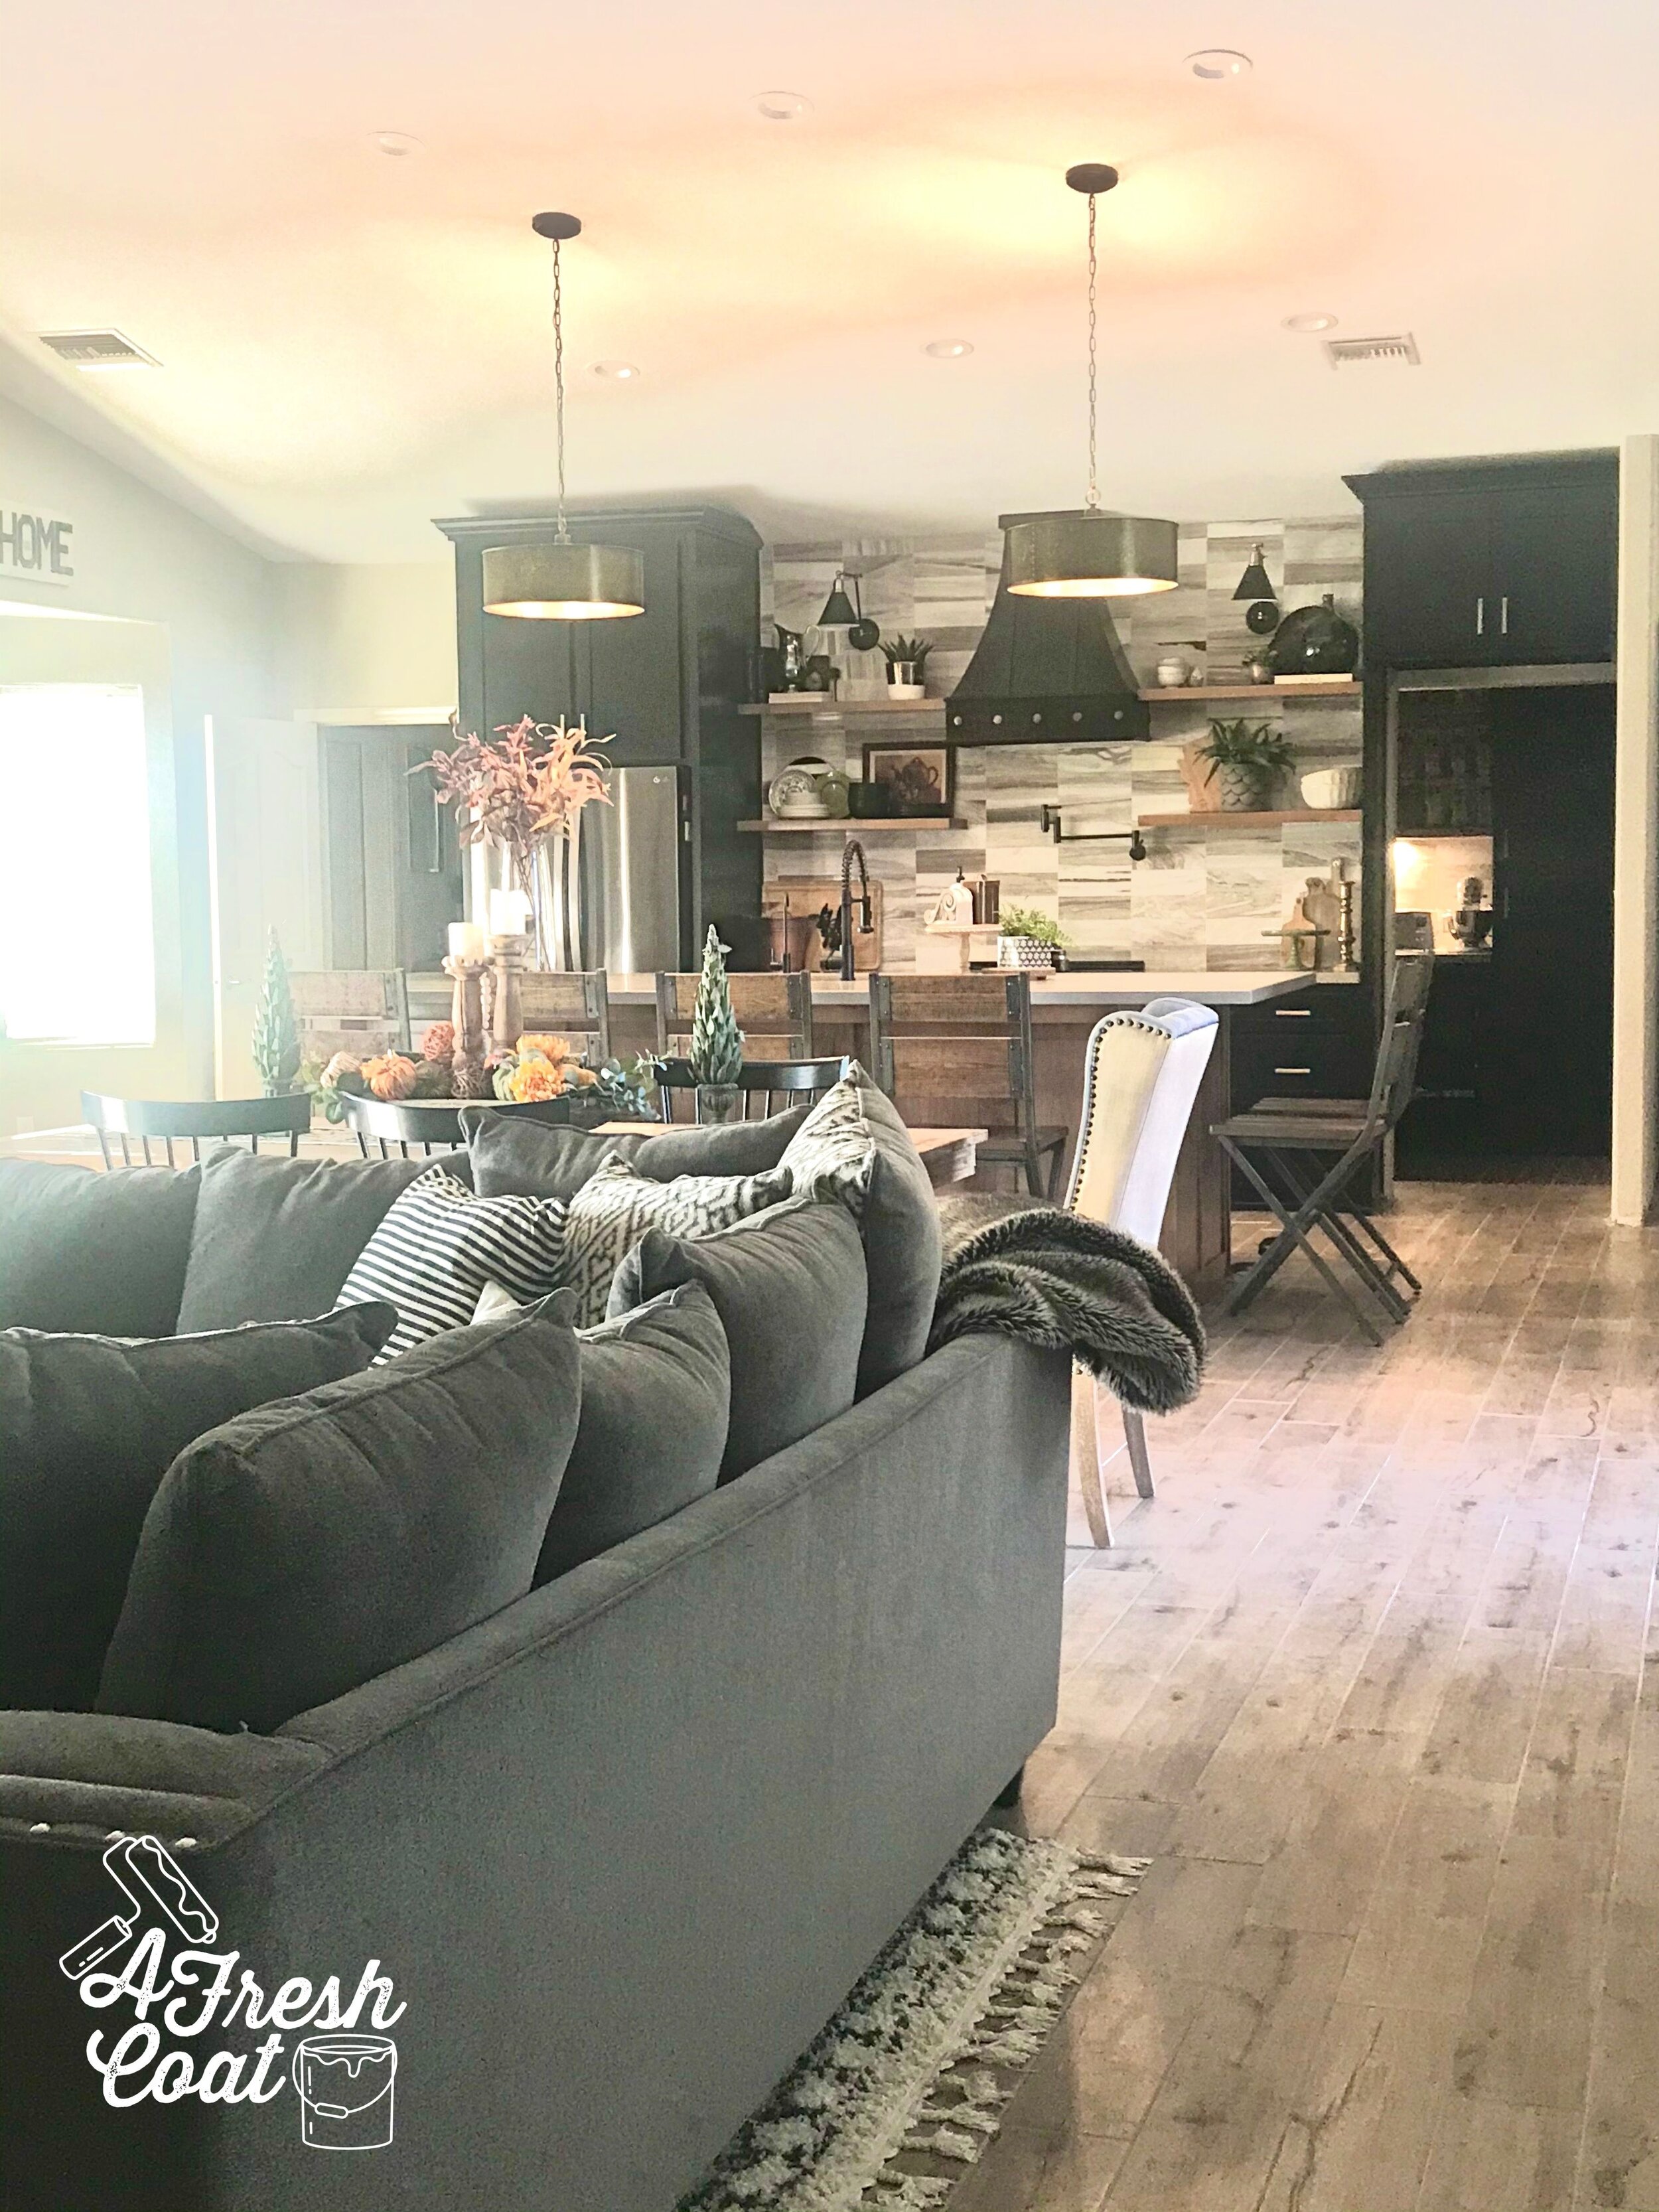
It’s at this point that all the pretty started making its way in. Cabinetry, lighting, shelving and all of the selections made months prior to. This kitchen and all of its finishes were something I spent months and months putting together and visualizing. And as you already know, it all started with the vision board.

Industrial vibes mixed with the warmth of wood, open shelving, and concrete-looking countertops were all pieces I planned to incorporate in this remodel. Traditional? Not by any means which is why I was excited to introduce elements that were anything but standard.


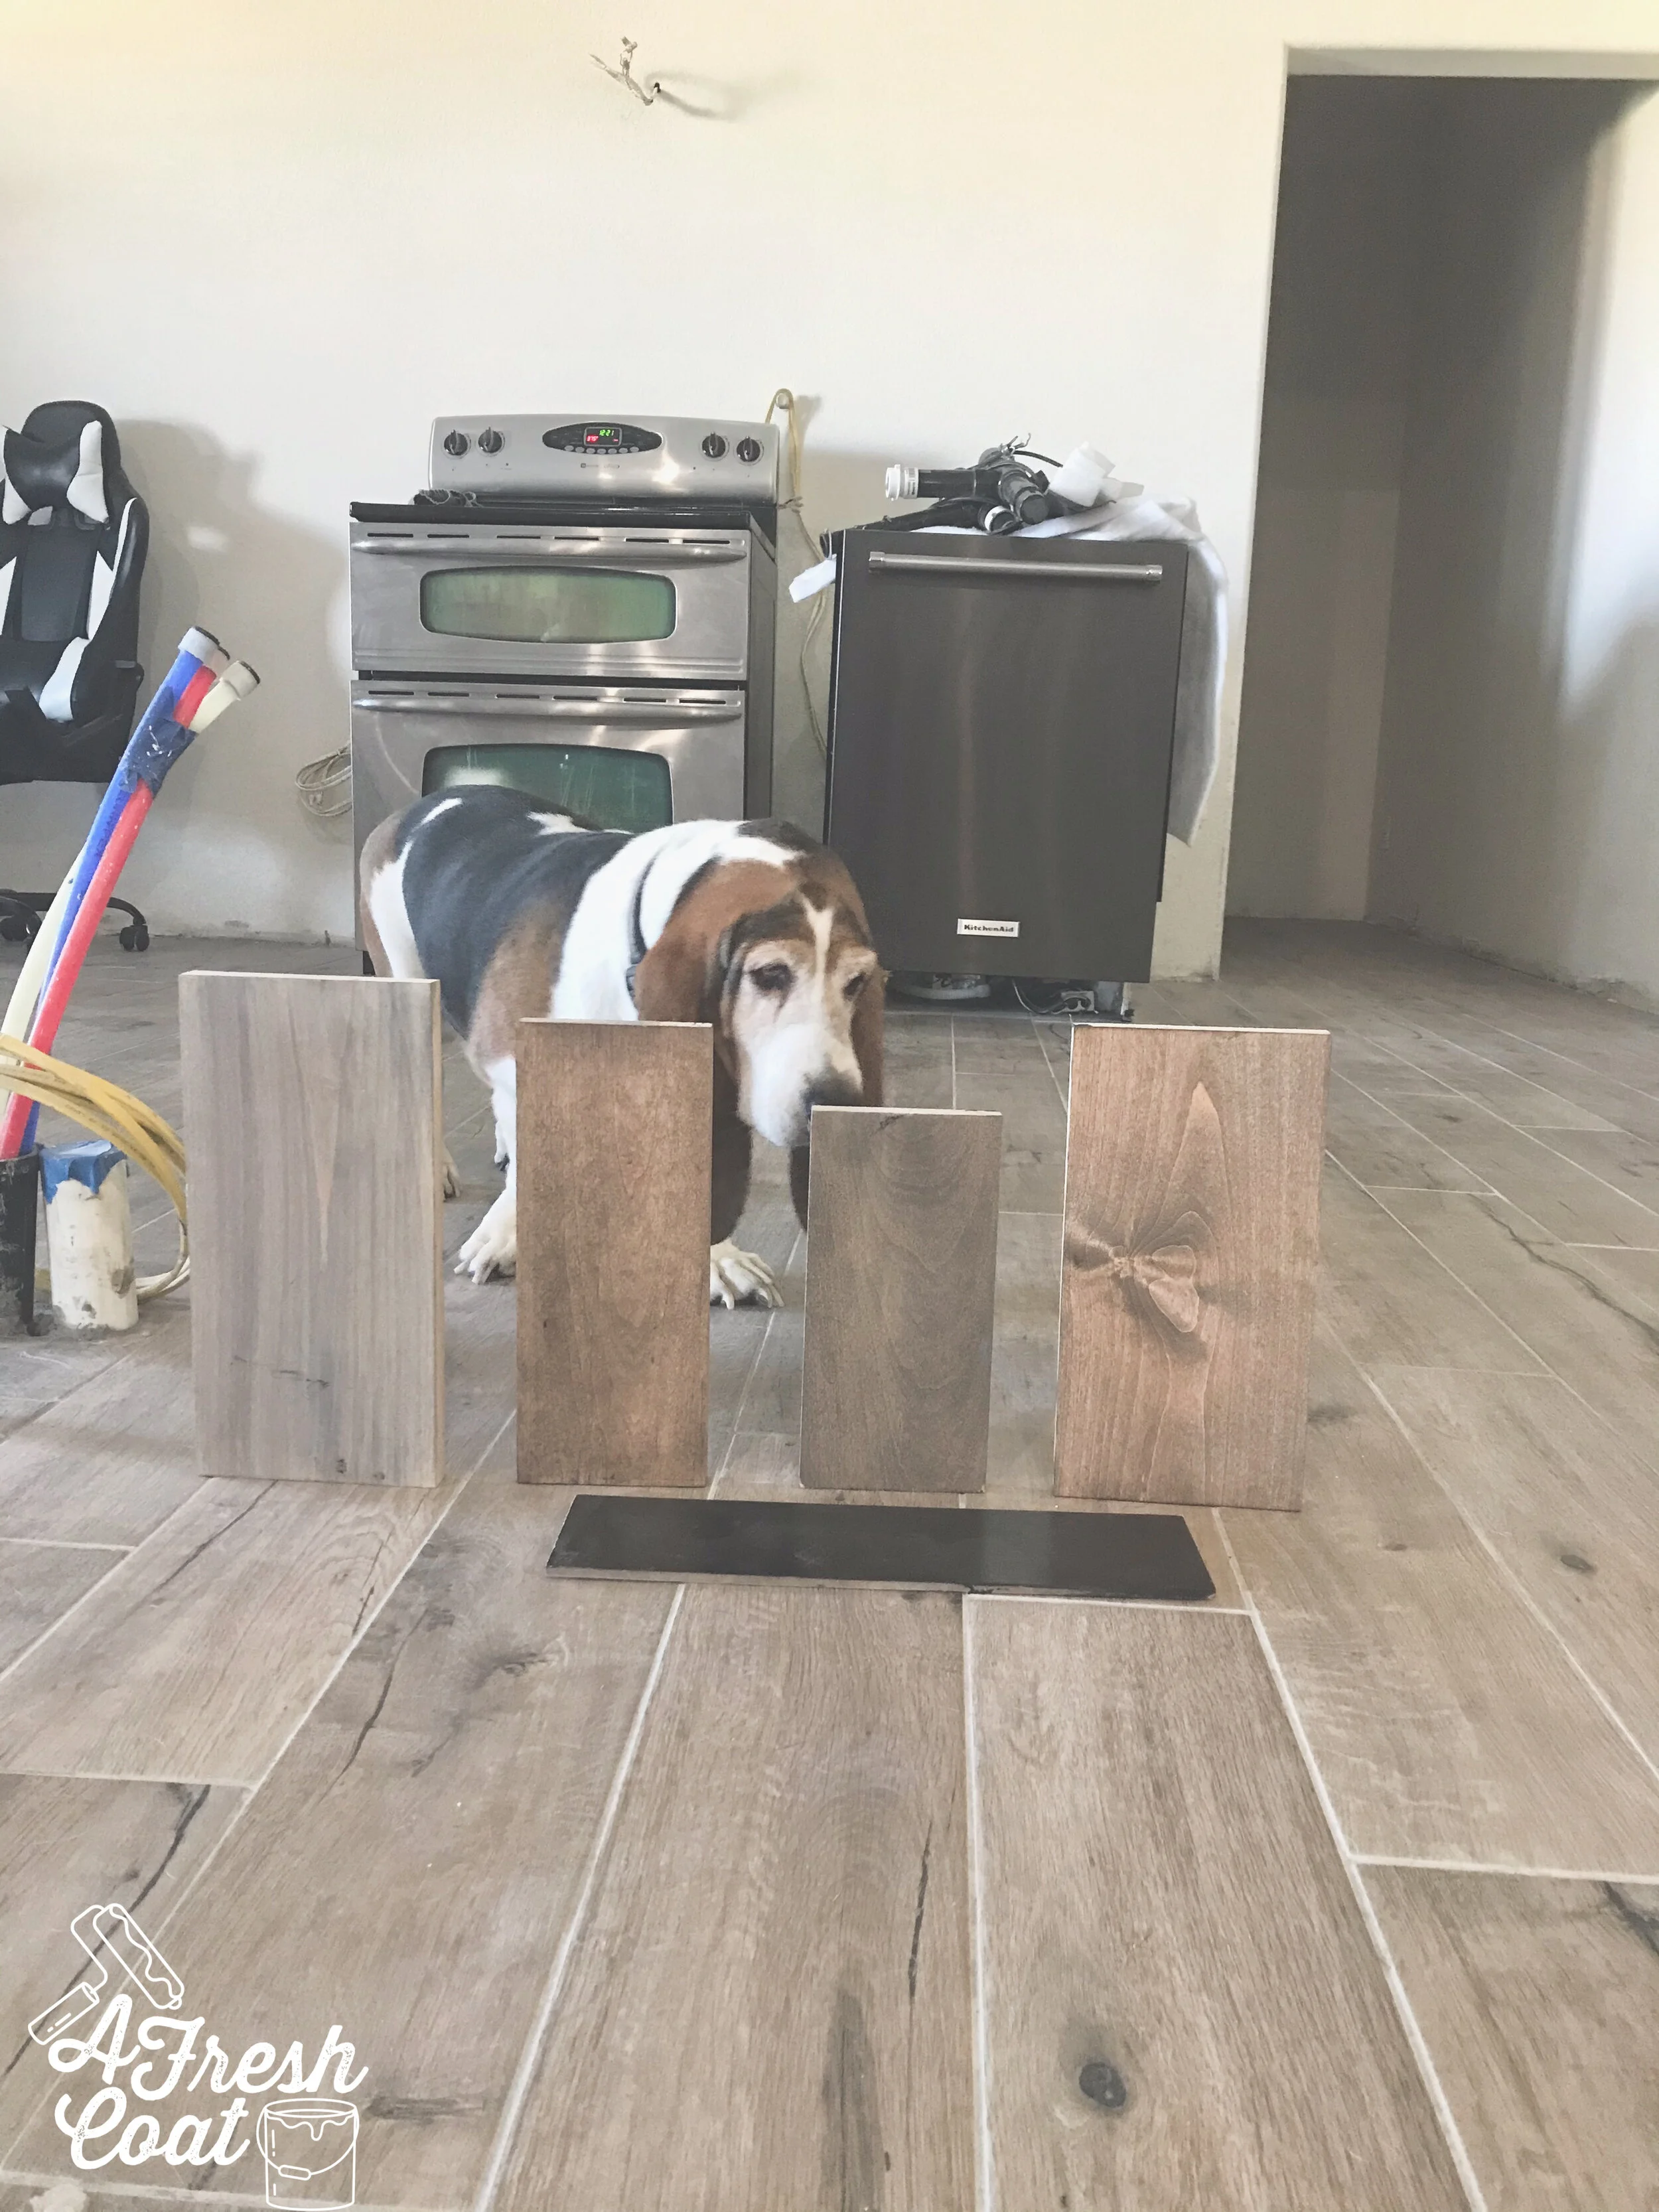
George also had fun making selections along the way—especially when it came to choosing the stain finish for the island. Oh, and I got a whole bunch of help from my ‘Gram and Facebook friends too.
Let the pretty begin!
Now, I have to say that this remodel went through a lot of changes along the way. The Butler’s pantry totally had to be reconfigured, as did the laundry closet (that thing can’t constitute as a “room”), along with the island as well. Did this add stress? Absolutely! However, in the end, it all worked out. But before I provide the reveal, here are more progression pictures…afterall, this was a twelve week remodel. Yah, twelve!
With my countertops, I really wanted the look of concrete without the maintenance involved with actual concrete. See this pic below? This is my Fossil Grey quartz slab waaaaay hiiiiigh up in the air, almost ready to make its debut in my kitchen.
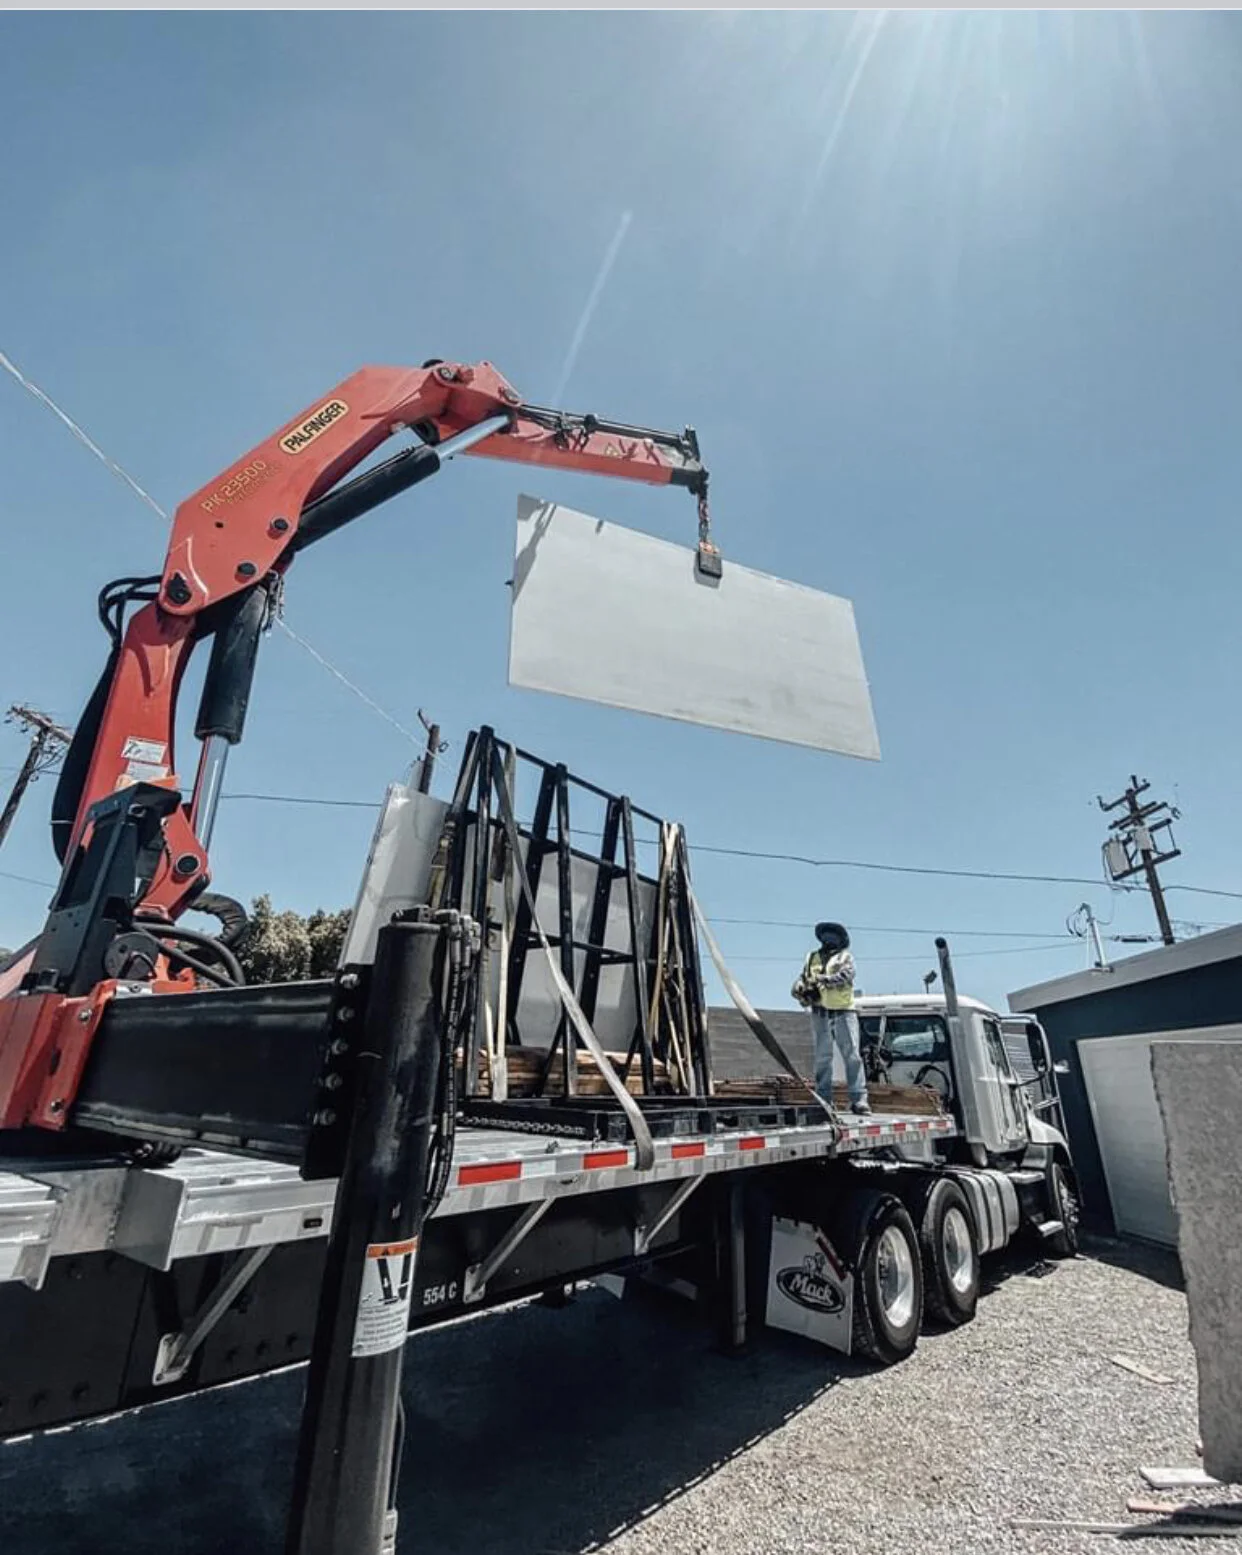
PC: Master Finishes

And here’s that baby in our home, along with the introduction of our base cabinets…

and most of the Butler’s pantry—but more on that later.
Ready for the reveal? After twelve long weeks, this baby is fully functional and I’m ecstatic!


And one more before and after…

PC: Andrew Knizley
I’m not going to lie, this was a long process. Real long. Not only did this remodel take place during the hot, hot summer, but also during a Pandemic which meant my kids were not only hot, they were bored and annoyed. However, it was worth it….sooooooo worth it.
Were there hiccups? Yes. Were there times where I was beyond over it? Yup. But we got ‘er done…and done she is.
Stay tuned for the Butler’s pantry reveal. That’s coming up next.
In the meantime, tell me—what’s one thing that keeps you from remodeling your home (other than the ginormous price tag)?
THE DETAILS:
Flooring: Lowe’s Home Improvement; Natural Oak
Flooring Labor: Julio Martinez
Wall Color: Tanglewood by Behr
Paint Labor: A Fresh Coat-Yuma
Contractor: Master Finishes
Cabinetry: C & R Cabinetry via Master Finishes
Quartz Countertops: MSI Fossil Grey via Master Finishes
Cabinet Color: Tricorn Black/Custom Stain
Backsplash: by Golden Valley Maravalla Floor & Decor
Backsplash Labor: Julio Martinez
Counter Stools: Ashley Home Furniture Store
Decor: Hobby Lobby, Dandy Home & Ranch, Goodwill, HomeGoods, Kirklands, Target, Crate & Barrel
Sconce Lights: Lamps Plus via Walmart
Drum Pendants: Dandy Home & Ranch
Kitchen Faucet: Build.com
Kitchen Sink: Build.com
Pot Filler: Build.com
Hardware: Amazon
Electrical Work: Specialty Electric—Yuma, AZ
Plumbing: Mission Plumbing—YUma, AZ