A Fresh Coat

Boho Chic Family Room

Interior DesignJenny SulpizioComment

I love the “O” family. They’re just super fun and always a pleasure to work with. Last year I had the opportunity to create a neat play room for their boys, as well as a book nook complete with a wave wall mural (Hawaiian-themed), and this year I got to introduce the same type of vibe into their main living area.

Boho chic with some Hawaiian flair. So. Much. Fun!

This is where we started.

Boho Chic Family Room 1.jpg

Originally built over twelve years ago, the “O” family was ready for a change. The tan walls were begging for a pop of color, just as the builder grade elements within their home needed some character.

Ready for the “after” pic?

Boho Chic 2.jpg

Cool, right? Wanna know all the details? Keep reading.

When we met for our initial consultation, Mrs. “O” had already created her own design board (um, so awesome!) with a number of colors, textures, and elements she wanted to incorporate into this family space. Based off of her vision, I blended her ideas with mine to create the final design board for their living area.

IMG_7420.jpg

Rich, cool colors fused with warm wood furniture and lots of textures and patterns to be found in the pillows and pouffs. And that rug?!! I couldn’t wait to pull all of these elements together.

But first? Paint. Deciding which color blue to select was the first task. The idea was to create a beautiful blue accent wall while painting the rest of the room a cool grey (a.k.a. Sherwin William’s Icy Avalanche).

Boho Chic Family Room 2.jpg

Ultimately, the second option (Sherwin William’s Aqualuxe) won out and the painting was first on the list of things that needed to get done.

Boho Chic Family Room 3.jpg

Fun color, right? Super bold and yes, beautiful. And look at that rug…and those pouffs! Items started rolling in as this room was begininning to come together. And the “O” boys were getting EXCITED!!!

Boho Chic Family Room 4.jpg
Boho Chic Family Room 5.jpg

The next major item to roll in was the brand new entertainment unit. Encompassing the whole wall, this piece is just plain pretty with bold, geometric finishes in place. Styling this unit involved a bit of brightening since this piece boasts a darker finish. Framed family pictures and sentimental mementos filled most of the space in this media hub.

Boho Chic 8.jpg

Speaking of pictures, while remodeling was underway, the “O’s” fourth baby boy decided to make his entrance. New family pics were scheduled the first of June and once those beautiful images of this amazing family came in, canvas prints were ordered for the large wall next to the slider door.

Boho Chic 7.jpg

New bamboo shades, Opalhouse drapes, and black hardware were added to the windows and slider to pull this whole room together. Throw pillows in deep blues, fun patterns, and textures were added in to pull the room together. Last but not least, new lighting fixtures and a ceiling fan (not pictured) were installed to complete the look of this room.

Boho Cgic 5.jpg

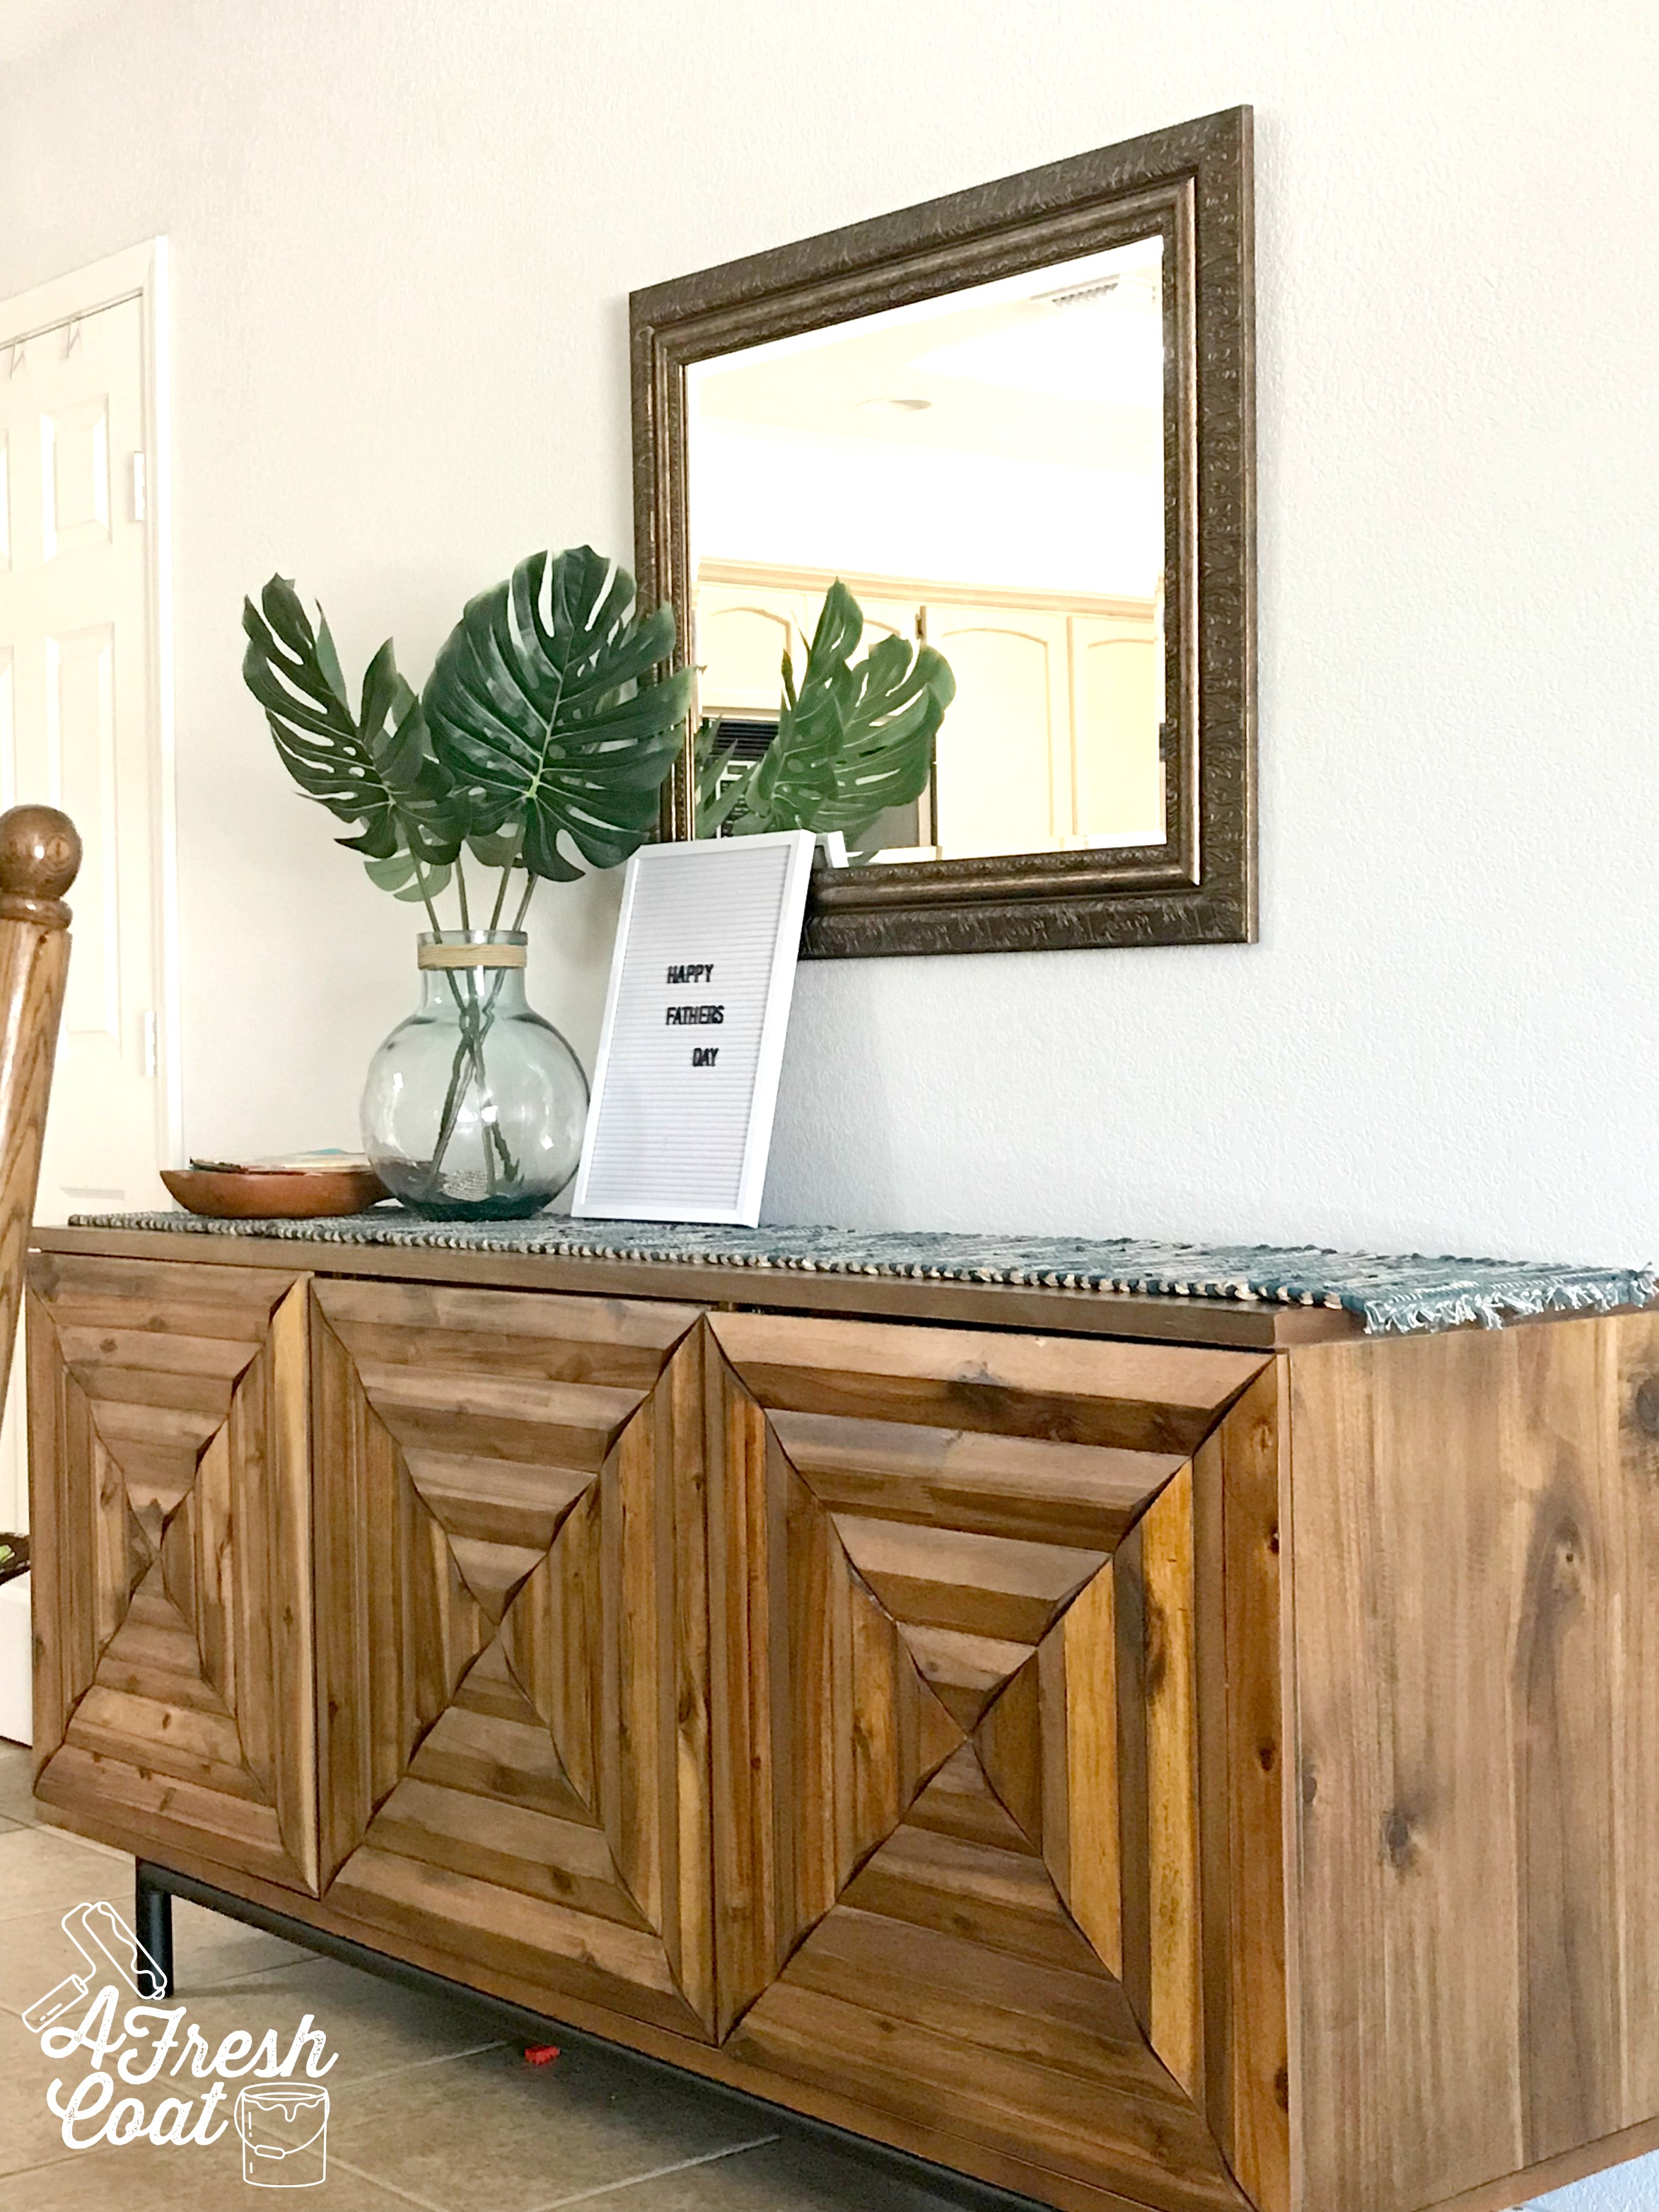
Next up? A brand new buffet In the space that leads from the dining to living room. I love the bold geometric pattern and beautiful finish. It’s a large, stout piece but man is it pretty. We repurposed a mirror that was already part of the decor prior to redecorating, and added just a few decor pieces to keep it simple. Remember, the “O” family has FOUR BOYS UNDER THE AGE OF EIGHT. The less breakables, the better. ;)

Boho Chic 4.jpg

Last but not least: pillows and pouffs. Throw pillows can be a source of contention (or maybe that’s just in my home), but they also tie a room together and allow for more texture and color to come into a space. Pouffs offer additional seating as well—especially for kiddos. I know these kids love their pouffs and they add so much more character to the room, don’t they?

Fun, fresh, and functional. This place went from builder grade to Boho Chic. Swoon!

Boho Chic 3.jpg

The Details:

Paint Colors: Sherwin William’s Icy Avalanche and Aqualuxe (accent wall)

Rug: Wayfair

Pouffs: Etsy

Bamboo Shades: Lowe’s

Drapes: Target (Opalhouse)

Rods: Amazon

Fan: Home Depot

Light Fixture (not pictured): Home Depot

Floor Lamp: Amazon

Throw Pillows: Target, Kirkland’s, Amazon

Media Unit: American Furniture Warehouse

Buffet: Ashley Home Furniture Store

Canvases: Easy Canvas Prints

Fig & Fiddle Tree: QVC

Love,J


Cactus Crush

Teen Boys RoomJenny SulpizioComment

This was a fun project for sure!

“D’s” room was in need of an update. On the cusp of high school, this teenager needed a space that not only matched his fun personality (he loves cacti and cats—not sure in which order), but one that was geared more towards his age. After setting up a consultation, ideas of implementing a wood accent/feature wall, new shelving, and basically a total room overhaul were all discussed.

Here is where we started:

Cacti Room 1.jpg
Cacti Room 6.jpg

All room components (furniture) needed to stay for storage purposes, and even though this room was a bit on the smaller side, I knew we could make it work. Further, after noticing the camo bedspread, as well as the cacti decorations (not pictured), I knew this room needed a deep gray/green wall color throughout. Not too dark, not too light…and masculine to boot.

Here is the approved vision board:

Drew Perry.jpg
  1. A rustic wood feature wall with varying shades of stain, 2. A rustic wood and metal awning in lieu of traditional drapery, 3. Rich, textured bedding with geometric linens, 4. Fun cacti art and understated decor, followed by 5. Metal shelving.

Cacti Room 2.jpg

Sherwin Williams Green Earth ultimately won in the sample contest, however, when using a darker color, I actually like to lighten them by 25%. Other decorators may do the exact opposite but I like to play it on the safe side. Oftentimes, and especially in smaller rooms (with limited natural light), colors appear darker on the wall. Therefore, the entire room looks darker…and smaller. In order to avoid this, I lighten these hues and it works every time!

Once the room was painted, it was time to tackle the wood wall. Nate (the amazing carpenter), got me some sweet 1x8 pine lumber and I got to work using and mixing a slew of stains. The variation in stain colors would add more interest to the wall and truly make it the focal point of the room. Plus, with the rich oak furniture “D” already had in place, I wanted to pick up that color to make the overall look of his space more cohesive.

Cacti Room 3.jpg

P.S. I love getting creative with stain! And I love Minwax!

Photo courtesy of Melissa Perry Photography

Photo courtesy of Melissa Perry Photography

A wood feature wall adds so much warmth to a space—especially when the selected shade of paint on the adjoining walls is a “cool” color (think color wheel here). Lots of texture and warmth going on in this room now! Love it (and I think “D” does too. Pictured below.).

Photo courtesy of Melissa Perry Photography

Photo courtesy of Melissa Perry Photography

With the paint and rustic wood wall completed, it was time to introduce some new decor. Simple and bold would be the two words I wanted to describe the remaining elements of the room. Since “D” loves cacti, I located a number of prints off of Etsy that I thought would look amazing on those walls. Some were enlarged while the other was placed on canvas.

cactus Crush 9.jpg
Cactus Crush 10.jpg

That rich blue canvas with pops of green Saguaro really stands out. Mixed with a fun Yuma map, AZ piece, and rustic Route 66 sign and this metal shelf is complete.

We were almost done…almost.

Cactus Crush 11.jpg

However, we needed to address the bedding. While the camo was cool, I thought this amazing comforter set (because let’s face it, boys and duvets do not mix), from Pottery Barn Teen would really take the room to the next level:

Cactus Crush 6.jpg

Black and white ticking stripe sheets combined with a deep green and camel (it’s reversible) comforter lightens, brightens, and looks way cool.

But before showing the before and after pics, I forgot about the drapes. Reason being? There aren’t any! Instead, Nate Koogle resurrected this sweet design (used in another teen boy bedroom AFC completed) to create a custom look that again, makes the elements of this room cohesive.
Cactus Crush 7.jpg

Fun, right? Ok, now for the before and after. This is always my favorite part.

Cacti Room 1.jpg
Cactus Crush 5.jpg

“D” is all ready to tackle high school. Loved this project and I love my clients!

The Details:

Paint: Sherwin Williams Green Earth (-25%)

Paint Labor: A Fresh Coat

Shelving: Pottery Barn Teen

Decor: Amazon, Dandy Home & Ranch, Etsy, Hobby Lobby

Bedding: Pottery Barn Teen, Dandy Home & Ranch

Carpentry Work: Nate Koogle

Love, J

Seeing Stripes: Teen Boy Room Makeover

Teen Boys RoomJenny Sulpizio5 Comments

Some projects seem like they take forever to finish and this room was no exception. Sometimes you’re just waiting on one last detail to “make” the space, and for me and my middle son’s room, it was these amazing metal-looking negative space oversized letters above his bed. But before I gush on those awesome things, let’s start from the beginning of this room reno.

We moved into our home almost ten months ago and as I’ve mentioned in previous posts, there’s a LOT to do. A. Lot. But the first area(s) I wanted to focus my attention on were my kiddos’ bedrooms. By no means does this indicate they are actually finished but we’re getting closer and closer with each passing day. So close, that I decided to post the before and after pics of this room for you all.

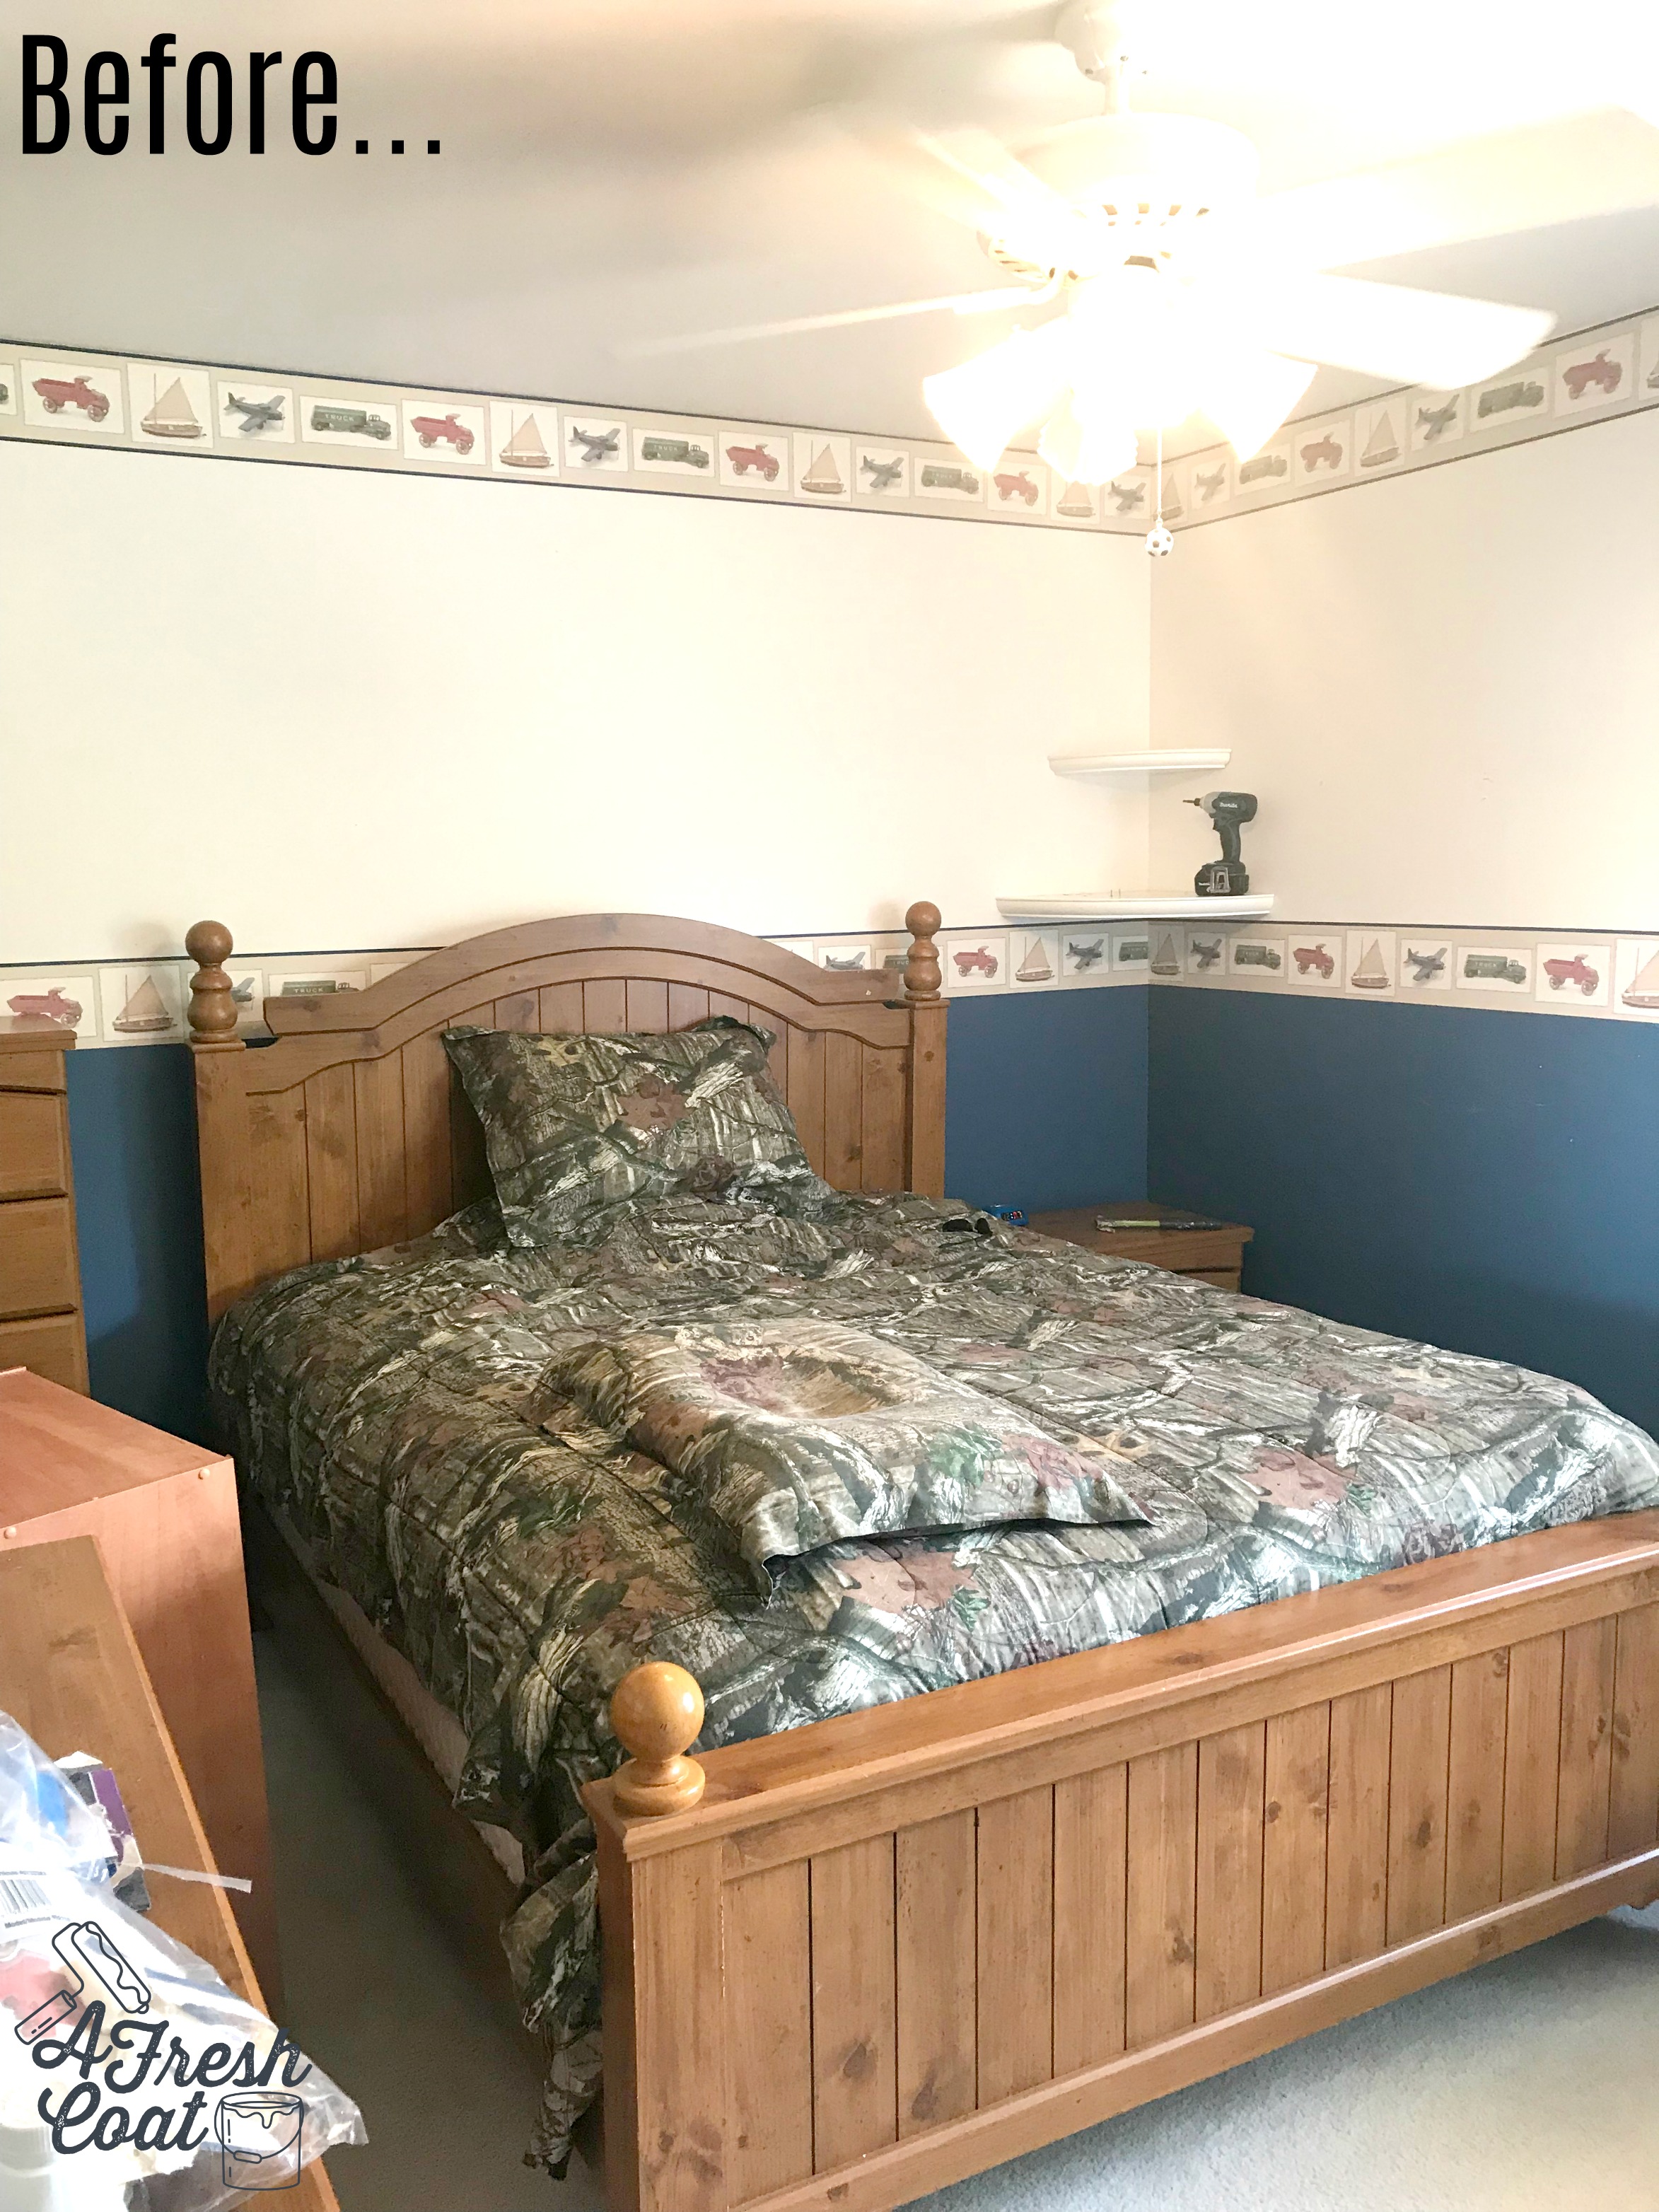
Here’s where we started:

Teen Boy Room Makover 2.jpg
Teen Boy Room Makover 3.jpg

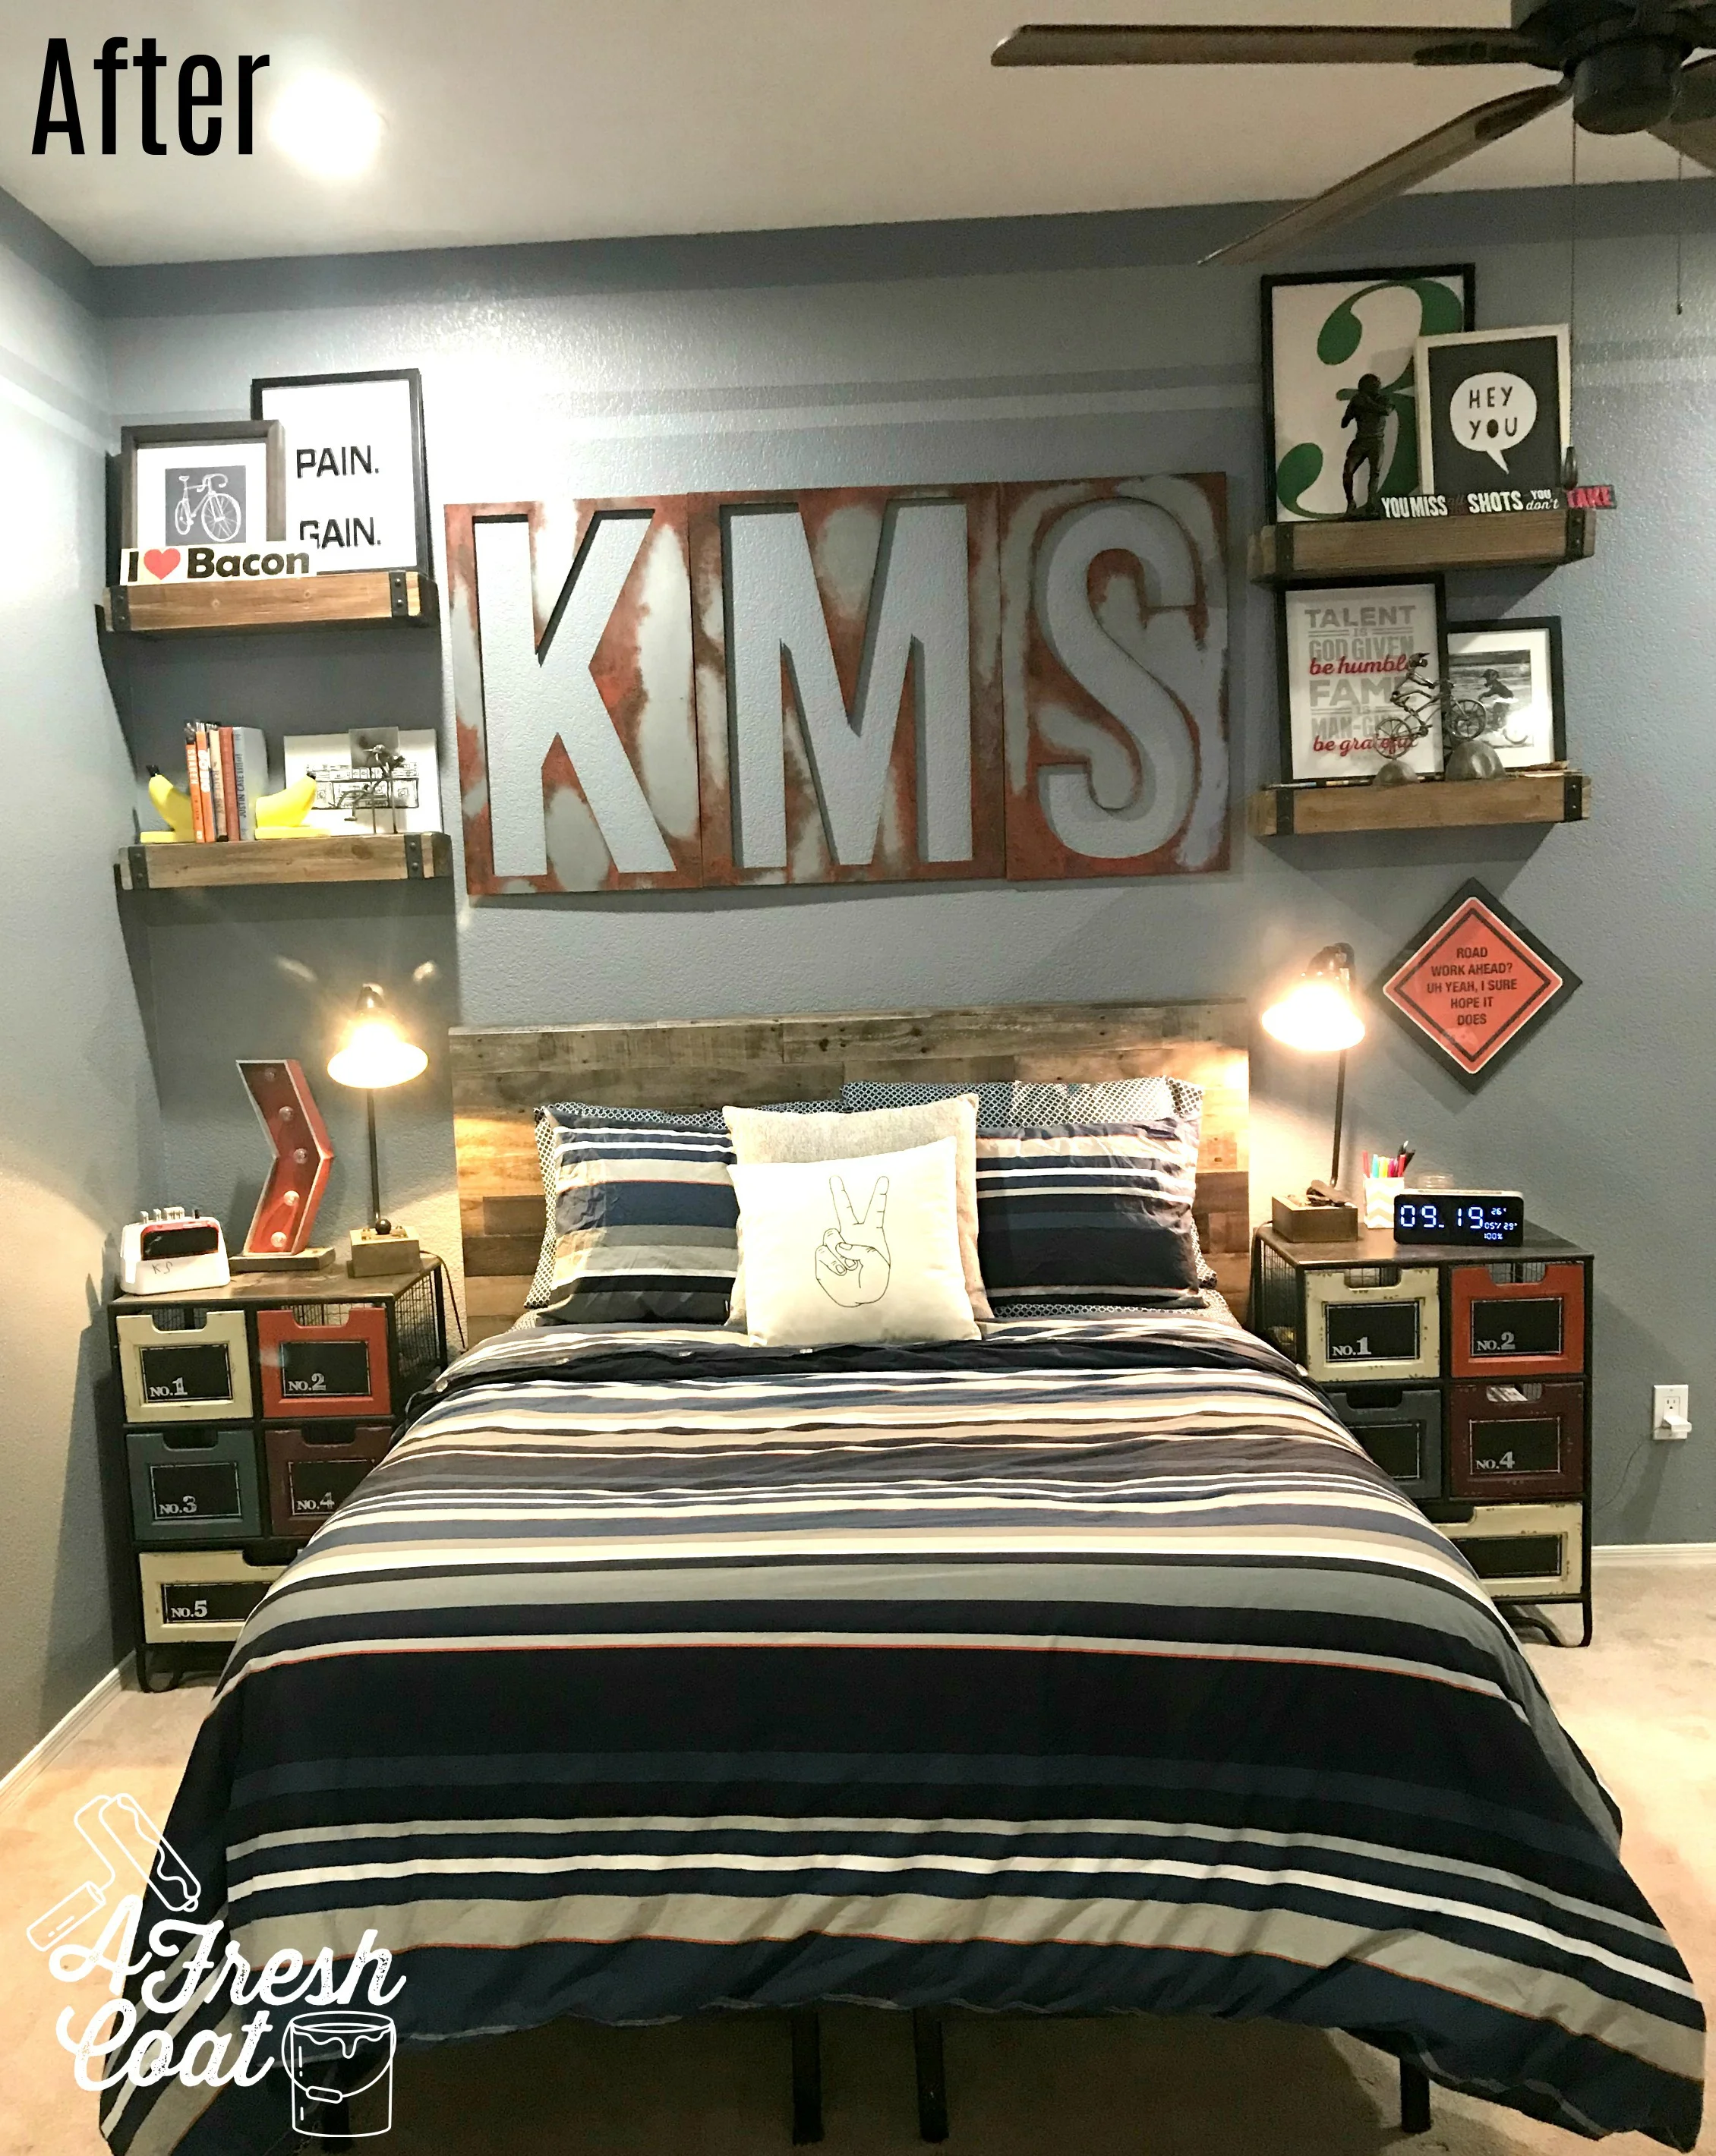
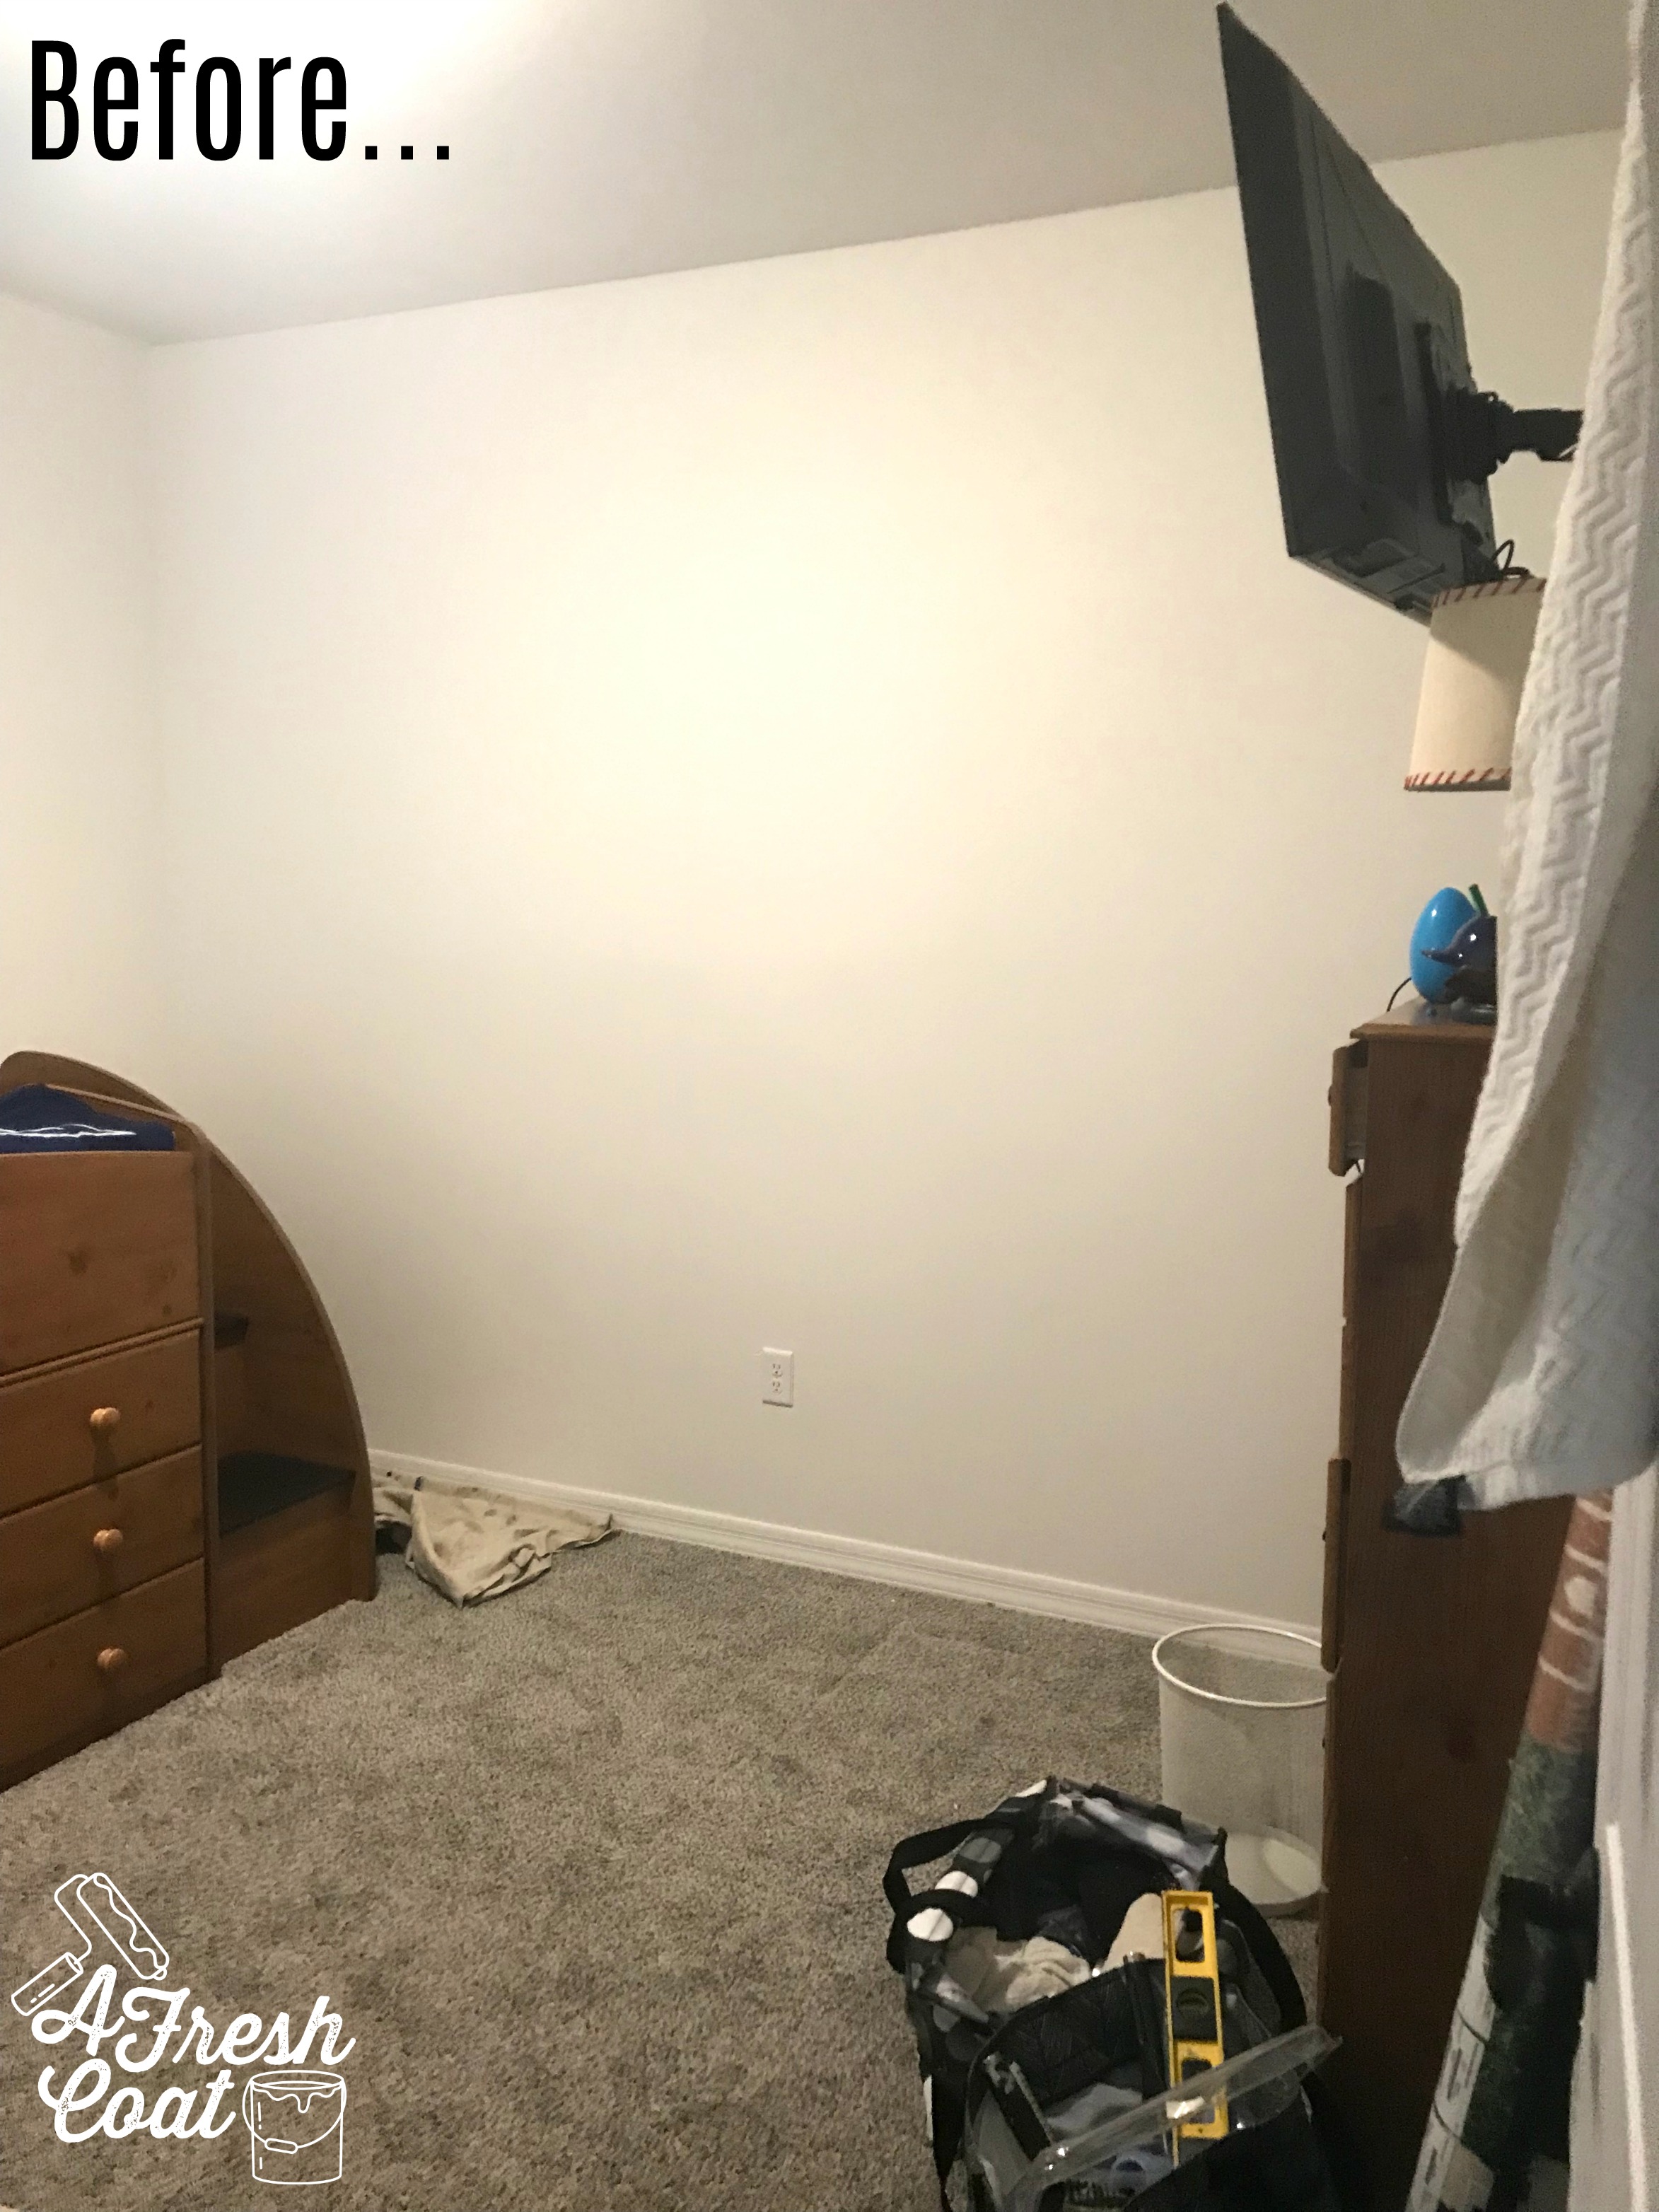
The tan walls and matching carpet were fine and all but I like to add personality and character into my rooms and this was missing a whole bunch of both. Besides, prior to moving into this home I created Pinterest boards for each of my kid’s rooms and consulted with them on colors and the overall look they wanted to achieve. My boys were the easiest to work with (go figure), and here is where we’re at with “K’s” digs today:

Teen Boy Room Makover 5.jpg

The first step was to paint the walls a cool blue-grey and he selected Valspar’s Stormcloud (with a 25% reduction) followed up with Valspar’s Drizzling Mist (same color reduction) for the large and small striping up top (courtesy of AFC).

Next was the layout of the room. With a double bed, it created a bit of a problem with how the room was initially designed—so I opted to frame in the not-so-centered bed with shelving and nightstands to make it all work a bit better and yet still provide him enough space to perfect his Fortnite moves…seriously. ;)

Teen Bedroom Makeover.jpg

Most people have a tendency to shove a bed up against the wall but if a room is large enough, placing the bed in the middle or even off-center as I did here, could be an option. It all depends on the size of the furniture you have and the amount of room you have to work with.

When it came to syling this space, decor was super easy with this son o’ mine. He’s got a lot of personality and spunk so the pieces selected had to reflect who he is. I think we got it right.

Teen Boy Room Makover 9.jpg

Even better? Most were on clearance. As it turns out, not a ton of people are interested in buying banana bookends, ghetto blaster art pieces, or even framed bicycle prints. But me? I will take them and love them even more since they were crazy cheap. Sometimes, the weirder, the better.

And how about those letters? Originally I wanted oversized steel letters (we’re talking 39” each) to create a really bold look above his bed. Simple but bold. However, the only place I could find such a thing was through Restoration Hardware Teen. Even though I loved (like, love-loved) these letters, the price tag of $149 each was a dealbreaker. I just couldn’t justify it. But aren’t they pretty?!!

rhtn_prod100539_E87016817_F.jpeg

Instead, I found Jillian Van Horn of Lazy J Signs here in Yuma, AZ. Rather than use the actual letter, I asked for the negative space instead. This gave me the height and width I needed inbetween the shelving units pictured below. I asked her to create a rustic metal look on top of these wood cut-outs and she rocked it. These actually look like metal and I love how it completes the space.

Teen Boy Room Makover 4.jpg

Last but not least were the small finishing touches which included a set of old lockers (I painted black) for additional storage, an oversized cork board, and large industrial clock.

Teen Boy Room Makover 7-2.jpg

That’s it! We’re just one window treatment, one new door, and one new area rug away from this room being completely finished. So close I can almost taste it. But in the meantime, here is the before and after pics one more time.

Teen Boy Room Makover 3.jpg

and after:

Teen Boy Room Makover 5.jpg

The Details:

Paint: Walls-Valspar’s Stormcloud (25% reduction in color)

Stripes-Valspar’s Drizzling Mist (25% reduction in color)

Paint Labor: A Fresh Coat-Yuma

Shelving: Hobby Lobby

Decor: Target, Hobby Lobby

Side Table Lamps: Kirkland’s

Side Tables: Hobby Lobby

Ceiling Fan: Lowe’s

Bedding: Pottery Barn Teen

Headboard: Wayfair

Negative Space Letters: Lazy J Signs-Yuma, AZ

Clock: Hobby Lobby

Cork Board: Hobby Lobby

Desk: Pottery Barn Teen

Industrial Mail/File Holder: Hobby Lobby

Love, J


Ball Wall

Wall MuralsJenny SulpizioComment

I’ve always wanted to do one of these murals.

After seeing images on Pinterest for years, I’ve been anxiously waiting the opportunity to create one for a client…and I finally got the chance.

The “N” family wanted to create a baseball themed room for their ten year-old son who is quite the fan of this game. He lives and breathes it and I was so excited to give him something he would really dig.

Here’s where we started:

Baseball Mural 1.jpg

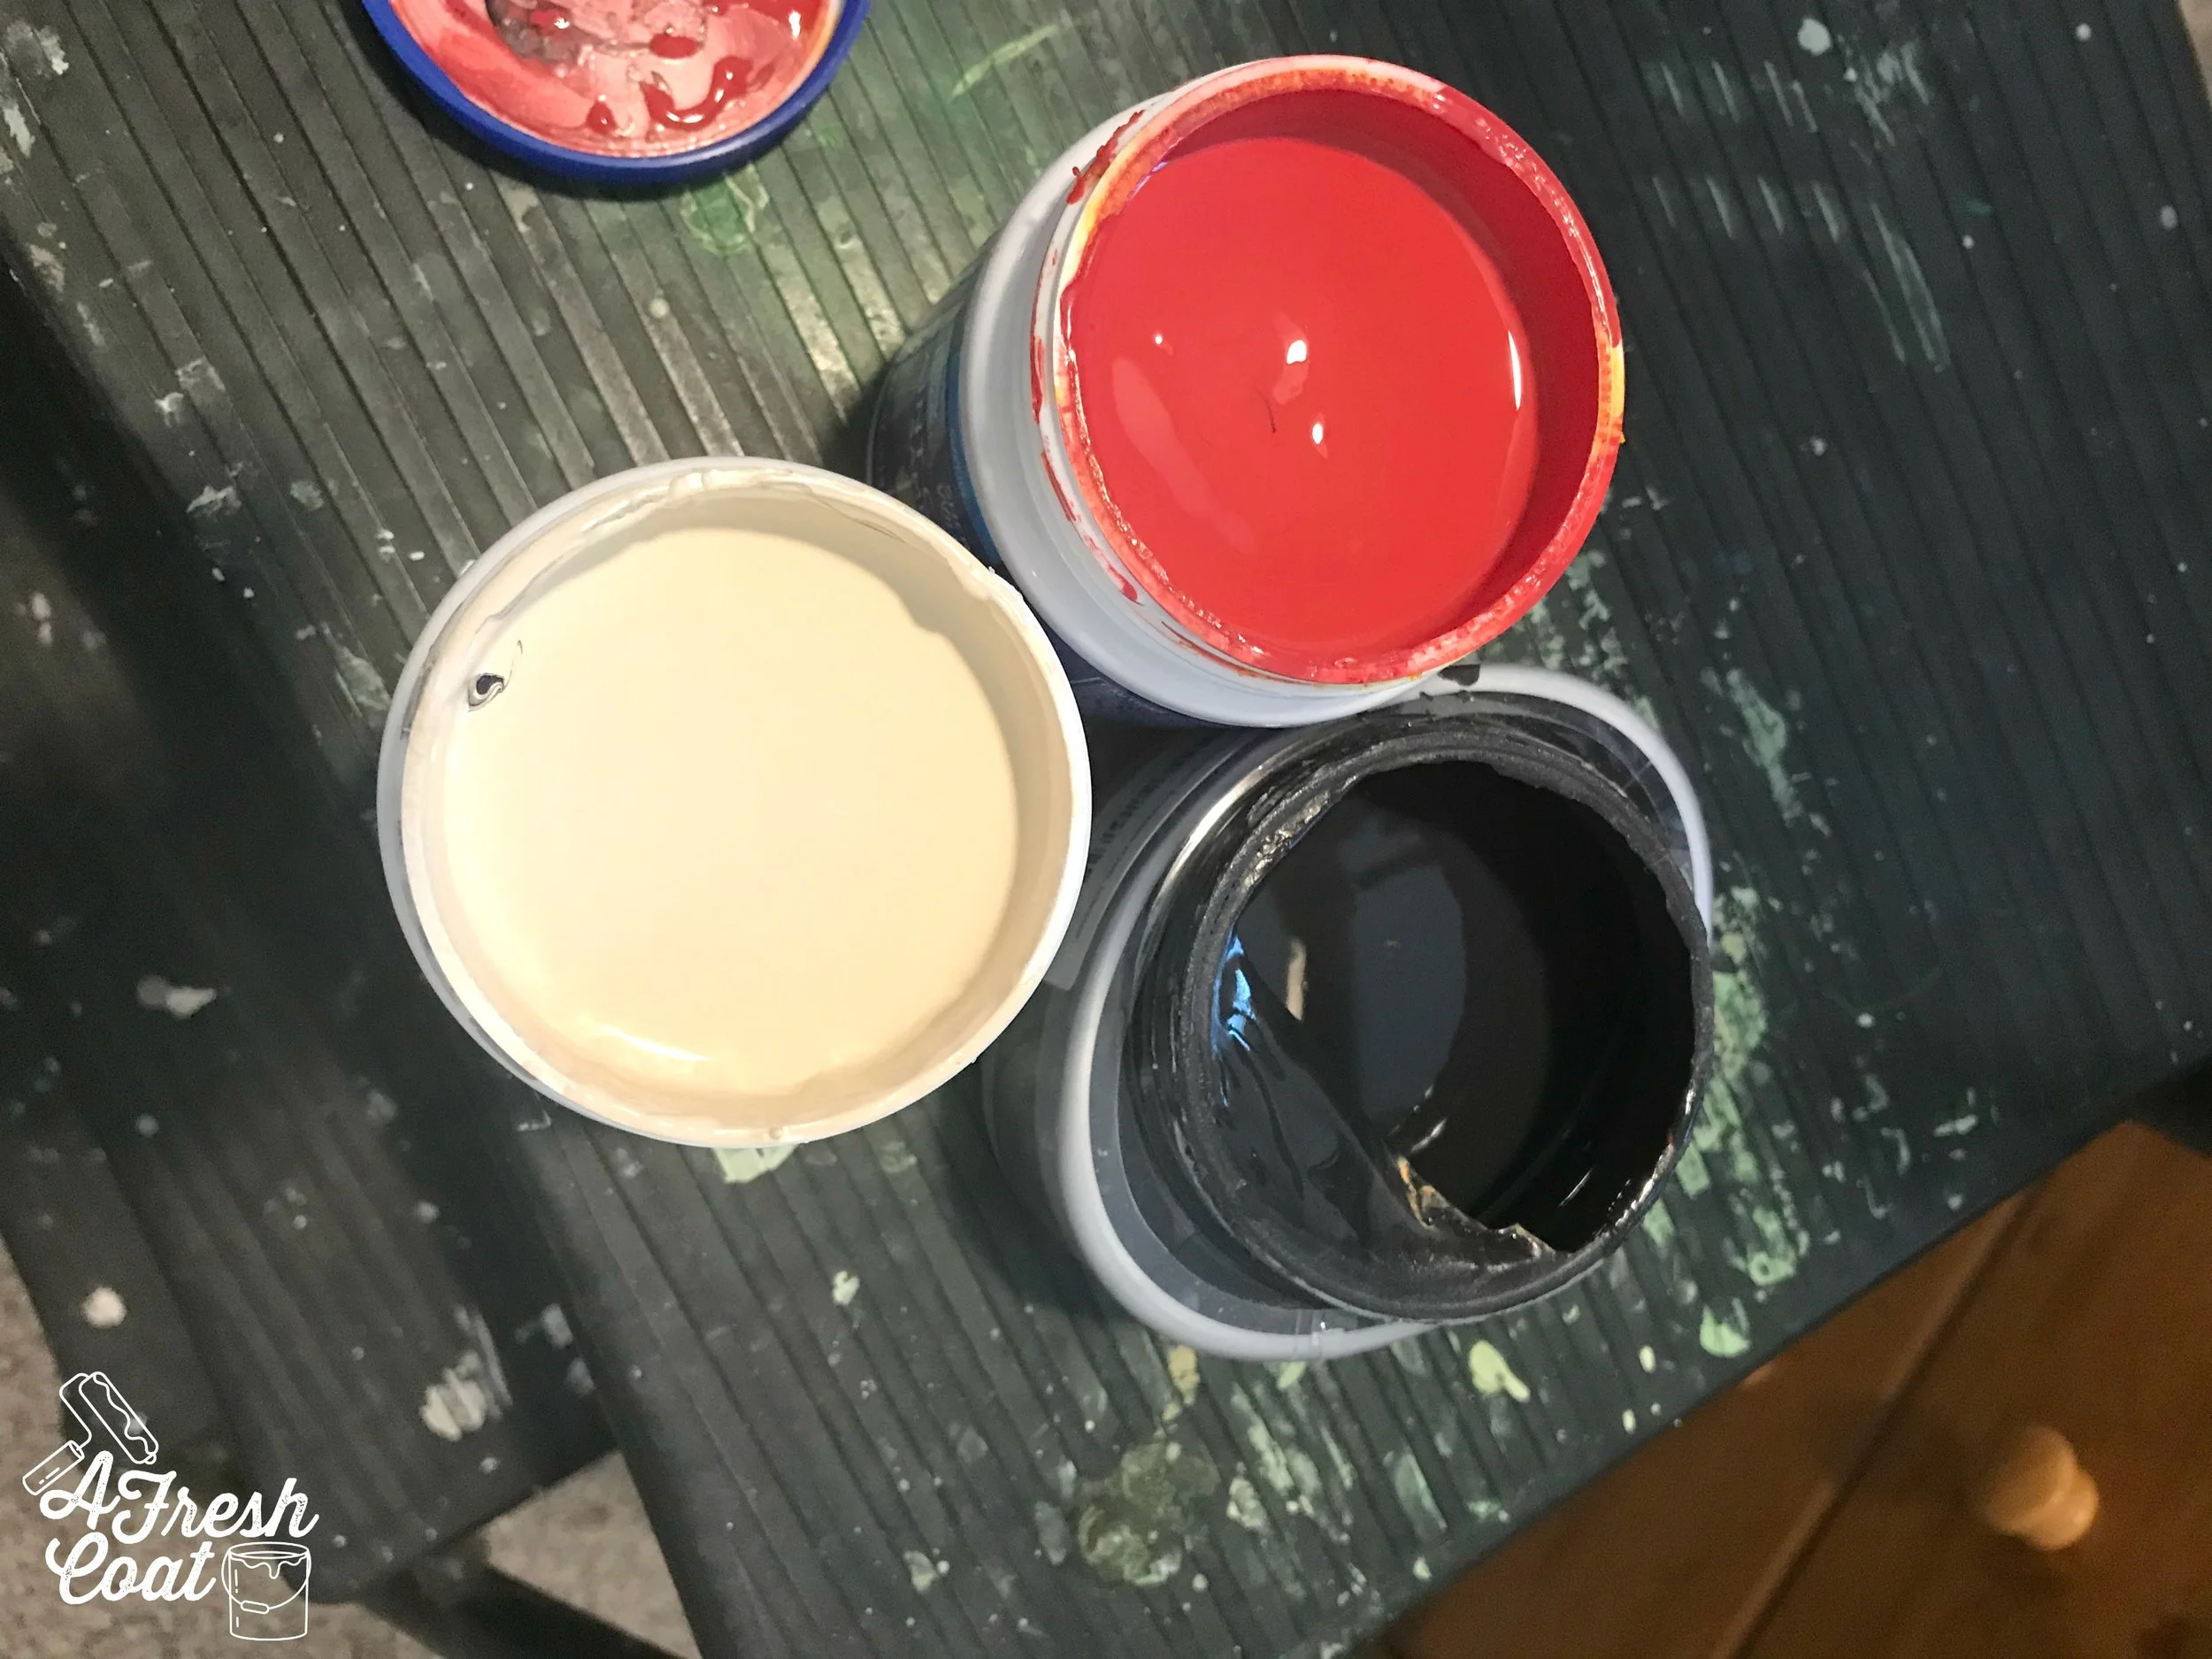
Totally a blank canvas. But(!) considering that we wanted to age “the ball” a bit, I decided to paint the accent wall more of an off-white cream color. I opted for Sherwin William’s Whitetail. I then followed it up with a light-medium tan tone of SW’s Tres Naturale, SW’s Tanager for my red (more of a brick red), and Valspar’s Dark Kettle Black for accents.

Baseball Mural 2.jpg

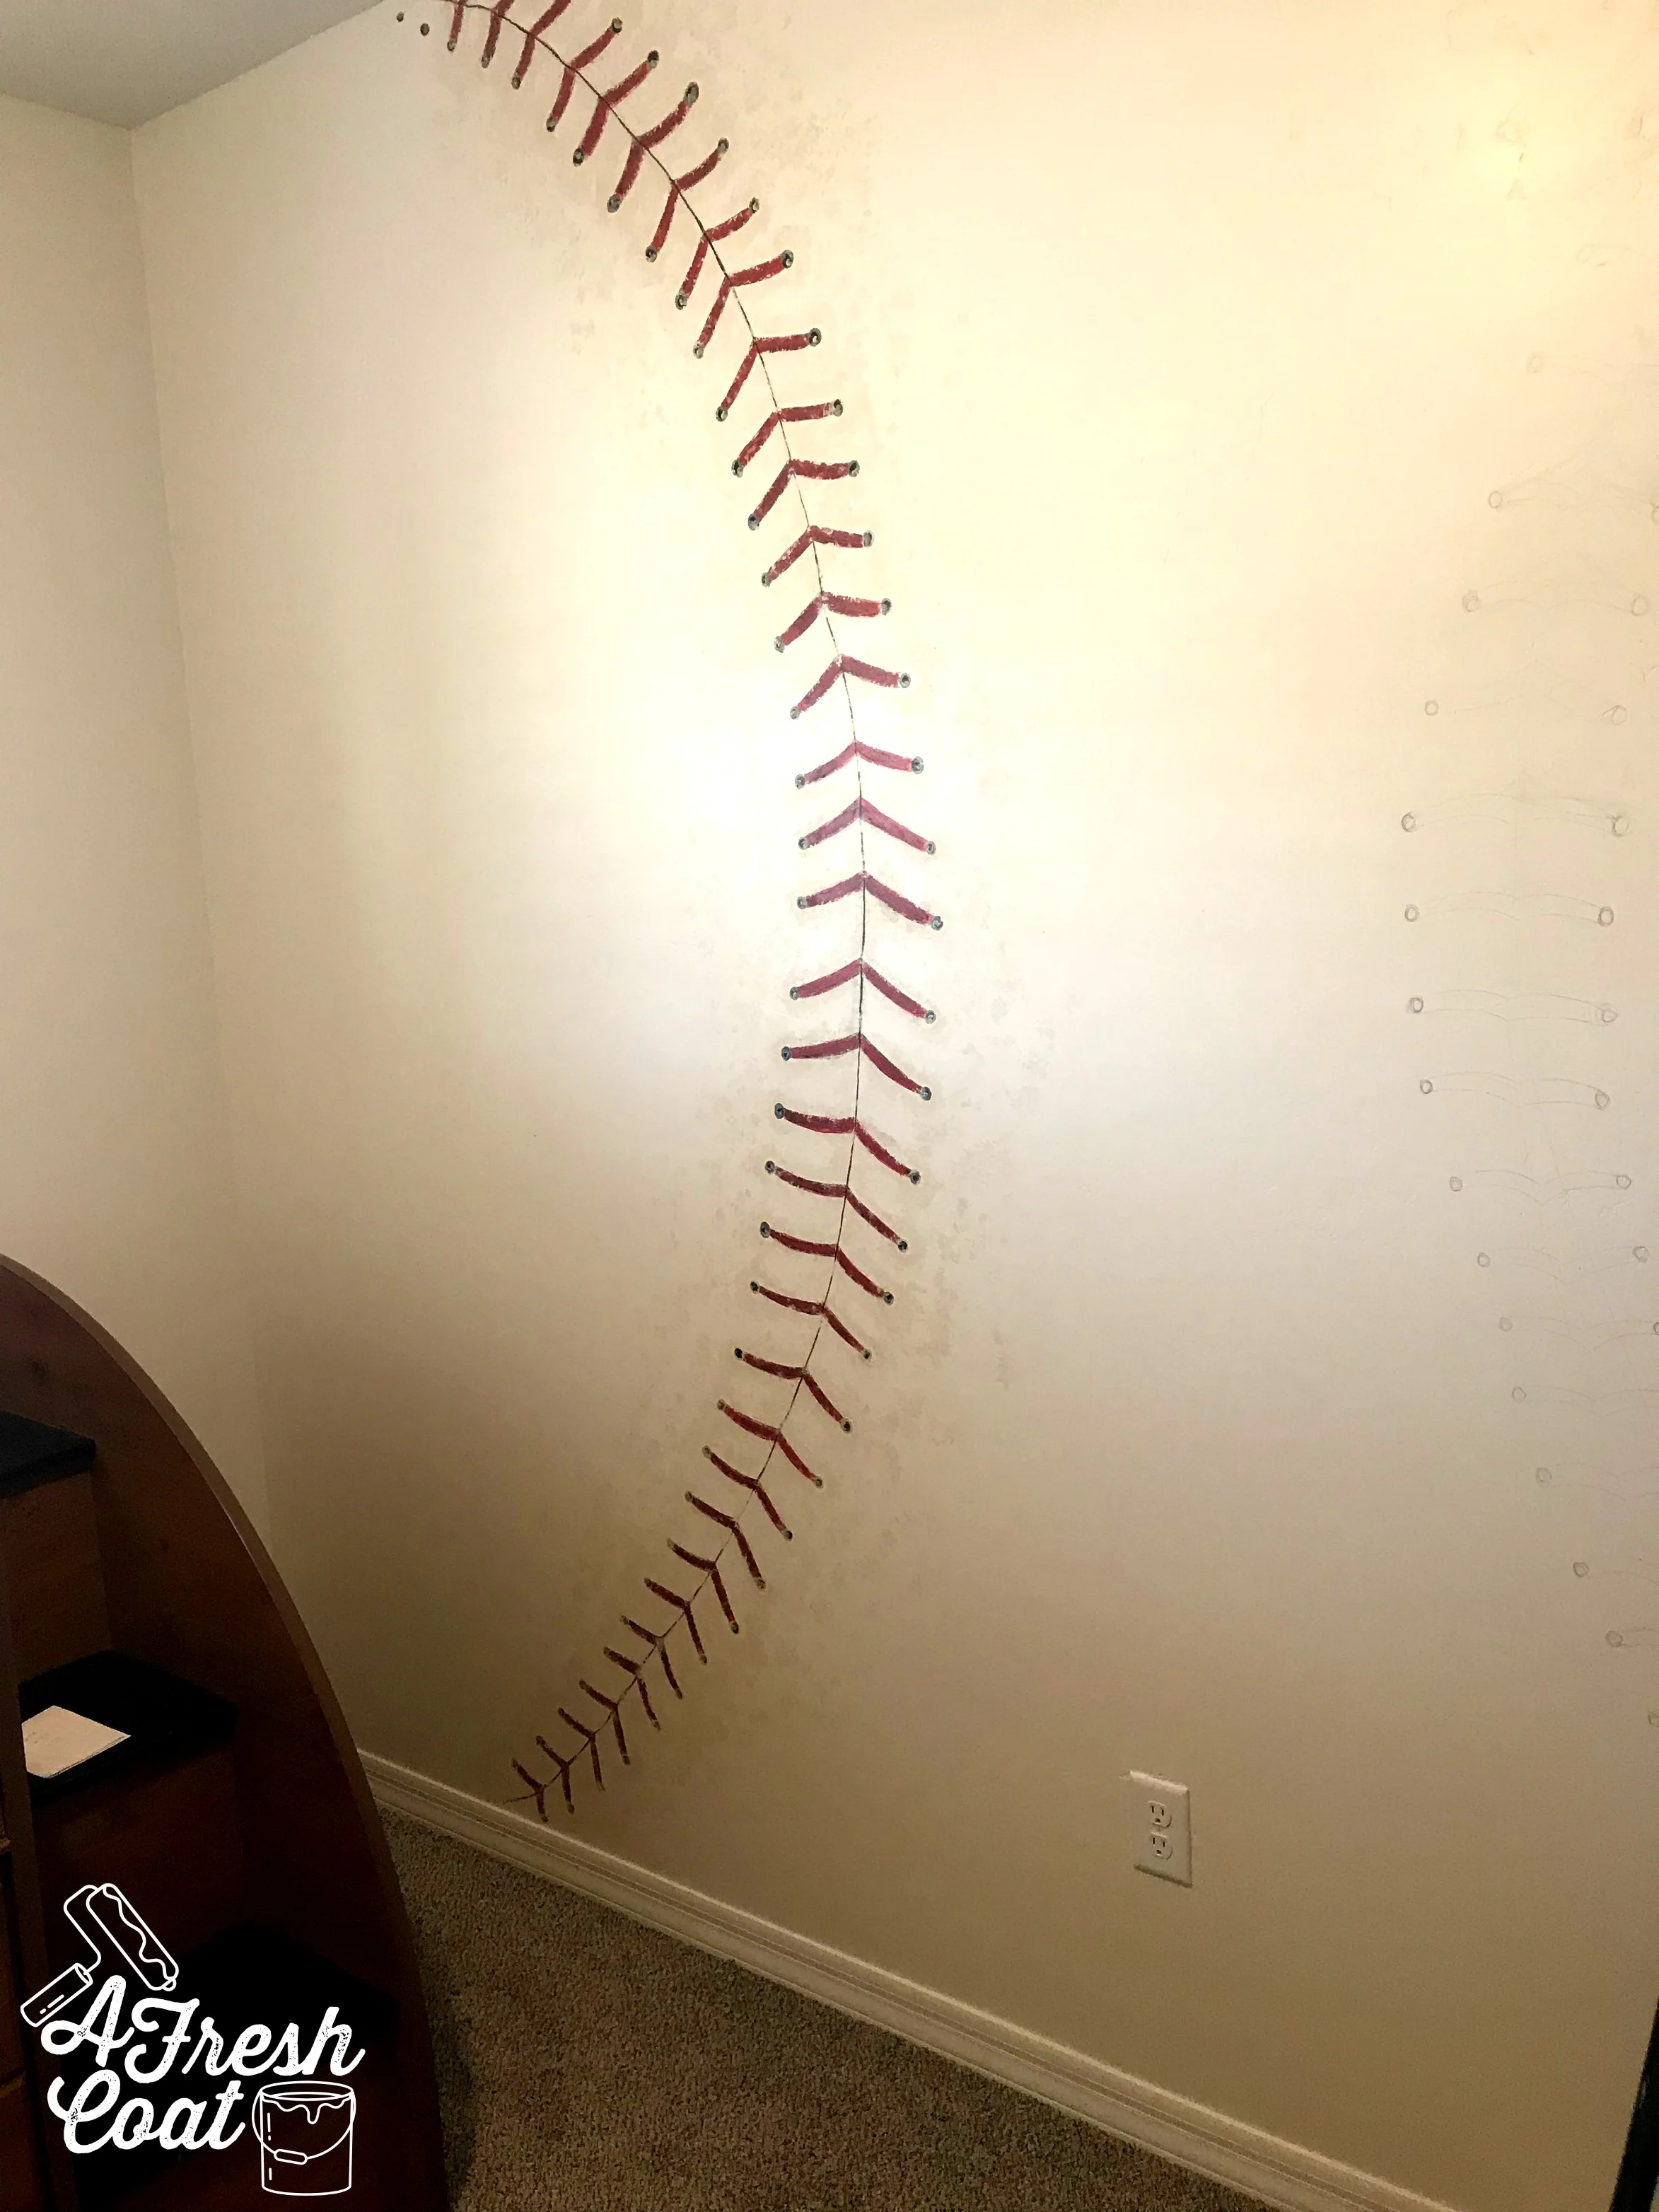
Next came the measuring to make sure each seam of the ball would be accurate on both sides. I measured the width of the wall, found the center, and then began constructing my half circles measuring 28’, 38”, 54”, back to 38”, and then again with 28”.

After measuring and tracing my initial line, I then created the imperfect stitches of the ball as seen below:

Baseball Mural 3.jpg

I aged the area of the seams by mixing the Whitetail and Tres Natural together. Seams got wider towards the middle and smaller towards the top and bottom. Black was mixed with Tanager to darken the red just a bit and to add accents.

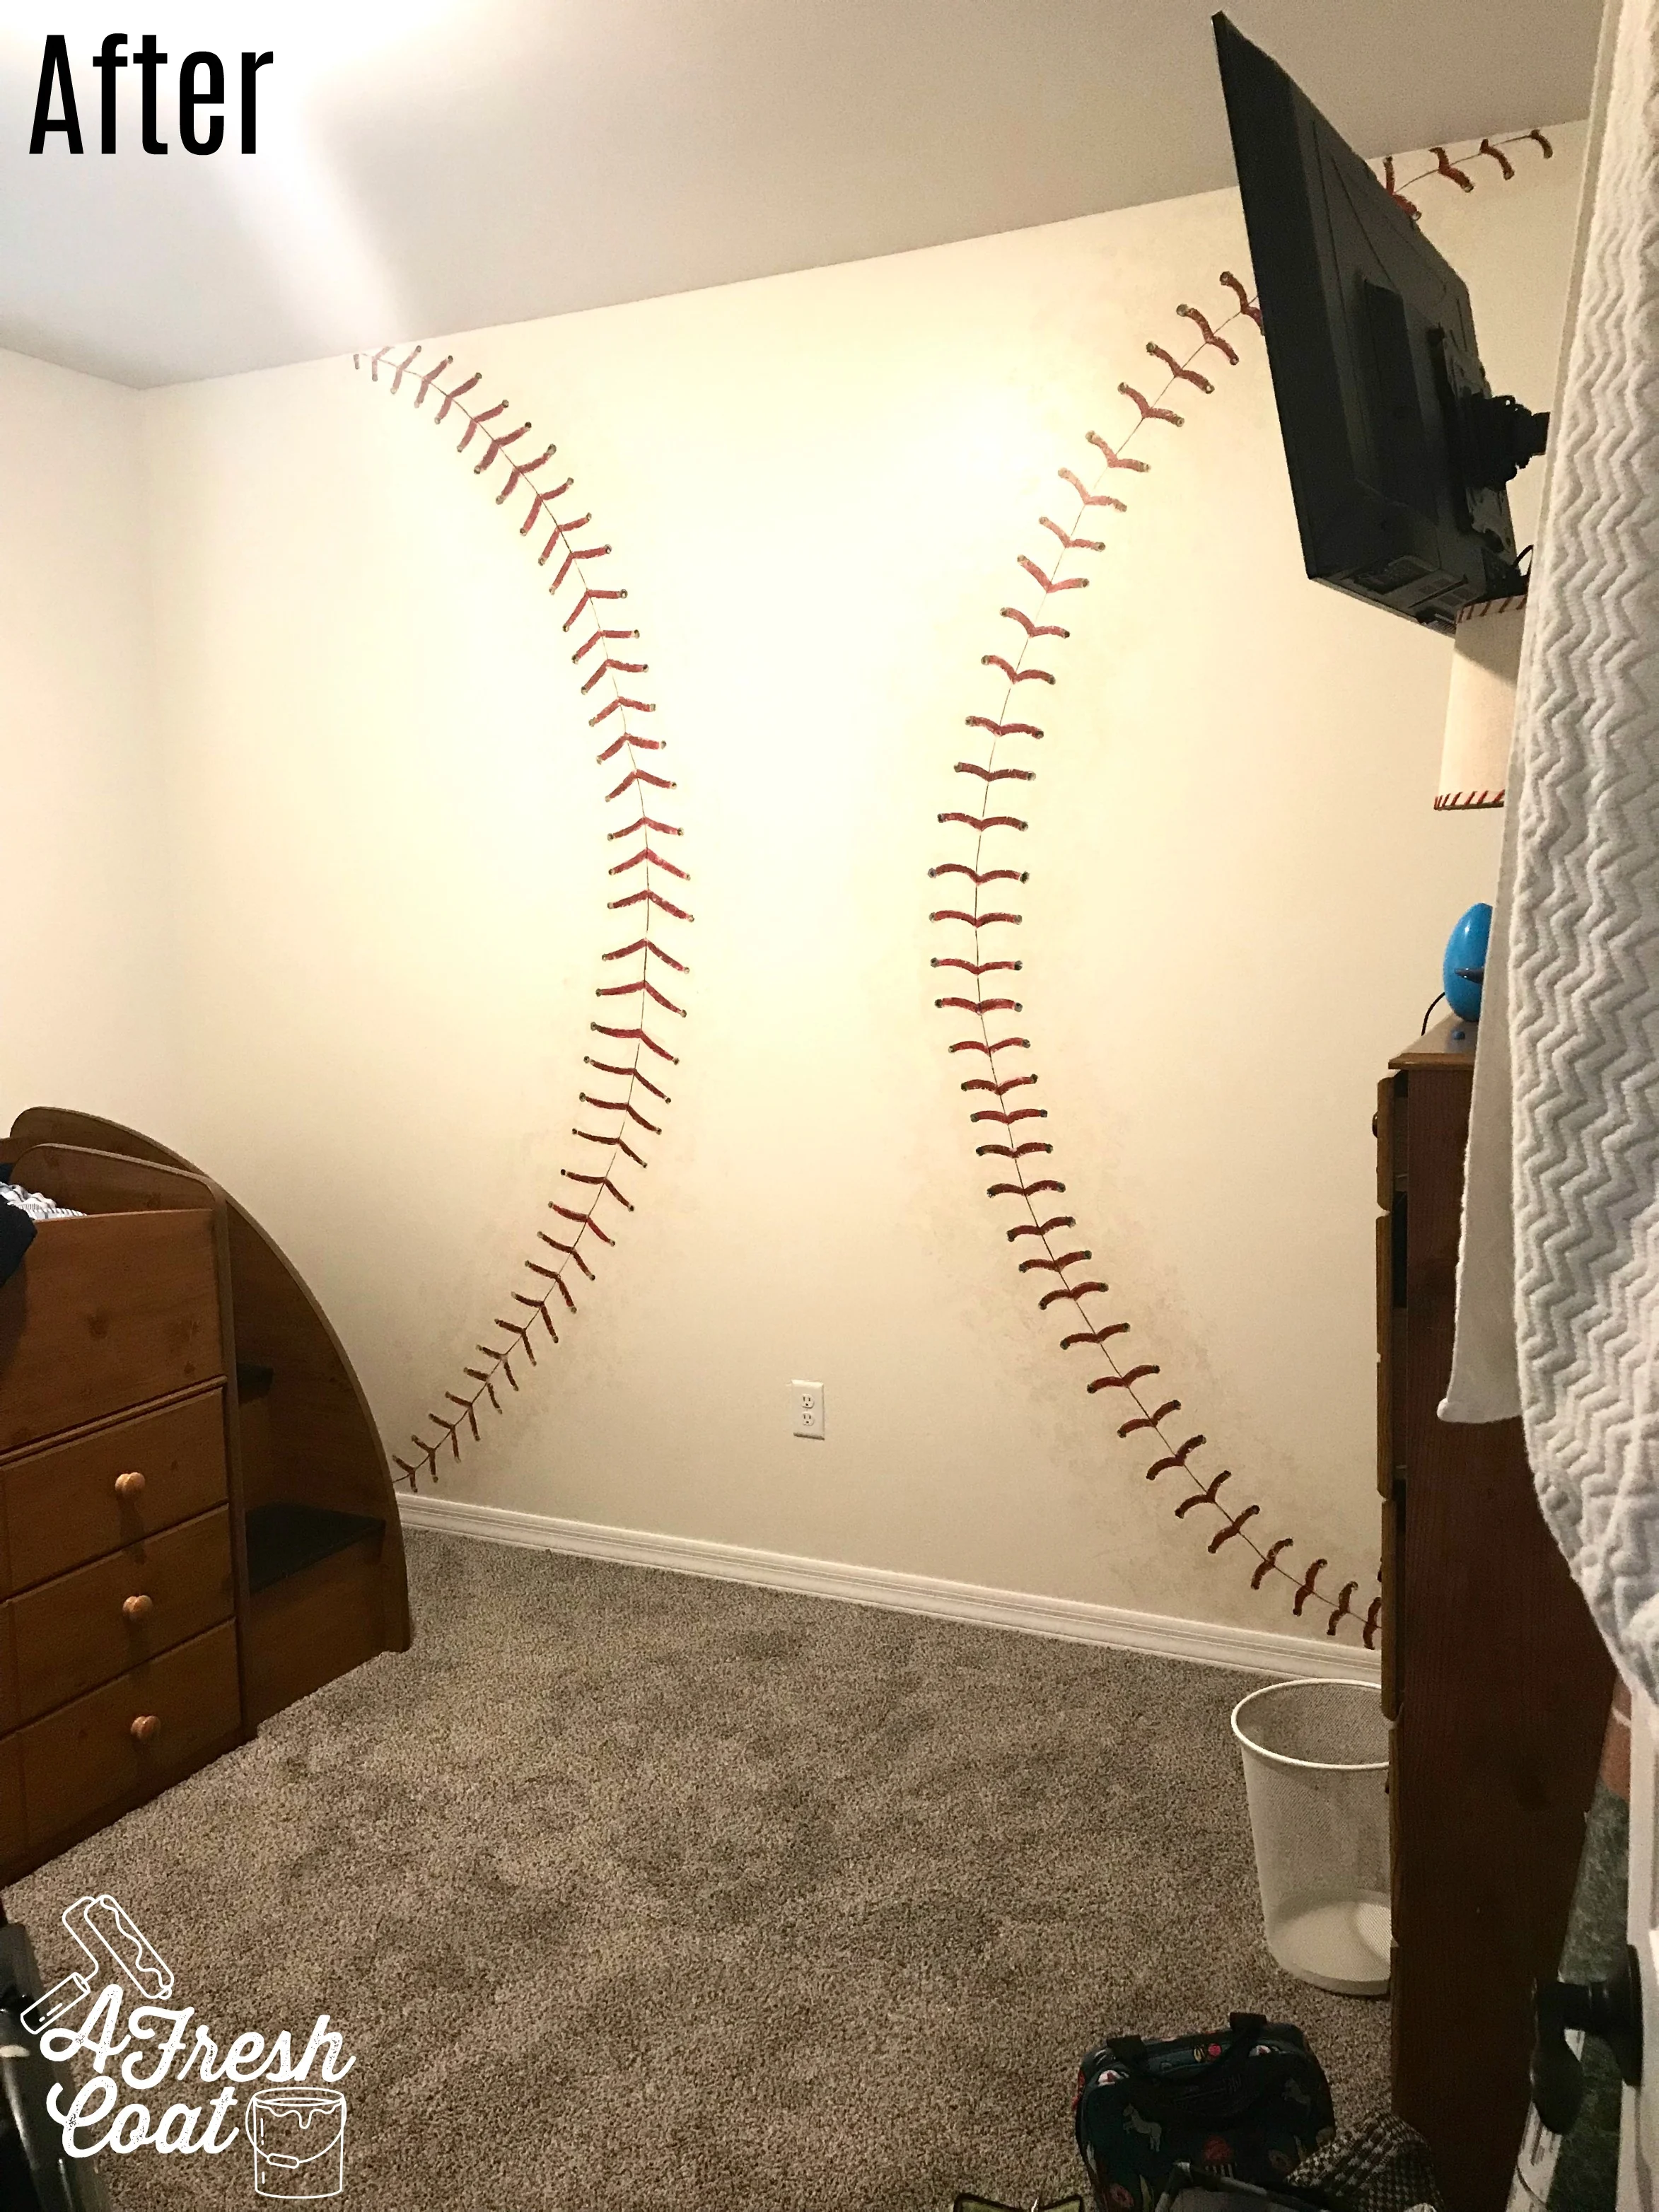
Once one side was finished, I completed the same steps, flipping the direction of the seams on the other half circle. Here is the end result:

Baseball Mural 4.jpg

Special thanks to the “N” family for giving me the opportunity to complete this wall. Such a treat!

The Details:

Paint: SW 7103 Whitetail, SW 9101 Tres Naturale, SW 6601 Tanager, and Valspar’s Darke Kettle Black

Love, J

Fun at the Dr.'s Office....

Wall MuralsJenny Sulpizio2 Comments

I love when I get “the call.”

I love answering the phone and hearing a request for a wall mural. Whether it’s a tree, or a skyline, or some adorable pooches in their element, I absolutely adore being able to create a one-of-a-kind, custom space for a client.

And this time was no different.

YRMC recently acquired the pediatric offices of Dr. Subbu here in town (Yuma, AZ), and asked if I would paint a tree book nook for some of the cutest patients in the Southwest.

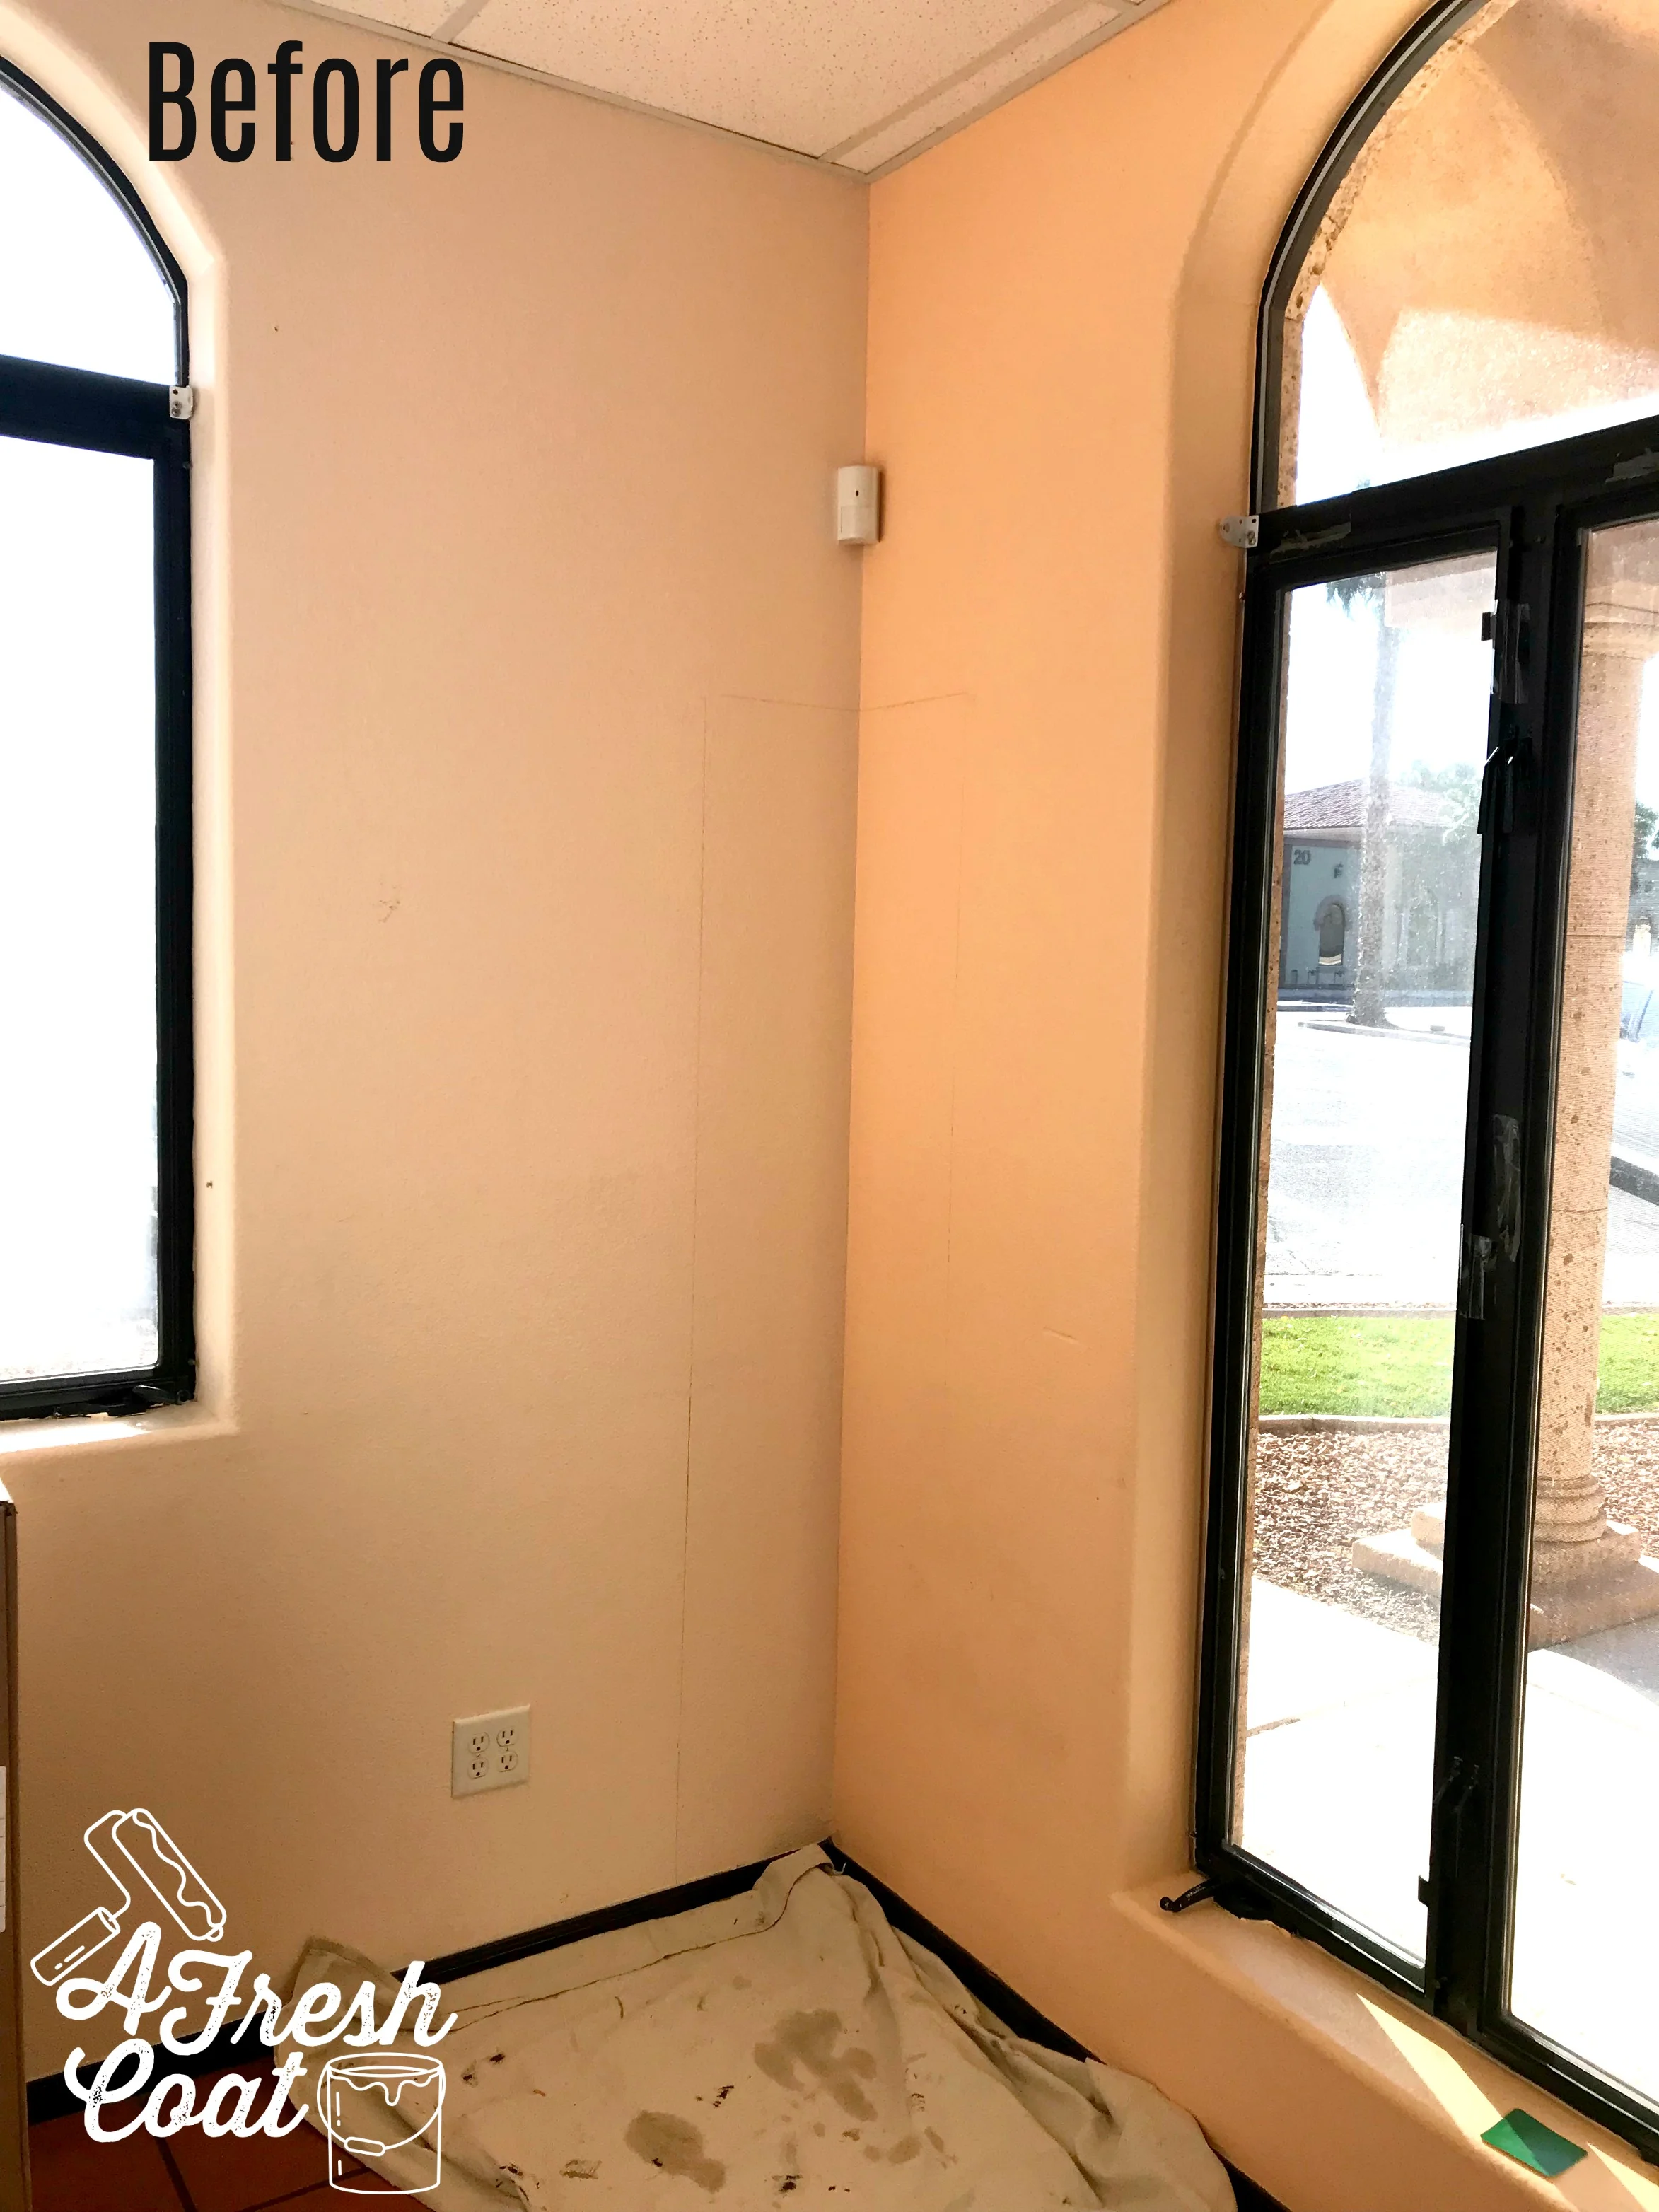
With the bookcase still under construction, I quickly got to work on the mural. This is where we started:

Doctor's Office Mural 02.jpg

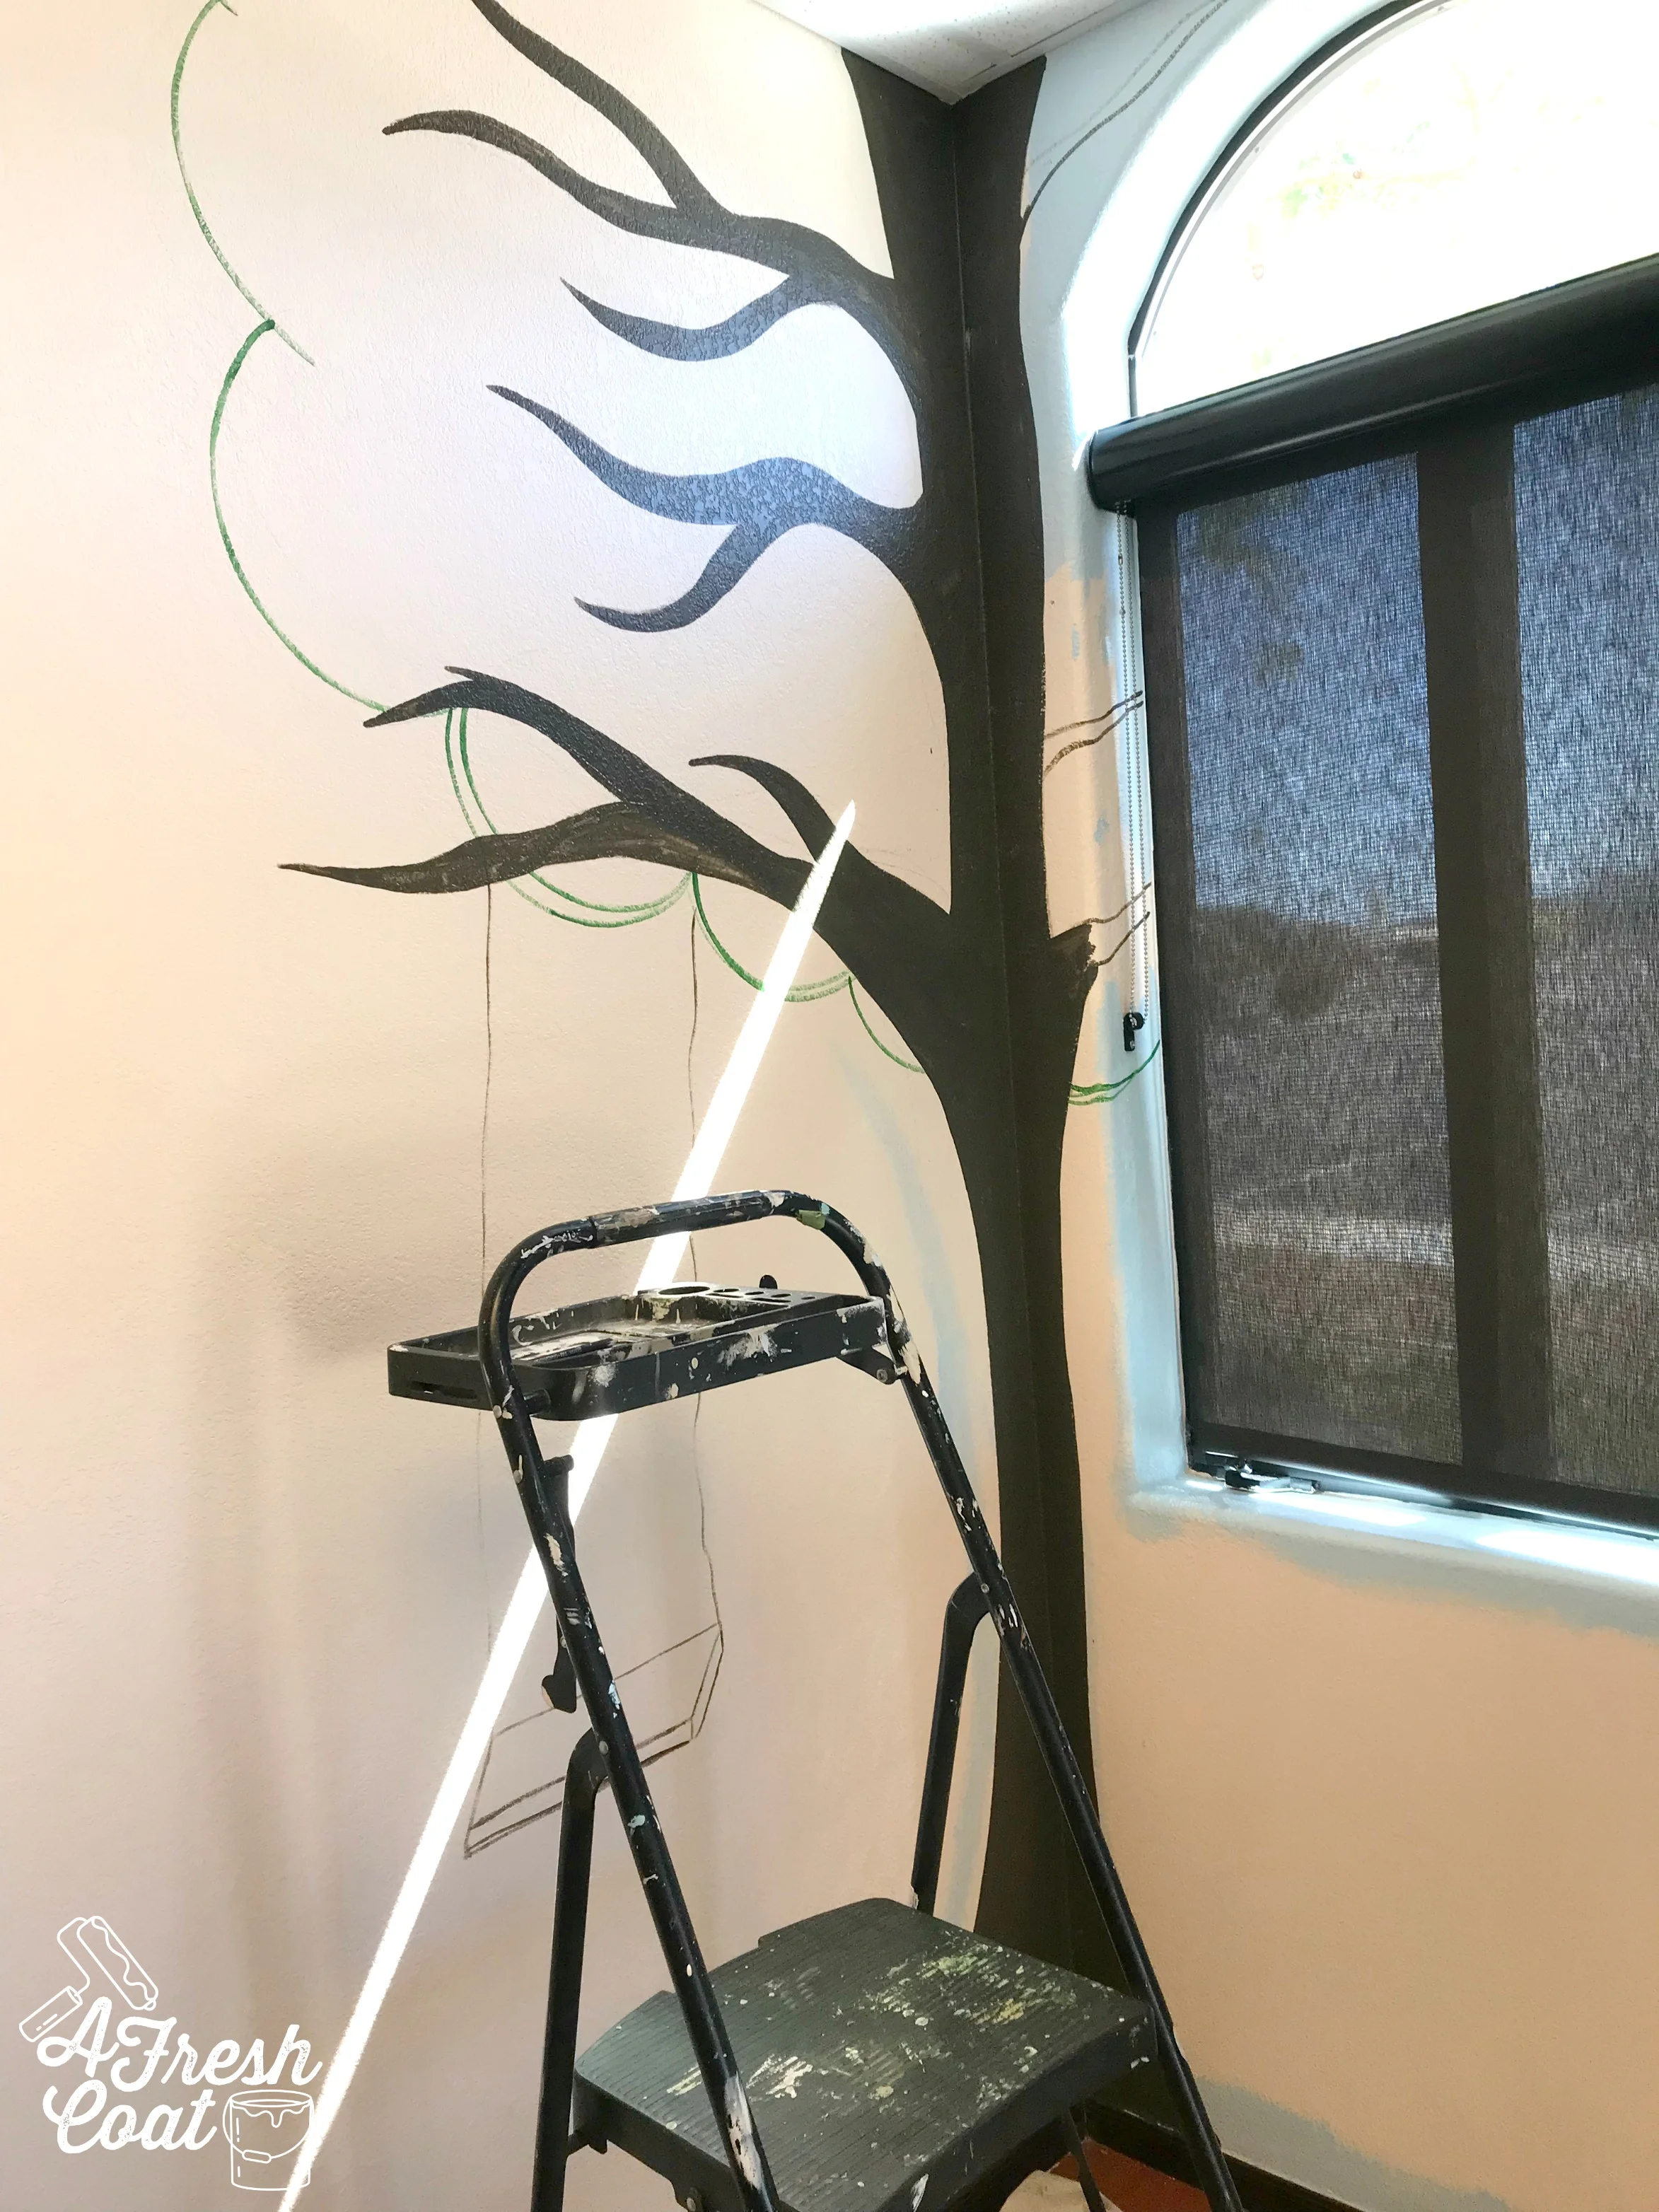
The outline of the bookcase was already in place so the first step in creating this mural was to begin sketching the canopy of the tree—-the foliage and the branches. Once that was completed, I used an angled brush to go over my lines in color in order to visualize the final project a bit better and fix any imbalanced areas/funky spots.

Next up? painting. By filling in the canopy with a first (followed by a second) coat of paint, the tree was beginning to take shape.

Doctor's Office Mural 04.jpg

Next up were the branches.

Doctor's Office Mural 05.jpg

Once the branches were filled in, it was evident that the right side of the tree needed some tending to. Just as this baby needed another coat of paint, some depth added to the branches, a bit of highlighting here and there, and a bird. Yah, a bird was definitely needed.

Doctor's Office Mural 06.jpg

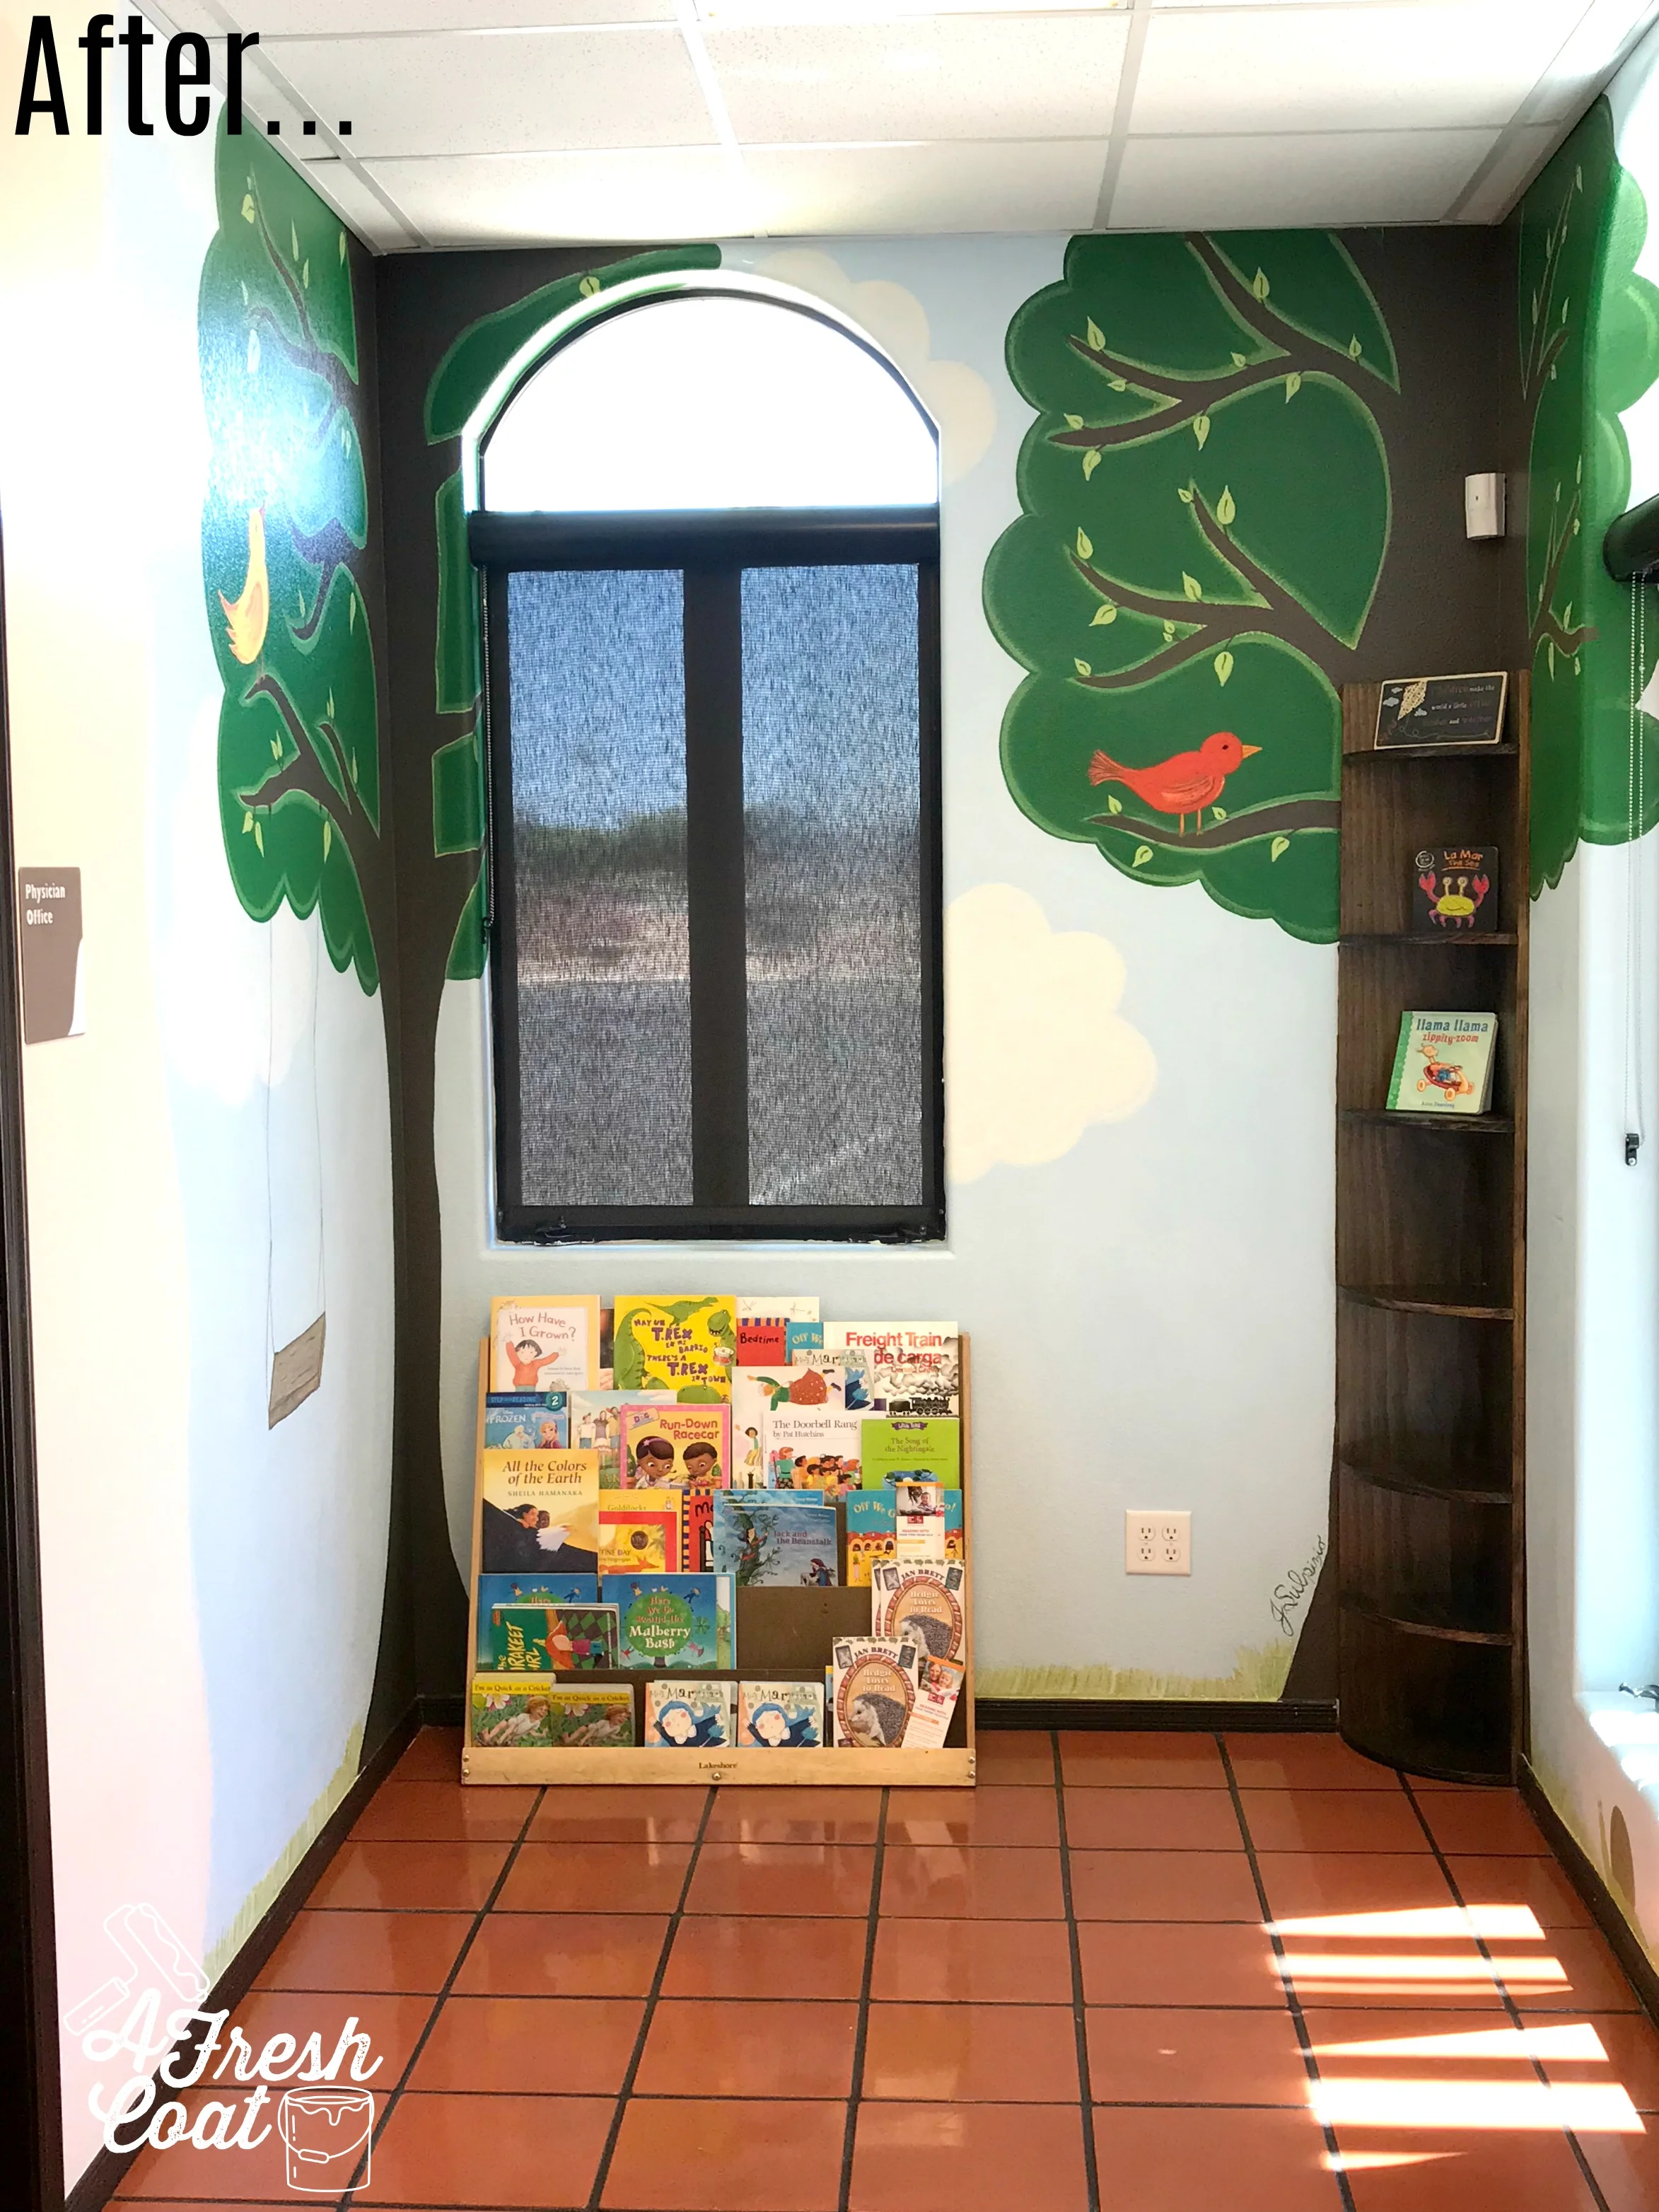
Here she is! All painted and ready for her bookcase trunk! Seriously, these murals bring me so much joy to create and I love that this piece will be enjoyed by the youngest in our Yuma community.

But wait! After viewing this tree, YRMC asked if I could add more. They wanted a sky in the background, an additional tree, some clouds, and grass in order to make this little nook really special and to help it become even more inviting.

Of course I was game!

Part 2 started here:

Tree 4.jpg

I completed the same steps as outlined before, but decided to add a tree swing for just a little more fun. After eight more hours of paint (yes, eight!), the mural was complete. It’s a special spot just waiting for some cute kiddos to make it even sweeter.

Tree 6.jpg
Tree 8.jpg
Tree 5.jpg

So very excited I could be a part of this project! Oh, and I couldn’t forget this fun guy. Say “hello” to my little friend…

Tree 7.jpg

One more glimpse of the before and after of this quaint little space:

Doctor's Office Mural 02.jpg
Tree 5.jpg

Colors:

Valspar’s Vegas Green—Canopy

SW Lime Rickey-Highlighting/Grass

SW Alabaster-Clouds/Grass

SW Soar-Sky

SW Avocado-Highlighting/Grass

Valspar Turkish Roots—Trunk

Love,

J